



How to Install Windows on a Chromebook Step-by-Step Guide
Chromebooks are designed primarily for ChromeOS, but there are situations where you may need Windows for desktop applications, specialist software or workflows that are unavailable through ChromeOS or the web.
Installing Windows is possible on some Chromebooks, but it is not a normal operating-system upgrade. It involves replacing firmware, erasing local data and potentially opening the device. Compatibility therefore needs to be checked before making any changes. This guide explains the complete process and, just as importantly, when you should not attempt it.
Can You Install Windows on Your Chromebook?
No, you cannot successfully install Windows on Chromebook hardware simply because the device has enough storage or an Intel processor. There are several separate compatibility checks.
MrChromebox supports firmware modification only on Intel/AMD x86_64 ChromeOS devices, and support is determined by the device's HWID or board name, not simply its retail model name. Having compatible firmware also does not guarantee that Windows will support the keyboard, trackpad, audio, Wi-Fi or other components.
Your Chromebook must also satisfy Microsoft's requirements for Windows 11. These include a compatible 64-bit processor, at least 4GB RAM, 64GB storage, UEFI firmware, Secure Boot capability, TPM 2.0 and DirectX 12-compatible graphics with a WDDM 2.0 driver.
Note: Some Chromebooks may not fully meet Windows 11 TPM or Secure Boot requirements. If Windows Setup reports an incompatibility, do not use unofficial bypasses; stop and recheck device support.
Check Whether Your Chromebook Uses Intel or AMD Hardware
This guide is for x86_64 Chromebooks using Intel or AMD processors.
Do not continue with the native Full ROM installation method if your Chromebook uses an ARM processor, such as certain MediaTek, Qualcomm or ARM-based SoCs. MrChromebox firmware does not support ARM ChromeOS devices.
Find Your Chromebook HWID or Board Name
The exact HWID/board name matters more than the product name printed on the laptop.
While ChromeOS is still installed, use: Chrome → chrome://system → search for HWID
You can also find the HWID at the bottom of the Recovery Mode or Developer Mode screen. The board name is normally the first part of the HWID.
For example, if the HWID begins with NOCTURNE, the board name is NOCTURNE.
Check UEFI Firmware and Windows Driver Support
Before continuing, confirm both of these independently:
- Your exact board has UEFI Full ROM support in the current MrChromebox supported-device list.
- Your exact Chromebook has usable Windows drivers for the hardware you need.
Do not assume firmware compatibility means full Windows compatibility. MrChromebox explicitly notes that operating-system support varies, while Windows-on-Chromebook projects rely on model-specific drivers for components such as audio, touchpads, touchscreens and embedded controllers.
|
Compatibility Check |
What You Need |
Stop If… |
|
Processor |
Intel/AMD x86_64 |
Chromebook uses ARM |
|
HWID/board name |
Exact device identifier |
You cannot identify the board |
|
UEFI Full ROM |
Listed as supported |
Full ROM is unavailable |
|
Windows drivers |
Drivers for essential hardware |
Critical devices have no usable driver |
|
Windows 11 requirements |
Compatible CPU, TPM 2.0, UEFI, RAM and storage |
Requirements are not met |
|
Device ownership |
Personally owned, unmanaged Chromebook |
Device belongs to a school or employer |
Do not use unofficial Windows 11 requirement bypasses simply to force an unsupported Chromebook through Setup. Microsoft states that Windows 11 requires compatible hardware, including TPM 2.0 and Secure Boot-capable UEFI firmware.
Does the Chromebook Brand Affect Windows Compatibility?
The Chromebook brand or product range does not tell you whether a particular model will support Windows. For example, affordable ASUS Chromebooks can use different processors, boards and hardware configurations, so compatibility still needs to be checked for the exact device.
The same applies when comparing Acer Chromebooks UK models. Two devices from the same manufacturer may have different firmware support or require different Windows drivers, even if their specifications appear similar.
There are also many Lenovo Chromebook options across different hardware generations and form factors. This is why Windows compatibility should always be determined at individual model and board level rather than by the brand or series alone.
What You Need Before You Turn Chromebook into Windows Machine
Prepare everything before modifying ChromeOS:
- A compatible Intel/AMD x86_64 Chromebook
- Confirmed HWID/board name
- Confirmed UEFI Full ROM support
- Confirmed Windows driver support
- Chromebook battery above 50%
- Chromebook connected to its power adaptor
- A blank 8GB or larger USB drive for Windows installation
- External storage or cloud storage for backups
- Another Windows PC for creating Microsoft's installation media
- A reliable internet connection
- A valid Windows licence where required
- An optional USB keyboard and mouse in case built-in input devices need drivers
- Any tools specifically required for your Chromebook's write-protection method
MrChromebox recommends having the Chromebook charged above 50%, connected to power, backup media and another computer available before beginning.
Important: Do not modify a school, university or employer-managed Chromebook unless you have explicit permission. Enterprise policy can block Developer Mode, and organisation-owned equipment should not be modified without authorisation.
Step 1: Back Up Your Chromebook and Prepare for Recovery
Enabling Developer Mode will erase local user data, so back up the Chromebook before doing anything else. Chromium documents this as a Mode Transition Wipe.
Before proceeding:
- Copy anything important from Downloads and other local folders to Google Drive or external storage.
- Confirm that synchronised files and browser data are up to date.
- Record your HWID/board name.
- Save links or copies of the relevant firmware and driver instructions for your specific board.
- Have another computer available for troubleshooting.
- Prepare a ChromeOS recovery method where appropriate.
- When the firmware utility later offers to create a stock firmware backup, save it somewhere external.
Will this delete your files? Yes. Developer Mode wipes locally stored user data, and replacing ChromeOS with Windows later removes the ChromeOS installation from the internal drive.
Step 2: Enable Developer Mode on the Chromebook
Developer Mode allows the low-level access needed to change Chromebook firmware.
For most Chromebooks with a keyboard:
- Shut down the Chromebook.
- Hold Esc + Refresh, then press Power.
- Release the keys when the Recovery screen appears.
- Press Ctrl + D.
- Press Enter to confirm Developer Mode when prompted.
- Allow the Chromebook to perform its data wipe and reboot.
Some models use Esc + Full Screen + Power, while tablets and detachable devices can use different physical-button procedures. Check the instructions for your particular board if the normal sequence does not apply.
Developer Mode relaxes ChromeOS Verified Boot protection and permits access to a root shell, so the device is less locked down than under normal ChromeOS operation.
Step 3: Disable Firmware Write Protection
ChromeOS protects critical firmware regions against modification. Installing UEFI Full ROM firmware requires hardware write protection to be disabled.
Identify Your Chromebook's Write-Protection Method
Do not follow a generic instruction telling you simply to “remove the write-protect screw”. Different boards use different mechanisms.
Depending on the Chromebook, the method may involve:
- Write-protect screw
- Battery disconnect
- Write-protect jumper
- CCD/SuzyQable
- Security-chip-specific procedures
Chromium documents screws, switches and security-chip-based methods among the approaches used across ChromeOS hardware.
Check the Supported Devices documentation against your exact board name before opening the Chromebook.
Newer devices can have additional protections. For example, some Ti50-based devices require AP read-only firmware verification to be dealt with correctly before flashing custom firmware. Follow the current instructions for the specific board rather than adapting a procedure from an older Chromebook.
Step 4: Install UEFI Full ROM Firmware
For this Windows replacement method, you need UEFI Full ROM, not simply RW_LEGACY firmware. Full ROM replaces the Chromebook's stock firmware and turns the system into a more conventional UEFI PC. ChromeOS cannot boot once it has been installed.
Open the ChromeOS Terminal
On current ChromeOS versions, at the login screen press: Ctrl + Alt + F2
Log in as: chronos
MrChromebox documents this VT-2 method for current ChromeOS releases.
Run the current Firmware Utility Script:
cd; curl -LOf https://mrchromebox.tech/firmware-util.sh && sudo bash firmware-util.sh
The utility automatically identifies information including the Chromebook's board, current firmware, write-protection status and available firmware options.
Select UEFI Full ROM
Choose: Install/Update UEFI (Full ROM) Firmware
Do not accidentally choose RW_LEGACY if your intention is to replace ChromeOS with Windows. MrChromebox identifies Full ROM as the firmware route for running Windows without ChromeOS.
Save the Stock Firmware Backup
When prompted, create the stock firmware backup.
Save it to:
- Another PC
- An external USB drive
- Secure cloud storage
Do not leave the only copy on the Chromebook.
That backup may be required if you later want to restore the original firmware and ChromeOS.
Complete the firmware flash, then use the script's power-off option rather than immediately rebooting. If you disconnected the battery to disable write protection, reconnect it only after the flash has completed and the Chromebook has been powered off.
Step 5: Create a Bootable Windows 11 USB
Use another Windows PC to create the installer.
This guide focuses on Windows 11 because normal Windows 10 support ended on 14 October 2025. Microsoft no longer provides standard Windows 10 security fixes or technical support, although separate Extended Security Updates exist for eligible users.
On the second PC:
- Insert a blank 8GB or larger USB flash drive.
- Open Microsoft's Windows 11 download page.
- Under Create Windows 11 Installation Media, select Download Now.
- Run MediaCreationTool.exe.
- Accept the licence terms.
- Choose Create installation media for another PC.
- Confirm the language, edition and 64-bit architecture.
- Select USB flash drive.
- Choose the correct USB and allow the tool to create the installer.
The USB will be erased during this process. Microsoft also notes that a product key may be required unless an applicable digital licence exists.
Step 6: Boot the Chromebook From the Windows USB
Connect the completed Windows 11 installation USB to the Chromebook and switch it on.
With UEFI Full ROM installed, the Chromebook should boot to the edk2/coreboot interface rather than the old ChromeOS Developer Mode screen.
When prompted:
Press Esc → Boot Menu → select the Windows USB drive
If the USB is missing:
- Return to the main menu.
- Remove and reconnect the USB.
- Wait a few seconds.
- Open Boot Menu again.
- Try another USB port or USB drive if it still does not appear.
Those are the troubleshooting steps documented for the MrChromebox UEFI boot menu.
Step 7: Install Windows 11 on the Chromebook
Once Windows Setup loads:
- Select the correct language, region and keyboard layout.
- Select Install Windows 11.
- Enter your Windows product key when required, or use the appropriate activation option available to you.
- Select the Windows edition that matches your licence.
- Choose the option for a clean/custom installation.
- Carefully identify the Chromebook's internal storage.
- If you are committed to replacing ChromeOS completely, remove the existing ChromeOS partitions from the internal drive only until the target space is available for Windows.
- Do not delete partitions from the Windows installation USB or another backup drive.
- Select the internal unallocated space as the Windows destination.
- Continue the installation.
- Allow the system to restart as required.
- Remove the USB when necessary to prevent Setup from launching from the beginning again.
- Complete Windows' initial configuration.
MrChromebox recommends using a wipe-and-install approach after Full ROM so the new operating system replaces the remaining ChromeOS bootloader data.
Deleting the ChromeOS partitions removes ChromeOS and the data stored on the internal drive. Do not reach this stage unless your personal files and firmware backup are safely stored elsewhere.
If Windows Setup says that the device does not meet Windows 11's requirements, stop and reassess compatibility rather than automatically applying an unofficial requirements bypass.
Step 8: Install Chromebook-Specific Windows Drivers
Reaching the Windows desktop does not mean the conversion is finished.
Unlike conventional Windows laptops, a Chromebook can require custom drivers for hardware that Windows does not recognise correctly.
Depending on the board, these can include:
- Chipset
- Graphics
- Wi-Fi and Bluetooth
- Audio
- Touchpad
- Touchscreen
- Keyboard and top-row keys
- Embedded Controller
- Storage controller
- SD card reader
- Camera
CoolStar's Windows-for-Chromebooks documentation shows that driver requirements differ significantly between boards. Some devices require custom Chrome EC, I2C, audio, storage or touch drivers.
After Windows installation:
- Connect to the internet where possible.
- Open Settings → Windows Update → Check for updates.
- Install applicable Windows updates and standard hardware drivers.
- Install the required Chromebook-specific drivers for your exact board.
- Restart whenever a driver installer requests it.
- Open Device Manager and look for yellow warning symbols or Unknown devices.
- Test the keyboard and top-row keys.
- Test the trackpad and touchscreen.
- Test speakers, headphones and microphone.
- Check Wi-Fi and Bluetooth.
- Test brightness controls.
- Test sleep and wake behaviour.
- Check cameras, card readers and USB ports where applicable.
- Complete Windows activation.
If built-in input does not function during Setup, an external USB keyboard and mouse can be useful until the correct drivers are installed. Chromebook-specific installation documentation explicitly recommends external input hardware on some models.
Common Problems After Installing Windows on a Chromebook
|
Problem |
Likely Cause |
What to Check |
|
Windows installation USB does not appear |
USB detection or media issue |
Reconnect it, change USB port or recreate the installer |
|
Internal drive is missing |
Storage-controller driver unavailable |
Check the exact board’s Windows driver instructions |
|
Touchpad does not work |
Missing I2C/touchpad driver |
Install the model-specific driver |
|
No sound |
Chromebook audio driver missing |
Check audio support for the board |
|
Wi-Fi does not work |
WLAN driver missing |
Identify and install the correct network driver |
|
Top-row keys behave differently |
Chrome EC remapping required |
Install the appropriate EC/keyboard package |
|
Unknown devices appear |
Drivers still missing |
Identify hardware in Device Manager before installing drivers |
|
USB will not boot |
UEFI media/port problem |
Recheck the edk2 Boot Menu and installation media |
Do not assume every missing function can be fixed. Some Chromebook boards have incomplete Windows driver support, which is why this should be checked before the firmware is modified.
How to Restore ChromeOS After Installing Windows
Restoring ChromeOS after UEFI Full ROM is more involved than simply inserting a ChromeOS recovery USB because the original Chromebook firmware has been replaced.
The normal route is:
- Create and boot a compatible Linux live USB.
- Connect to the internet.
- Run the MrChromebox Firmware Utility Script.
- Select Restore Stock Firmware.
- Restore from your saved stock firmware backup, or another supported restoration source offered by the utility.
- Reboot after the stock firmware has been successfully restored.
- Enter ChromeOS Recovery Mode.
- Reinstall ChromeOS using the appropriate recovery method.
- Restore normal OS verification/Developer Mode settings where applicable.
MrChromebox requires stock firmware to be restored before ChromeOS recovery when returning from Full ROM firmware. Google's recovery process then reinstalls ChromeOS and erases the internal drive.
There is an important exception: some Chromebooks that have passed Google's AUE/EOL date cannot have stock ChromeOS firmware restored through the current Firmware Utility Script. Check this before installing Windows if returning to ChromeOS later matters to you.
Is Installing Windows Better Than Keeping ChromeOS?
Installing Windows can make sense when a supported Chromebook needs applications that genuinely require Windows. It does not automatically make the Chromebook a better computer.
|
Installing Windows |
Keeping ChromeOS |
|
Runs compatible Windows desktop software |
Maintains the operating system the hardware was designed for |
|
Requires custom firmware |
No firmware replacement |
|
Driver compatibility varies |
Native hardware support |
|
Removes ChromeOS with Full ROM |
Keeps ChromeOS security and update model |
|
More complicated recovery |
Straightforward ChromeOS recovery |
|
May require custom drivers |
Device drivers are integrated with ChromeOS |
If you mainly need Windows-only workplace software and straightforward hardware compatibility, Windows business laptops may be a more practical option than modifying a Chromebook.
If you only need occasional access to one or two Windows programs, replacing ChromeOS may be unnecessary. A remote Windows PC is often considerably easier.

Should You Get Windows on Chromebook?
You can install Windows on Chromebook hardware, but only after confirming that the exact board, firmware, Windows 11 requirements and essential drivers are compatible. Skipping those checks is where many installations go wrong.
Follow the process in order: check compatibility → back up data → enable Developer Mode → disable firmware write protection → install UEFI Full ROM → create the Windows USB → install Windows → install drivers.
For an ARM Chromebook, managed device or unsupported board, keeping ChromeOS and using remote Windows access is the safer option.

In Case You Were Wondering...
Can Every Chromebook Run Windows?
No. The Chromebook needs an Intel/AMD x86_64 board, supported UEFI Full ROM firmware, usable Windows drivers and hardware meeting Windows 11 requirements. ARM and unsupported boards should not proceed.
Will Installing Windows Remove ChromeOS?
Yes, with the Full ROM method in this guide. Developer Mode wipes local user data, while installing UEFI Full ROM prevents ChromeOS booting until compatible stock firmware is restored.
Is It Safe to Install Windows on a Chromebook?
It can work on properly supported hardware, but firmware modification carries genuine risk. An interrupted flash, incompatible firmware or missing drivers can cause boot or hardware problems.
Can I Install Windows on an ARM Chromebook?
Not through this native firmware method. MrChromebox supports only Intel/AMD x86_64 Chromebooks. Windows 11 Arm exists, but ARM Chromebooks lack this supported Chromebook firmware and driver path.
What Is the Easiest Way to Use Windows Apps on a Chromebook?
If you already have a Windows PC, Chrome Remote Desktop is usually easier. It lets the Chromebook securely access applications and files running on the Windows computer without replacing ChromeOS.
| Read More: |
| Best Chromebooks in 2026: Top Picks for Work, Students and Everyday Use |
| How do You Unfreeze an Unresponsive Chromebook? |
| How to Remove Administrator User Account from Chromebook? |
Related Articles

Last Updated: March 06, 2026
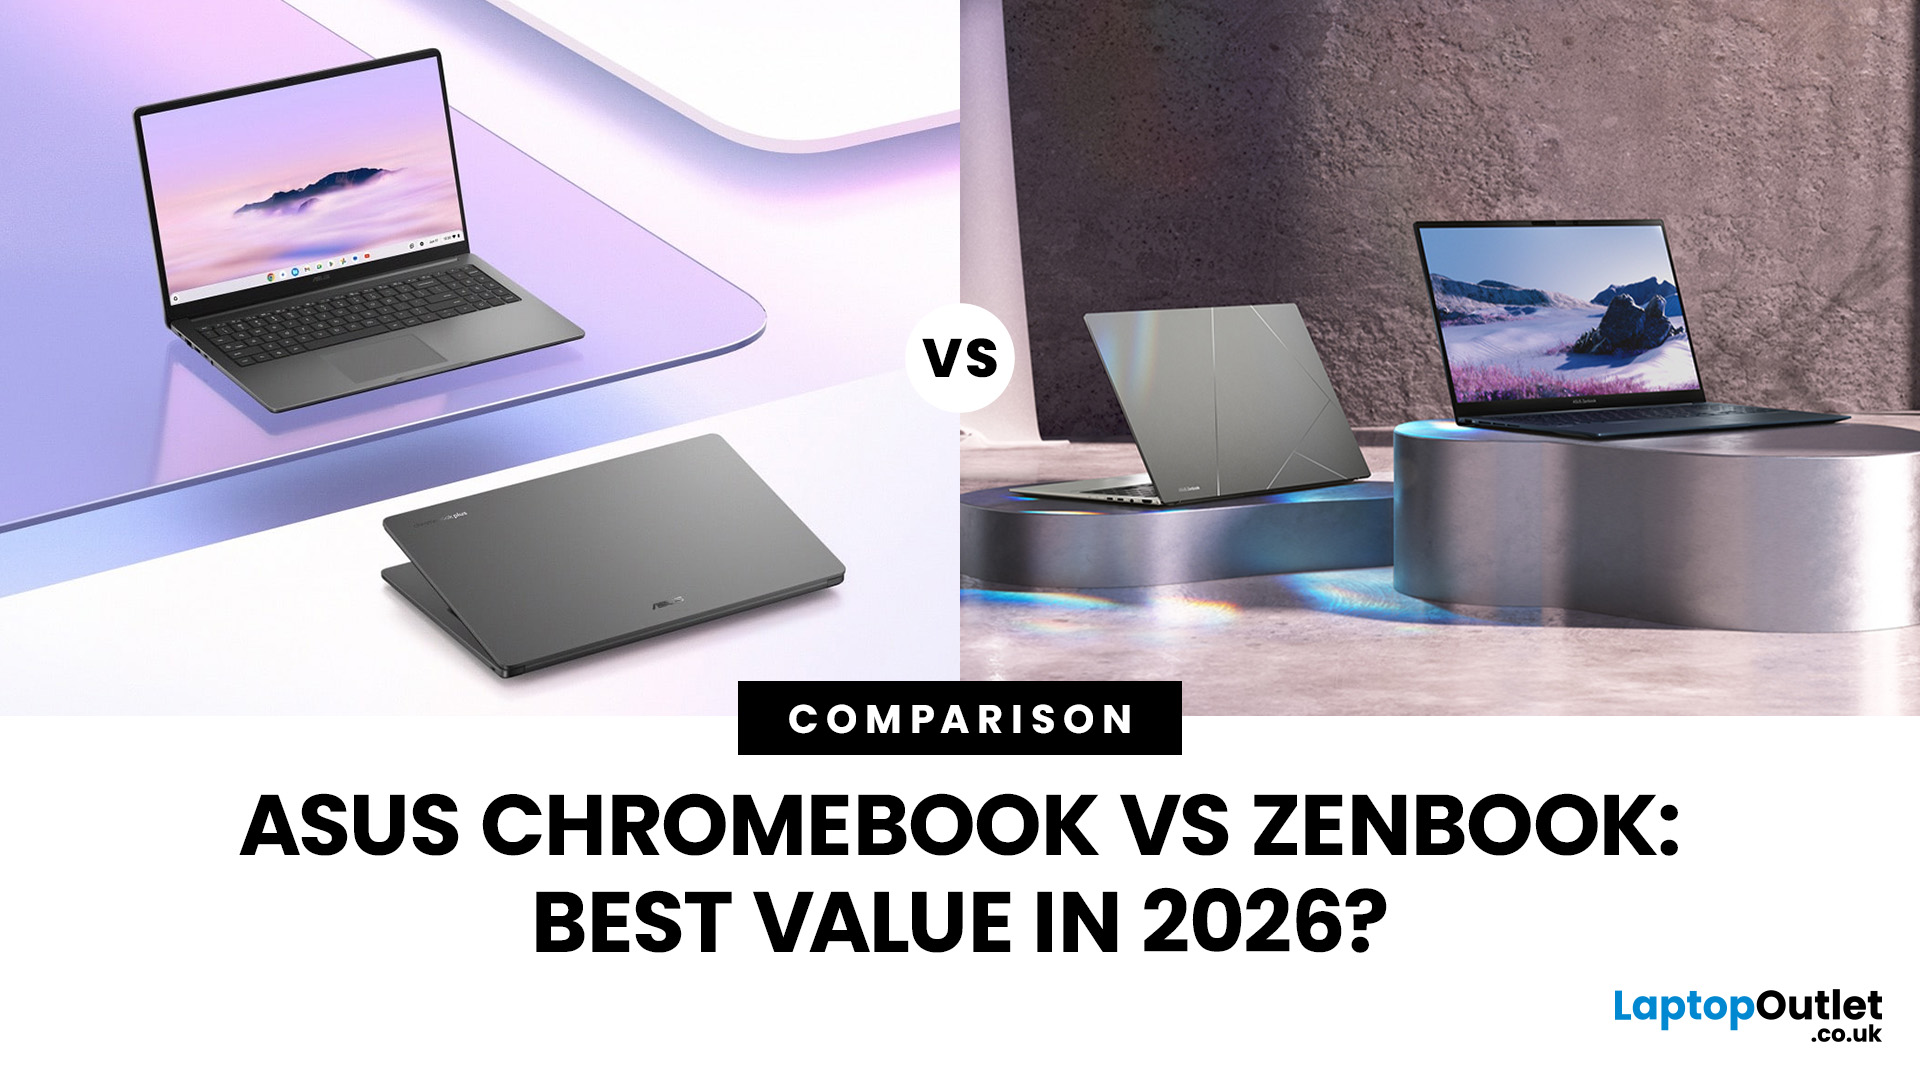
In 2026, ASUS continues to lead the ultrabook market with two standout options, the ASUS Chromebook and the ASUS ZenBook. Both deliver sleek design, portability, and performance, but they cater to different users. ASUS Chromebooks are lightweight, affordable, and perfect for students and everyday tasks, while ZenBooks offer premium craftsmanship, powerful hardware, and superior productivity for professionals and creators.
This comparison explores their specs, performance, battery life, and value, helping you decide which ultrabook suits your needs best. Whether you’re after effortless portability or all-day performance, we’ll uncover which ASUS laptop truly offers better value in 2026.
ASUS Chromebook vs ZenBook – The 2026 Ultrabook Showdown
In 2026, ASUS continues to lead the ultrabook arena with two stellar lineups that capture the essence of modern computing, the ASUS Chromebook and the ASUS ZenBook. Both are sleek, reliable, and performance-driven, but they serve very different lifestyles.
Last Updated: July 06, 2026
A good Windows setup is not just about getting to the desktop. It means finishing the first-run setup properly, installing the latest updates, turning on backup and security features, and knowing which fixes to try before you jump to a reset or replacement. That matters even more now because Windows 10 support ended on 14 October 2025, so staying on a supported Windows version is part of basic maintenance, not an optional extra.
In this Windows & OS guide, we walk through the full process: how to set up Windows, how to update it safely, and how to fix common problems like failed updates, slow performance, Wi-Fi issues, broken apps, and recovery problems. We also cover when it is worth troubleshooting, when a reset makes more sense, and when moving to a newer Windows 11 device is the smarter call.
Quick Answer: The Best Way to Set Up, Update and Fix Windows
If you want the shortest version, do 4 things first. Finish the initial setup carefully, run Windows Update until there is nothing left
Last Updated: July 06, 2026
Whether you're tidying up a slow desktop PC or getting rid of software you never use, knowing how to uninstall apps on Windows is one of the most useful skills you can have.
Both Windows 10 and Windows 11 give you several ways to remove programmes, but the steps differ slightly between the two versions. This guide walks you through every method clearly, plus how to fix it when things go wrong.
5 Ways to Uninstall Apps on Windows 10 and 11

There is more than one way to uninstall apps on Windows, and the right approach often depends on how the app was installed in the first place. Some methods suit modern Microsoft Store apps, while others are better for older desktop software.
The table below gives you a quick overview before we get into the step-by-step detail.
| Method | Best For | Windows 10 | Windows 11 |
|---|---|---|---|
| Start Menu | Modern apps, quick removal | Yes | Yes |
| Settings | Most apps and programmes | Yes | Yes |
| Control Panel | Legacy desktop software | Yes | Yes |
| File Explorer | Apps with built-in uninstallers | Yes | Yes |
| PowerShell |
Last Updated: April 27, 2026
Upgrading to Windows 11 is usually the right move if your laptop is eligible and still running Windows 10. The upgrade remains free for eligible Windows 10 PCs, the standard upgrade path keeps your files, and Windows 10 support ended on 14 October 2025, which makes staying on a supported version of Windows far more important in 2026.
In plain terms, this Windows 11 upgrade guide is about making the move safely. We cover the Windows 11 upgrade process step by step, what to check before you start, how to update to Windows 11 through the right method, what happens to your apps and files, and when replacing the laptop makes more sense than forcing the update. The public Windows 11 download page currently lists version 25H2 as the main public release, while version 26H1 is framed around select new devices rather than a routine in-place upgrade path for existing consumer PCs.
What a Windows 11 Upgrade Actually Means
A Windows 11 upgrade is an in-place move from one Windows version to another,
Last Updated: June 04, 2026
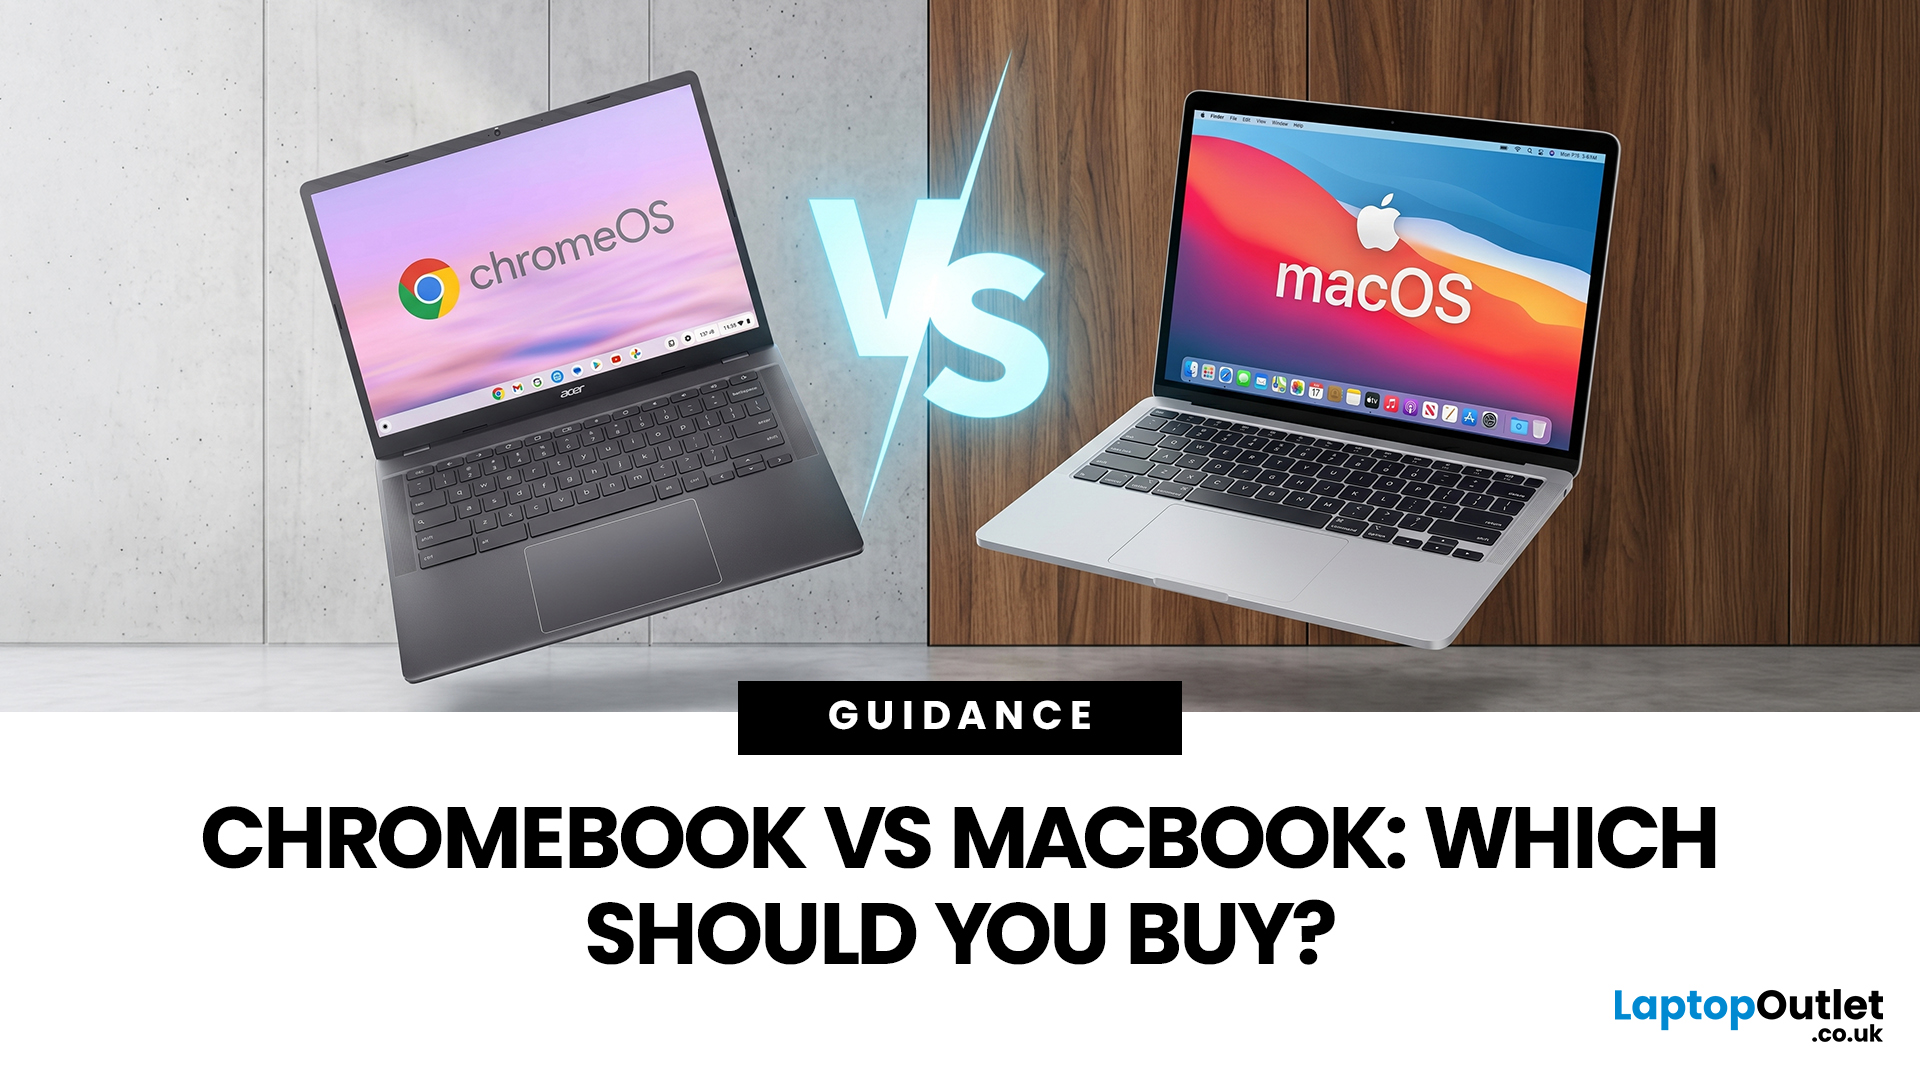
If you want the quickest answer, buy a Chromebook if you mainly use a browser, Google apps, streaming services, email, and simple everyday tools. Buy a MacBook if you need stronger performance, fuller desktop software support, and a laptop that gives you more room to grow over the next few years. That is the real Chromebook vs MacBook decision. It is less about the logo on the lid and more about how you actually work, study, and relax every day.
A Chromebook is a laptop that runs Chrome OS, built around speed, simplicity, built-in Google services, and lightweight computing. A MacBook runs macOS and is designed for a fuller desktop experience, stronger multitasking, and tighter integration with other Apple devices. If you already know you want to compare categories before choosing, start by browsing the best laptops to see where both options sit in the wider market.
Still deciding whether macOS is right for you at all? Read our PC vs Mac in 2026 guide before you choose.
Chromebook vs MacBook:
Last Updated: June 10, 2026
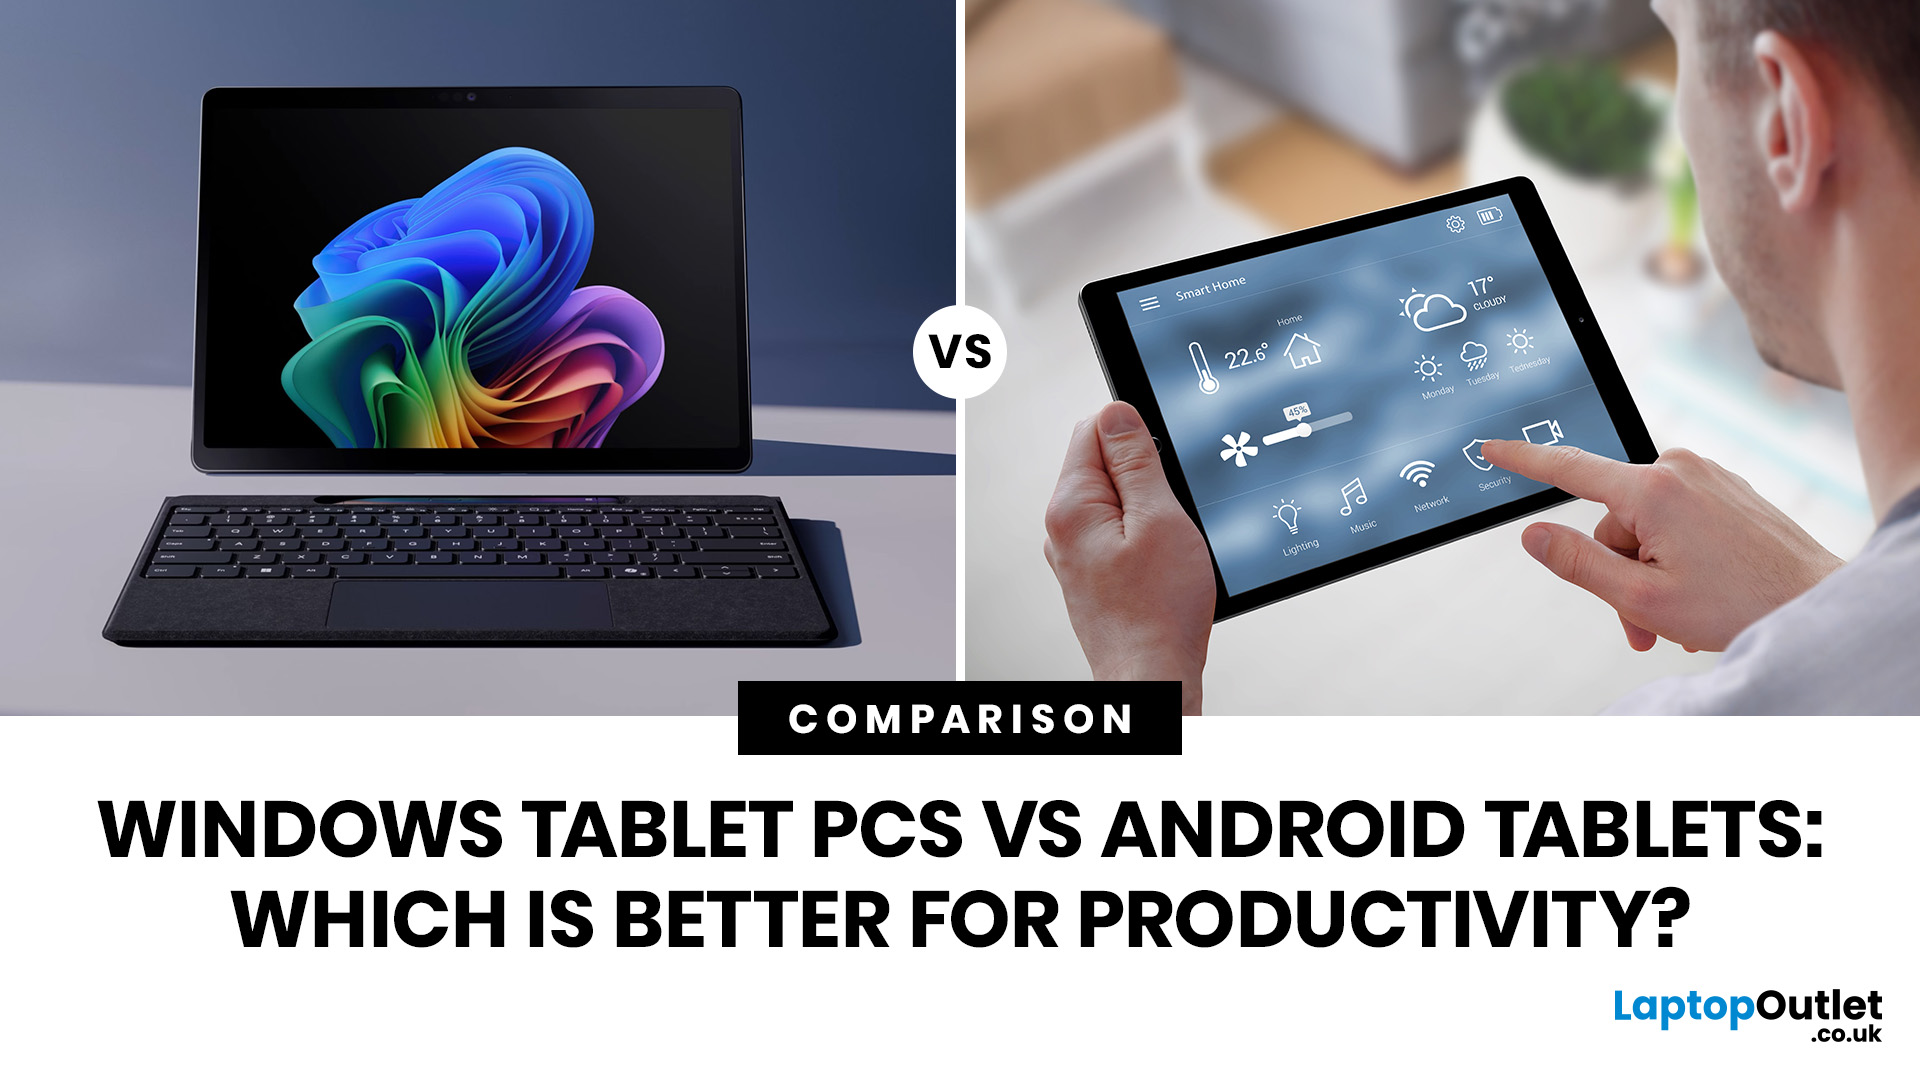
When comparing Windows tablet PCs vs Android tablets, Windows is usually better for productivity-heavy tasks like multitasking, office work and business use, while Android tablets are better for portability, value and lighter everyday productivity.
When comparing Windows tablet PCs vs Android tablets, the best choice depends on how you work. Some users need laptop-style performance for spreadsheets, email, browser tasks and multitasking, while others prefer a portable device for note-taking, research, video calls and everyday flexibility.
That is why the Android vs Windows tablets debate matters. Windows tablets offer a more PC-like experience with stronger multitasking, while Android tablets focus on portability, convenience and app-based productivity.
For buyers in the UK, the best option depends on whether you value desktop-style software, keyboard-led productivity and business features, or a lighter, more affordable system that is easy to carry and simple to use. If you are browsing
Last Updated: May 22, 2026
Your laptop is acting weird, and now you are wondering if it is a driver's problem.
Maybe your Wi-Fi keeps dropping. Maybe your Bluetooth headphones refuse to connect. Maybe your sound has vanished, your printer is ghosting you, or your graphics suddenly look like your laptop is running on low battery and bad vibes.
This is usually the moment people search “how to update drivers” or “update drivers Windows” and hope the answer is not a 40-step tech maze.
Good news: updating drivers on Windows 10 and Windows 11 is not as scary as it sounds. In most cases, Windows can handle driver updates automatically through Windows Update, and Microsoft says drivers act like translators between Windows and your devices, helping your operating system and apps communicate with your hardware.
This guide will show you how to update drivers safely, how to check if drivers are up to date, when to use Device Manager, when to visit the manufacturer’s website, and when driver problems may be a sign, your laptop
Last Updated: June 10, 2026
To protect a Windows 10 PC after end of support, install all available Windows updates, enrol in Extended Security Updates if eligible, use updated antivirus, back up your files, remove old apps, use a modern browser, enable multi-factor authentication, and upgrade to Windows 11 if your PC supports it.
If your PC is still running Windows 10, now is the time to protect it. Windows 10 support ended on 14th October 2025, which means regular security updates and fixes are no longer available unless you take extra steps. Your PC will still work, but it may become more exposed to malware, ransomware, browser attacks, and new security flaws.
The good news is that you still have options. This Windows security guide covers the key Windows 10 protection tips to help you secure your PC, back up your files, and decide whether to upgrade to Windows 11.
Why Windows 10 End of Support Matters
When an operating system reaches end of support, it does not become useless overnight. Your files, apps, browser,
Last Updated: June 10, 2026
Microsoft is updating Windows Secure Boot certificates before they begin expiring in June 2026. Most supported Windows PCs will receive the update automatically, but users should check Windows Update, Secure Boot status, BIOS/UEFI firmware, and BitLocker recovery key access to avoid future security issues.
Microsoft is rolling out an important Windows Secure Boot update before older Secure Boot certificates begin expiring in 2026. For most home users on supported Windows devices, the update should arrive automatically through Windows Update. But if your PC is older, managed by an organisation, running Windows 10 without Extended Security Updates, or has outdated BIOS/UEFI firmware, you may need to check your device before June 2026.
Secure Boot is the Windows security feature that helps ensure your PC starts using trusted software only. Microsoft says Secure Boot certificates originally issued in 2011 begin expiring in June 2026, and devices need newer 2023 certificates to keep receiving
Last Updated: July 15, 2026
If HDMI is not working on your laptop, start by checking the cable and port for damage, then select the correct input on your monitor or TV. Press Windows + P to choose your display mode. If the screen stays blank, update or reinstall your graphics driver in Device Manager. Most HDMI not working laptop issues are resolved by these steps alone, without needing any specialist help.
There are few things more frustrating than plugging in your HDMI cable and being greeted by a black screen or a "No Signal" message. Whether you are connecting your laptop to a smart TV, an external monitor, or a projector, the issue can almost always be sorted without a trip to a repair shop.
This guide covers most common HDMI not working laptop fixes, from the simplest physical checks right through to driver reinstalls and BIOS settings. Work through the steps in order and you will find your fix quickly.
Why Is Laptop Not Connecting to HDMI?
Before diving into fixes, it helps to understand what causes

