

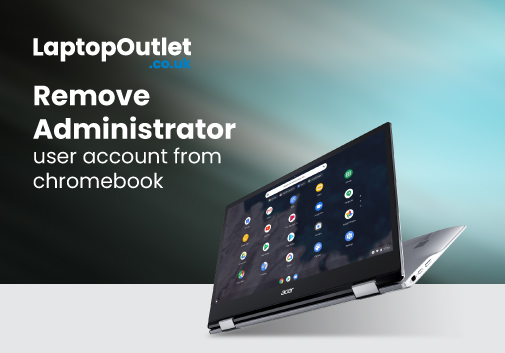
How to Remove Administrator User Account from Chromebook?
Chromebooks are also known as the latest version of traditional laptops and are designed to provide faster speed and performance. From sleek, portable designs to robust batteries and powerful processors, Chromebooks offer versatile and efficient computing solutions. These were basically crafted for web surfing, email, Facebook, Docs, Sheets, and general online applications and websites.
Among other impressive features, a Chromebook’s administrator account allows control of the complete "Chrome device settings", enabling users to manage policies for device enrollment, sign-in settings, software updates, and device reporting. An admin account also provides access to multiple aspects of the device, including network settings, application installations, and security features.
However, there may come a time when you feel it necessary to remove the administrator user account from your student or business Chromebook. The reasons could be many; whether you no longer enjoy the elevated privileges, want to transfer ownership, or just intend to boost the security features, you can simply delete the admin account on Chromebook by yourself.
In this comprehensive guide, we will assist you with step-by-step basic and advanced methods, ensuring that you have all the necessary information to accomplish the task effectively and efficiently. Additionally, we will also provide you with the best tips and tricks to keep your Chromebook safe from unauthorised access.
So, let’s dive in!
Why do you Need to Remove an Admin Account on Chromebook?
As the owner of a Chromebook, you are responsible for ensuring that the device is functioning smoothly, and that data is kept secure. The user may intend to delete admin from the Chromebook due to the following reasons:
Improve the Security
By removing the administrator user account from the account, you can prevent unauthorised access to sensitive information or settings on your Chromebook. An untrusted admin can turn off your protective measures in the settings. They can also disable firewalls, antivirus, encryption, group policies, etc. If the admin is using malware, then the malware can do the same!
Transfer Ownership
Whether you want to sell your Chromebook or give it to a friend, you may delete the administrator user account to make sure that the new user can set up their own account.
Enhance the Device’s Performance
If there are multiple accounts on your Chromebook, each user's preferences and settings can minimise loading times and ultimately the device’s performance! By deleting the unnecessary admin accounts, you can rest assured that your device is functioning at its best.
Troubleshooting
In certain cases, you can address several issues with the device’s settings, extensions, or apps that may be causing conflicts or interruptions by simply removing the admin account. You can perform a hard reset, reboot the Chromebook, and adjust the settings as per your preferences and requirements.
Removing Admin Account on Chromebook: Top Considerations
Backup Your Important Data:
It is necessary to back up your important documents and files before removing any user admin account. You can do this with ease by transferring your data to an external storage device, such as a USB flash drive or any peripheral. You can also upload your files and important notes to cloud storage services such as Dropbox and Google Drive. Lastly, check that you have saved and copied everything by critically going through all the folders in your administrative account you want to delete.
Transferring Ownership (In Case):
If you are selling your Chromebook or simply transferring ownership to someone, you need to complete the ownership process prior to giving it to them. The process is quite easy and simple; just sign into your Google administrator account. Access the Chromebook settings and click on "People". Navigate to the "Transfer Device" option and read the on-screen instructions carefully to ensure a smooth and seamless transition of device ownership.
Deleting Administrator User Account: Basic Method
Follow the steps below to simply remove an admin account on Chromebook.
Step 1: Access the Chromebook Settings
- To begin, turn on your business or student Chromebook and log in with the administrator account credentials.
- Once logged in, click on the system tray in the lower-right corner of the screen.
- In the system, navigate to the gear-shaped "Settings" option to get access to the Chromebook’s settings.
Step 2: Navigate to User Account Settings
- Scroll down to the settings and click on "People".
- Select the "Manage other people" option under the "People" section.
- This will lead you to the "User Account Settings," where you can manage all of the admin accounts on your Chromebook.
Step 3: Identify the Administrator Account
- From the User Account Settings, check and identify the Admin Account you are seeking to remove.
- The Administrator Account will appear as "Administrator," or as named by the individual using it, and have administrative privileges dedicated to it.
Step 4: Disable the Administrator Account
- To delete an account, click on the three-dot menu symbol next to the Administrator Account.
- Choose the option "Remove this user" from the dropdown menu.
- A confirmation dialogue will be opened, requesting confirmation of the deletion. To proceed, navigate to the "Remove this user" button.
- That selected administrator account will be wiped from your Chromebook, as will any connected user data.
Deleting Administrator User Account: Advanced Methods
In addition to the basic method mentioned above, you can try various other methods to remove any administrator user account from a Chromebook of any brand.
Method 1: Use a Different Browser
If you are still having trouble removing admin access using the basic method listed above, try logging in with a different user account. This method has benefited many people struggling with the same issue.
If you are using the Chrome browser, you can try switching to Firefox or Safari (download them from the Chrome Web Store according to the compatibility of your Chromebook’s operating system).
Follow the basic method mentioned earlier to remove the administrator from your Chromebook. This time, it should work without any issues.
Method 2: User Developer Mode
Switching to Developer Mode is also an efficient approach to deleting an administrator account from a Chromebook. To do so, follow the steps:
- Start by turning off your Chromebook.
- Hold down the Esc + Refresh keys (the circular arrow) on the keyboard.
- Hold down these two keys, push the power button, and turn the Chromebook. This will boot the Chromebook into recovery mode.
- Release the Esc and Refresh buttons when a yellow exclamation point appears.
- On the keyboard, press Ctrl+D. This will open a warning message claiming that OS verification is off.
- Hold on the Enter key to proceed with turning off OS verification.
- The Chromebook will reboot, and a red exclamation point will appear. The message will ask you to enter recovery media because the operating system is disrupted.
- To avoid the warning screen, press Ctrl+D again.
- This action will restart your Chromebook, which will then enter developer mode. This might take a few minutes, and the device will wipe all local data.
- After the developer mode is finished, the Chromebook will reboot again.
- By following the on-screen instructions, you can easily set up your business or student Chromebook as if it were brand new.
Note: The developer will completely reset your system, and all the settings, including user administrator accounts and other files or applications, will be erased. That’s why, before proceeding with the developer mode, make sure to back up or save any important data!
Method 3: Factory Reset
A factory reset is a process that erases all data stored on a device and reverts it to its initial settings, effectively returning it to its original state.
To remove an admin account on a Chromebook and perform a factory reset, follow these steps:
- Press and hold the Esc and Refresh keys at the same time.
- While still pressing the Esc and Refresh keys, press the Power button.
- Once the recovery message appears on the screen, release all the keys.
- Hold Ctrl+D to get into Chrome OS.
- Your device will restart, and you will observe a message showing that Chrome OS is verifying the system's integrity. It may take up to 5 to 10 minutes.
- After the verification process is completed, press the Enter key to restart your Chromebook. Upon restarting, you will see a warning message notifying you that "This device has been reset."
Method 4: Powerwash the Chromebook
A powerwash is like a factory reset process. It entails fully removing all folders, documents, videos, and user accounts on the Chromebook to restore factory defaults. You must keep in mind that a powerwash will permanently delete all data; hence, it is suggested to backup before doing so.
Follow these steps to launch the powerwash process:
Step 1: Turn off your Chromebook
- Click on the status bar located at the bottom-right of the screen.
- Then, click on "Sign Out."
Step 2: Access the reset options
- Hold the Ctrl+ Alt + Shift + R keys simultaneously on the keyboard.
- A reset window will appear on the screen immediately.
Step 3: Initiate the powerwash process
- The reset window appears, click on the "Powerwash" button located at the bottom-right.
Step 4: Start the reset process
- Choose "Continue" to initiate the reset procedure.
Step 5: Welcome screen and sign-up new admin account
- After the reset process is completed, you will be prompted to set up your Chromebook again, just like when you first started it.
Method 5: Use Recovery Mode
The recovery mode also restores your Chromebook to its factory settings. It has been used to fix issues with Chromebooks such as frozen touchscreens and unresponsive touchpads and to remove user administrator accounts.
To enter recovery mode, you can follow these steps:
- Power off the Chromebook.
- Press and hold the Esc key + Refresh key at the same time.
- While pressing these two keys, hold the power button.
- Release all the keys when you get a screen that says "Chrome OS is missing or damaged."
- Connect a USB drive or insert an SD card that has the Chrome OS recovery image. Make sure you have a recovery media before going into the official Chromebook Recovery Utility or another supported method.
Note: After the recovery image is inserted, we recommend you follow the on-screen instructions to successfully complete the reset process.
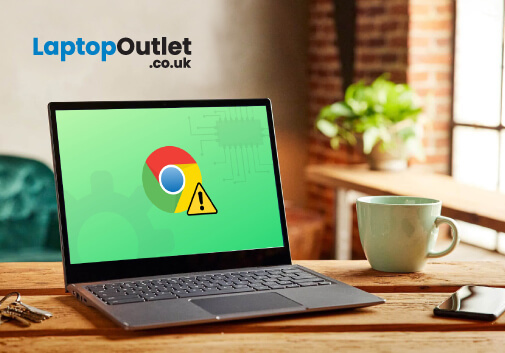
Tips and Tricks to Keep Your Chromebook Secure
There are multiple ways to keep your files and important files protected on a Chromebook. Certainly, Google keep in check all of them with a range of preventive measures that automatically isolate infected websites and applications. But sometimes all these preventive measures don’t work, as hackers are coming up with new approaches to steal your vital data. Thankfully, you can easily enhance and boost your Chromebook’s security by following a series of steps.
Keep Your Google Account Secure
Your Google account is the window to the privacy of your Chromebook. Unauthorised access to your ChromeOS device can pose a significant risk, potentially impacting your overall security. Therefore, the initial and crucial step in safeguarding your Chromebook is to ensure that your Google account is always protected.
Not only should you use a strong password, but you should also enable 2FA (Two-Factor Authentication).
To set it up, sign into your Google account and access the security settings:
- Open your web browser and go to the Google account page.
- Scroll down until you find the "Signing into Google" section.
- Within that section, find and click on the option labelled "2-step verification."
- You will be directed to a page where you can choose various methods to verify your identification, such as via text message sent to your phone or through Google's Authenticator app, and you can also generate backup codes that serve as alternative verification methods.
- While you’re here, click on the option "Third-party apps with account access" and evaluate which services are connected to your Google account. Delete the ones you no longer use or find irreverent to enhance security.
By enabling 2-step verification and selecting a suitable method, you enhance the security of your Google account.
Take the Benefit of Guest Mode
Like your mobile phone or private PC, you don’t like people sniffing your private data. The good news is that you can let them use Guest Mode to keep your browsing history and settings safe.
Guest mode is a temporary account, and you don’t need to put in any password to log in. It’s automatically deleted when you sign out. Additionally, in Guest Mode, all the history, cookies, bookmarks, and downloads will be trashed when you exit it and log back into your account.
You can use the Guest Mode by following the steps:
- Log out of your account (the quickest way is to hit Ctrl-Shift-Q twice).
- Click on "Browse as Guest" at the bottom of the screen.
- You can take things a step further and enable Restrict sign-in to the following users. This setting is listed under the "Manage other people" option in the Chrome settings. By doing this, you can only allow those accounts you've given permission to sign in to the Chromebook.
Update Your Chromebook
Installation of regular updates is also critical to improving the overall security of your device. Thanks to your Chromebook's features, it will automatically find the updates and notify you to install them. All you must do is restart your Chromebook to update it.
- Open the "Quick Settings" pane by navigating to the bottom-right corner of your desktop and clicking on the "Settings" icon.
- Find and click on "About Chrome OS" from the left side menu and navigate to "Check for updates."
- If there is an available update for your Chromebook, it will begin downloading immediately. Once the update is completely downloaded, you will see a "Restart" button next to the update notification.
- In the restart process, the update will be installed, and any necessary system changes will be made.
By checking and updating your Chromebook, you can rest assured that you have the latest features, bug fixes, and security patches for your device.
Use Pin Instead of a Password
Typically, Chromebooks use the same password you use for your Google Account when signing in. However, we recommend you use a PIN instead of a password to extend the privacy and security barriers.
- Go to the Settings menu and click on "Security and privacy," followed by "Lock screen and sign-in."
- When prompted, enter your Google account password in the pop-up window.
- Find the "Lock screen from sleep mode" option and select either "PIN" or "Password" as the preferred lock screen method.
- Choose the "Set up PIN" option to proceed with setting up a PIN for your Chromebook.
- When prompted, enter the PIN that you would like to use. Remember to choose a PIN that is unique and not easily guessable by anyone. (It is recommended to avoid using common or personal numbers, such as birthdays or anniversaries, for security purposes)
- Then enter the same PIN to sign into your Chromebook every time you use it.
If you forget your PIN, you can still log in to your Google Account with your previous password by clicking on "Switch to Password" on the log in screen. In case you don’t remember both your PIN and password, you can use the above-mentioned factory reset method to completely restore your device's settings.
Where to Find the Best Budget Chromebook in 2023?
For budget-conscious gamers or students looking to equip their workforce with reliable devices without breaking the bank, ASUS Chromebook is an ideal choice. You can find and purchase these efficient computing devices at the Laptop Outlet.
At Laptop Outlet, we understand that technology should be accessible to everyone. That's why we aim to provide a seamless and user-friendly experience with our diverse selection of affordable ASUS Chromebook models with varying specifications, performance features, and display sizes. Under the hood, you can also take advantage of multiple deals, student discounts, promotions, and amazing offers on these portable Chromebooks.
In addition to Chromebooks, Laptop Outlet is also an ultimate destination for high-performance ASUS laptops and notebooks to cater to the different needs and budgets of gamers, students, professionals, and businesses. Explore our wide range of budget-friendly laptops and Chromebooks and get your hands on your favourite model!
Read More:
| How do You Unfreeze an Unresponsive Chromebook? |
| 5 best Monitors for Chromebook |
| How to connect Asus Chromebook to external monitor |
Related Articles
Last Updated: April 06, 2026
Last Updated: February 23, 2026
Last Updated: June 11, 2026
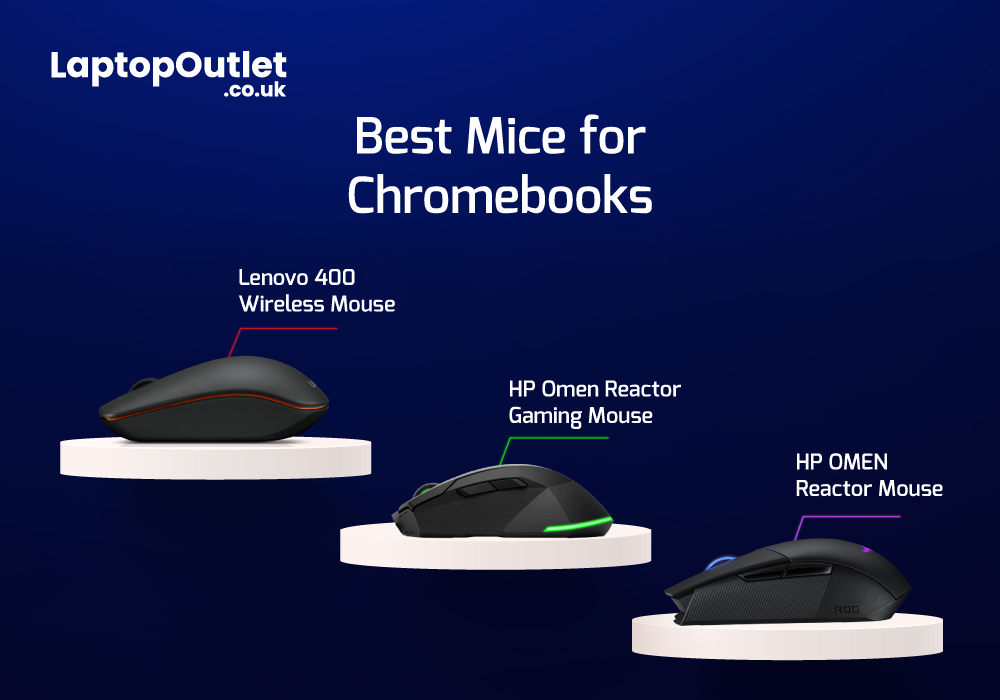
Chromebooks are meant to support best portability with plenty of power packed inside them. Even though there are loads of sizes and shapes that come with Chromebooks nowadays, their portability is still at its peak. With that comes the absence of extremely efficient mouse scrolling. But there are still trackpads attached with Chromebooks that work tremendously for navigation. However, still the use of the best wired and wireless mice with Chromebook can feel heavenly when you are in the middle of work.
Last Updated: March 30, 2026
ASUS Chromebooks have gained popularity due to their unmatched performance, sleek designs, and user-friendly interface. The Chromebook has its own operating system, known as Chrome OS. Unlike Windows, Chrome OS is incredibly light and does not slow down over a long period of time.
Therefore, if you have been using your ASUS notebook for a long time, a factory reset can boost its speed. You may also reset it to remove a fake user account. However if you don’t have the password, it can be really overwhelming to reset it. Fear not, as we will walk you through different methods that will help you restore your Chromebook to its factory settings.
What is a factory reset?
A factory reset or password reset erases all the data from your Chromebook, including all of the files in the download folder. It also removes non-user related information but keeps a little diagnostic and operational data. Resetting your Chromebook is also known as "Powerwash".
A factory reset is an effective troubleshooting
Last Updated: March 30, 2026
Are you a student in need of a reliable and efficient laptop? Look no further than ASUS Chromebooks for students! These laptops offer excellent performance, portability, and affordability. From making assignments, to taking notes, these impressive devices are capable of just about anything.
But how do you decide which laptop is the best for you? Anyone can get confused while picking out their ideal product amongst thousands of laptops. That’s why we have listed the top 3 student ASUS Chromebook in 2023. All while considering the RAM, processing power, battery life, and budget.
ASUS Chromebook CX1500CKA-EJ0014
The ASUS Chromebook CX1500CKA-EJ0014 is the best Chromebook for study with a 15.6-inch Full HD display, providing a vibrant and immersive viewing experience.
Under the hood, the laptop is powered by Intel Pentium Silver processor and 4 GB of LPDDR4 RAM. This enables the Chromebook to deliver smooth multitasking and efficient performance.
It also features a spacious
Last Updated: April 06, 2026
Chromebooks are the most budget-friendly choice for students, professionals, and individuals who want a reliable and ultraportable computing solution. It runs on a stripped-down operating system from Google known as "ChromeOS" and was basically designed for web surfing, multimedia, and online Google applications. However, like other gadgets, sometimes Chromebooks slow down and freeze because they run graphics-intensive and high-end software.
Imagine the frustration of trying to complete an important project or get an essential piece of data only to find your Chromebook completely unresponsive! This might be due to a hardware malfunction or software glitch; a frozen Chromebook can cause inconvenience and disrupt your productivity. But worry not! There are multiple methods available to address the issue yourself.
In this comprehensive guide, you will explore the reasons and solutions for a frozen Chromebook. By the end of this article, you will not only learn how to fix the problem