



Dead Pixel vs Stuck Pixel: How to Test an LCD Monitor
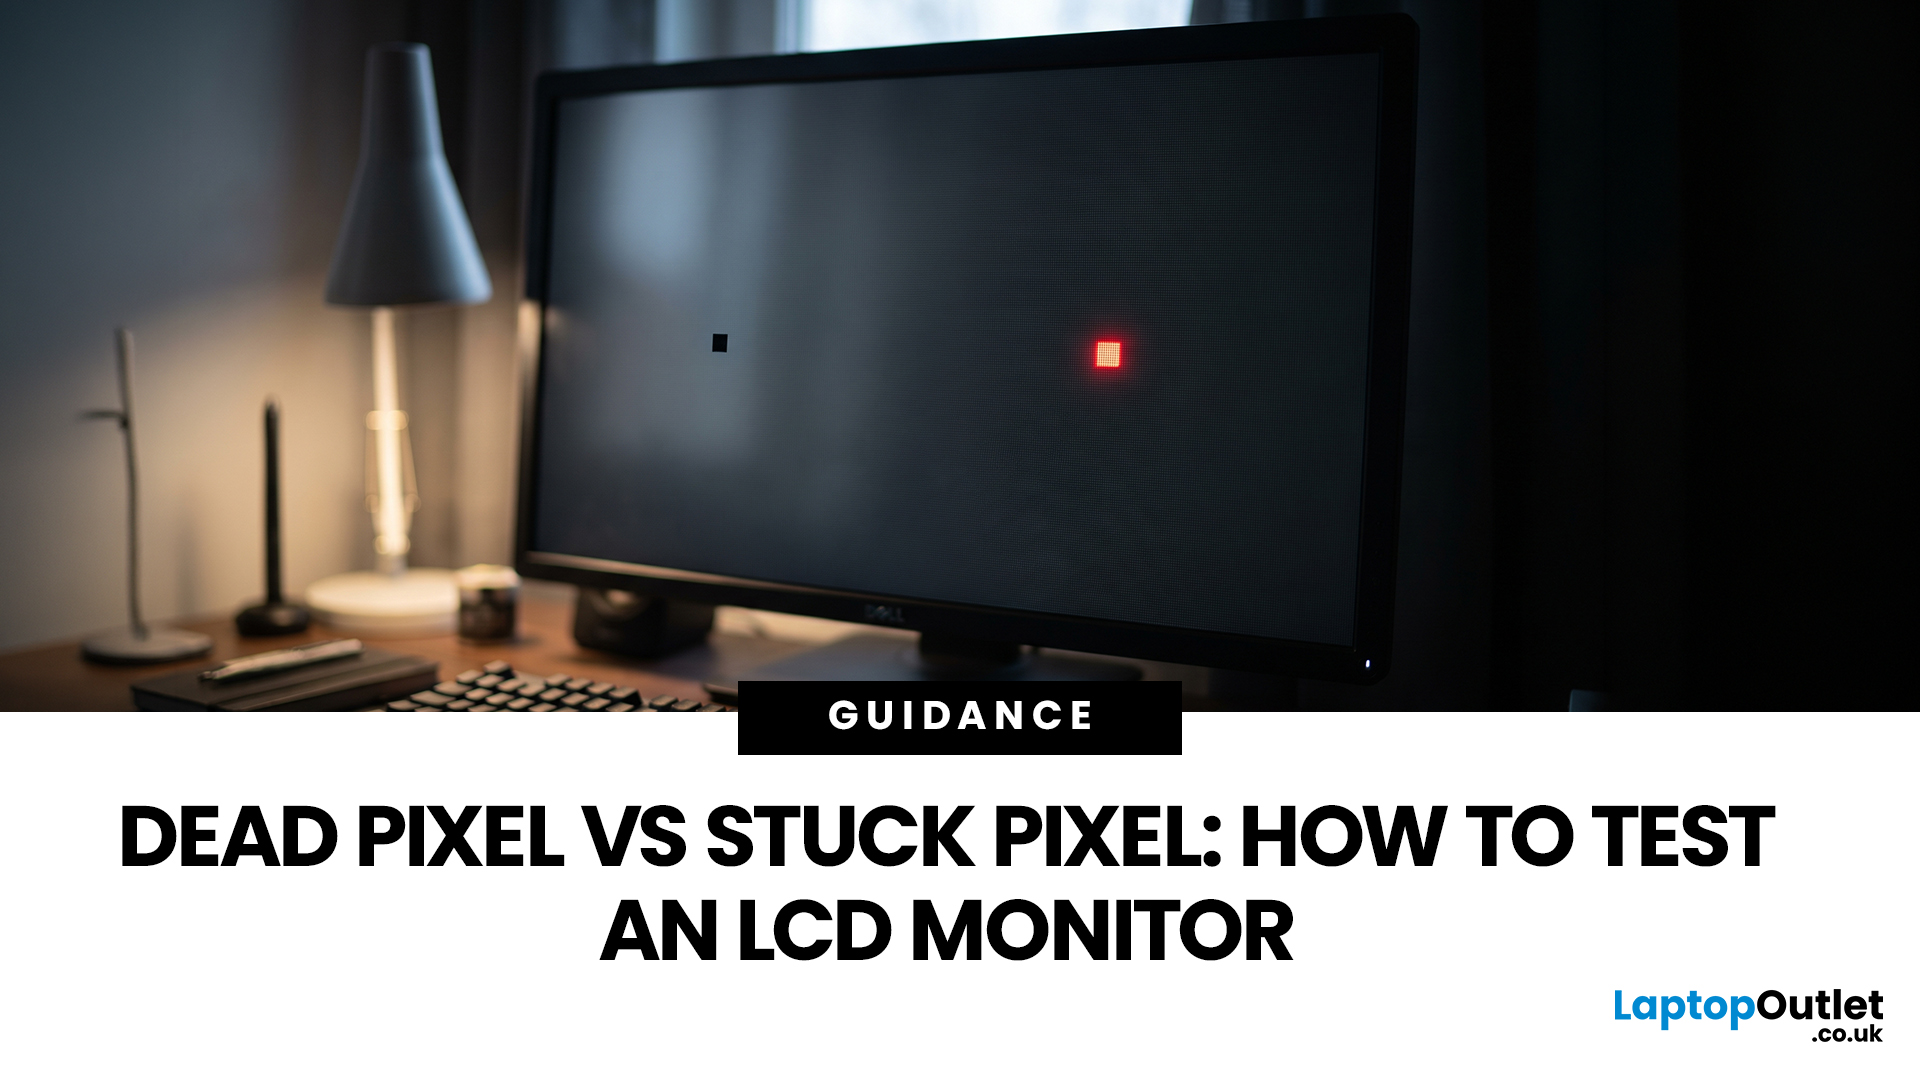
A tiny black, white or coloured dot can be hard to ignore once you notice it on an LCD monitor. The mark may be a pixel fault, a subpixel problem, dust on the panel or an image issue from the connected device.
Understanding dead vs stuck pixel behaviour helps you identify what you are seeing before you try to fix it. This guide explains how the defects differ, what causes them, how to run a safe LCD monitor pixel test, and when repair, return or replacement makes more sense.
How Pixels and Subpixels Work on an LCD Monitor
An LCD screen creates an image from a grid of pixels. A standard colour pixel is normally made from red, green and blue subpixels. By changing how much light each subpixel passes, the display produces different colours.
This structure explains why faults can look different. If all colour components at one position fail to produce the required output, the point may appear black. If only one subpixel remains on or off, the result may look red, green, blue or slightly different from its surroundings.
The same principle applies across premium displays and affordable PC monitors. Resolution changes the number of pixels on the panel, but the basic testing method remains the same.
What’s the Difference Between a Dead Pixel and a Stuck Pixel?
What Does a Dead Pixel Look Like?
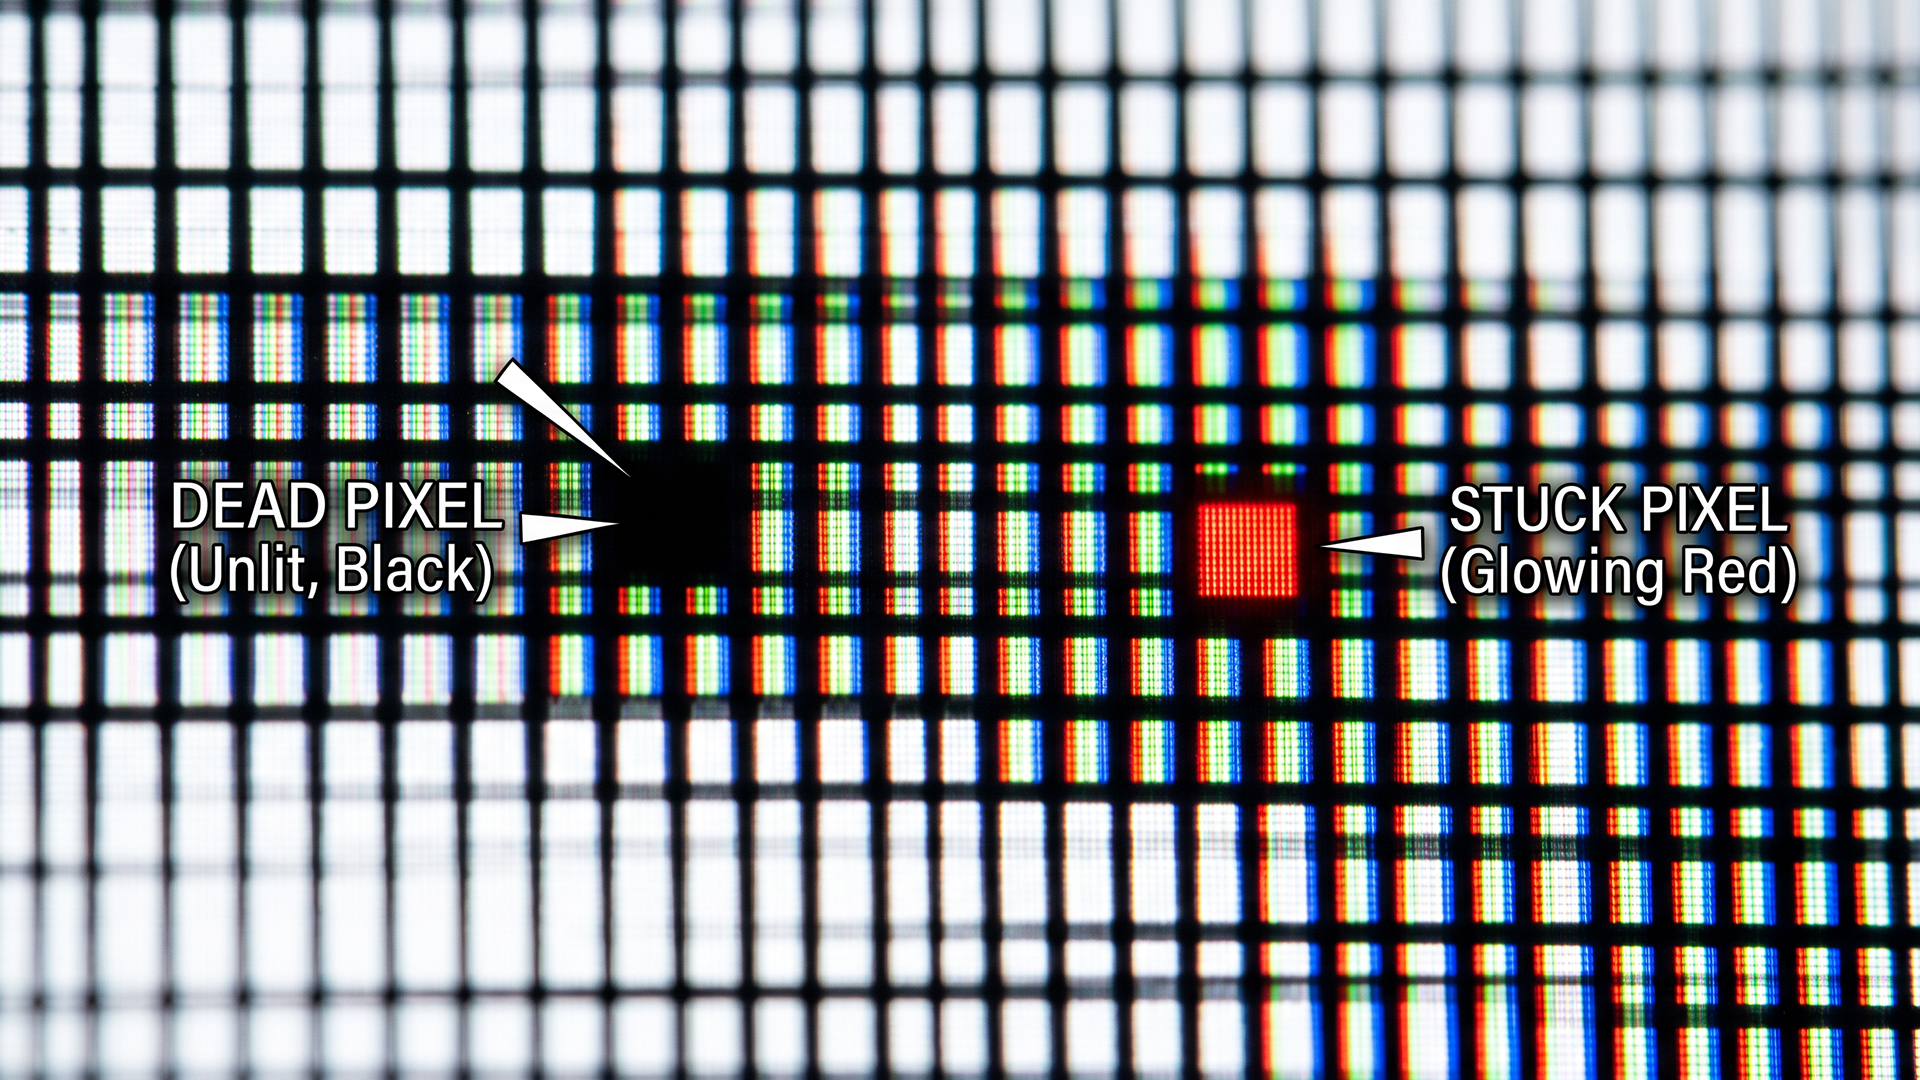
A dead or dark defect is easiest to notice against a white or bright background. It may appear as a tiny black point that stays in the same physical place while windows, images and colours move behind it.
Sometimes all three colour components are affected, producing a very obvious dark point. In other cases, only one dark subpixel is faulty, which can make the dot look slightly coloured rather than perfectly black.
What Does a Stuck Pixel Look Like?
A stuck pixel normally looks like a persistent red, green, blue or bright point. It is often easiest to see on a black screen because the affected subpixel remains visible while the surrounding pixels should be dark.
If one red, green or blue component stays on, the fault is more accurately described as a bright subpixel defect. A full bright pixel can appear white when all three colour components remain lit.
|
Compare |
Dead or Dark Pixel |
Stuck or Bright Pixel |
|
Typical appearance |
Black or unusually dark point |
White, red, green or blue point |
|
Typical state |
Pixel or subpixel remains off |
Pixel or subpixel remains on |
|
Best test background |
White or bright colour |
Black or contrasting colour |
|
Changes with normal content? |
No |
No |
|
Software likely to fix it? |
No for a confirmed dead pixel |
Not guaranteed |
|
Next step |
Confirm and check return or warranty options |
Confirm, troubleshoot safely, then check warranty options |
What Causes Dead and Stuck Pixels on LCD Screens?
Common Causes of Pixel Defects
Possible causes include:
- Manufacturing defects that leave a pixel or subpixel permanently bright or dark.
- Failure in the electronics controlling an individual pixel or subpixel.
- Physical impact or pressure that damages the LCD panel or its internal layers.
Foreign material or contamination within the display can also resemble a pixel defect, although this does not necessarily mean the pixel itself has electrically failed.
Can One Bad Pixel Cause More Pixels to Fail?
A dead pixel does not spread to neighbouring pixels like an infection. One failed point does not directly switch off the next one.
However, several defects can appear if there is a wider panel problem. A growing dark patch, a cluster of failed pixels or a continuous horizontal or vertical line should be treated as a broader display fault rather than a single dead pixel that is “spreading”.
How to Test an LCD Monitor for Dead or Stuck Pixels
1. Prepare the Monitor Before Testing
Before starting your dead pixel test, set up the screen so dust, scaling and reflections are less likely to mislead you.
- Gently clean the display with a suitable soft, lint-free cloth.
- Use the monitor's native resolution where possible.
- Open each test colour in full screen.
- Reduce strong reflections or glare.
- Start from a normal viewing position, then move closer to inspect anything suspicious.
- Do not press on the LCD while cleaning or checking the mark.
2. Run a Full-Screen Colour Test
Use a browser-based LCD pixel test pattern, saved solid-colour image or another method that fills the whole display. Then work through these colours:
- White screen: look for black or unusually dark points.
- Black screen: look for white, red, green or blue points that remain lit.
- Red screen: check for positions that do not match the surrounding red.
- Green screen: repeat the inspection.
- Blue screen: repeat again to help identify RGB subpixel behaviour.
- Repeat the sequence: confirm that the mark stays in the same physical position.
- Record the location: note how many defects you can see and where they appear if you may need a return or warranty claim.
Scan from top to bottom rather than checking only the centre. This makes an LCD screen pixel test more consistent on large or high-resolution displays.
3. Rule Out Problems That Can Look Like Dead Pixels
Not every small dark or coloured point is a defective LCD pixel. Check for:
- Dust or a surface mark: clean the display carefully and test again.
- Software or rendered content: open different applications or test images.
- A cursor or overlay: move the pointer and close on-screen tools.
- A source, cable or graphics problem: try another input or connected device if available.
- A larger patch or line: this suggests a different panel, signal or uniformity problem.
A screenshot can also help. A physical pixel defect belongs to the display panel, so it will not be recorded as a fixed defective pixel in the screenshot file. If the same mark appears in the screenshot on another known-good screen, the problem comes from the rendered image instead.
Can You Fix a Dead or Stuck Pixel Safely?
Optional Troubleshooting for a Stuck Pixel
Start with low-risk troubleshooting:
- Restart the computer or other source device.
- Turn the monitor off normally, then power it back on.
- Run the solid-colour test again to confirm the point remains fixed.
- Check the monitor manufacturer's troubleshooting and warranty guidance before trying third-party pixel-fixing methods.
- If you choose to try a pixel-cycling tool, use one that rapidly changes colours over the affected area and follow its instructions carefully.
- Retest with white, black, red, green and blue screens.
Colour cycling repeatedly changes the requested pixel state, so it is sometimes used in an attempt to restore a stuck subpixel. It is not a guaranteed repair and should not be treated as an alternative to manufacturer-approved service or warranty support.
Because some pixel-cycling tools use rapidly flashing colours, people who are sensitive to flashing or flickering images should avoid using them.
What Should You Do with a Dead Pixel?
Once a dark pixel has been confirmed across several test colours and after a restart, repeated software fixes are unlikely to help. The practical options are to accept the defect, use the return process, make a warranty claim if the policy covers it, or replace the panel.
Panel replacement can be uneconomical on some displays, so compare repair costs with suitable affordable LCD monitors before paying for out-of-warranty work.
Pixel Fixes You Should Avoid
Avoid methods that can cause more serious screen damage:
- pressing the pixel with a finger or object;
- rubbing or “massaging” the panel;
- tapping the screen;
- applying heat;
- opening the monitor without suitable technical expertise.
Do not press, rub or tap an LCD panel to repair a pixel. Pressure can damage the screen surface or internal LCD structure and may also affect warranty eligibility.

When Should You Return, Repair or Replace the Monitor?
One faulty pixel does not necessarily qualify a monitor for replacement under a manufacturer's pixel-defect policy. Manufacturers may set different thresholds for bright pixels, dark pixels and subpixel defects, so check the policy for the exact monitor rather than assuming every display follows the same rules.
A manufacturer's pixel-defect policy or warranty is separate from any applicable retailer return policy or statutory consumer rights. If the monitor was purchased recently or appears to be faulty, check the terms of purchase and the consumer rights that apply to your situation as well as the manufacturer's warranty.
Consider a return, repair or replacement when:
- the monitor is still within its return period;
- the defect is easy to see during normal use;
- several faulty pixels or a cluster are present;
- a dark area, bright area or line is getting larger;
- the defect interferes with photo editing, design or other precision work;
- the display meets the relevant pixel-defect policy for service or replacement.
If you replace the screen and want a higher-resolution workspace, you can also browse 4K monitor options and test the new panel while it is still within its return period.

Know When to Fix, Return or Replace Your Monitor
A persistent dark point usually indicates a dead or dark pixel, while a fixed bright or coloured point is more consistent with a stuck or bright subpixel. Understanding dead vs stuck pixel symptoms makes it easier to test the display correctly without damaging it.
Use solid colours, confirm the defect across several backgrounds and avoid pressure-based fixes. If safe troubleshooting does not resolve the problem, check the applicable return or warranty terms. When replacement makes more sense, choose a suitable display for your needs and test it early.

A Few More Things to Know...
Can a stuck pixel be fixed permanently?
A stuck pixel can sometimes return to normal after restarting the display or colour cycling, but no method guarantees a permanent fix. If it repeatedly returns, the panel may need service or replacement.
Can dead pixels spread across an LCD monitor?
Dead pixels do not spread directly from one pixel to the next. If new defects, clusters, lines or dark patches appear, they may indicate a separate or wider panel fault that needs assessment.
How can I tell whether a pixel is dead or stuck?
Test the screen with white, black, red, green and blue backgrounds. A dead or dark pixel stays unlit, while a stuck or bright pixel usually remains lit or fixed on a colour.
What causes dead pixels on an LCD screen?
Dead pixels can result from manufacturing defects, failed pixel-control electronics or physical panel damage. A dark mark may also come from contamination, so testing and cleaning should come before assuming a pixel has failed.
Can you fix a dead pixel on an LCD monitor?
A confirmed dead pixel cannot normally be repaired with software or colour cycling. Retest first to rule out dirt or image problems, then consider warranty service, professional panel replacement or replacing the monitor.
| Read More: |
| LCD vs LED Monitor: Which Display Should You Choose? |
| How to Clean Your Monitor and TV Screen |
| Refurbished vs. New Monitors: Which One is Right for You? |
Related Articles


Last Updated: August 11, 2026
The ASUS VG27AQM5F is a 27 inch QHD gaming monitor built primarily for competitive PC players who want a higher refresh rate without dropping to Full HD resolution. As an ASUS QHD monitor, it combines a 2560 x 1440 Fast IPS panel with a maximum 320Hz refresh rate, adaptive-sync support and ASUS ELMB Sync. This ASUS new gaming display launch is aimed at players seeking smoother competitive gameplay, although its tilt-only stand, basic HDR capability and service-only USB-C port remain important limitations.
ASUS VG27AQM5F Quick Answer
| Question | Answer |
| Best suited to | Competitive PC gamers who regularly play above 200fps and still want QHD detail |
| Main strengths | 320Hz refresh rate, Fast IPS panel, 95% DCI-P3 coverage and broad adaptive-sync support |
| Main limitations | Tilt-only stand, modest 300cd/m² brightness, basic HDR10 support and no functional USB-C display input |
| Testing status | Specification-based assessment, not a hands-on review |
| UK availability | Available through UK retail channels, but not |
Last Updated: August 13, 2026
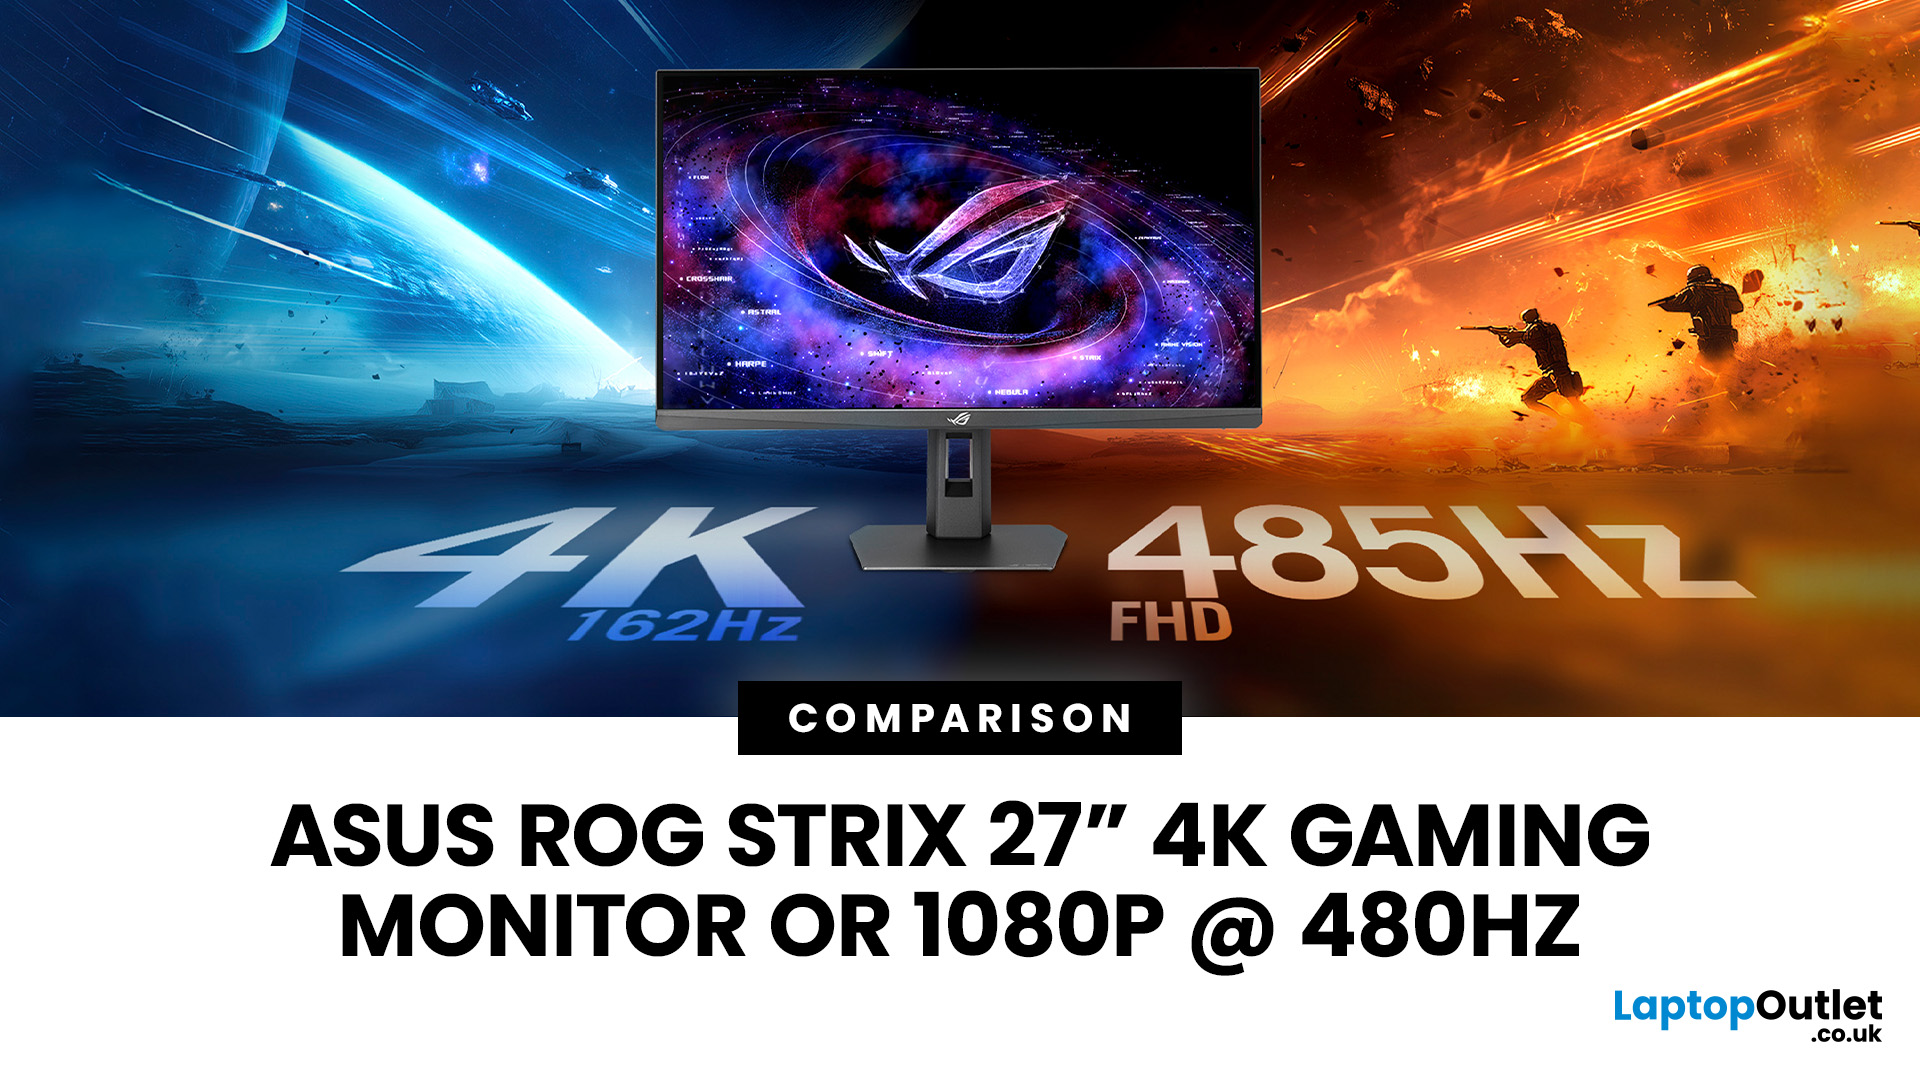
The ASUS ROG Strix XG27UCGR Gen2 is a 27 inch 4K gaming monitor that runs at up to 162Hz in 4K and switches to Full HD at 485Hz for esports. It succeeds the original XG27UCG’s 160Hz and 320Hz dual mode, adding a much faster competitive setting, Smart Pixel processing and a lower quoted minimum response time.
Most gaming monitors make you choose between resolution and refresh rate. A sharp 4K screen suits visually detailed games, while an ultra-fast Full HD display is usually better suited to competitive titles where responsiveness matters more than image detail.
The ASUS ROG Strix XG27UCGR Gen2 attempts to cover both uses. Its native mode delivers 3840 x 2160 resolution at up to 162Hz. Activating Frame Rate Boost changes the monitor to 1920 x 1080 and raises the refresh rate to 485Hz. ASUS confirms both modes for the XG27UCGR, alongside a Fast IPS panel, Smart Pixel processing and a manufacturer-rated minimum response time of 0.3ms.
ASUS ROG Strix XG27UCGR Specifications
The XG27UCGR Gen2
Last Updated: September 03, 2026
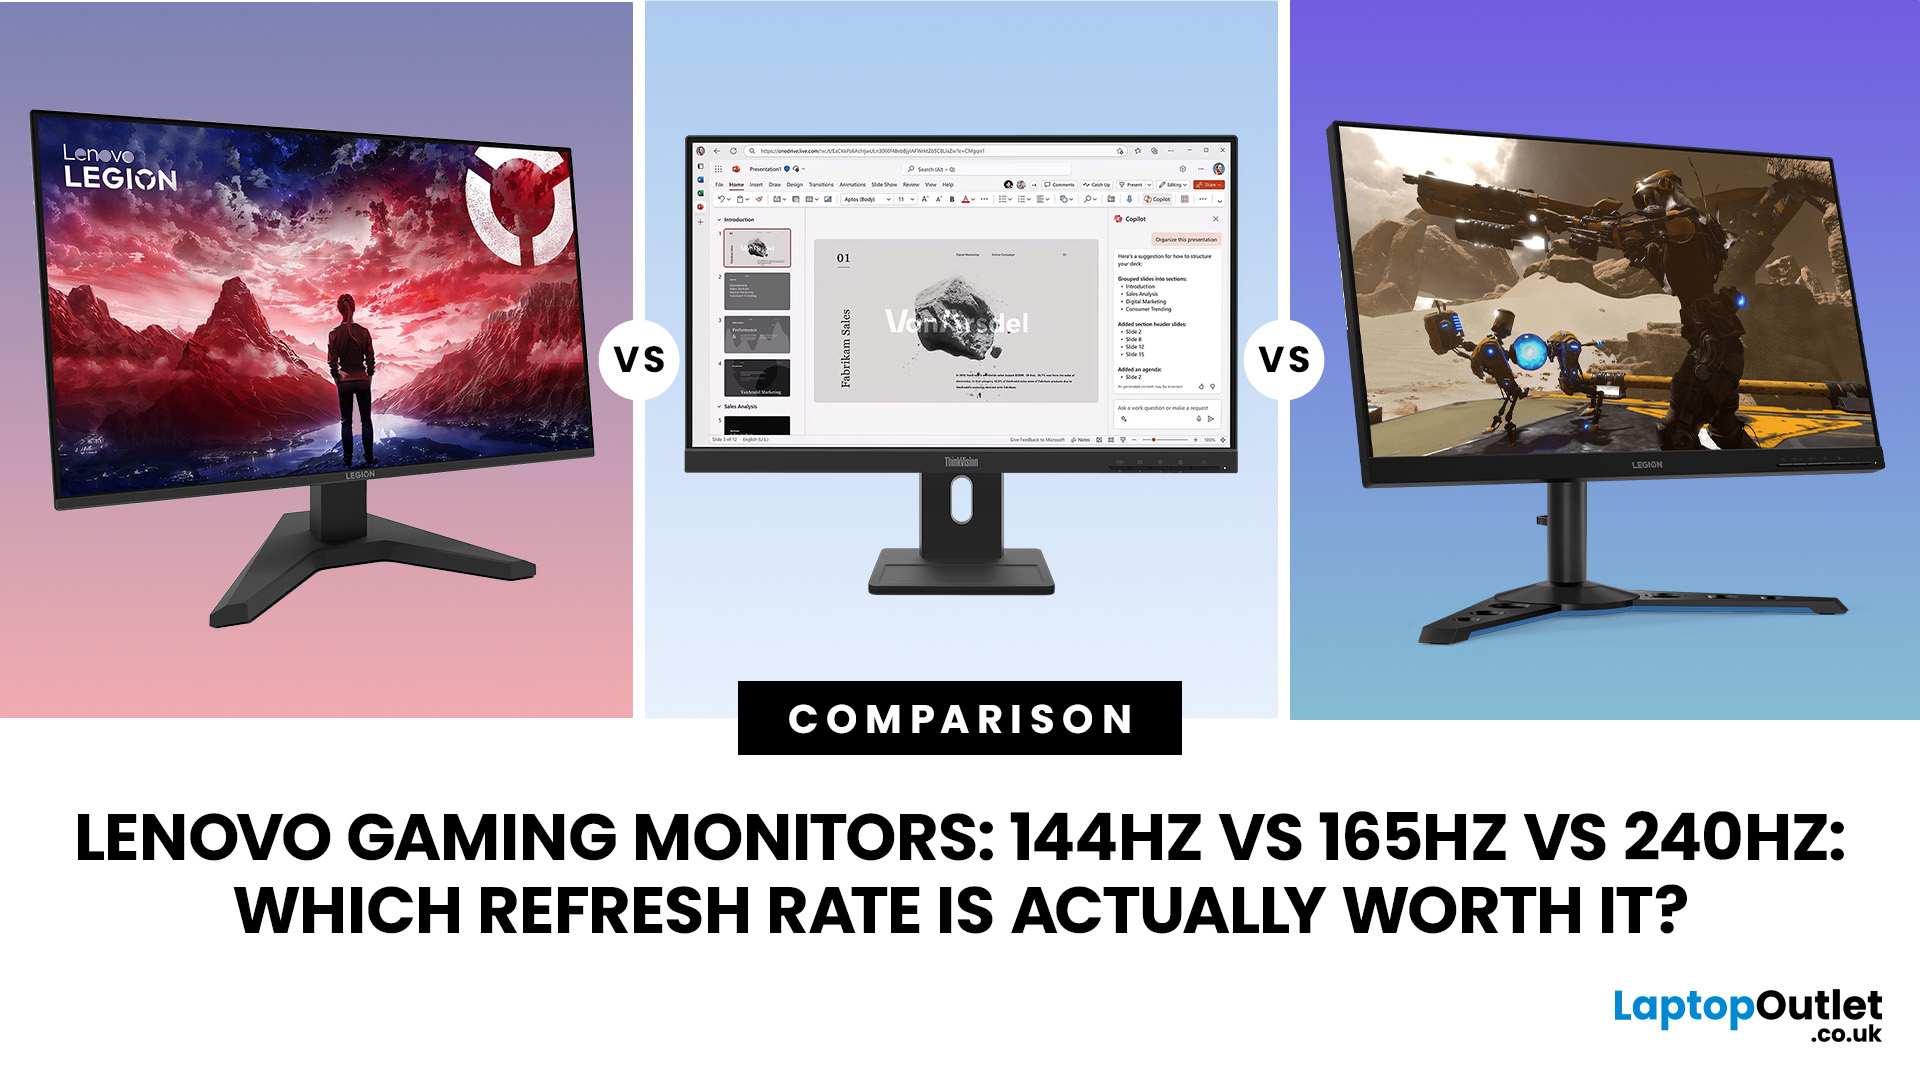
Refresh rate is one of the first specifications you will notice when shopping for a gaming monitor. A higher number promises smoother movement and faster feedback, but that does not automatically mean a 240Hz display is the right choice for your setup.
The best Lenovo monitor refresh rate depends on the games you play, the frame rates your computer can produce and whether you prioritise competitive responsiveness or sharper graphics. A casual player running cinematic games at 70 frames per second will gain little from 240Hz, while a competitive FPS player maintaining more than 200fps may notice a meaningful improvement.
This guide compares 144Hz, 165Hz, and 240Hz Lenovo gaming monitors so you can pay for performance you will actually use.
Quick Answer: Is 144Hz, 165Hz or 240Hz Best?
For most PC gamers, 144Hz or 165Hz offers the best balance of smoothness, hardware requirements, and value. Choose 240Hz when you mainly play competitive shooters and your PC can regularly produce close to 240fps
Last Updated: August 24, 2026
Published: August 06, 2026
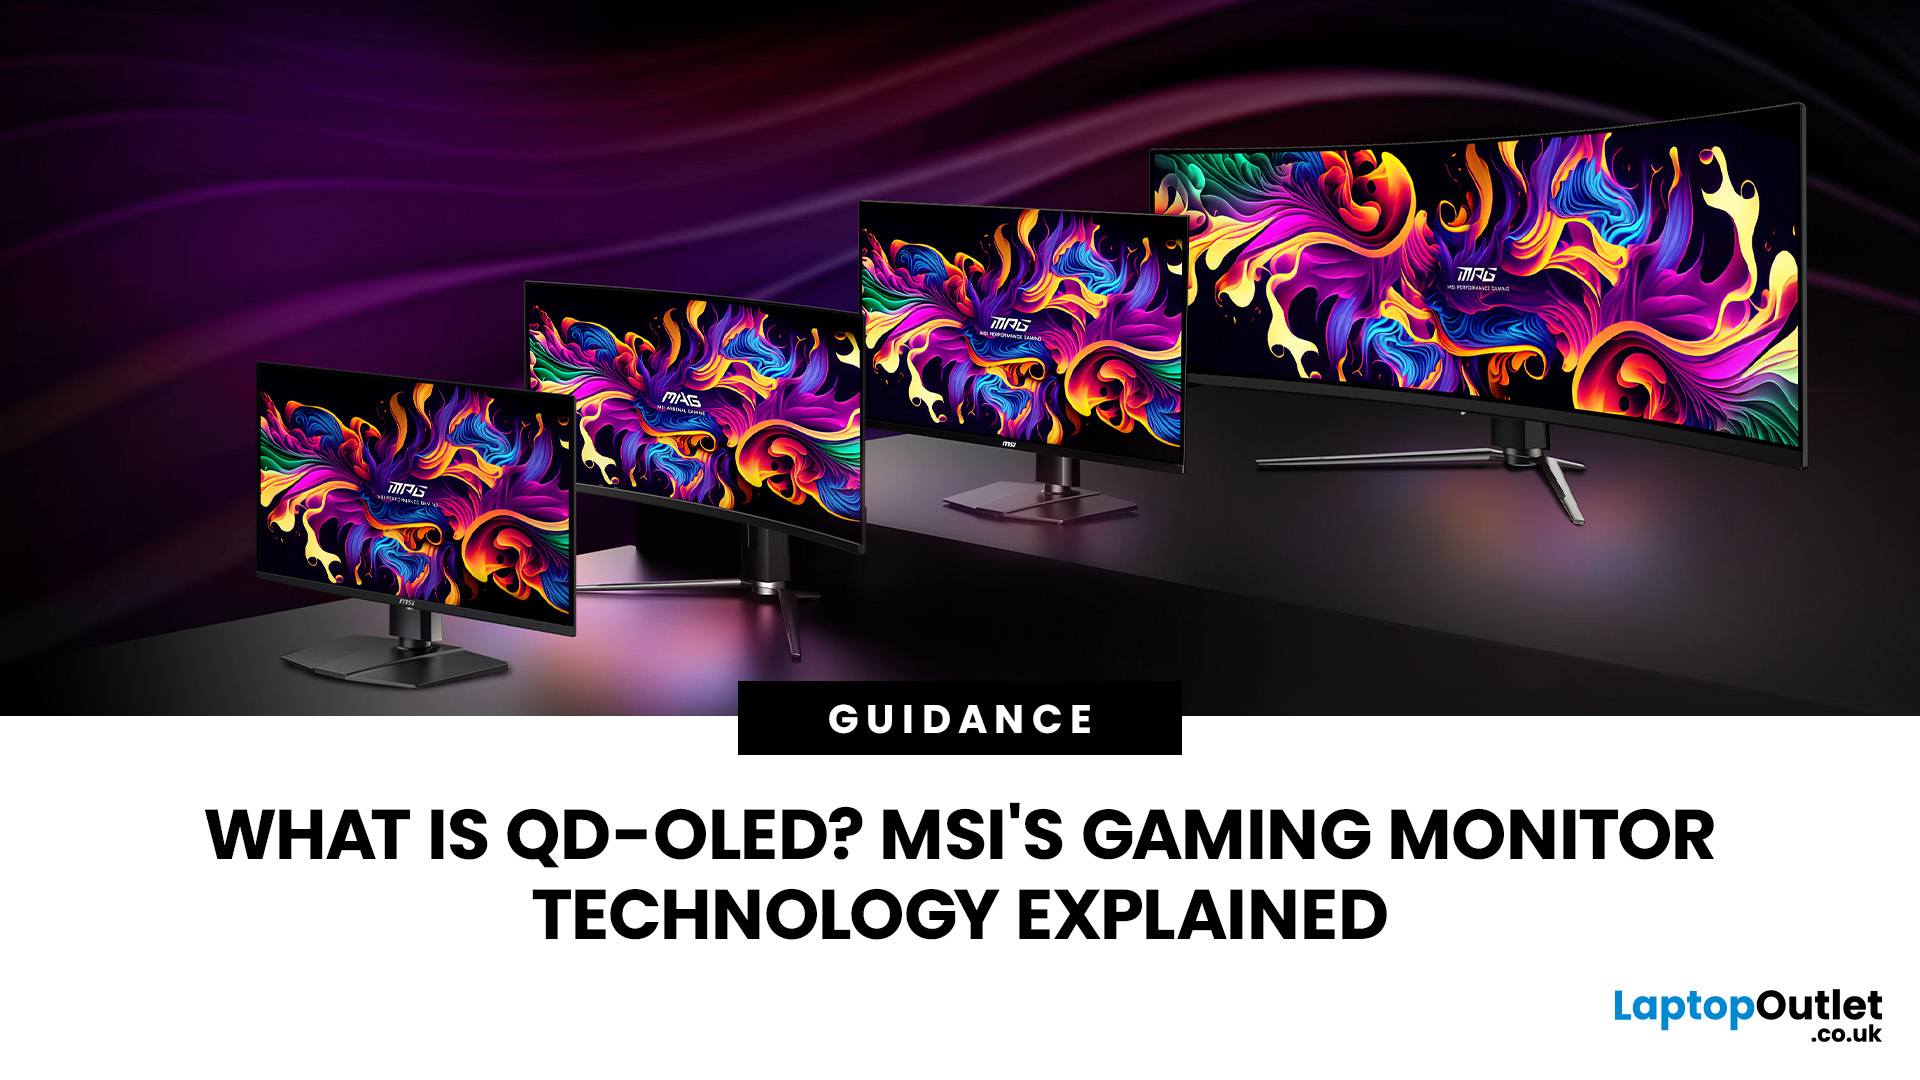
An MSI QD OLED monitor combines the individual pixel control of OLED with a quantum-dot colour conversion layer. The result is a display designed to produce deep blacks, vivid colours, fast response times, and convincing HDR performance. That sounds impressive, but specifications such as 0.03ms response times, True Black certification, and OLED Care can make choosing a monitor confusing. This guide explains how the technology works, what MSI adds and whether a QD-OLED display is right for your gaming setup.
How Does QD OLED Technology Work?
A conventional LCD monitor needs a backlight behind its pixels. Even when displaying a dark scene, some light can pass through the panel, which may make black areas appear grey. QD-OLED works differently because it is self-emissive. Its pixels generate their own light and can switch off individually when the image requires black. The process involves three main stages:
- A blue OLED layer produces the original light.
- Quantum dots convert part of that blue

Last Updated: August 11, 2026
Published: August 13, 2026
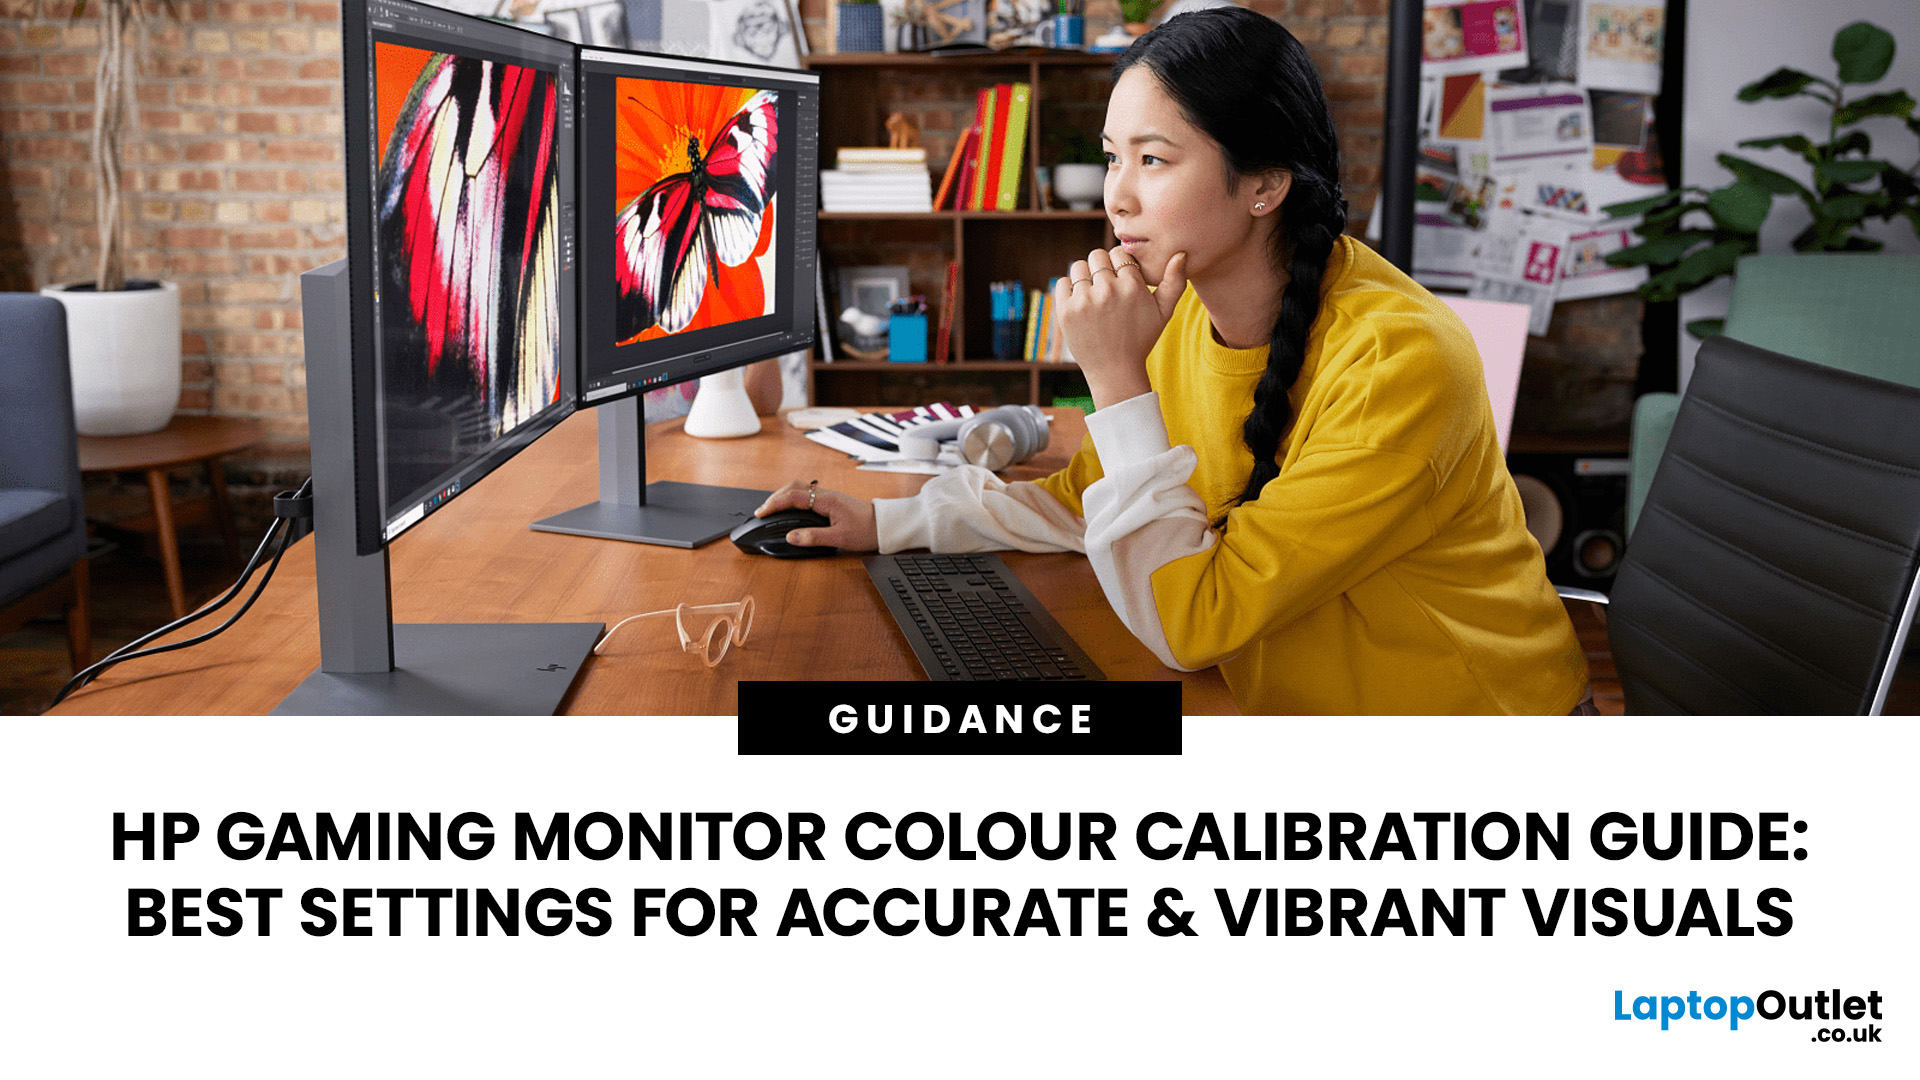
Your HP gaming monitor might have a fast refresh rate, sharp resolution, and solid HDR support, but poor colour settings can still leave games looking washed out, overly dark, or weirdly saturated. That is where monitor calibration makes a noticeable difference.
The key thing to know is that there is no single magic set of values that works for every HP or OMEN monitor. The right monitor settings depend on your exact panel, room lighting and whether you are playing in SDR or HDR.
This HP display calibration guide will show you how to get a more accurate starting point, fine-tune your screen in Windows 11 and fix the most common colour problems without turning everything up to 100.
What Does Monitor Calibration Actually Change?
Monitor calibration adjusts how your screen reproduces brightness and colour so that the image looks balanced rather than artificially enhanced. The main settings you are dealing with are:
- Brightness: Controls how bright the screen appears.
- Contrast: Affects the difference
Published: August 17, 2026
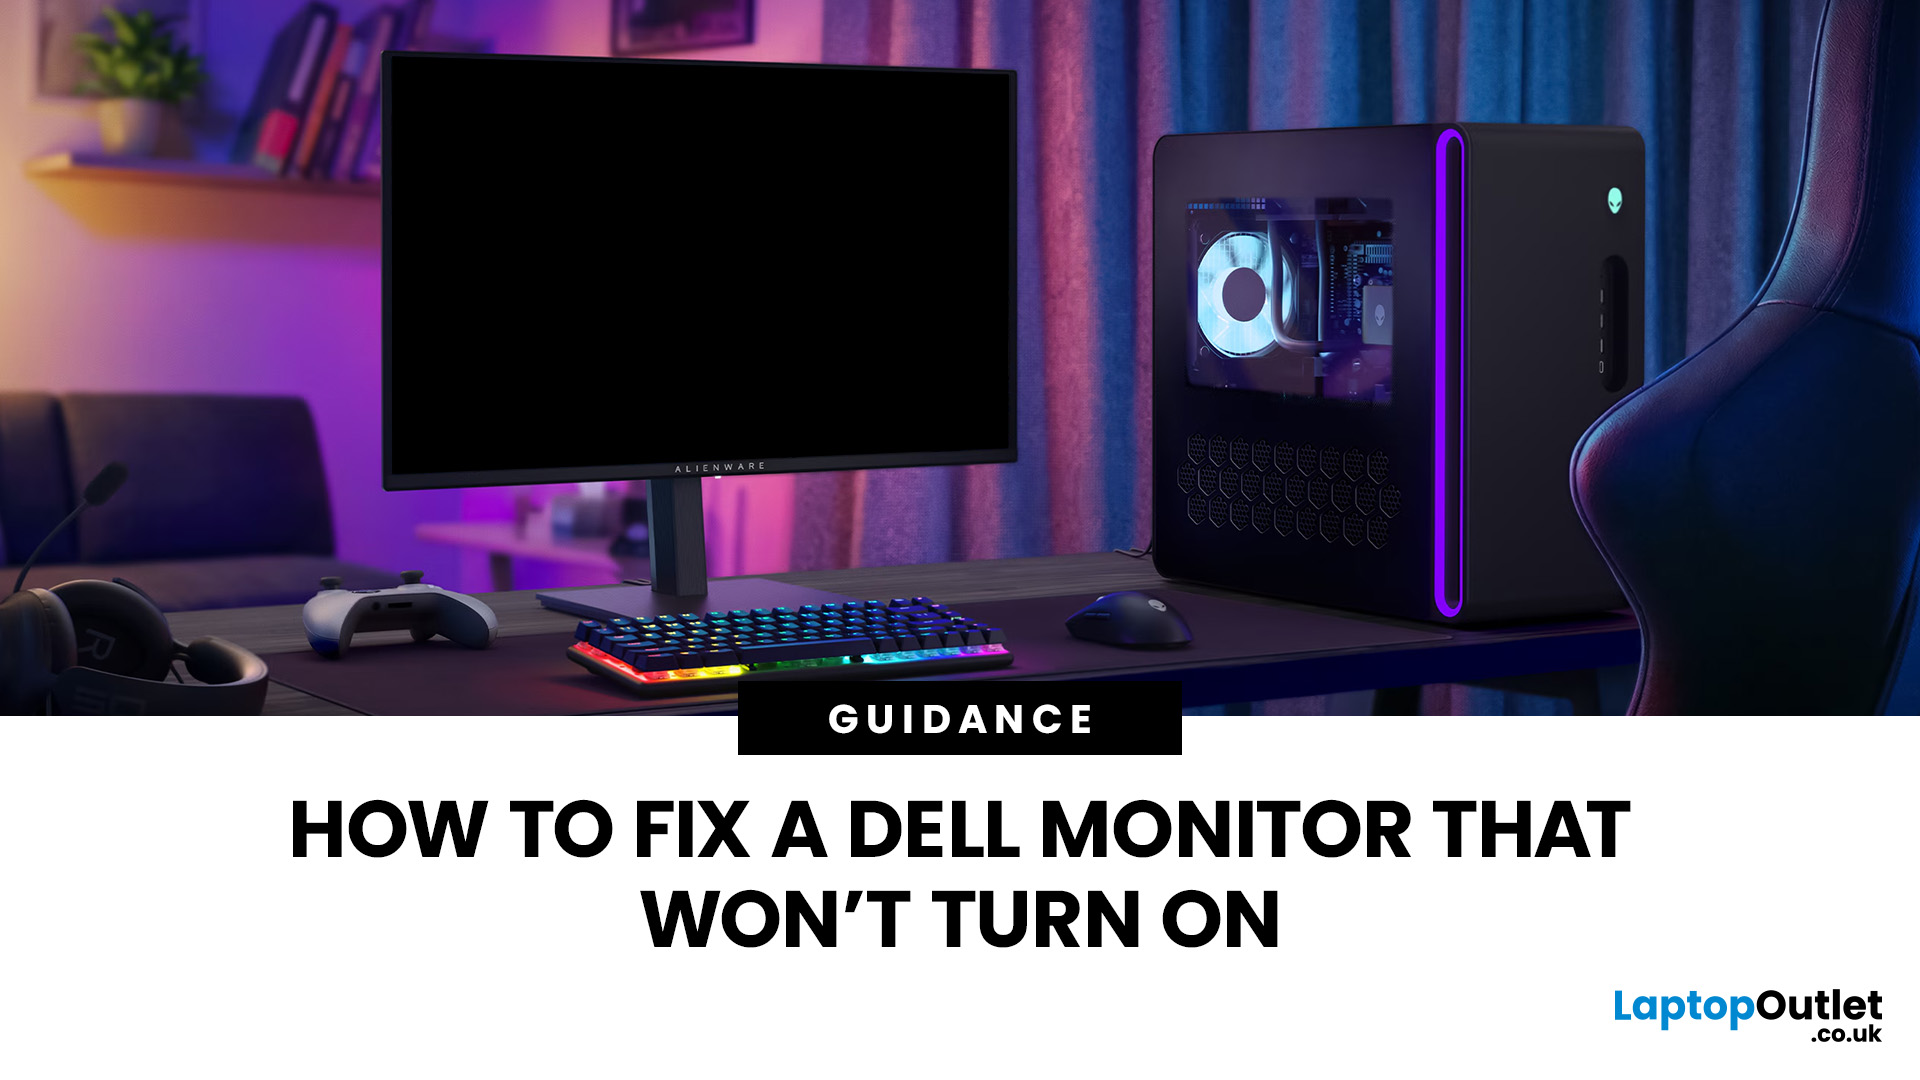
If your Dell monitor won’t turn on, don’t assume the screen is dead straight away. The issue could be as simple as a loose power cable, the wrong input source, or a dodgy HDMI connection.
The key is to identify what your monitor is actually doing. Is there no power light at all? Does the screen stay black even though the power LED is on? Or are you seeing a “No Signal” message?
Let’s work through the checks in the right order so you can find the problem without randomly swapping settings or buying hardware you might not need.
First, Check What Your Dell Monitor is Doing
A Dell monitor not turning on can mean a few different things.
| What You See | What to Check First |
| No power light | Socket, power cable, adapter and monitor power |
| Power light but black screen | Video cable, PC output and monitor diagnostics |
| “No Signal” message | HDMI/DisplayPort connection and input source |
| Screen works briefly then goes blank | PC, graphics connection or display hardware |
Making this distinction matters because a monitor

Last Updated: August 17, 2026
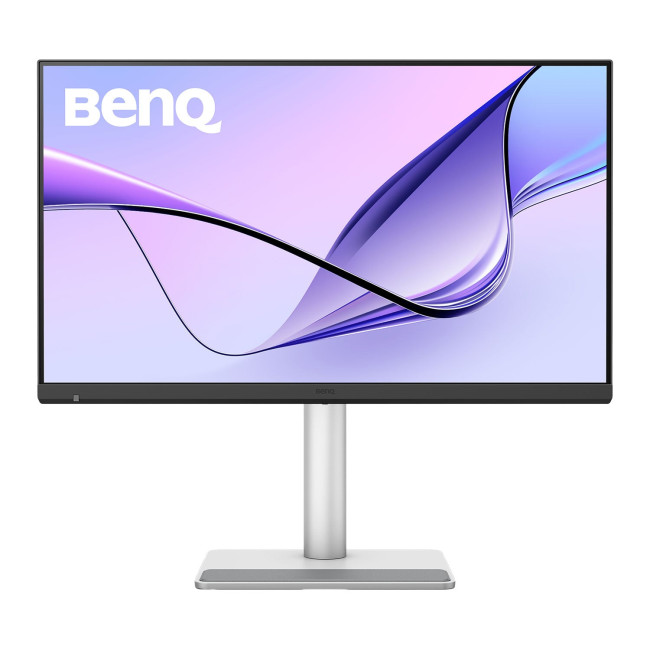
BenQ monitors for students can create a more comfortable and capable workspace for coursework, research, creative projects and downtime. The right display should suit your course, desk space, laptop and daily routine rather than simply offer the highest resolution. For many students, the strongest setup combines clear text, useful screen space, simple connectivity and enough versatility for life beyond studying.
A premium student monitor setup is not defined by one specification. A compact high-resolution screen may work better in university accommodation, while a larger display can make research, timelines and spreadsheets easier to manage. Room lighting, USB-C charging, ergonomics and gaming needs also influence the decision. This guide compares BenQ's Mac-focused MA Series with a faster mixed-use alternative and explains where each approach makes practical sense.
Compare the Best BenQ Monitors for Students in 2026
| Model | Display | Colour and HDR | Laptop Connection | Best Student Use |
|
|
Last Updated: September 03, 2026
Creative work depends on display quality, from colour accuracy to detail clarity.
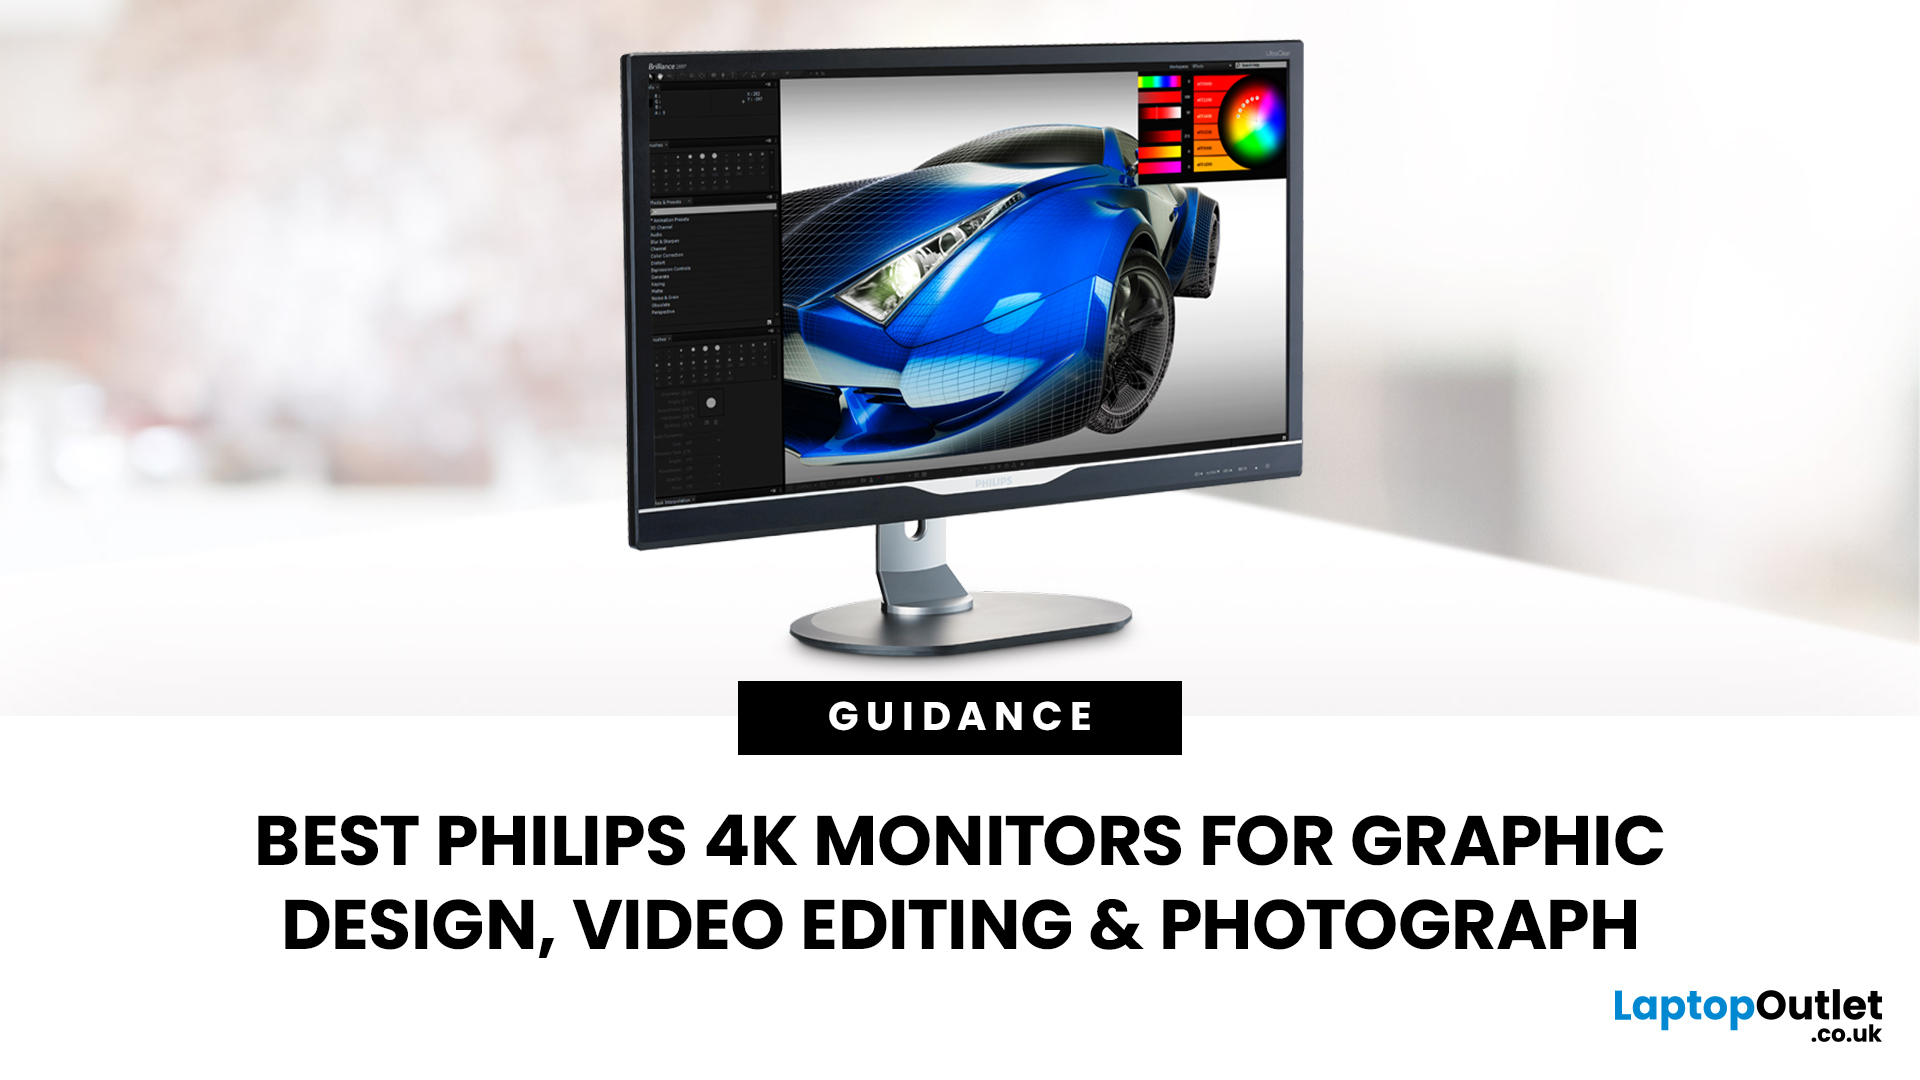
The best Philips 4K monitors for creative work include the 27E1N1800AE for affordable 4K clarity, the 27E1N1900AE for convenient USB-C laptop connectivity and the curved 328E1CA for a larger editing workspace. A 27-inch IPS model suits most designers and photographers, while a 31.5-inch VA display offers stronger contrast and more room for video timelines. Choose according to colour requirements, connectivity, available desk space and your everyday creative workflow needs.
These 4K monitors deliver four times Full HD resolution for sharper visuals and more workspace, but panel type, colour performance and connectivity are just as important.
This guide highlights the best Philips 4K options for design, video editing and photography. It also highlights key considerations so you can compare different computer monitors for designers more effectively.
Best Philips 4K Monitors at a Glance
| Philips Monitor | Best For |

