



HP Gaming Monitor Colour Calibration Guide: Best Settings for Accurate & Vibrant Visuals
Your HP gaming monitor might have a fast refresh rate, sharp resolution, and solid HDR support, but poor colour settings can still leave games looking washed out, overly dark, or weirdly saturated. That is where monitor calibration makes a noticeable difference.
The key thing to know is that there is no single magic set of values that works for every HP or OMEN monitor. The right monitor settings depend on your exact panel, room lighting and whether you are playing in SDR or HDR.
This HP display calibration guide will show you how to get a more accurate starting point, fine-tune your screen in Windows 11 and fix the most common colour problems without turning everything up to 100.
What Does Monitor Calibration Actually Change?
Monitor calibration adjusts how your screen reproduces brightness and colour so that the image looks balanced rather than artificially enhanced. The main settings you are dealing with are:
- Brightness: Controls how bright the screen appears.
- Contrast: Affects the difference between light and dark areas.
- Gamma: Changes how mid-tones and shadow details are displayed.
- Colour temperature: Controls whether whites appear warmer, cooler or neutral.
- Colour balance: Helps stop red, green or blue from dominating the image.
- Colour profile: Tells Windows how your particular display reproduces colour.
- HDR calibration: Adjusts black detail, peak brightness and colour behaviour when HDR is active.
Before You Calibrate Your HP Gaming Monitor
Before changing individual colour values, make sure the basic setup is right. Otherwise, you can spend ages tweaking the screen while another setting is causing the problem.
Check Your Exact HP Monitor Model
HP and OMEN gaming monitors vary considerably. Depending on the model, you might have different panel technologies, HDR capabilities, refresh rates, picture presets, and software controls. Start by checking your model number and specifications. Look for:
- Native resolution
- Maximum refresh rate
- HDR support
- Available picture or colour modes
- Colour gamut information
- HP Display Center compatibility
- OMEN Gaming Hub support
Do not assume a calibration posted online for another OMEN monitor will work perfectly on yours. Even two units of the same model can show minor differences.
Use the Native Resolution
Go to Settings > System > Display in Windows and make sure your monitor is running at its native resolution.
Using a lower or non-native resolution can reduce image sharpness, so colour adjustments will not fix the overall picture. If you are still working out which resolution and refresh rate suit your setup, check our monitor buying guide for a straightforward breakdown of Full HD, QHD, 4K and different refresh rates.
Set the Correct Refresh Rate
Colour accuracy and refresh rate are different things, but there is no point perfecting the image while accidentally running a gaming panel below its intended speed. In Windows 11, check the advanced display settings and select the refresh rate you normally use for gaming.
If smooth motion is your priority, you can also compare high refresh rate gaming monitors 144Hz and above to understand how refresh rate fits into the wider gaming experience.
Turn Off Colour-Changing Features Temporarily
Before you calibrate screen colours, temporarily disable features that change the colour temperature. That includes:
- Windows Night Light
- Third-party blue-light filters
- Aggressive dynamic contrast
- Unusual colour enhancement modes
- Game-specific colour filters
You can turn features back on later if you genuinely prefer them, but they should not interfere with the calibration process.
Calibrate in Your Normal Lighting
Your room matters more than you might think. A monitor that looks perfectly bright during the afternoon can feel like a torch at midnight. Complete your monitor colour setup under the lighting conditions you use most often. For the most consistent result, avoid direct sunlight or a lamp reflecting across the display.
Best HP Gaming Monitor Settings to Start With
There is no universal set of HP values such as “brightness 70, contrast 80, and RGB 100/98/95” that everyone should copy. Your best approach is to begin from neutral settings and adjust from there.
|
Setting |
Recommended Starting Approach |
What to Avoid |
|
Picture mode |
Standard, neutral or sRGB-style mode where available |
Extremely vivid presets for accuracy |
|
Brightness |
Adjust for your room |
Maximum brightness by default |
|
Contrast |
Start close to the factory setting |
Increasing until bright details disappear |
|
Colour temperature |
Neutral setting where available |
Whites that look obviously blue or yellow |
|
Gamma |
Neutral/default gamma |
Crushed shadows |
|
Sharpness |
Default or neutral |
Heavy artificial sharpening |
|
HDR |
Configure separately |
Using HDR calibration for SDR |
|
Night Light |
Off while calibrating |
Calibrating through a warm filter |
Expert Advice: Do Not Copy Someone Else's RGB Values Blindly
This is one of the easiest calibration mistakes to make.
You find a Reddit post or video where someone claims they have the “perfect OMEN settings”, copy every value and suddenly your whites are pink. Colour behaviour can vary with panel type, individual panel variation, ambient lighting, graphics settings, and the actual monitor model.
Use other people's settings as a reference if you want, but judge the final image on your own display.
How to Calibrate an HP Gaming Monitor in Windows 11
Once the basic setup is correct, you can begin proper gaming monitor calibration.
Step 1: Choose a Neutral Picture Mode
Open your HP monitor's on-screen display using its physical controls or joystick.
Look for a standard, neutral, or accuracy-focused picture preset. Some monitors may offer an sRGB-style mode, while others use different naming.
Avoid starting your calibration from a heavily boosted gaming or vivid mode unless you specifically prefer that appearance.
You want a clean baseline first. You can always add extra punch later.
Step 2: Adjust Your HP Gaming Monitor Brightness Settings
Brightness should be comfortable for your room rather than simply as high as the screen can go. Load a mixture of light and dark content. Then gradually reduce or increase the brightness until:
- Whites remain clear without feeling harsh.
- Dark scenes remain visible.
- Black areas do not turn noticeably grey.
- Your eyes remain comfortable during longer sessions.
Your ideal HP gaming monitor brightness settings may therefore be quite different during daytime and night-time gaming.
Step 3: Check Contrast
Next, look at bright areas such as clouds, white clothing, menu backgrounds and explosions.
Increasing contrast too far can remove highlight detail. Instead of getting a “better” image, several near-white shades simply become the same solid white. Start around the default contrast setting and change it only when you can clearly see a benefit.
Step 4: Calibrate Gamma and Colour Balance in Windows
Windows 11 provides built-in display colour calibration.
Go to:
Settings > System > Display > Color profile > Calibrate display
Then follow the calibration process for the monitor you want to adjust. Windows creates a new colour profile for that display when calibration is completed.
If you have previously used older Windows guides telling you to search for calibrate display colour, the current Windows 11 Colour profile section gives you a straightforward route to the calibration controls.
During calibration, focus on neutral greys and visible detail rather than trying to make every colour as intense as possible.Your monitor colour setup should not give white or grey areas a noticeable red, green or blue tint.
Step 5: Save and Test the New Profile
Once Windows finishes, save the calibration profile and compare it with the previous image. Then test it with content you actually know well:
- Your main competitive game
- A darker single-player game
- Natural-looking photos
- White webpages
- Skin tones
- Dark grey gradients
A calibrated display can initially seem slightly less dramatic if you were previously using an oversaturated preset. Give yourself a few minutes before deciding it needs more saturation.
How to Use HP Display Center for Colour Calibration
If your monitor supports it, HP Display Center gives you another way to manage display settings.
HP currently documents both SDR and HDR colour calibration in HP Display Center. On supported displays, you can select Recalibrate and follow the on-screen instructions, including calibration options such as white point.
If you are searching for an HP gaming display calibration tool, HP Display Center is therefore one of the first official utilities worth checking. The exact features available depend on the monitor, so do not worry if your model exposes fewer controls.
A typical process is:
- Open HP Display Center.
- Select the HP display you want to configure.
- Open its colour settings.
- Check whether calibration is supported.
- Follow the calibration instructions.
- Save your preferred setup.
- Test it using familiar games and images.
You can treat HP Display Center as a useful monitor colour calibration tool, but you still need to judge brightness according to your own environment.
What About OMEN Gaming Hub?
Supported HP monitors can also expose monitor controls through OMEN Gaming Hub.
HP says you can select the monitor under MY GEAR, open Settings, adjust available monitor options and select Apply to save them. The available settings vary depending on the device.
This can be handy if you already use OMEN Gaming Hub and want to keep gaming-related controls in one place.
HP Gaming Monitor HDR Setup: Calibrate HDR Separately
HDR should not simply be switched on and forgotten. If your HP monitor supports HDR, treat your HP gaming monitor HDR setup separately from normal SDR calibration. In Windows 11:
- Open Settings > System > Display.
- Select your HP gaming monitor.
- Open HDR.
- Turn HDR on.
- Install and open the Windows HDR Calibration app if required.
- Move the calibration app onto the correct HDR monitor if you use multiple displays.
- Follow the HDR calibration patterns.
- Save the resulting profile.
Microsoft's current Windows HDR Calibration app uses test patterns to determine the darkest visible detail, brightest visible detail and maximum display brightness. It can also adjust colour vividness for HDR and SDR content while HDR is enabled.
Do Not Push HDR Saturation Too Far
HDR can look amazing when a display handles it well, but more saturation does not automatically mean better HDR. If grass becomes neon green and skin tones look radioactive, dial it back.
If you are planning a wider setup rather than changing only your current monitor, curved displays for gaming setup can also be worth considering when immersion matters, but curvature itself does not replace proper calibration.
Why Does My HP Monitor Look Washed Out?
A washed-out image does not automatically mean the panel is faulty.
Run through these checks first.
HDR is Affecting SDR Content
This is a common one.
When HDR is enabled, normal SDR applications can look brighter, darker or flatter than expected. Windows 11 includes an SDR content brightness control for external HDR displays because HDR and SDR content can be interpreted differently depending on the monitor.
Go to:
Settings > System > Display > HDR
Select the correct monitor and adjust the SDR content brightness until normal desktop applications look balanced.
Your Brightness is Too High
Excessive brightness can lift the apparent black level and make the whole image feel flatter.
Reduce brightness gradually and check whether blacks gain depth without hiding useful shadow detail.
You are Using the Wrong Picture Preset
A cinema, FPS, vivid or custom preset may dramatically change gamma and saturation.
Return to a neutral preset and compare again.
If the monitor suddenly looks much more natural, the problem was your preset rather than the panel.
Night Light is Enabled
Windows Night Light changes the screen towards warmer tones. That is useful at night, but not while judging colour accuracy.
Microsoft specifically notes that Night Light can cause a noticeable red tint on HDR-capable devices. Turn it off before carrying out monitor colour calibration.
Your Colour Profile is Wrong
If you have experimented with several profiles, Windows may be applying one that no longer matches your setup.
Open:
Settings > System > Display > Color profile
Select the correct display and review the active profile. You can recalibrate if necessary.
You are Expecting SDR and HDR to Look Identical
They will not.
HDR handles brightness and colour differently from SDR. Switching between them can therefore change the appearance of the Windows desktop and games. That difference is not automatically a fault. The goal is to configure each mode properly rather than making both look exactly the same.
Should You Use a Hardware Screen Calibration Tool?
For most gamers, visual calibration plus Windows and HP software controls are enough.
If you also edit photographs, grade videos, create digital artwork or need repeatable professional colour accuracy, a hardware screen calibration tool can provide more precise measurements.
A hardware calibrator measures the actual light and colour produced by the display instead of relying entirely on what looks correct to your eyes. That distinction matters because your vision adapts quickly. Sit in front of an overly blue screen for long enough and it can start looking normal.
For casual gaming, you probably do not need specialist calibration hardware. For professional colour-sensitive work, measuring the display can make much more sense.
Accurate Colour or Vibrant Gaming? Choose the Right Profile
The “best” calibration depends partly on what you actually do.
Competitive Gaming
Prioritise:
- Clear shadow detail
- Comfortable brightness
- Neutral gamma
- High refresh rate
- Good motion clarity
Avoid increasing brightness so far that dark areas turn grey.
Single-Player and AAA Games
You may prefer:
- Stronger contrast
- Balanced saturation
- Correct HDR where supported
- Good dark-scene detail
The goal is immersion without destroying the artistic intent of the game.
Gaming and Content Creation
Stay closer to an accurate, neutral profile.
If you edit photos or videos on the same screen you game on, exaggerated saturation can mislead you when making creative decisions.
You might even want two profiles: one accurate profile for work and another slightly punchier profile for gaming.
If you are replacing an older panel, Laptop Outlet stocks affordable HP displays for gaming across different resolutions and refresh rates, making it easier to match the display to how you actually play.
How to Optimise Gaming Monitor Visuals Without Overdoing It
Once you have an accurate baseline, you can customise the image slightly for gaming. To optimize gaming monitor visuals, make small changes rather than pushing every enhancement slider.
Try:
- A slight brightness adjustment for the room
- Small gamma changes if dark details disappear
- Moderate saturation if the picture feels genuinely dull
- Separate SDR and HDR profiles
- Game-specific HDR calibration where the game provides it
- Appropriate overdrive settings for motion clarity
Avoid combining maximum saturation, high contrast, aggressive sharpening and boosted black levels at the same time. That might look dramatic on a menu screen, but in real gameplay you can lose highlight detail, create unnatural edges and flatten subtle colour differences.

Get Better Colour From Your HP Gaming Setup
Good calibration is about balance.
You want colours that have impact without looking fake, bright areas that still contain detail, blacks that look deep without hiding enemies and HDR that adds range rather than making the desktop look grey.
Start with neutral monitor settings, complete your display colour calibration, then make small adjustments based on your room and the games you actually play.
If you have followed the full process and your current screen still cannot deliver the resolution, HDR capability, colour coverage or refresh rate you want, the limitation may be the hardware rather than the calibration.
Laptop Outlet offers a wide range of options if you are looking for a new monitor for gaming performance, so compare panel type, resolution, refresh rate and HDR capability rather than choosing a display based on brightness or colour claims alone.

People Also Ask
How do I calibrate my HP gaming monitor for accurate colours?
Use a neutral picture mode, set native resolution and refresh rate, then turn off Night Light. Adjust brightness for your room and keep contrast default. In Windows 11 go to Settings > Display > Calibrate display. Use HP Display Center if available and calibrate HDR separately.
What is the best colour setting for HP gaming monitors?
There is no universal best setting. Start with a neutral or sRGB mode, keep whites balanced and avoid over-saturation. Adjust brightness to your room and don’t copy RGB values from other monitors.
Does calibration improve gaming performance?
No. Calibration does not increase FPS or refresh rate. It only improves colour accuracy, contrast and visibility in games.
Why does my HP monitor look washed out?
This usually happens due to high brightness, wrong picture mode, bad colour profile or HDR/SDR mismatch. Turn off Night Light, check presets, adjust HDR settings and re-check Windows colour profile.
| Read More: |
| Top HP Gaming Notebooks for 2026: Performance Meets Portability |
| HP Victus vs HP Pavilion: Which Entry-Level Gaming Laptop Wins? |
| HP Laptop Comparisons: Which Series is Best for You? |
Related Articles

Last Updated: September 24, 2026
Last Updated: July 30, 2026
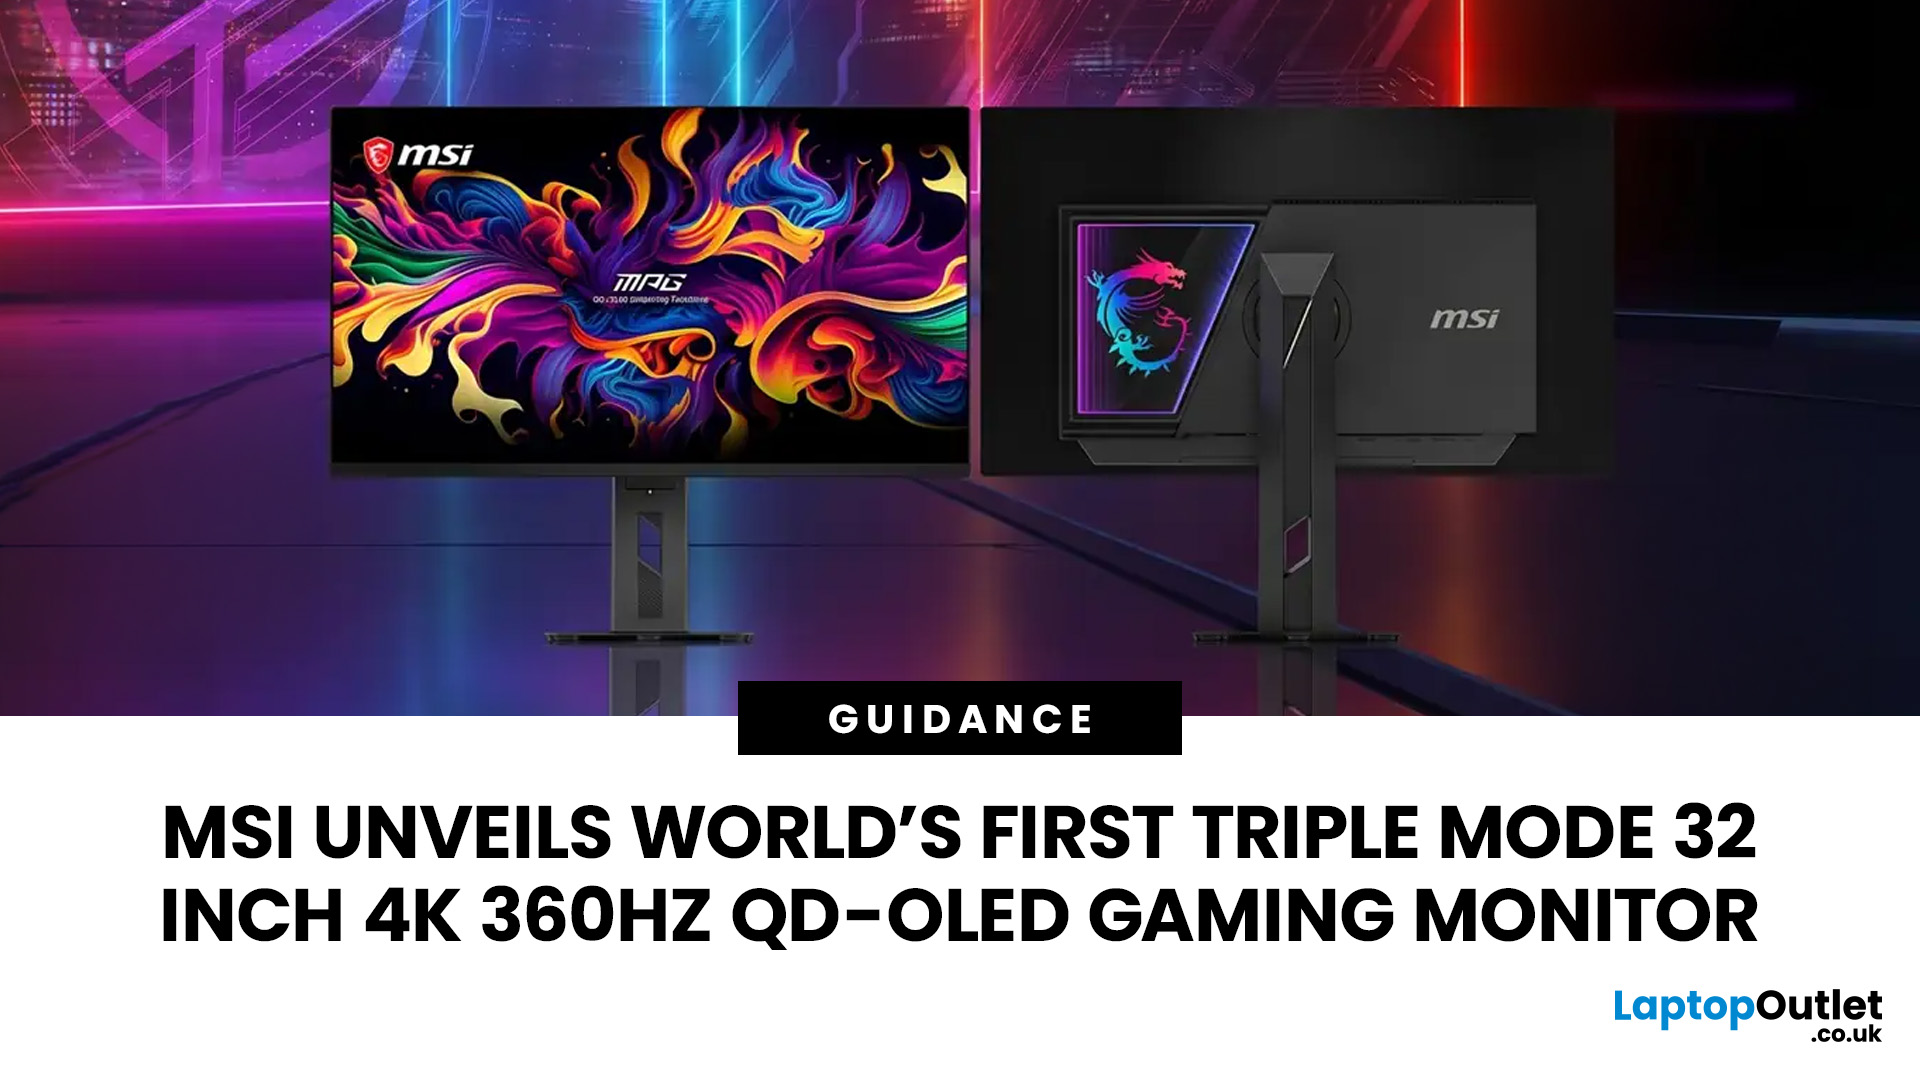
MSI has revealed a gaming monitor that sounds almost unreal on paper: a 32 inch 4K monitor with a 360Hz refresh rate, QD-OLED visuals, and a Triple Mode feature that lets gamers switch between different resolution and speed settings. Officially known as the MSI MPG OLED 322URDX36 (MSI lists the panel at 31.5 inches, though it's widely rounded to 32 inches), this display was unveiled ahead of COMPUTEX 2026 and is designed for players who want sharp 4K detail, ultra-smooth motion, and flexible performance in one premium screen.
For years, gamers had to choose between resolution and speed. A 4K monitor gave better image quality, while a lower-resolution, high-refresh-rate screen gave smoother competitive gameplay. MSI's new Triple Mode gaming monitor aims to close that gap, letting users move between 4K 360Hz, 1440p 520Hz, and Full HD 680Hz depending on the game, their hardware, and personal preference.
That makes it one of the most interesting display announcements for serious PC gamers,
Last Updated: August 11, 2026
Picking the best gaming monitor size isn’t just about going big or going home. Your screen size actually changes how your games look, feel, and perform. A 24-inch setup is clutch for competitive play, a 27-inch hits that sweet spot between clarity and immersion, and a 32-inch screen? That’s where things get seriously cinematic.
Size alone isn’t the whole story. Resolution, desk space, refresh rate, and what you actually play all matter. This gaming monitor size comparison breaks down 24, 27, and 32-inch displays so you can find your perfect match.
24 Inch vs 27 Inch vs 32 Inch Gaming Monitors: Quick Comparison
The following table provides a quick overview of how the three most popular gaming monitor sizes compare.
| Feature | 24-Inch Monitor | 27-Inch Monitor | 32-Inch Monitor |
| Recommended resolution | 1920 × 1080 | 2560 × 1440 | 2560 × 1440 or 3840 × 2160 |
| Best suited to | Competitive gaming | Mixed gaming and everyday use | Immersive and cinematic gaming |
| Typical desk requirement | Small | Medium | Large |
| Graphics |
Last Updated: August 11, 2026
Last Updated: September 03, 2026
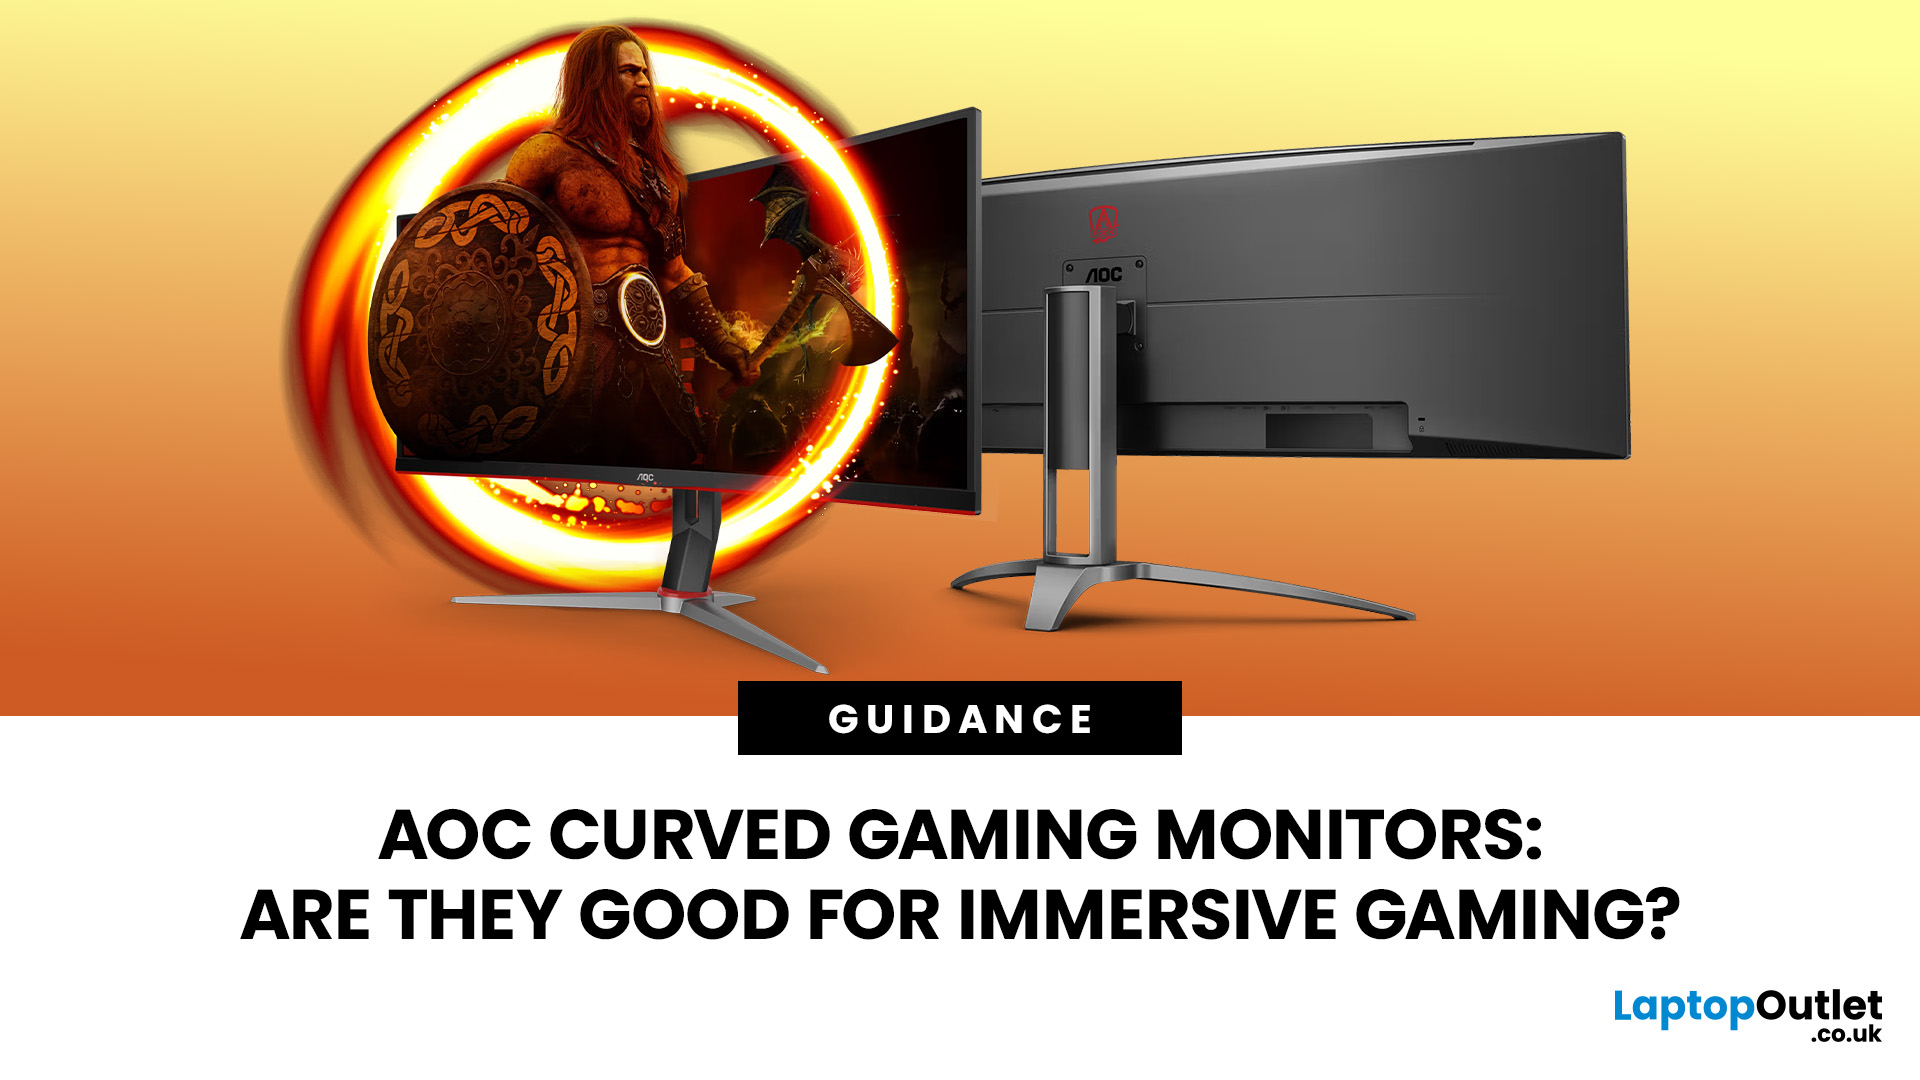
An AOC curved gaming monitor can be a strong choice for immersive gaming, especially if you play racing, simulation, RPG, open-world or cinematic single-player games. The curved screen helps draw more of the display into your natural field of view, which can make gameplay feel more engaging on larger panels. For many PC gamers, the sweet spot is a 27-inch or 32-inch high-resolution QHD monitors. For maximum immersion, an AOC 34 curved gaming monitor or another ultrawide curved gaming monitor can offer a wider, more cinematic view.
Are AOC Curved Gaming Monitors Good for Immersive Gaming?
Yes, AOC curved gaming monitors can be good for immersive gaming, but the experience depends on three things:
- Screen size
- Resolution
- Refresh rate
A curved display is most effective when the screen is large enough for the curve to matter. On a 24-inch screen, the curve may feel subtle. On a 32-inch or 34-inch screen, it becomes much more noticeable because the edges of the panel sit further into your peripheral
Published: July 27, 2026
Last Updated: September 03, 2026
Last Updated: August 11, 2026
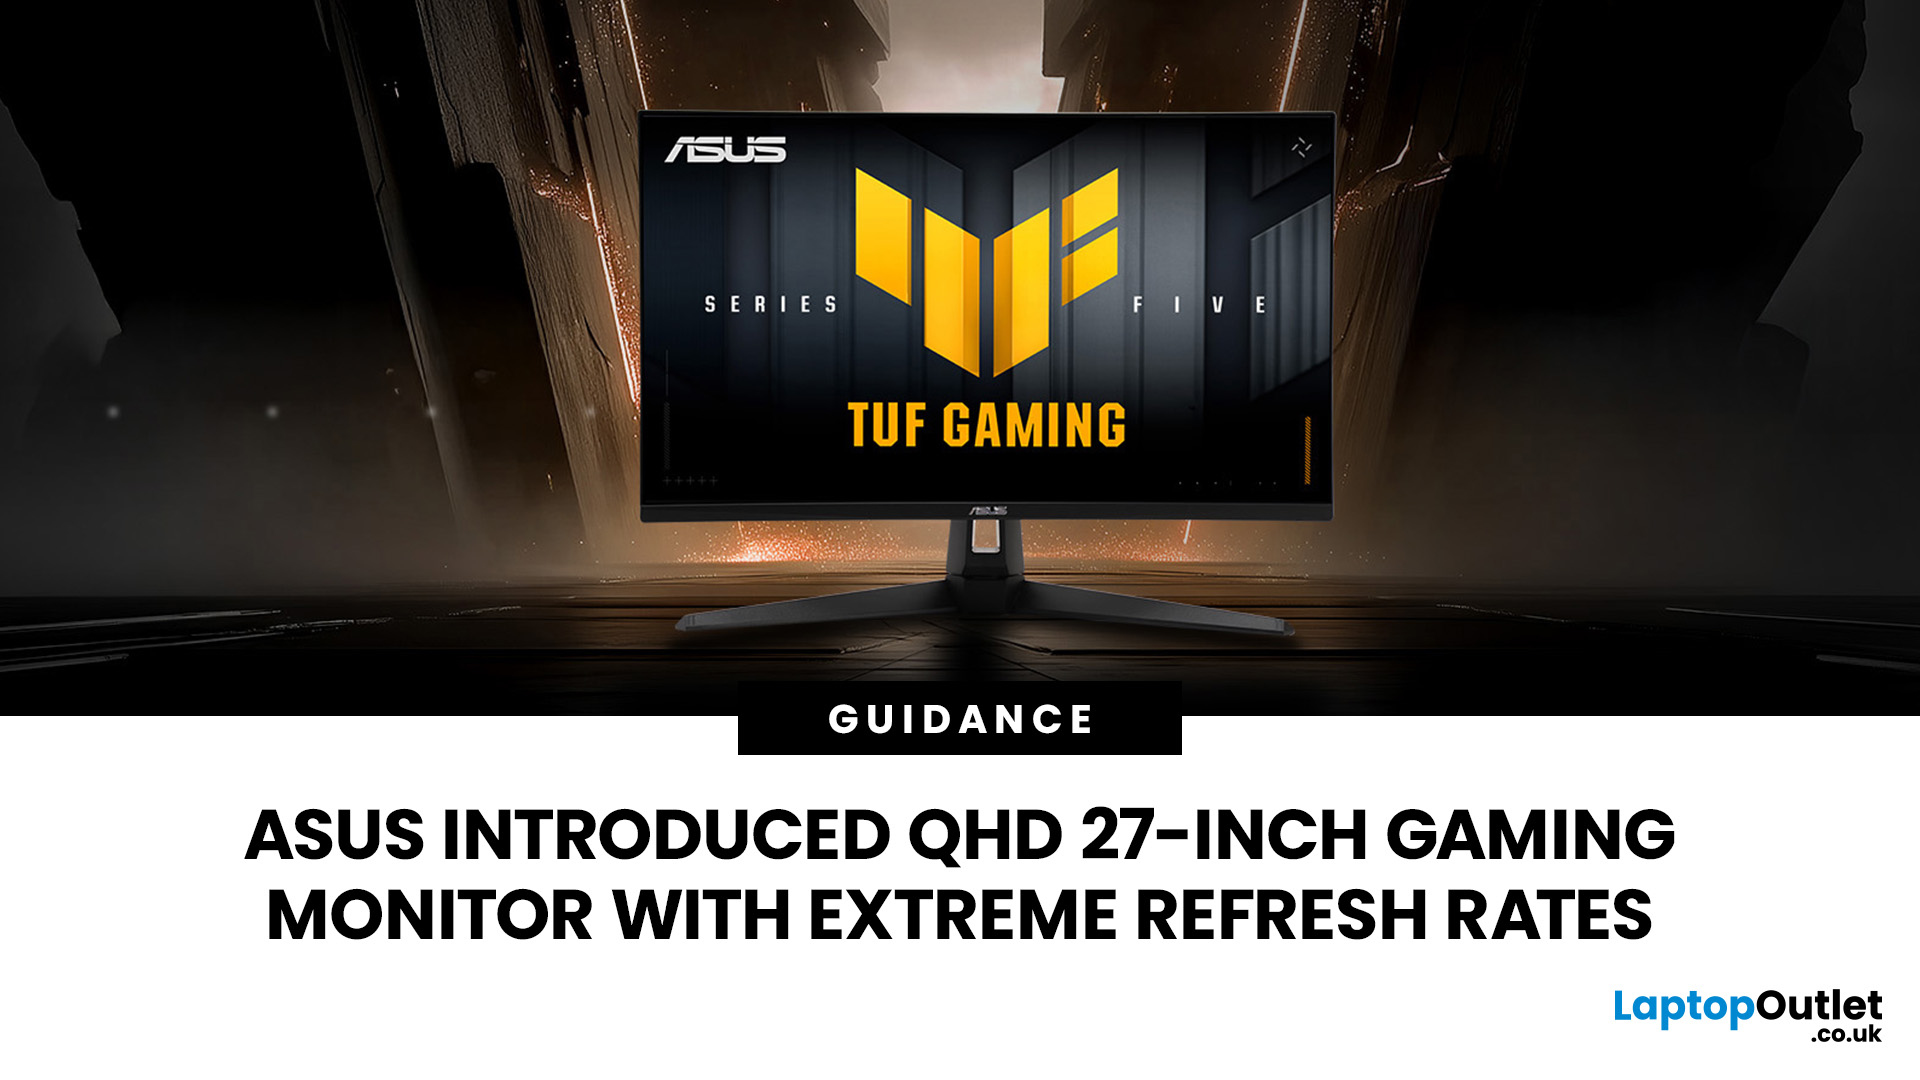
The ASUS VG27AQM5F is a 27 inch QHD gaming monitor built primarily for competitive PC players who want a higher refresh rate without dropping to Full HD resolution. As an ASUS QHD monitor, it combines a 2560 x 1440 Fast IPS panel with a maximum 320Hz refresh rate, adaptive-sync support and ASUS ELMB Sync. This ASUS new gaming display launch is aimed at players seeking smoother competitive gameplay, although its tilt-only stand, basic HDR capability and service-only USB-C port remain important limitations.
ASUS VG27AQM5F Quick Answer
| Question | Answer |
| Best suited to | Competitive PC gamers who regularly play above 200fps and still want QHD detail |
| Main strengths | 320Hz refresh rate, Fast IPS panel, 95% DCI-P3 coverage and broad adaptive-sync support |
| Main limitations | Tilt-only stand, modest 300cd/m² brightness, basic HDR10 support and no functional USB-C display input |
| Testing status | Specification-based assessment, not a hands-on review |
| UK availability | Available through UK retail channels, but not |
Last Updated: August 13, 2026
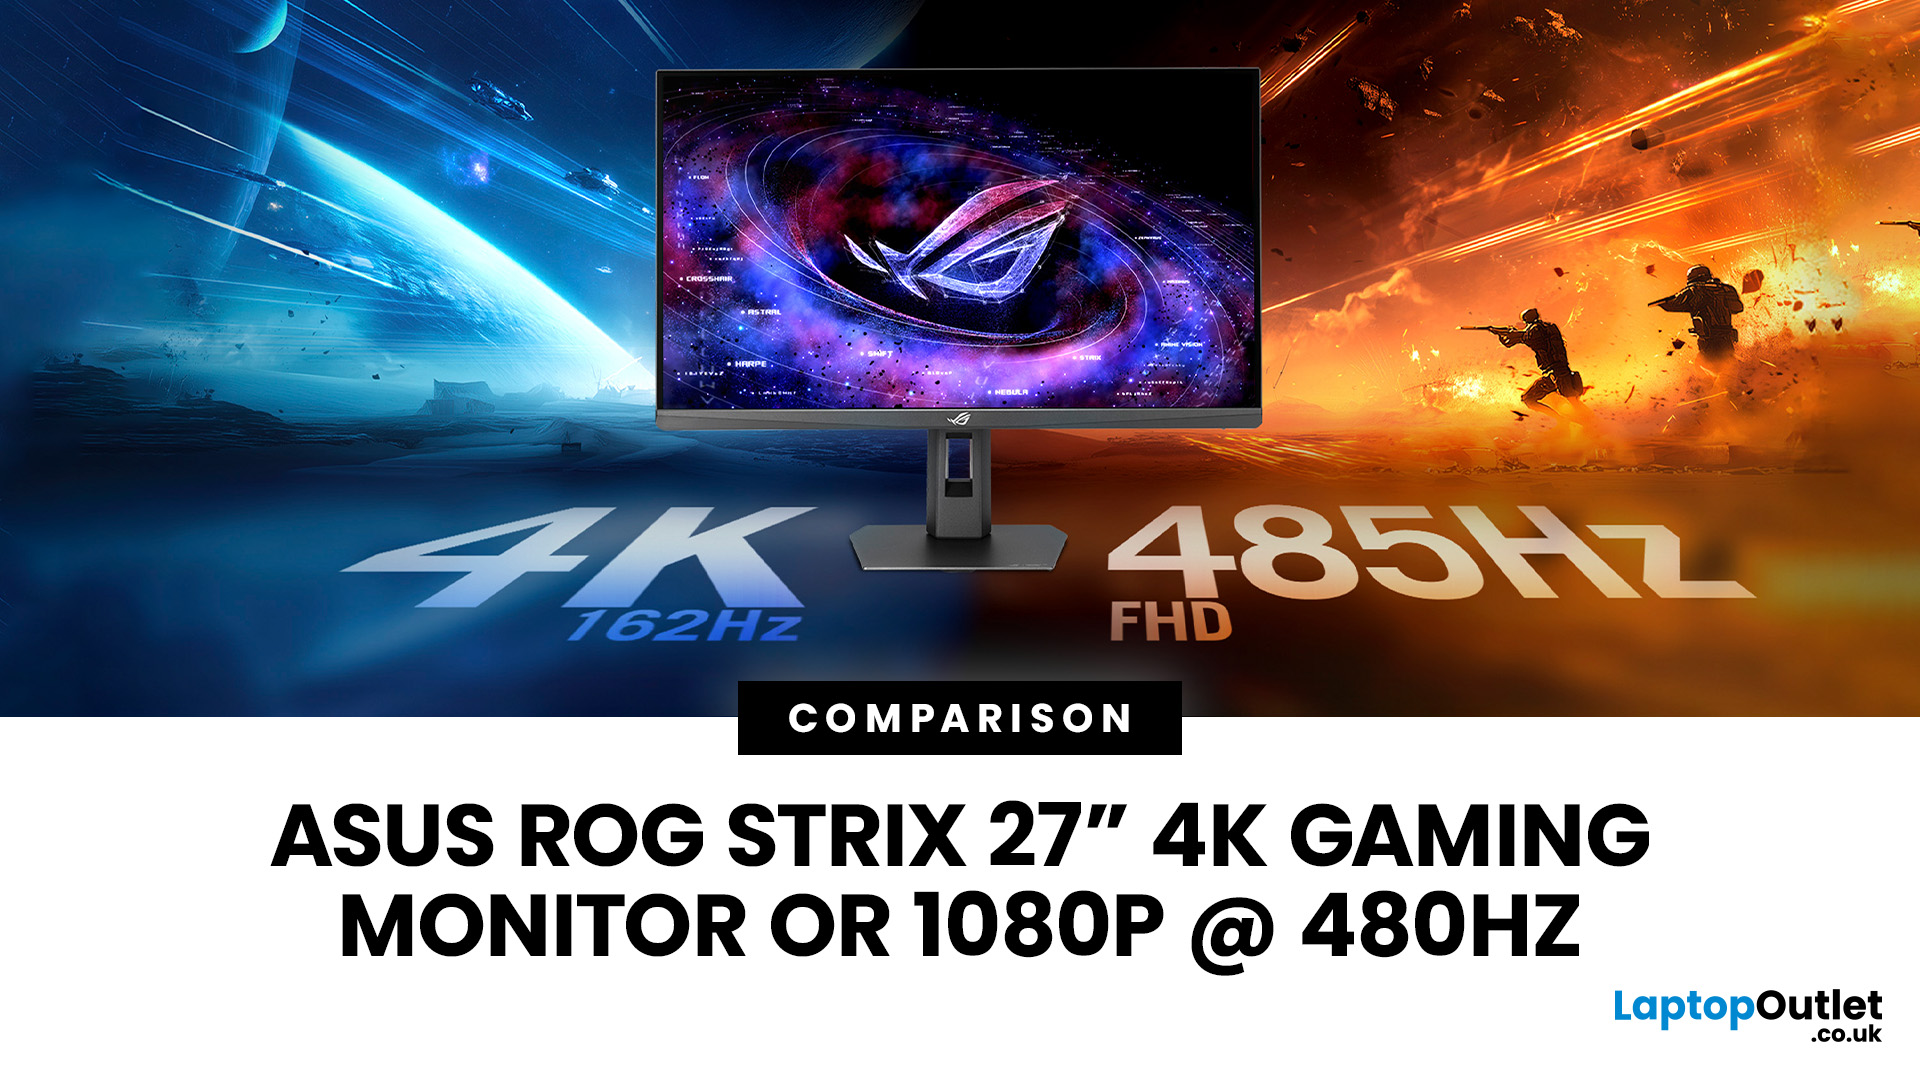
The ASUS ROG Strix XG27UCGR Gen2 is a 27 inch 4K gaming monitor that runs at up to 162Hz in 4K and switches to Full HD at 485Hz for esports. It succeeds the original XG27UCG’s 160Hz and 320Hz dual mode, adding a much faster competitive setting, Smart Pixel processing and a lower quoted minimum response time.
Most gaming monitors make you choose between resolution and refresh rate. A sharp 4K screen suits visually detailed games, while an ultra-fast Full HD display is usually better suited to competitive titles where responsiveness matters more than image detail.
The ASUS ROG Strix XG27UCGR Gen2 attempts to cover both uses. Its native mode delivers 3840 x 2160 resolution at up to 162Hz. Activating Frame Rate Boost changes the monitor to 1920 x 1080 and raises the refresh rate to 485Hz. ASUS confirms both modes for the XG27UCGR, alongside a Fast IPS panel, Smart Pixel processing and a manufacturer-rated minimum response time of 0.3ms.
ASUS ROG Strix XG27UCGR Specifications
The XG27UCGR Gen2
Last Updated: September 03, 2026
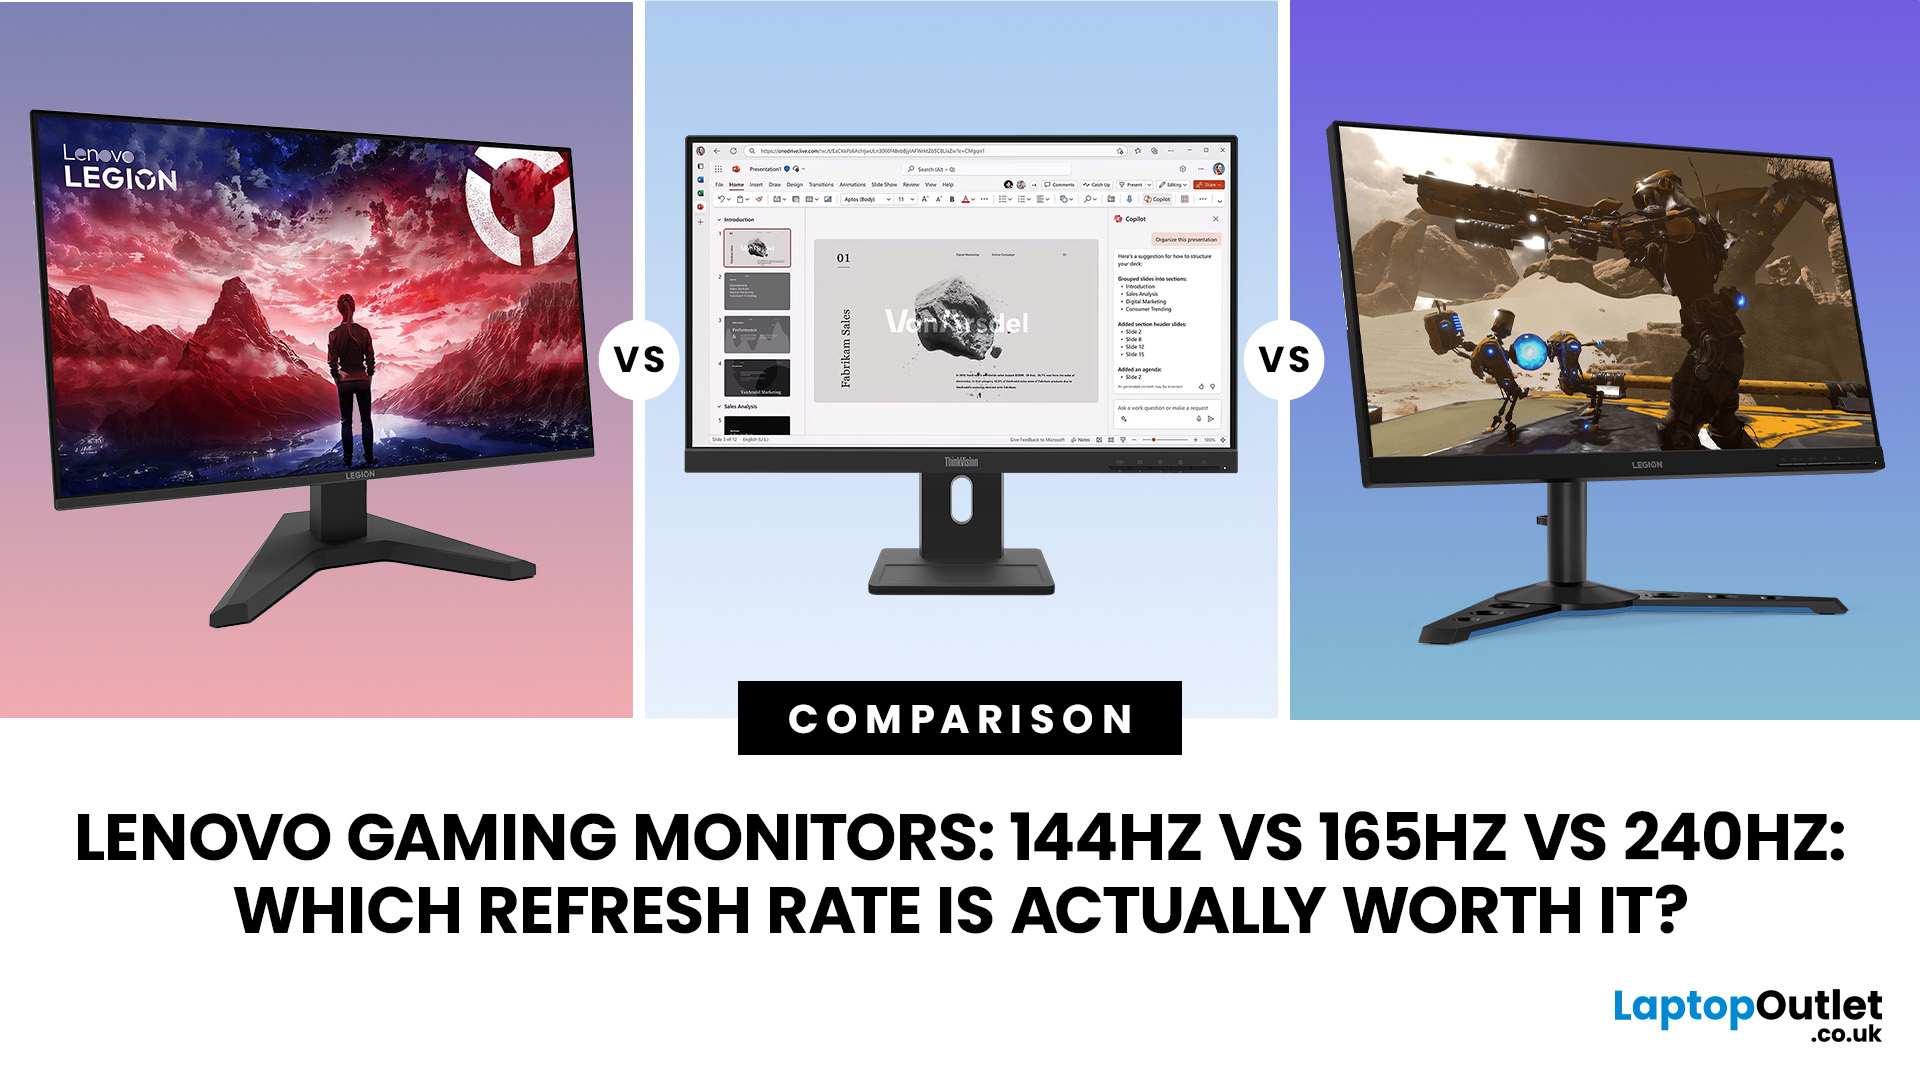
Refresh rate is one of the first specifications you will notice when shopping for a gaming monitor. A higher number promises smoother movement and faster feedback, but that does not automatically mean a 240Hz display is the right choice for your setup.
The best Lenovo monitor refresh rate depends on the games you play, the frame rates your computer can produce and whether you prioritise competitive responsiveness or sharper graphics. A casual player running cinematic games at 70 frames per second will gain little from 240Hz, while a competitive FPS player maintaining more than 200fps may notice a meaningful improvement.
This guide compares 144Hz, 165Hz, and 240Hz Lenovo gaming monitors so you can pay for performance you will actually use.
Quick Answer: Is 144Hz, 165Hz or 240Hz Best?
For most PC gamers, 144Hz or 165Hz offers the best balance of smoothness, hardware requirements, and value. Choose 240Hz when you mainly play competitive shooters and your PC can regularly produce close to 240fps

