How to Set Up a Docking Station: Step-by-Step Guide
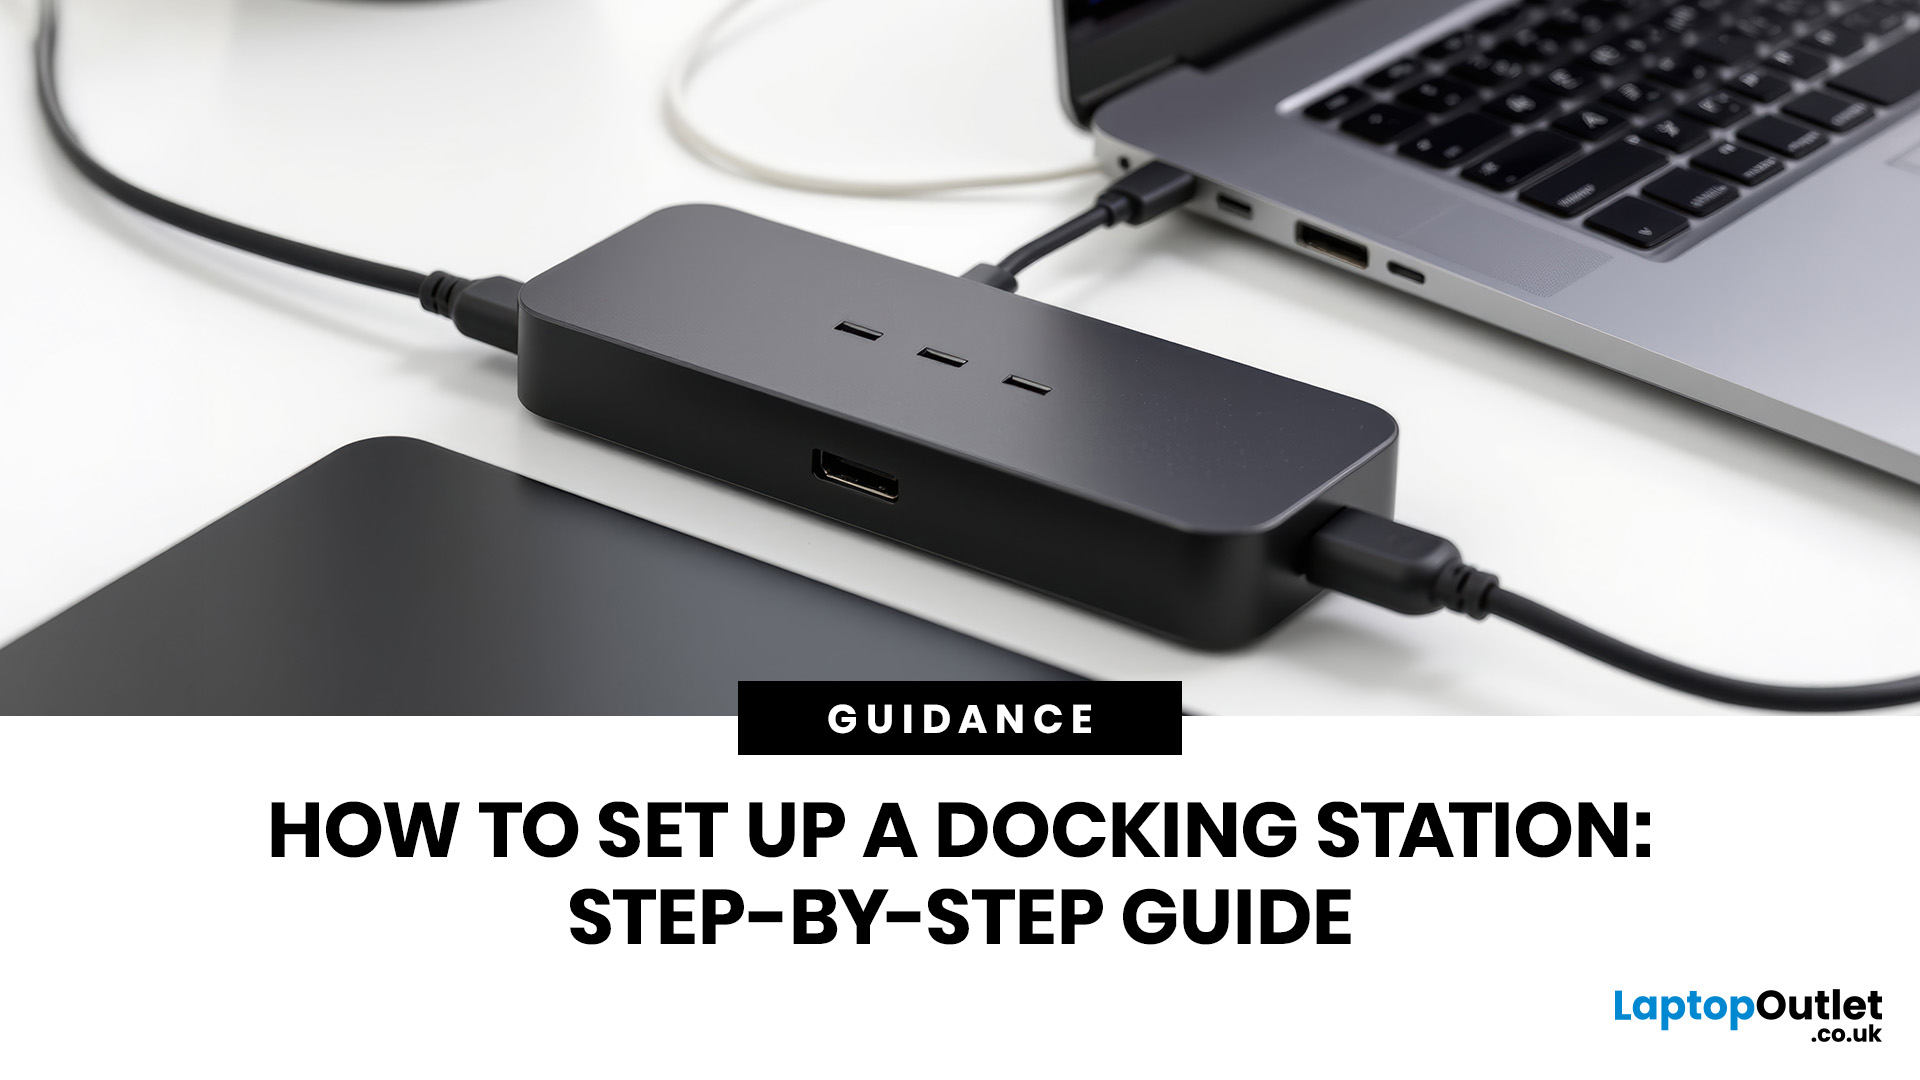
A docking station can turn your laptop into a cleaner, more comfortable desktop setup. Instead of plugging in your monitor, charger, keyboard and mouse, Ethernet cable and other accessories one by one, you can connect most of them through a single dock.
That sounds simple, but docking-station setup can become confusing when USB-C, Thunderbolt, HDMI, DisplayPort, power delivery, and dual monitors all come into play. A dock may physically connect to your laptop, but that does not always mean every feature will work. Your laptop port, dock specification, cable quality and monitor setup all matter.
This guide explains how to set up a docking station step by step, how to connect a dock to a laptop, how to configure single- or dual-monitor setups, and what to check if your docking station is not working. This guide caters to real laptop users who want a practical desk setup without wasting money on features they may not need.
Quick Answer: How Do You Set Up a Docking Station?
To set up a docking station, connect the dock to mains power first, plug your monitors and accessories into the dock, then connect the dock to your laptop using the correct USB-C, Thunderbolt or USB cable. Once connected, open your display settings, choose whether to extend or duplicate your screens, arrange the monitors to match your desk, and check that charging, keyboard, mouse, Ethernet and audio all work properly.
The most important part of any docking station setup is compatibility. A USB-C port is not always the same as a Thunderbolt port, and not every USB-C port supports video output or laptop charging. Before buying or setting up a dock, check your laptop’s port type, monitor resolution, power requirement and operating system support.
For a permanent desk setup, you can buy docking stations online to reduce cable clutter and connect your laptop to monitors, a keyboard and mouse, Ethernet, and storage and power through a single cable.
What is a Docking Station?
A docking station is a desktop hub that lets your laptop connect to multiple devices via a single connection. Instead of plugging your monitor, charger, keyboard, mouse, Ethernet cable and external drives into your laptop one by one, you connect them to the dock.
Then, when you sit down at your desk, you usually only need to connect one cable to your laptop.
A laptop docking station setup is useful if you:
- Work from home or in a hybrid office
- Use one or two external monitors
- Want a full-size keyboard and mouse
- Need wired internet through Ethernet
- Use external storage, printers or webcams
- Want to charge your laptop through the same cable
Learn more about docking stations and how they work in our detailed guide “What Is a Docking Station”.
Before You Start: What Should You Check First?
Before you connect anything, check your laptop, dock, cable and monitor specifications. Most docking-station problems occur because one part of the setup does not support the feature the user expects.
1. Check Your Laptop Port
Look at the port you plan to use on your laptop. It may be:
|
LAPTOP PORT |
WHAT IT VISUALLY MEANS |
WHAT TO CHECK |
|---|---|---|
|
USB-C port |
Small oval connector for data, charging and sometimes video |
Check whether it supports DisplayPort Alt Mode and Power Delivery |
|
Thunderbolt port |
USB-C-shaped port with higher bandwidth on compatible laptops |
Check whether it is Thunderbolt 3, Thunderbolt 4 or Thunderbolt 5 |
|
USB-A port |
Older rectangular USB port |
Usually needs a DisplayLink dock for external displays |
|
HDMI port |
Direct video output |
Usually connects to one monitor, not a full dock |
|
DisplayPort or Mini DisplayPort |
Dedicated video output |
Useful for monitors, but not normally the main dock connection |
2. Check the Dock’s Host Connection
The host connection is the cable that links the dock to your laptop. This is not just a normal charging cable. The cable must support the speed, video signal and power required by the dock.
For best results, use the cable supplied with the docking station. A low-quality or charge-only USB-C cable can cause display flicker, missing monitors, slow data transfer or charging problems.
3. Check Your Monitor Inputs
Most modern monitors use an HDMI port, a DisplayPort port, or a USB-C port. Check what your monitors have before buying extra cables.
For a dual-monitor docking-station setup, also check the maximum resolution and refresh rate the dock supports when both screens are connected. Some docks may support one 4K screen at 60Hz but reduce performance when two displays are active.
4. Check Laptop Charging Requirements
If you want the dock to charge your laptop, compare the dock’s power delivery rating with your laptop’s charger wattage.
For example, a thin business laptop may be fine with 65W or 90W power delivery. A powerful workstation or gaming laptop may need much more power and may still require its original charger for full performance.
Paying extra for very high charging wattage is not worth it if your laptop cannot use it. On the other hand, buying a low-power dock for a high-performance laptop can result in slow charging, battery drain during heavy use, or warning messages.
5. Check Your Operating System
Windows laptops usually work well with USB-C, Thunderbolt and DisplayLink docks, provided the right drivers and updates are installed.
MacBooks need more care. Some Mac models support only a limited number of external displays natively. Some docks that extend two monitors on Windows may only mirror displays on macOS unless they use the right technology. Always check your exact Mac model before buying a dock for dual screens.
Docking Station Setup Guide: Step by Step
This docking station setup guide covers a typical wired dock setup for a laptop, monitor, keyboard, and mouse. The exact order can vary slightly by brand, but this process works for most USB-C, Thunderbolt and universal docking stations.
Step 1: Place the Dock on Your Desk
Place the docking station in a location with adequate airflow and easy cable access. Avoid placing it under heavy objects or behind your monitor, where heat can build up.
A good position is usually behind the monitor stand or beside the laptop stand, where the main cable can reach your laptop without being pulled too tightly.
Step 2: Connect the Dock to Power
Plug the dock’s power adapter into the docking station, then connect it to a wall socket or surge-protected extension.
Use the original power adapter where possible. Docking stations are often designed around a specific power supply, especially if they charge laptops and power several accessories simultaneously.
If your dock is bus-powered and does not have a separate power brick, it may be more limited. These smaller docks can be useful for travel, but they are not always ideal for multiple monitors, Ethernet and several USB devices at once.
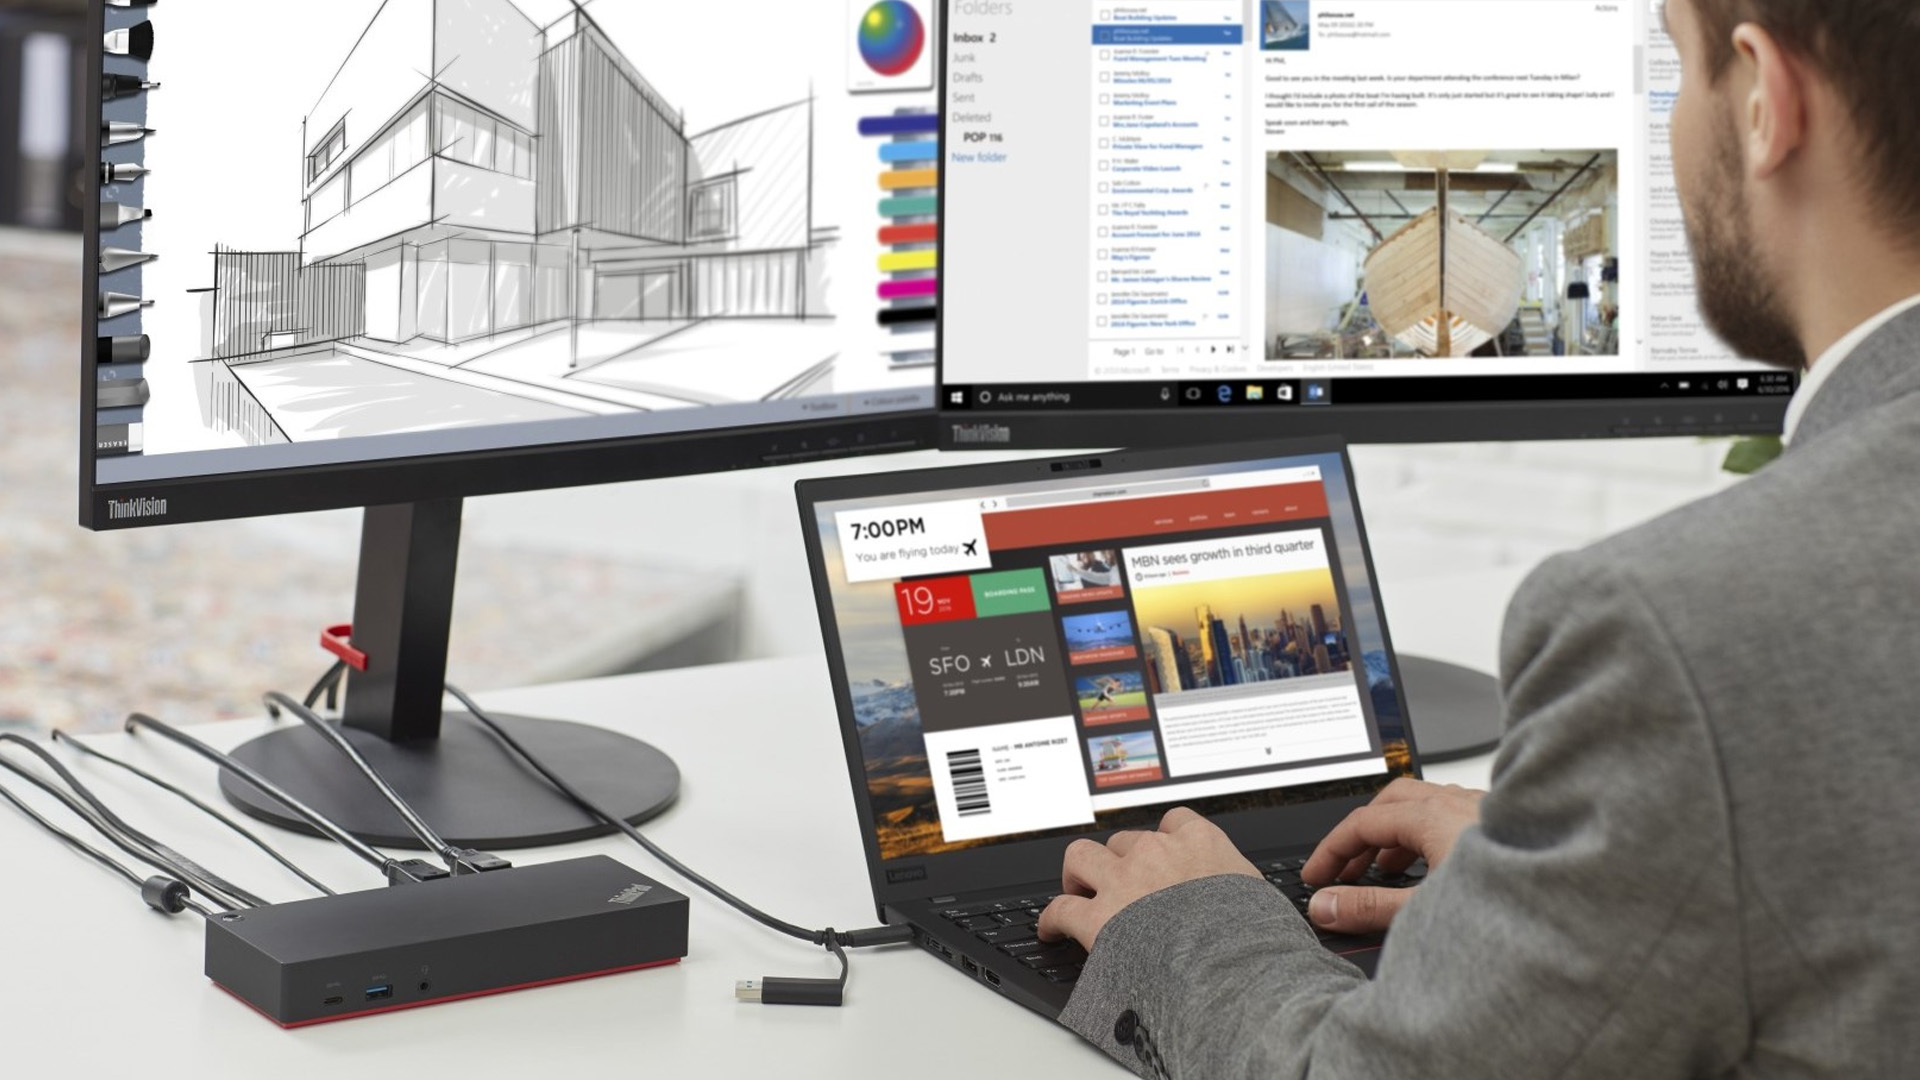
Step 3: Connect Your Monitor or Monitors
Connect your monitor to the dock using HDMI, DisplayPort or USB-C, depending on the ports available.
For one monitor, connect the monitor cable to the dock, then turn the monitor on and select the correct input source from the monitor menu.
For two monitors, connect each screen to a separate video output on the docking station. For example:
|
SETUP |
COMMON CABLE COMBINATION |
|---|---|
|
Single monitor |
HDMI to HDMI, DisplayPort to DisplayPort, or USB-C to USB-C |
|
Dual monitor |
HDMI plus DisplayPort, two DisplayPort cables, or two HDMI cables |
|
High-resolution monitor |
DisplayPort or USB-C is often preferred where supported |
|
Older monitor |
May need VGA or DVI adapter, but image quality and resolution may be limited |
Avoid using an HDMI splitter if you want two independent screens. A splitter usually duplicates the same image on both monitors. It does not give you a proper extended desktop.
Step 4: Connect Your Keyboard and Mouse
Plug your keyboard and mouse into the dock’s USB ports. A wired keyboard and mouse usually work immediately.
For wireless accessories, connect the USB receiver to the dock. If you notice lag or dropouts, try moving the receiver to a front USB port or using a short USB extension cable to reduce interference.
This is also the right time to connect other everyday devices, such as a webcam, headset, external drive, printer or card reader.
Step 5: Connect Ethernet, Audio and Other Accessories
If you use a wired internet connection, connect your Ethernet cable to the dock’s network port. This is useful for video calls, large file transfers and office networks where Wi-Fi is not stable enough.
You can also connect speakers, a headset, external storage and other essential computer accessories. For wider setups, you may want to explore essential computer accessories that match your desk, work style and connectivity needs.
If your dock does not include Ethernet, you can shop networking adapters separately to add a wired network connection.
Step 6: Connect the Dock to Your Laptop
Now connect the docking station to your laptop using the supplied USB-C, Thunderbolt or USB cable.
Make sure the cable is fully inserted at both ends. On some laptops, only certain USB-C ports support video, charging or Thunderbolt. If nothing happens, try another compatible port on the laptop.
If your laptop asks you to approve a Thunderbolt device, allow the connection. Some systems may prompt you the first time you connect a new Thunderbolt dock.
Step 7: Let the Laptop Detect the Dock
Give the laptop a few moments to recognise the docking station. Windows may install basic drivers automatically. Some DisplayLink or brand-specific docks may need a driver or firmware utility.
Check that:
- The monitor turns on
- Keyboard and mouse respond
- Laptop charging starts, if supported
- Ethernet appears, if connected
- Audio devices show up, if connected
- USB drives or peripherals are detected
If the dock includes a power button, check the manufacturer’s guide to see whether it can also wake or start the laptop. This feature varies by model and laptop brand.
How to Set Up Docking Station Displays in Windows
Once the monitors are connected, adjust your display settings so the screens behave properly.
Open Display Settings
Right-click the desktop, then select Display settings. You should see numbered screens representing your laptop display and any connected monitors.
If Windows does not detect a monitor, scroll to Multiple displays, then select Detect.
Choose Extend or Duplicate
For most work setups, choose Extend these displays. This gives each monitor its own workspace, so you can move windows between screens.
Use Duplicate these displays only when you want the same image on both screens, such as during a presentation.
|
DISPLAY MODE |
WHAT IT DOES |
BEST FOR |
|---|---|---|
|
Extend |
Gives each screen its own workspace |
Office work, multitasking, spreadsheets, research |
|
Duplicate |
Shows the same image on all screens |
Presentations and shared viewing |
|
Second screen only |
Uses the external display and turns off the laptop display |
Desk setups with laptop lid open or closed |
|
PC screen only |
Uses the laptop screen only |
Undocking or mobile use |
Arrange the Screens
Drag the numbered display boxes so they match your real desk layout. If your second monitor is physically on the left, place it on the left in Display settings.
Set the Main Display
Select the screen you want as your main display and choose Make this my main display. This is where the taskbar, Start menu and many new windows will appear first.
Adjust Resolution and Refresh Rate
Set each monitor to its recommended resolution. For example, a Full HD monitor should usually run at 1920 x 1080, while a 4K monitor should usually run at 3840 x 2160.
If the refresh rate looks wrong, open Advanced display settings and choose the correct refresh rate. A 60Hz setting is fine for normal office work. Higher refresh rates are useful for smoother movement, but only if your laptop, dock, cable and monitor all support them.
How Do You Set Up Dual Monitors with a Docking Station?
For a dual monitor docking station setup, connect each monitor to a separate video output on the dock, then set Windows to extend the displays.
The key point is bandwidth. Two monitors need more video bandwidth than one. A dock may advertise multiple display outputs, but the final result depends on the laptop port, the dock's specifications, the cable type, and the monitor's resolution and refresh rate.
Dual Monitor Setup Checklist
|
CHECK |
WHY IT MATTERS |
|
Laptop supports video over USB-C, USB4 or Thunderbolt |
A data-only USB-C port may not run external monitors |
|
Dock supports two displays at your chosen resolution |
Some docks reduce resolution when two screens are active |
|
Cables support the required resolution and refresh rate |
Poor cables can cause flicker, blank screens or lower resolution |
|
Monitor input source is correct |
A monitor set to the wrong HDMI or DisplayPort input may appear disconnected |
|
Windows is set to Extend |
Duplicate mode shows the same image on both monitors |
|
Mac model supports the display count |
Some MacBooks have native external display limits |
Is Thunderbolt Better for Dual Monitors?
Thunderbolt is often better for high-resolution dual monitors because it has more bandwidth than many standard USB-C connections. It is useful for 4K monitors, fast storage, high-speed data transfer and cleaner desk setups.
However, Thunderbolt is not always worth paying extra for. If you only use one Full HD monitor, a keyboard and a mouse, a simpler USB-C dock may be enough. Paying for a premium Thunderbolt dock makes more sense when you need higher display support, faster data transfer or a more demanding workstation setup.
USB-C Docking Station Setup: What Makes it Different?

A USB-C docking station setup looks simple because the connector is small and reversible. The confusing part is that USB-C describes the connector shape, not the full capability of the port.
A USB-C port may support:
- Data transfer only
- Charging only
- Video output through DisplayPort Alt Mode
- Power delivery for laptop charging
- USB4 or Thunderbolt features on supported models
This is why two laptops with USB-C ports can behave differently when connected to the same dock.
What About a Wireless Docking Station?
A wireless docking station or wireless display setup can reduce cables, but it is not the best choice for every desk.
Wireless display connections are useful for presentations, meeting rooms and occasional screen sharing. For daily work, a wired docking station is usually more reliable, especially if you use dual monitors, large spreadsheets, video calls, external storage, or a wired internet connection.
Wireless setups can experience higher latency, lower image quality, or occasional dropouts, depending on the network, room layout, and device support. They are not ideal for gaming, colour-sensitive design work or heavy multitasking.
Docking Station Troubleshooting: What to Do If It is Not Working
If your docking station is not working, do not assume it is faulty straight away. Most problems are caused by cables, drivers, power delivery, monitor settings or laptop compatibility.
Problem 1: The Monitor is not detected
Start with the simple checks first:
- Make sure the monitor is switched on
- Check the HDMI port, DisplayPort or USB-C cable is fully inserted
- Confirm the monitor is set to the correct input source
- Try a different cable
- Try another video port on the dock
- Open Display settings and select Detect
- Restart the laptop while the dock is connected
- Update graphics drivers and dock firmware
If you are using a USB-A or DisplayLink dock, install or update the DisplayLink driver.
Problem 2: Only 1 Monitor Works
This usually means one part of the setup does not support two independent displays.
Possible causes include:
- The laptop does not support two external displays through that port
- The dock supports only one display at the selected resolution
- The second monitor is connected through a splitter
- macOS is mirroring screens due to MST limitations
- The cable or adapter cannot handle the signal
- The dock needs a driver or firmware update
Try lowering the resolution or refresh rate temporarily. If the second monitor appears, the original setting may have exceeded the available bandwidth.
Problem 3: Laptop is not Charging Through the Dock
If your laptop is not charging when connected to a docking station, check the power delivery rating.
A dock can only charge your laptop if:
- The dock supports power delivery
- Your laptop supports charging through that port
- The dock’s power adapter is connected
- The cable supports the required power
- The wattage is enough for your laptop
Some high-performance laptops may charge slowly through a dock or may still need their original charger. This is common with gaming laptops and mobile workstations.
If your current power adapter is missing or underpowered, browse reliable power supplies that match your laptop’s requirements.
Problem 4: USB Devices are not recognised
Unplug the device and connect it directly to your laptop. If it works directly but not through the dock, try another USB port on the dock.
Also, check whether the dock is receiving power. Some devices, such as external hard drives, need more power than a small unpowered hub can provide.
If several devices fail at once, restart the dock by disconnecting it from power, waiting briefly, then reconnecting it.
Problem 5: Ethernet is not Working
Check that the Ethernet cable clicks into place. Then check your laptop’s network settings to see whether the dock’s Ethernet adapter appears.
If the dock uses a USB network chip, a driver may be required. For office networks, you may also need IT approval or specific network settings.
Problem 6: Display Flickers or Goes Blank
Screen flickering is often caused by cable quality, bandwidth limits, driver issues or refresh rate settings.
Try this order:
- Use a shorter or higher-quality cable
- Switch from HDMI to DisplayPort if both are available
- Lower the refresh rate to 60Hz
- Lower the resolution temporarily
- Update graphics drivers
- Update dock firmware
- Avoid daisy-chaining unless your hardware clearly supports it
Problem 7: The Dock Works on One Laptop but Not Another
This usually points to laptop compatibility. One laptop may have Thunderbolt, while the other has a basic USB-C port. One may support DisplayPort Alt Mode, while the other does not.
This is why universal docking station setup is not always truly universal for every feature. A dock may connect to many laptops, but charging, display output and multi-monitor behaviour can still vary.
Docking Station vs USB-C Hub: What is the Difference?
- A hub is enough if you only need one HDMI port and a couple of USB ports.
- A docking station is better if you want dual monitors, Ethernet, charging, a keyboard and mouse, and a cleaner one-cable routine.
|
FEATURE |
DOCKING STATION |
USB-C HUB |
|---|---|---|
|
Best use |
Permanent desk setup |
Travel or light everyday use |
|
Power |
Often has its own power supply |
Often powered by the laptop |
|
Monitors |
Often supports one or more displays |
Usually more limited |
|
Charging |
Often supports laptop charging |
Some support pass-through charging |
|
Ports |
More ports for monitors, USB, Ethernet and audio |
Fewer ports |
|
Price |
Usually higher |
Usually lower |
|
Desk cable management |
Better |
Basic |
You can also compare affordable laptop accessories if you only need a small adapter, stand, cable or travel hub rather than a full dock.
When is a Docking Station Not Worth Paying Extra for?
A docking station is useful, but not everyone needs an expensive one.
A premium dock may not be worth it if:
|
A higher-end dock is more sensible if:
|
Best Setup Order for a Clean Desk
For a neat and reliable setup, connect your desk accessories in this order:
- Dock power adapter
- Monitor cables
- Keyboard and mouse
- Ethernet cable
- Webcam, headset and external drives
- Dock-to-laptop cable
- Display settings and driver updates
Once everything works, tidy the cables with clips or cable ties. Leave the main dock-to-laptop cable easily accessible so you can connect and disconnect quickly.

Final Verdict: How to Set Up a Docking Station Properly
Setting up a docking station is simple once you know what your laptop, dock and monitors can actually support. Start with the right port, use the correct cable, connect your displays and accessories in the right order, then adjust your display settings so everything works the way you want.
The main thing is not to assume that every USB-C dock will work the same with every laptop. Check video support, charging wattage, monitor limits and driver requirements before you buy or troubleshoot. Do that, and a docking station can give you a cleaner desk, fewer cables and a much easier way to work from your laptop every day.

What People Also Ask About Docking Station Setup
Do I need to install drivers to set up a docking station?
Not always. Many USB-C and Thunderbolt docks work automatically for basic functions, especially on updated Windows laptops. However, some docks need drivers for full display, Ethernet, audio or USB features.
Why is my laptop not charging when connected to a docking station?
Your laptop may not charge through the dock if the dock does not support power delivery, the USB-C port does not accept charging, the cable is not suitable, or the dock’s wattage is too low. Check the wattage of your laptop charger and compare it with the dock’s power delivery rating.
Can any docking station work with any laptop?
No. A docking station may physically plug into your laptop, but that does not mean every feature will work. Video output, charging, dual monitors, Ethernet, and high-speed data depend on the laptop port, the dock specification, the cable, drivers, and the operating system.
How do I connect two monitors to a laptop using a docking station?
Connect both monitors to separate video outputs on the docking station, such as HDMI and DisplayPort. Then connect the dock to your laptop and open Display settings. Choose “Extend” these displays so each monitor works as its own screen.
What is the difference between a docking station and a USB-C hub?
A docking station is usually built for a permanent desk setup with more ports, external power, monitor support, Ethernet and laptop charging. A USB-C hub is usually smaller, cheaper and better for travel.
| Read More |
| Essential Features to Consider When Choosing a Laptop Docking Station in the UK |
| What are the Benefits of Using a Docking Station? |
| How to Connect Two Monitors to a Laptop? |
Related Articles
Last Updated: January 26, 2026
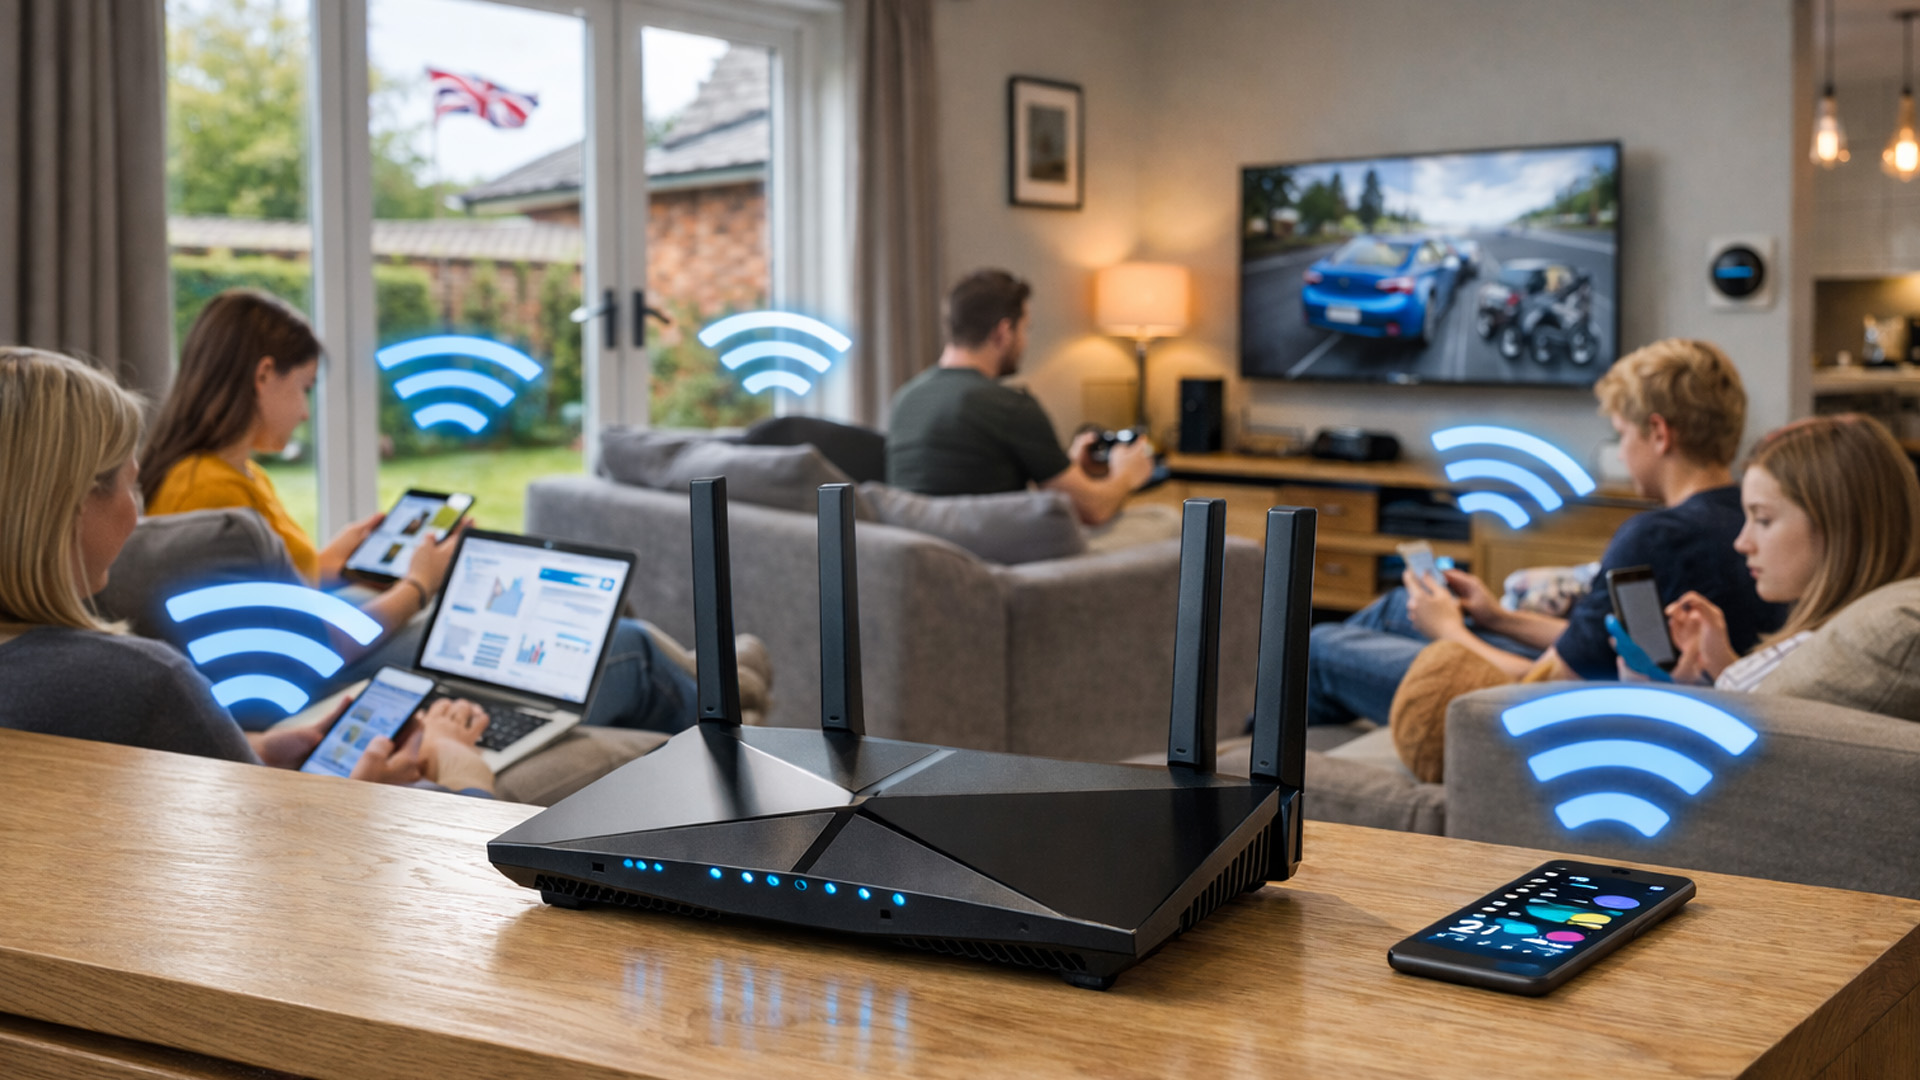
From working remotely and online learning to 4K streaming, smart home devices, and competitive gaming, UK households are placing more demand than ever on their home networks. Yet many homes still struggle with weak signals, dead zones, and inconsistent speeds. This is where mesh Wi-Fi explained properly can make all the difference.
In this guide, we’ll break down exactly how mesh Wi-Fi works, why it’s ideal for British homes, and how to choose the right system for your space. Whether you live in a Victorian terrace with thick brick walls, a multi-storey townhouse, or need reliable connectivity in a garden office, a modern Wi-Fi mesh system could be the upgrade your home network needs.
Mesh Wi-Fi Explained: What is a Mesh Network?
Traditional home Wi-Fi usually relies on a single router placed near where your broadband enters the property. While this can work in smaller flats, it often struggles to deliver consistent coverage across larger or more complex homes. Signal strength drops rapidly
Last Updated: January 26, 2026
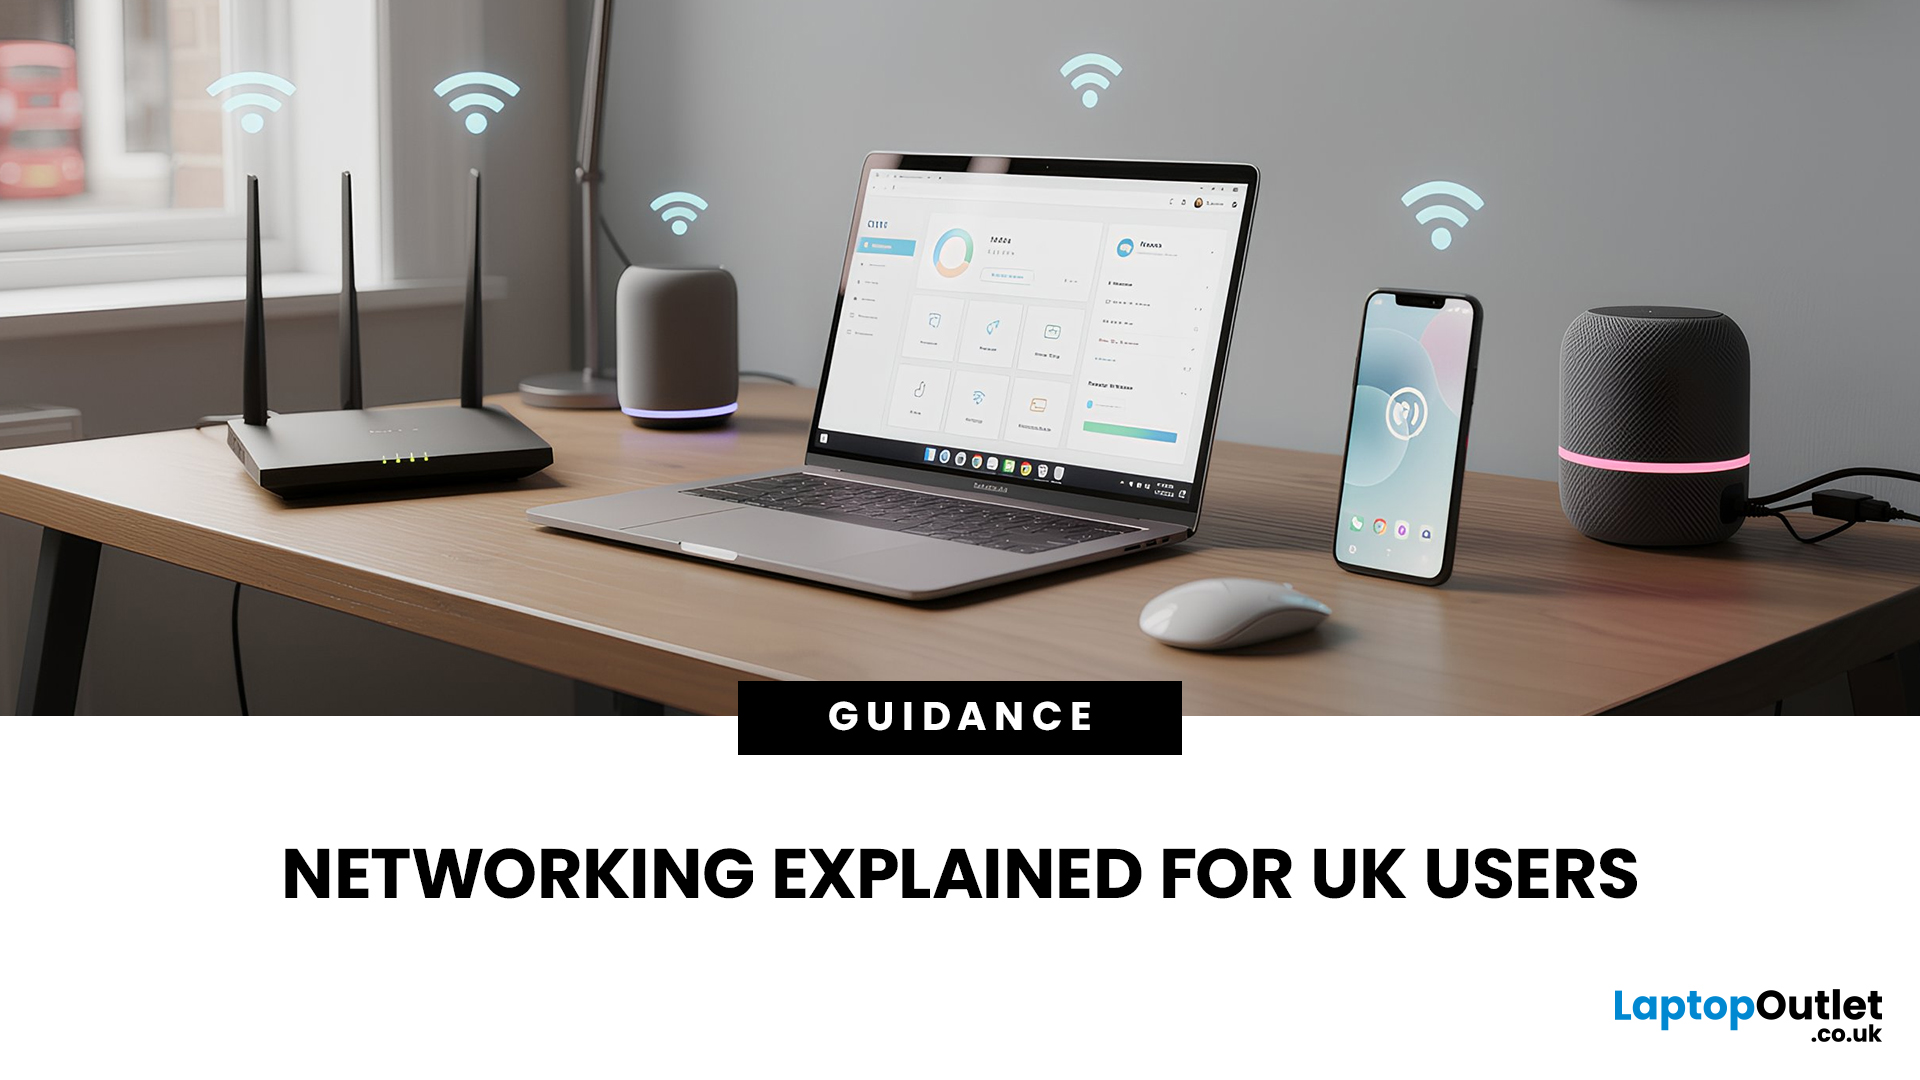
In today’s UK homes and offices, networking isn’t optional - it’s the backbone of how we work, study, stream, and stay connected. From remote meetings and online gaming to smart homes and cloud storage, everything relies on reliable networking accessories and networking devices working together behind the scenes.
Yet many people still struggle with slow Wi-Fi, unstable connections, or poor coverage, not because their internet provider is bad, but because their networking equipment isn’t set up correctly.
What Is Networking? (A Simple Explanation)
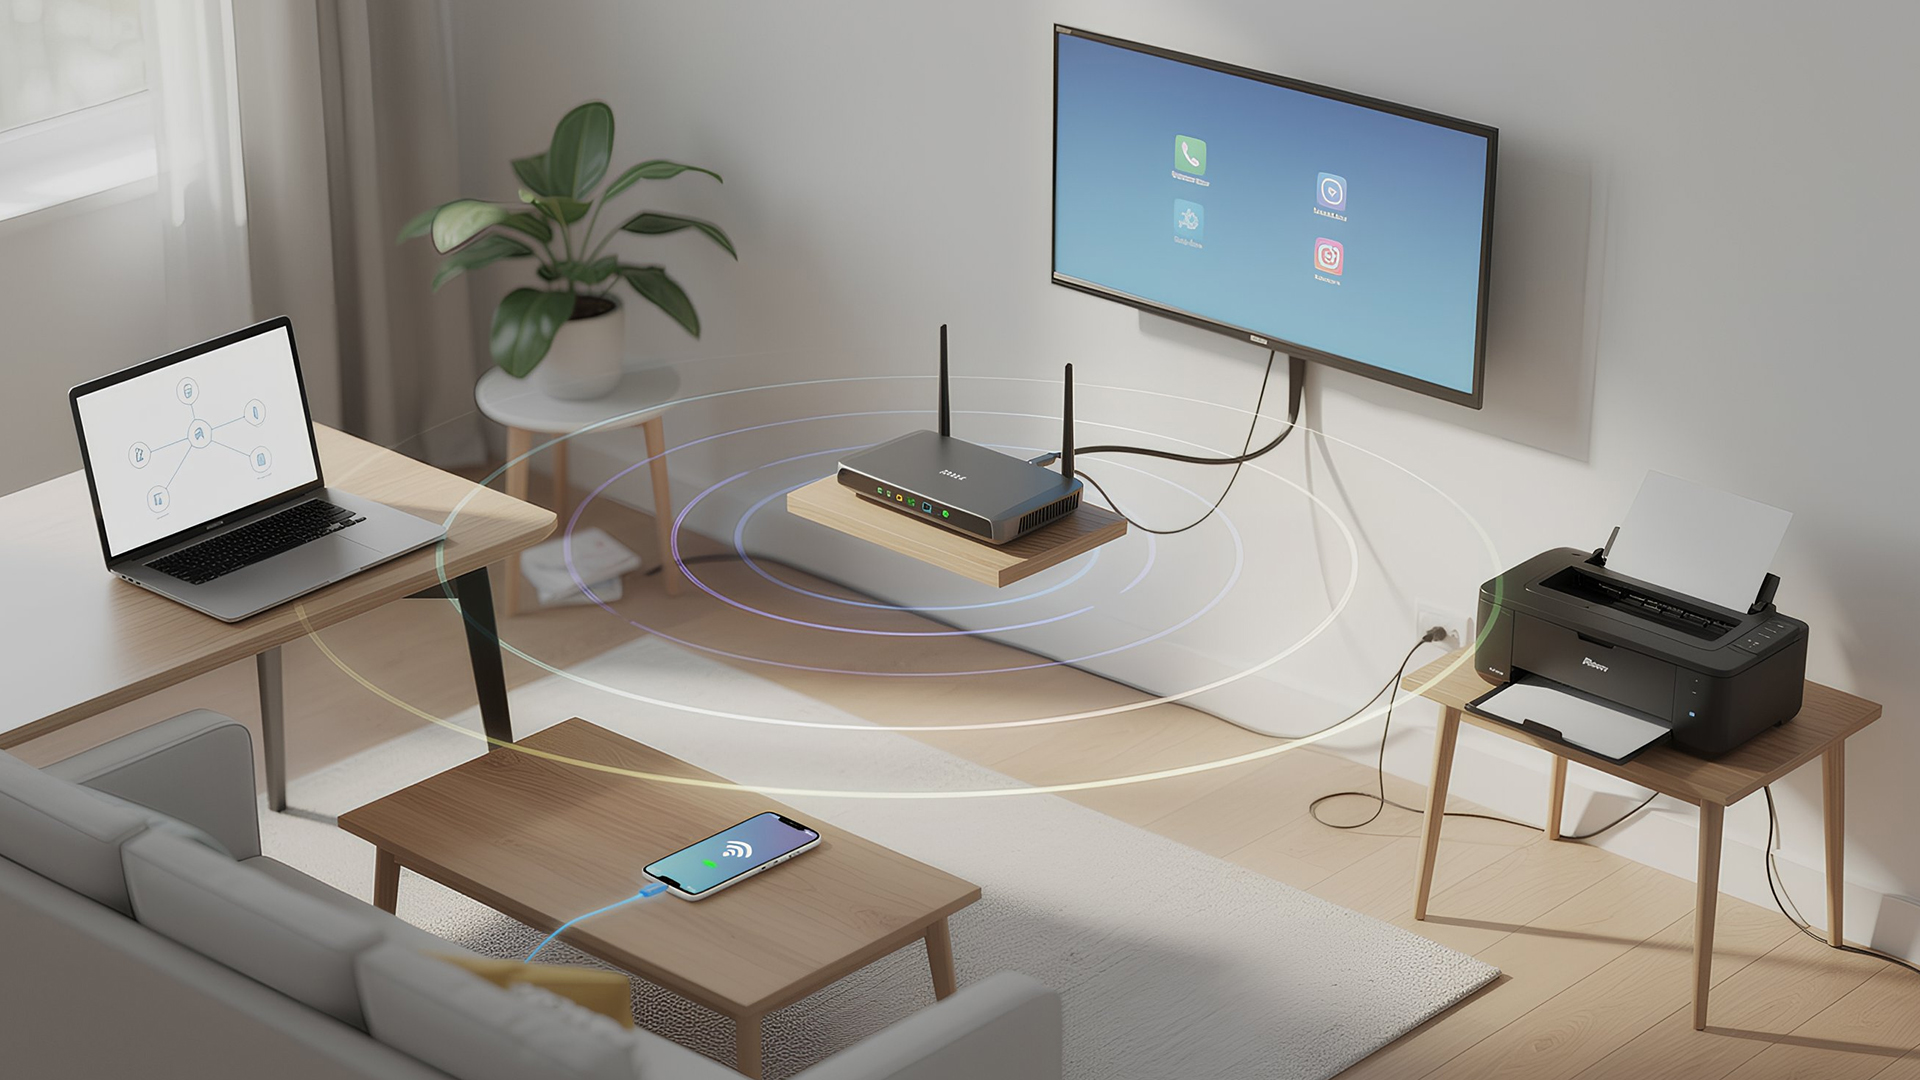
Networking is the process of connecting devices so they can communicate, share data, and access the internet. These devices might include:
- Laptops and desktops
- Smartphones and tablets
- Printers and scanners
- Smart TVs and streaming devices
- Smart home systems (lights, cameras, thermostats)
To make this possible, you need a combination of networking devices (like routers and access points) and networking accessories (such as network cards, adapters,
Last Updated: April 07, 2026
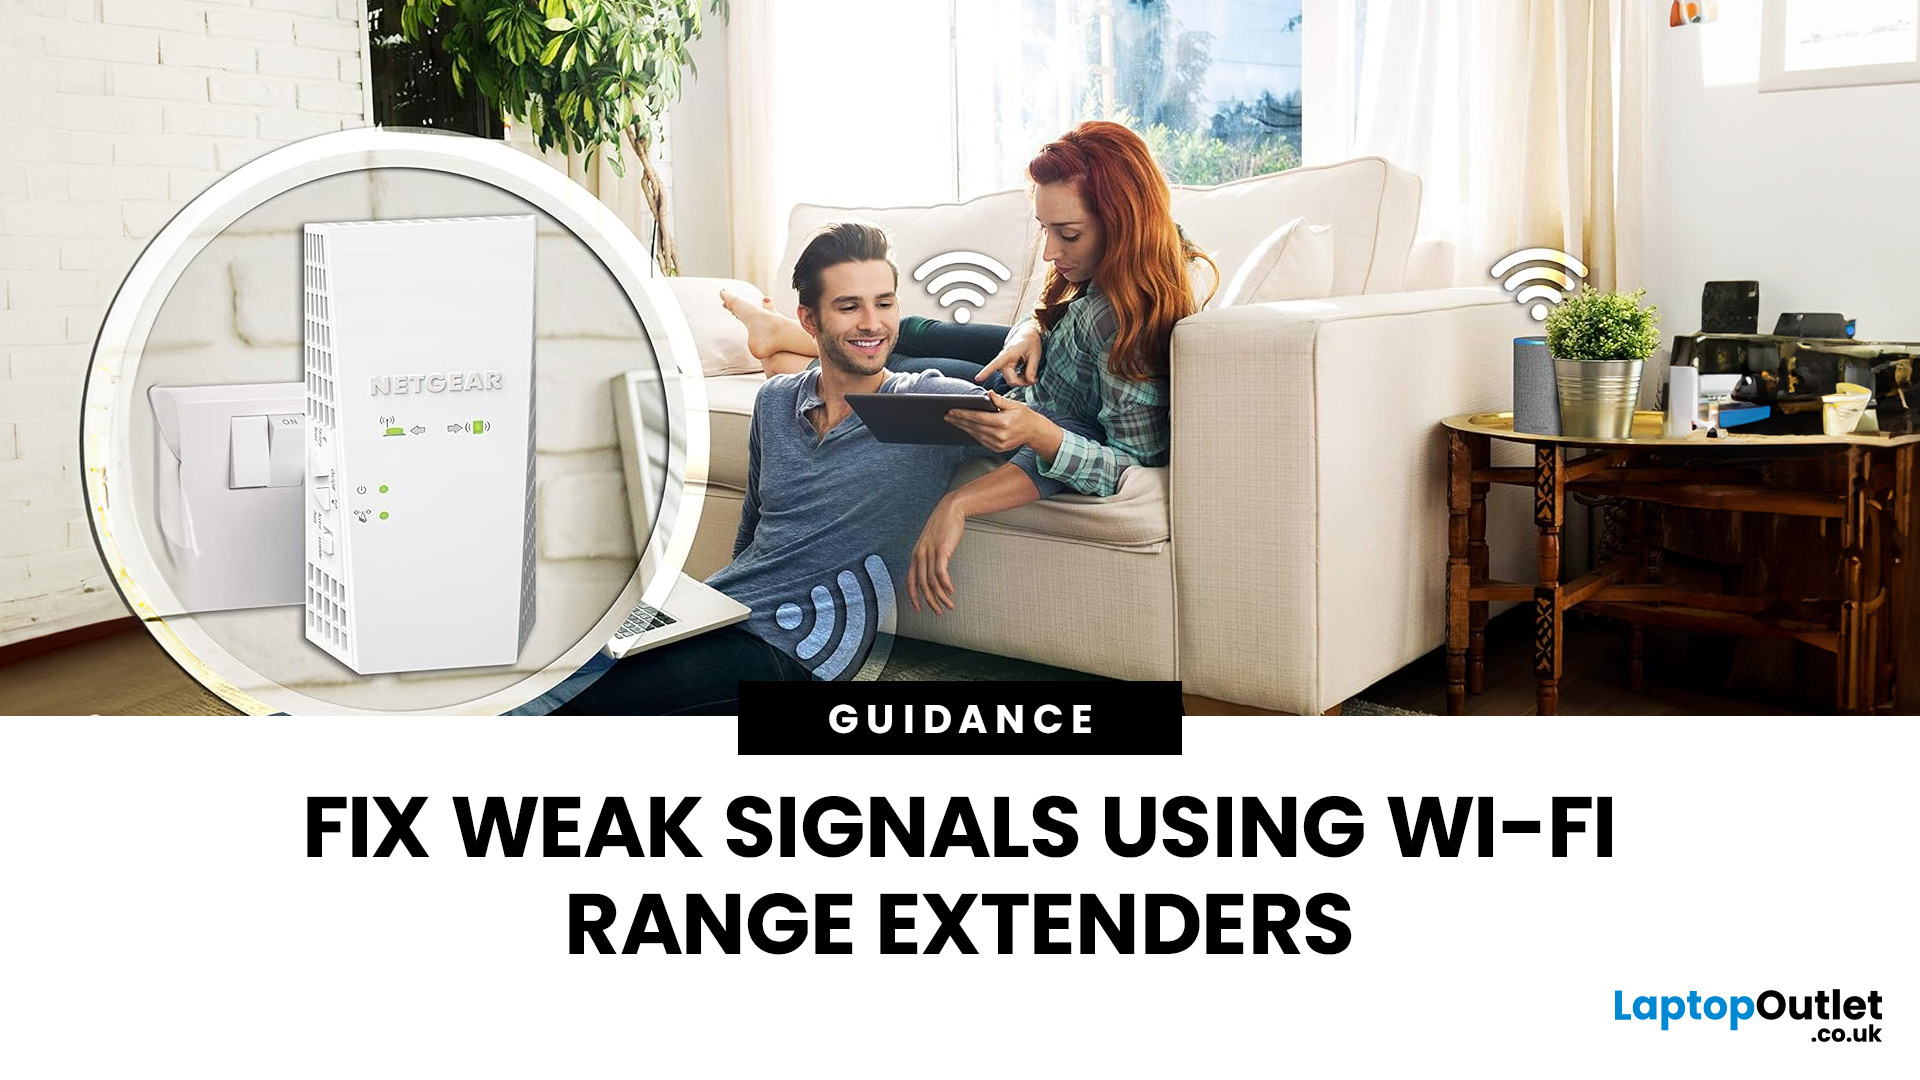
Imagine settling down to stream your favourite show, only for the screen to freeze. Perhaps you are working from home, but your video call drops as you enter the kitchen. Dead zones and buffering are incredibly frustrating in our connected world.
These issues occur because Wi-Fi signals struggle to travel through thick walls or over long distances. Fortunately, Wi-Fi range extenders offer a simple solution. These clever devices bridge the gap, boosting internet coverage to every corner.
This comprehensive guide will list top Wi-Fi extenders available in the UK to help you eliminate dead zones for good.
Wi-Fi Extenders Explained
A Wi-Fi range extender is a networking device designed to bridge the gap between your router and the areas in your home or office with poor connectivity.
The Mechanism
The mechanism is straightforward. The extender sits between your main router and the dead zone. It catches the existing wireless signal from your router, amplifies it, and then re-broadcasts it into

Last Updated: June 05, 2026
Dead zones and buffering are the enemies of a modern home. We rely on the internet for almost everything. We stream 4K movies in the lounge. We join video calls in the home office. We play fast-paced games in the bedroom. However, thick walls and long distances often weaken Wi-Fi signals.
This is where home network powerline adapters become essential. They offer a clever way to extend your internet connection without drilling holes or running long, messy network cables through your hallway. In this guide, we will explore the best PLC adapters UK residents can buy today.
What is a Powerline Adapter?
A powerline adapter (also known as a PLC adapter) is a device that sends internet data through the copper wiring in your walls. Most people use these home network powerline adapters to connect devices that require high bandwidth, such as gaming consoles, smart TVs, laptops, or desktop PCs. They provide the stability of a wired network adapter with the convenience of a plug-and-play setup.

Last Updated: January 26, 2026
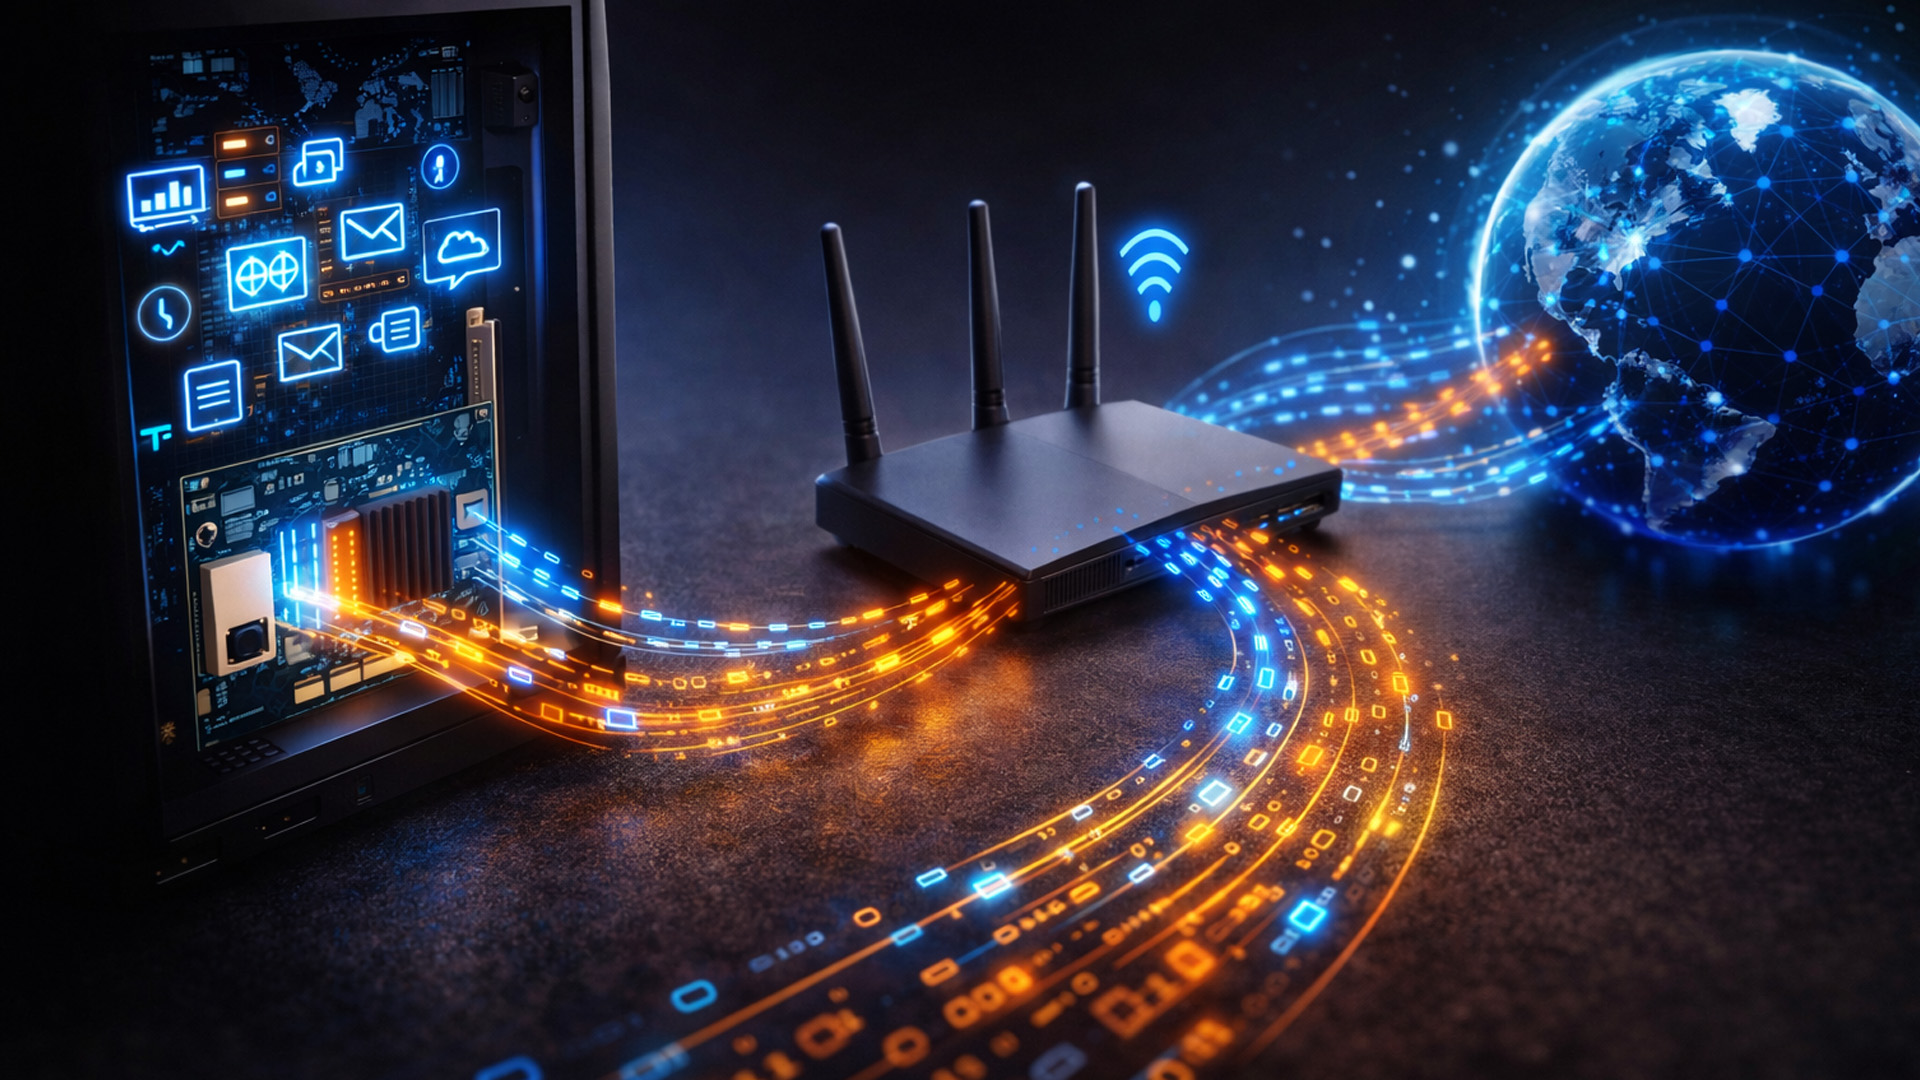
Whether you are gaming, working from home, or streaming 4K content, having a slow internet connection is frustrating. While many people blame their ISP or router, the culprit might be inside your computer. Upgrading to high-quality network cards can transform your online experience.
In this guide, we will explore the best options available in the UK. We will also explain the technology behind these devices to help you make an informed choice.
What is a Network Card?
A network card, also known as a Network Interface Controller (NIC), is a hardware component that allows a computer to connect to a network. It acts as a middleman. It takes data from your computer and translates it into a format that can travel through cables or radio waves.
How Network Cards Work
If you are wondering how network cards work, think of them as a translator. Your computer processes data in a specific way. To send this data to a router or another PC, it needs to be packaged correctly.
The network card prepares
Last Updated: April 03, 2026
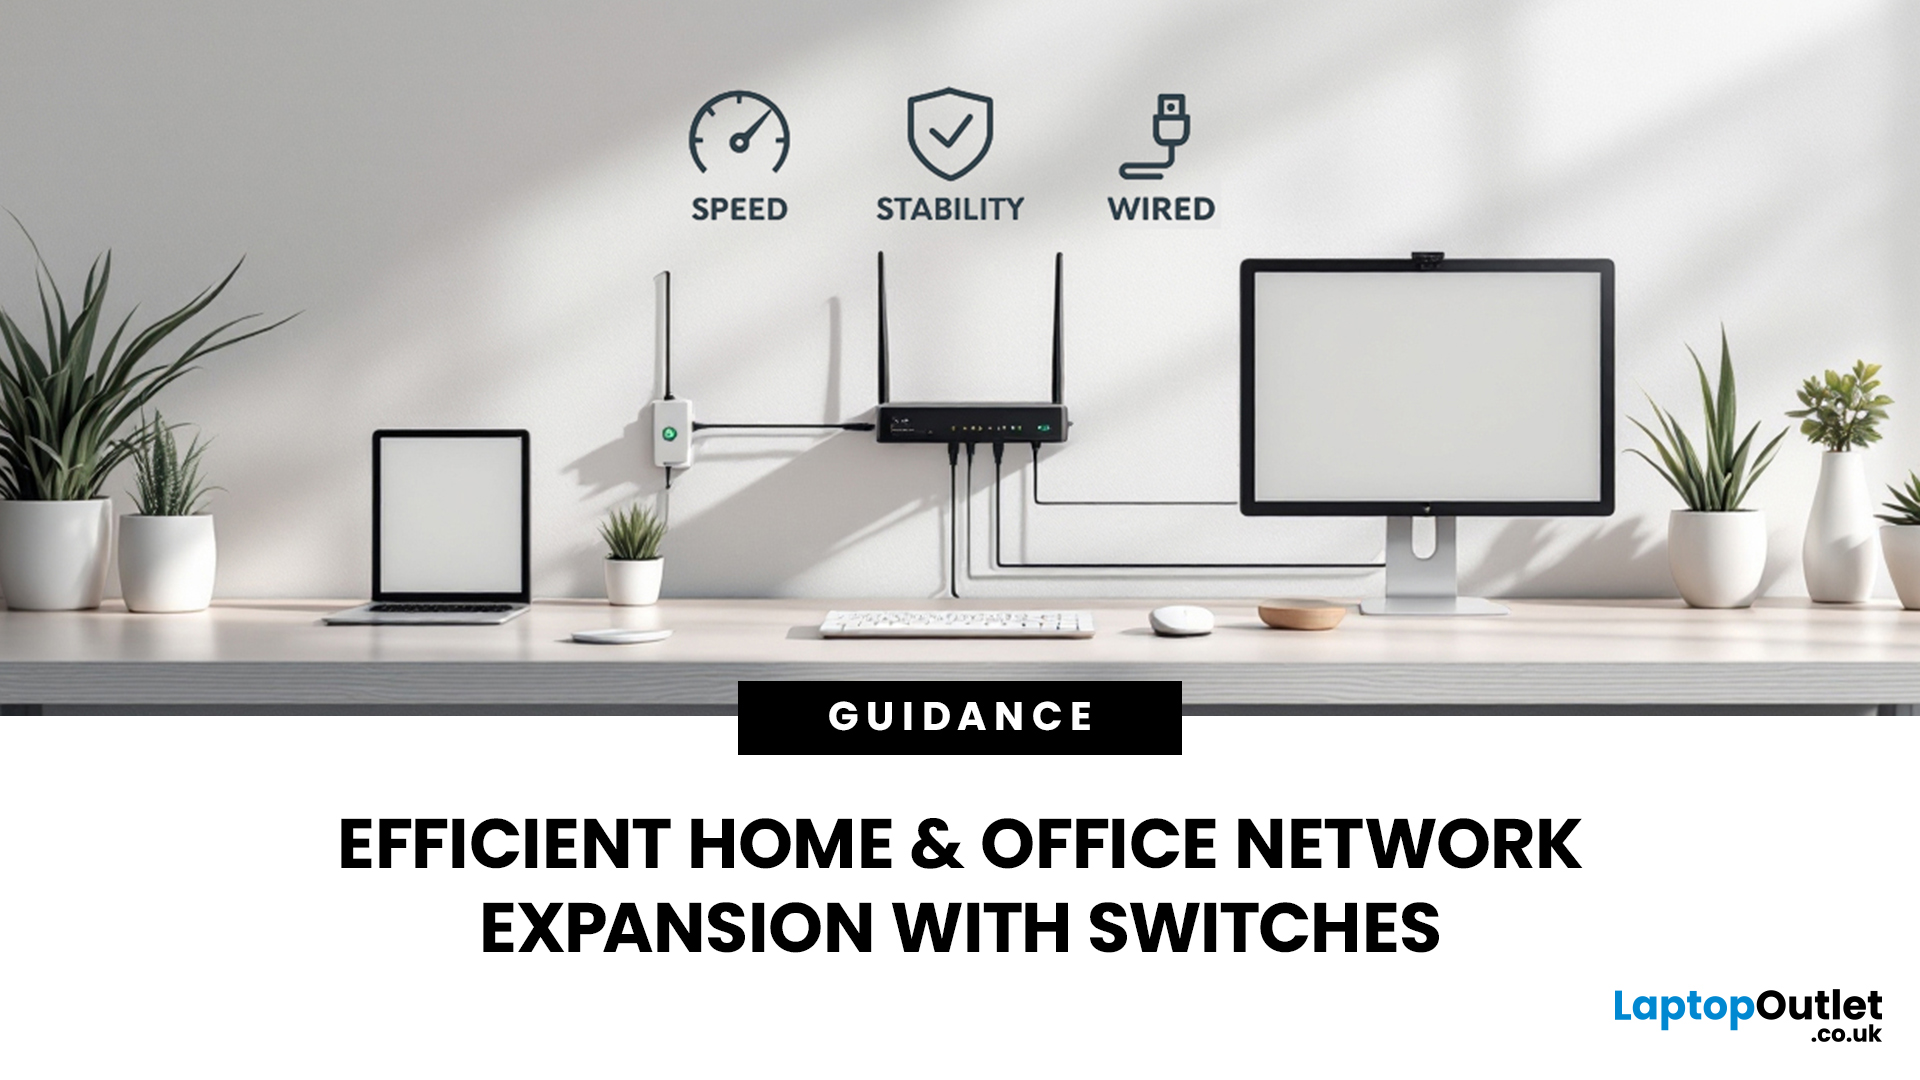
Slow, glitchy internet is a certified vibe killer. One minute you’re streaming in 4K or mid-game, the next everything freezes, painful. That’s the problem. The solution? A solid wired setup. A well-organised network isn’t just “nice to have” anymore, it’s essential for modern homes and busy offices. That’s where this network switch guide UK comes in. We’ll break down what network switches actually do, why a wired network switch UK boosts speed and stability, and how to choose the right one for your setup. No jargon, no stress, just smoother connections and fewer rage quits.
How do Network Switches Help with Connectivity?
A network switch is a device that connects multiple wired devices within a local area network (LAN). Unlike older hubs, switches intelligently direct data only to the device it’s intended for, improving both speed and security.
By acting as a central connection point, network switches allow devices such as desktop PCs, laptops, printers, servers, smart TVs, and games
Last Updated: January 26, 2026
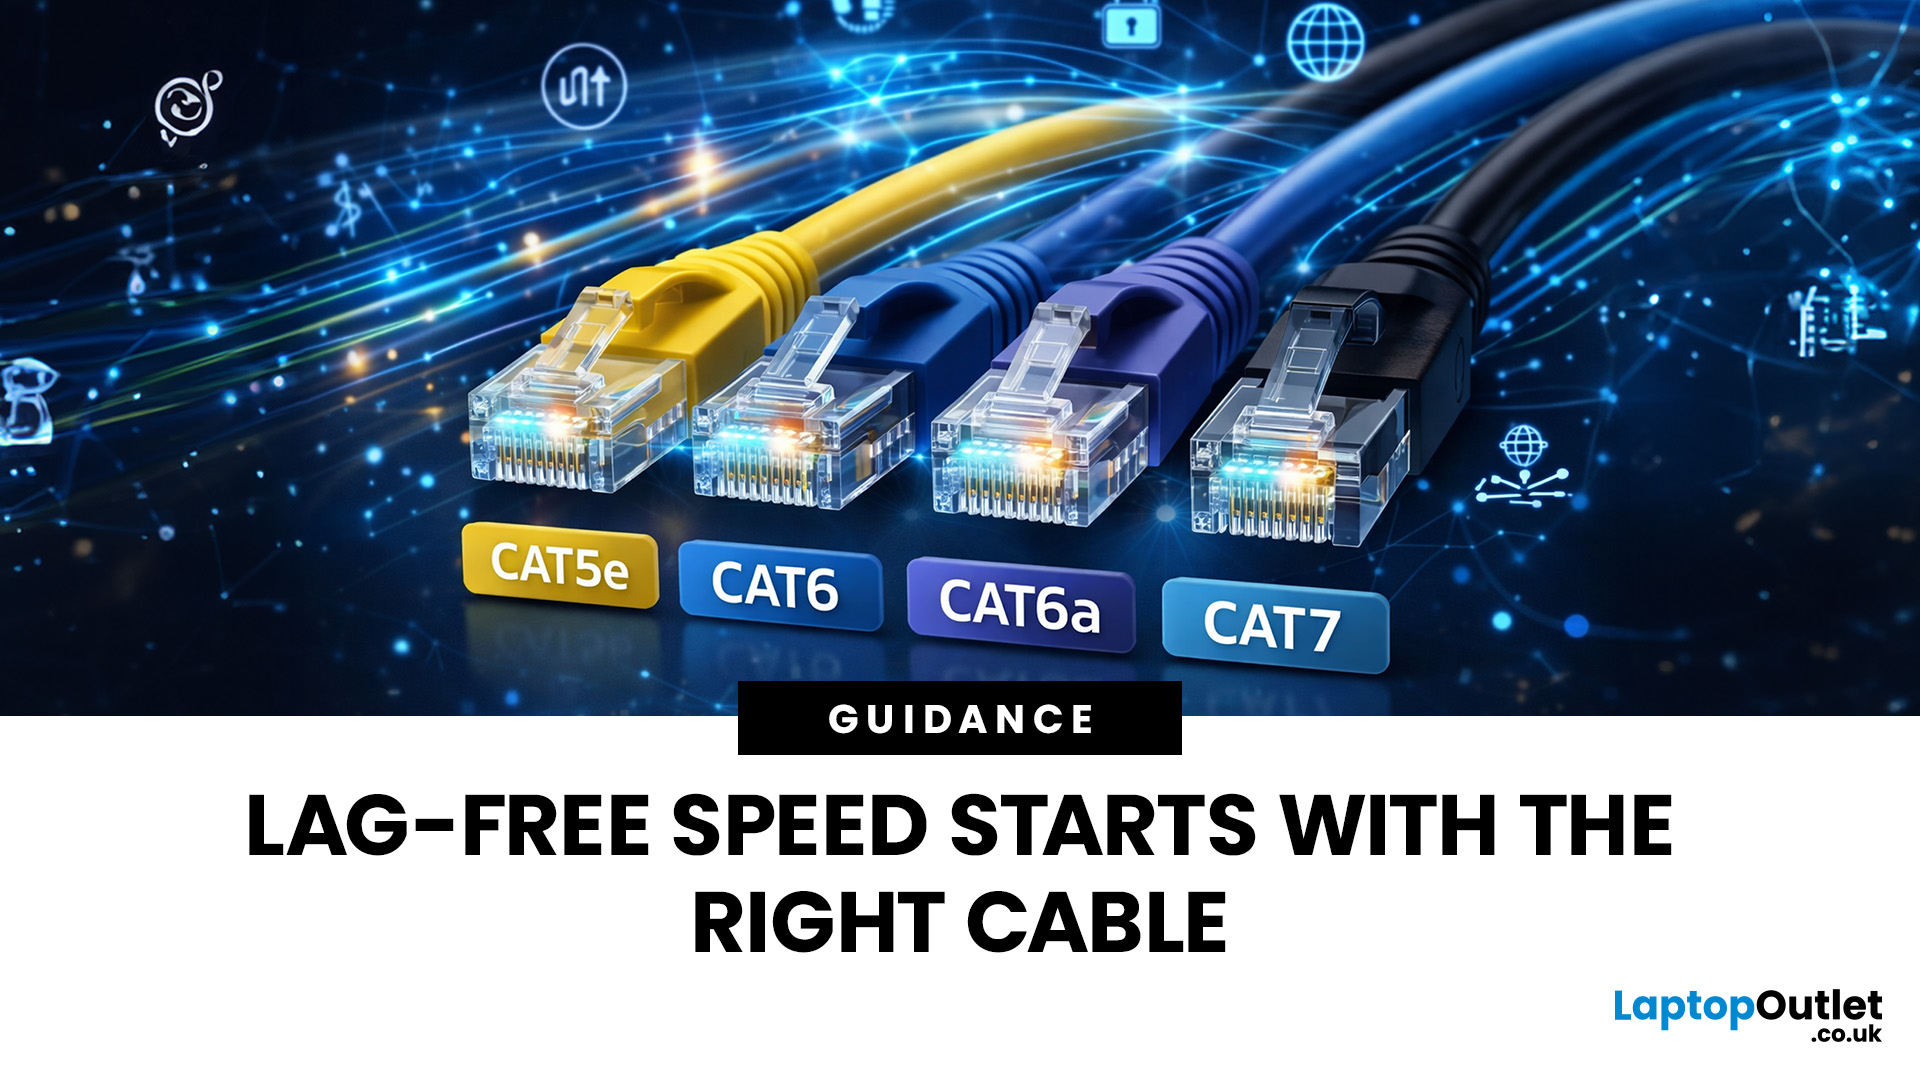
Network cables are the essential, physical links that form the backbone of any robust, high-speed network. While wireless is popular, wired connections provide unmatched stability and speed for gaming, streaming, and business operations.
In this post, we’ll get network cables explained simply, covering everything you need to know about choosing and installing Ethernet cables for your UK home or office.
Why Wired Connectivity Matters in 2026
Wired connections are the secret to a stress-free digital life. They offer a level of performance that wireless routers often promise but rarely deliver consistently.
Unmatched Speed & Reliability
Physical LAN cables eliminate the frustrating signal dropouts often found with wireless signals. This reliability is vital for professional home offices and growing business environments. A direct wire ensures your bandwidth remains consistent throughout the entire day.
Low Latency for Serious Users
Low latency is the secret to a smooth experience
Last Updated: January 26, 2026
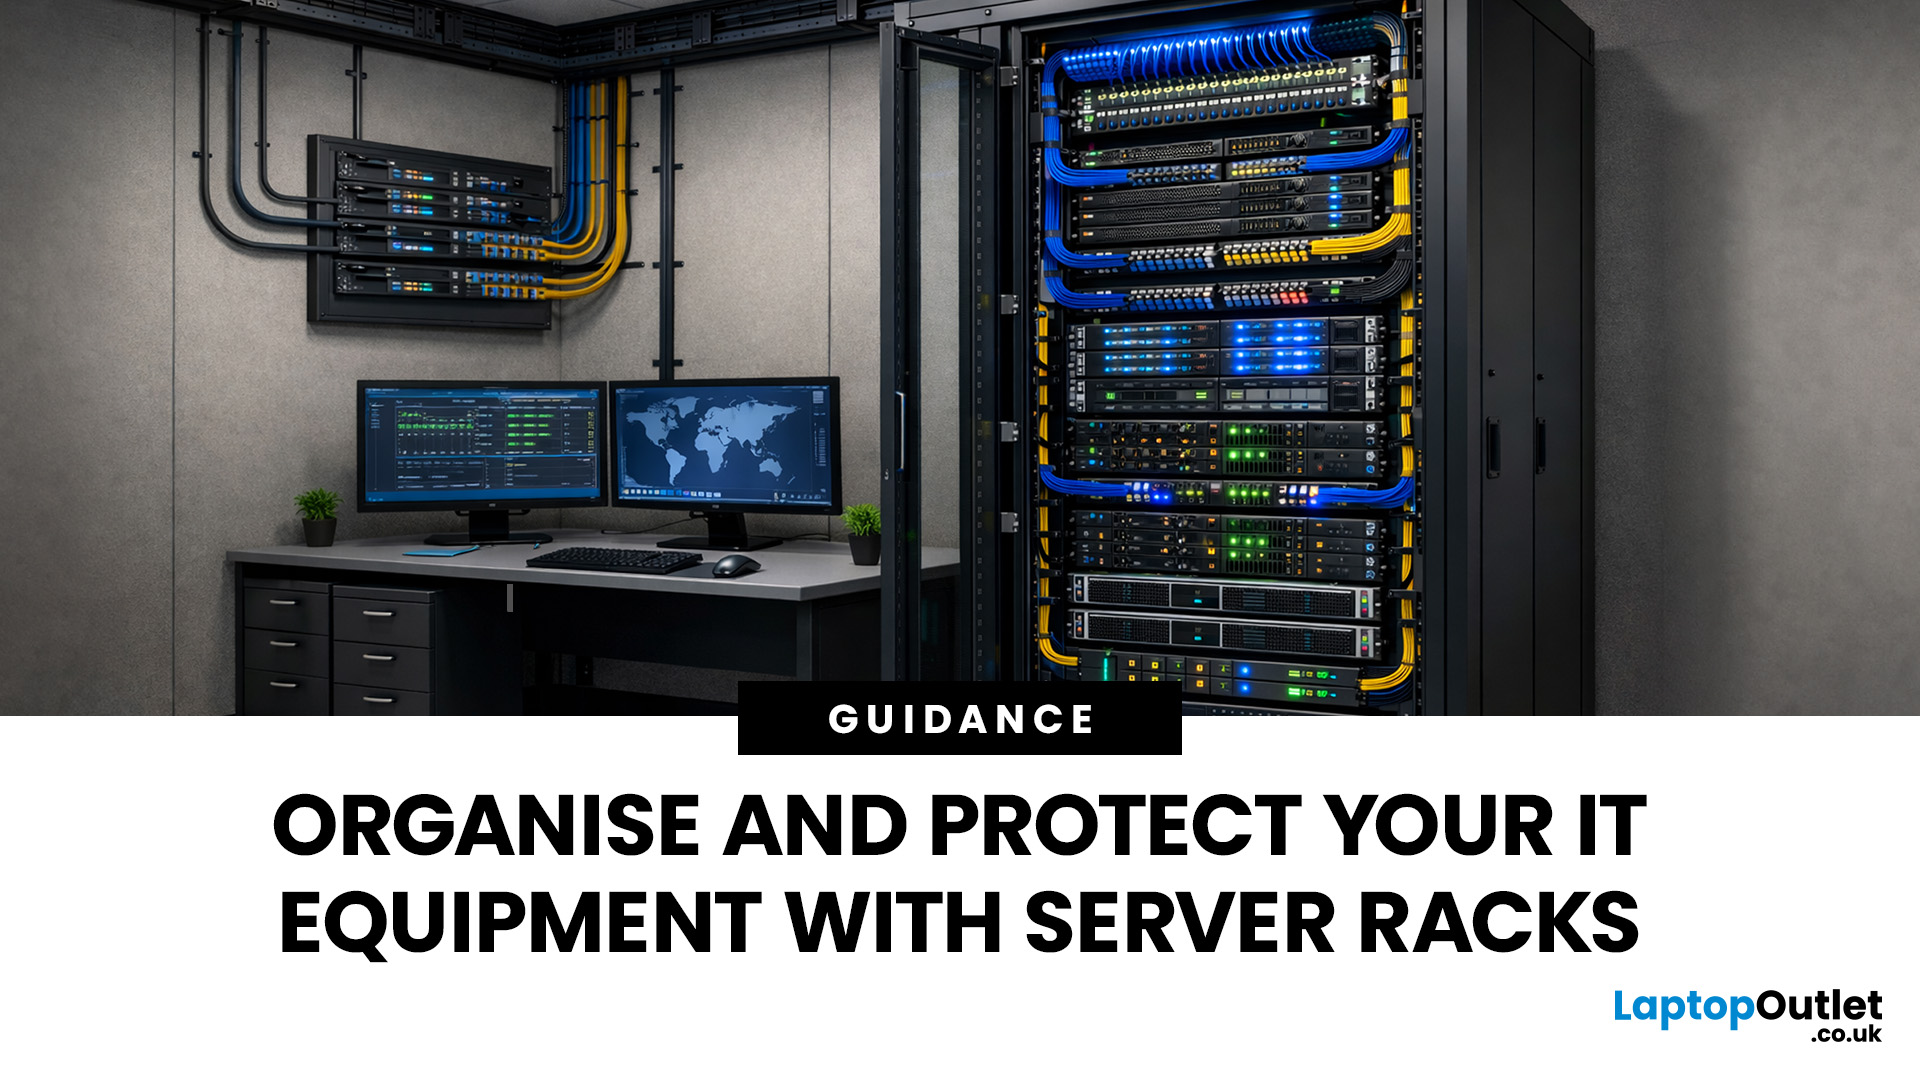
Modern businesses and home offices rely heavily on digital connectivity to stay productive. Managing various devices can become quite difficult without a clear plan for physical hardware.
Proper cable management and hardware protection are essential for any reliable setup. Investing in the right storage ensures your devices stay cool, safe, and accessible at all times.
Many people often ask, what is a server rack and how does it help? Understanding this central piece of infrastructure is the first step toward a professional IT environment.
What is a Server Rack?
A server rack is a specialised steel frame designed to hold, stack, and secure various IT components, including servers, switches, and routers. These units are built to a standard width, usually 19 inches, allowing equipment from different brands to fit perfectly into the same space.
Whether you are looking at professional server racks or a small home server rack, the goal is the same. You want to keep your hardware safe, cool,
Last Updated: January 26, 2026
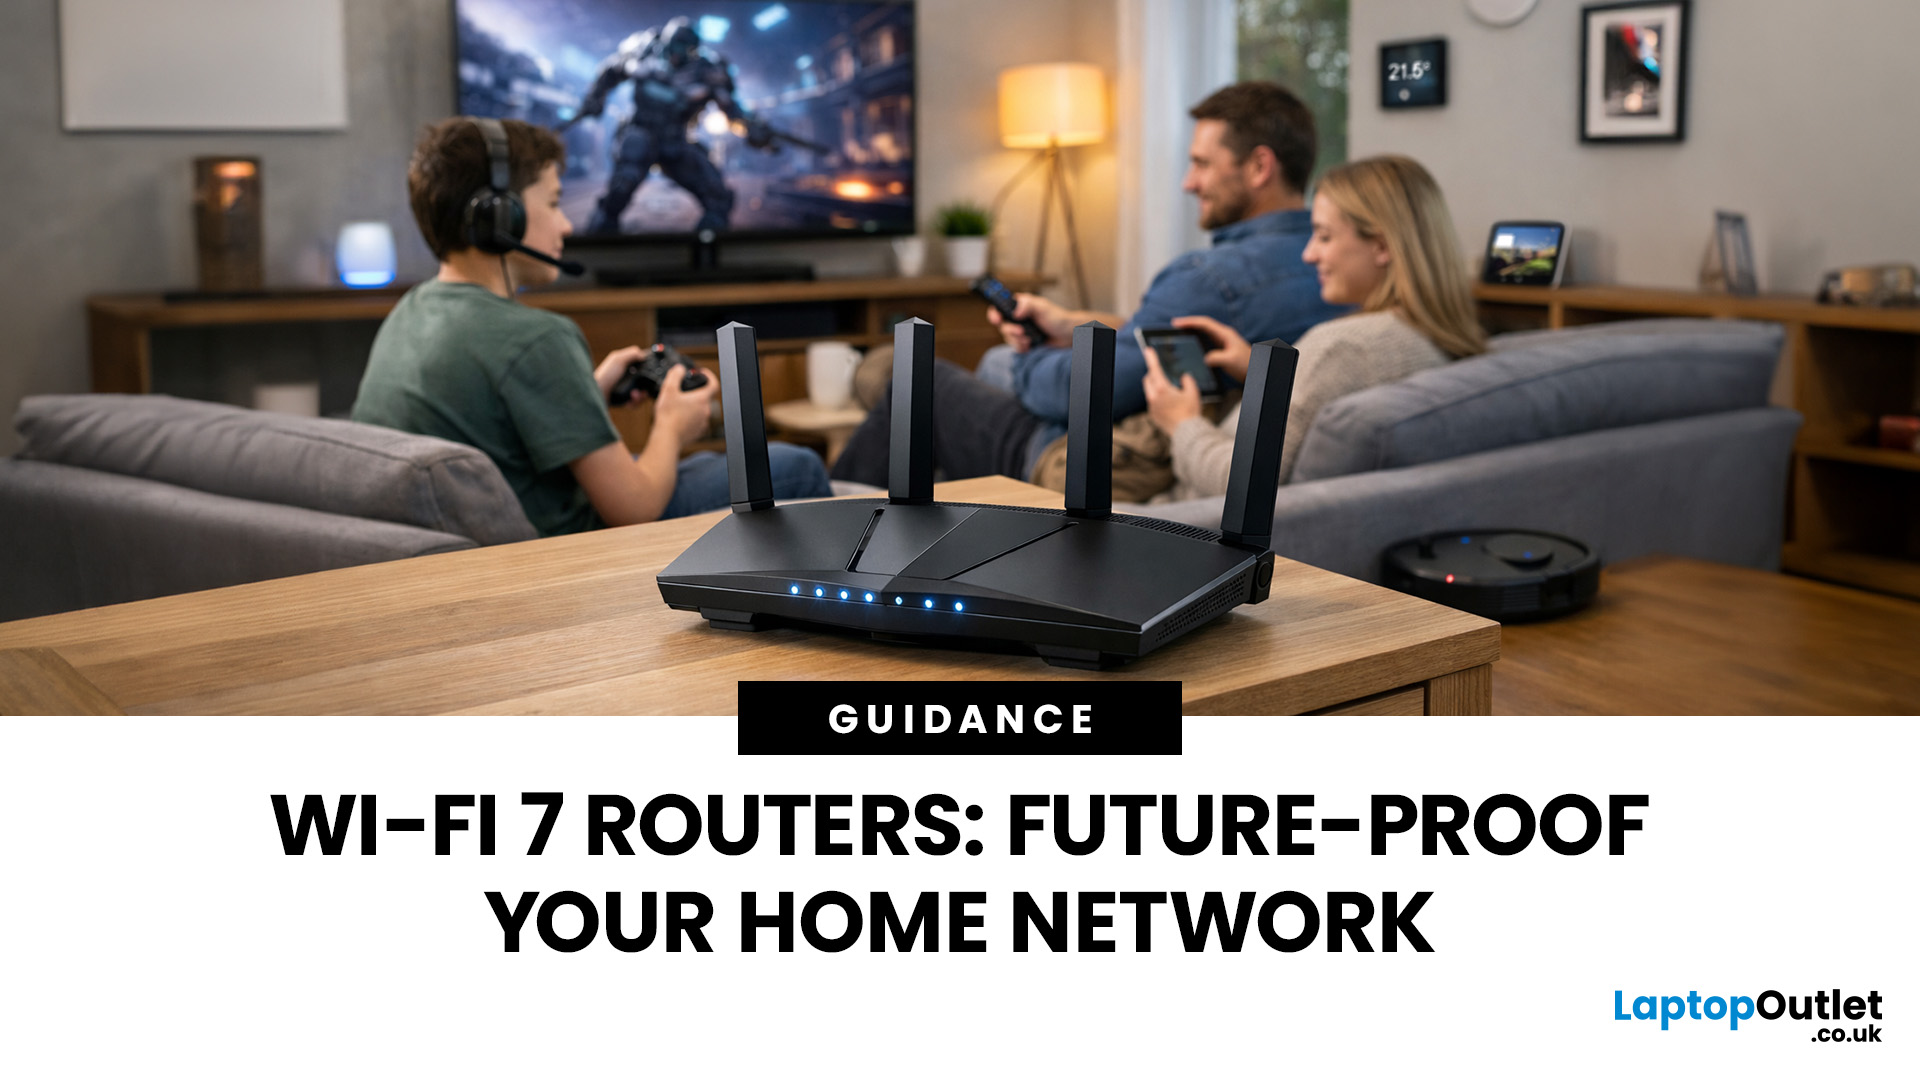
Wi-Fi 7 is being described everywhere as “the fastest Wi-Fi ever”, but that description alone doesn’t help most people decide whether it actually matters for their home.
To understand the real Wi-Fi 7 benefits for home users, you first need to understand why Wi-Fi 7 exists at all and what problems previous generations never fully solved, especially in modern UK homes.
This section breaks Wi-Fi 7 down in plain language, without marketing noise, so you can understand what genuinely changes and what doesn’t.
The Evolution of Home Wi-Fi: Why Wi-Fi 7 Exists
Home Wi-Fi hasn’t evolved because people want bigger speed numbers. It’s evolved because how we use networks has fundamentally changed.
Where Older Wi-Fi Generations Fell Short
Wi-Fi 5 (802.11ac) was built for a world where:
- Most homes had a few devices
- Streaming was mainly HD
- Smart homes were rare
Wi-Fi 6 (802.11ax) improved efficiency and multi-device handling, but it still assumed:
- Moderate device counts
- Predictable usage patterns
- Limited
Last Updated: March 12, 2026
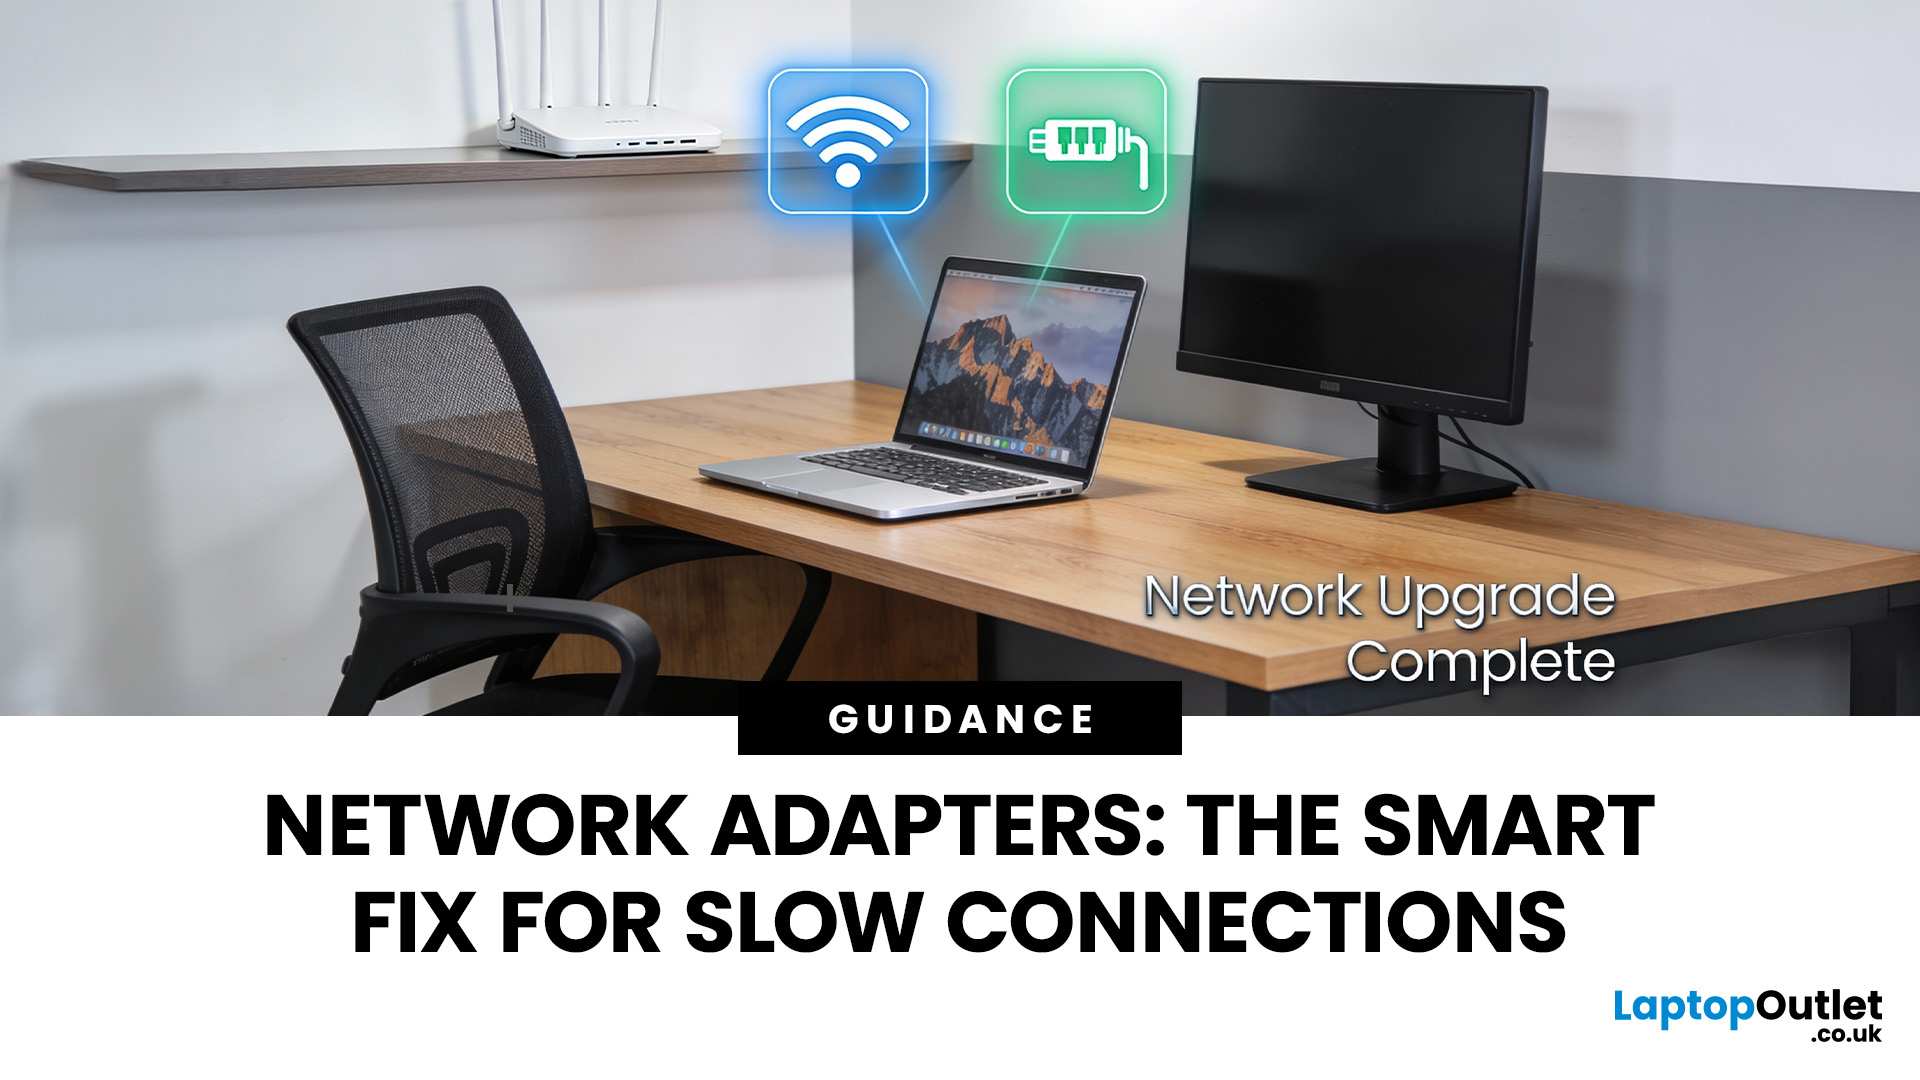
If you’ve ever wondered why your laptop struggles to stay connected while your phone works perfectly on the same Wi-Fi, the answer is often simpler than people expect.
It’s usually the network adapter.
Understanding what is a network adapter, and what it actually does — is the key to fixing many everyday connectivity problems without replacing your router, broadband plan, or entire device.
This section explains network adapters in plain English, with real UK use cases, so you can recognise when an adapter is the missing piece in your home or PC setup.
What Is a Network Adapter, Really?

A network adapter is the component that allows a device to connect to a network, either wirelessly or with a cable.
Every device that accesses the internet has one:
- Laptops and PCs
- Smartphones and tablets
- Smart TVs and consoles
Without a network adapter, a device simply cannot communicate with your router or the wider internet.
Think of the adapter as a translator:
- Your router speaks “network”
- Your device