



How to Transfer Your PC into a New Case: A Case-Swap Checklist
Quick Answer
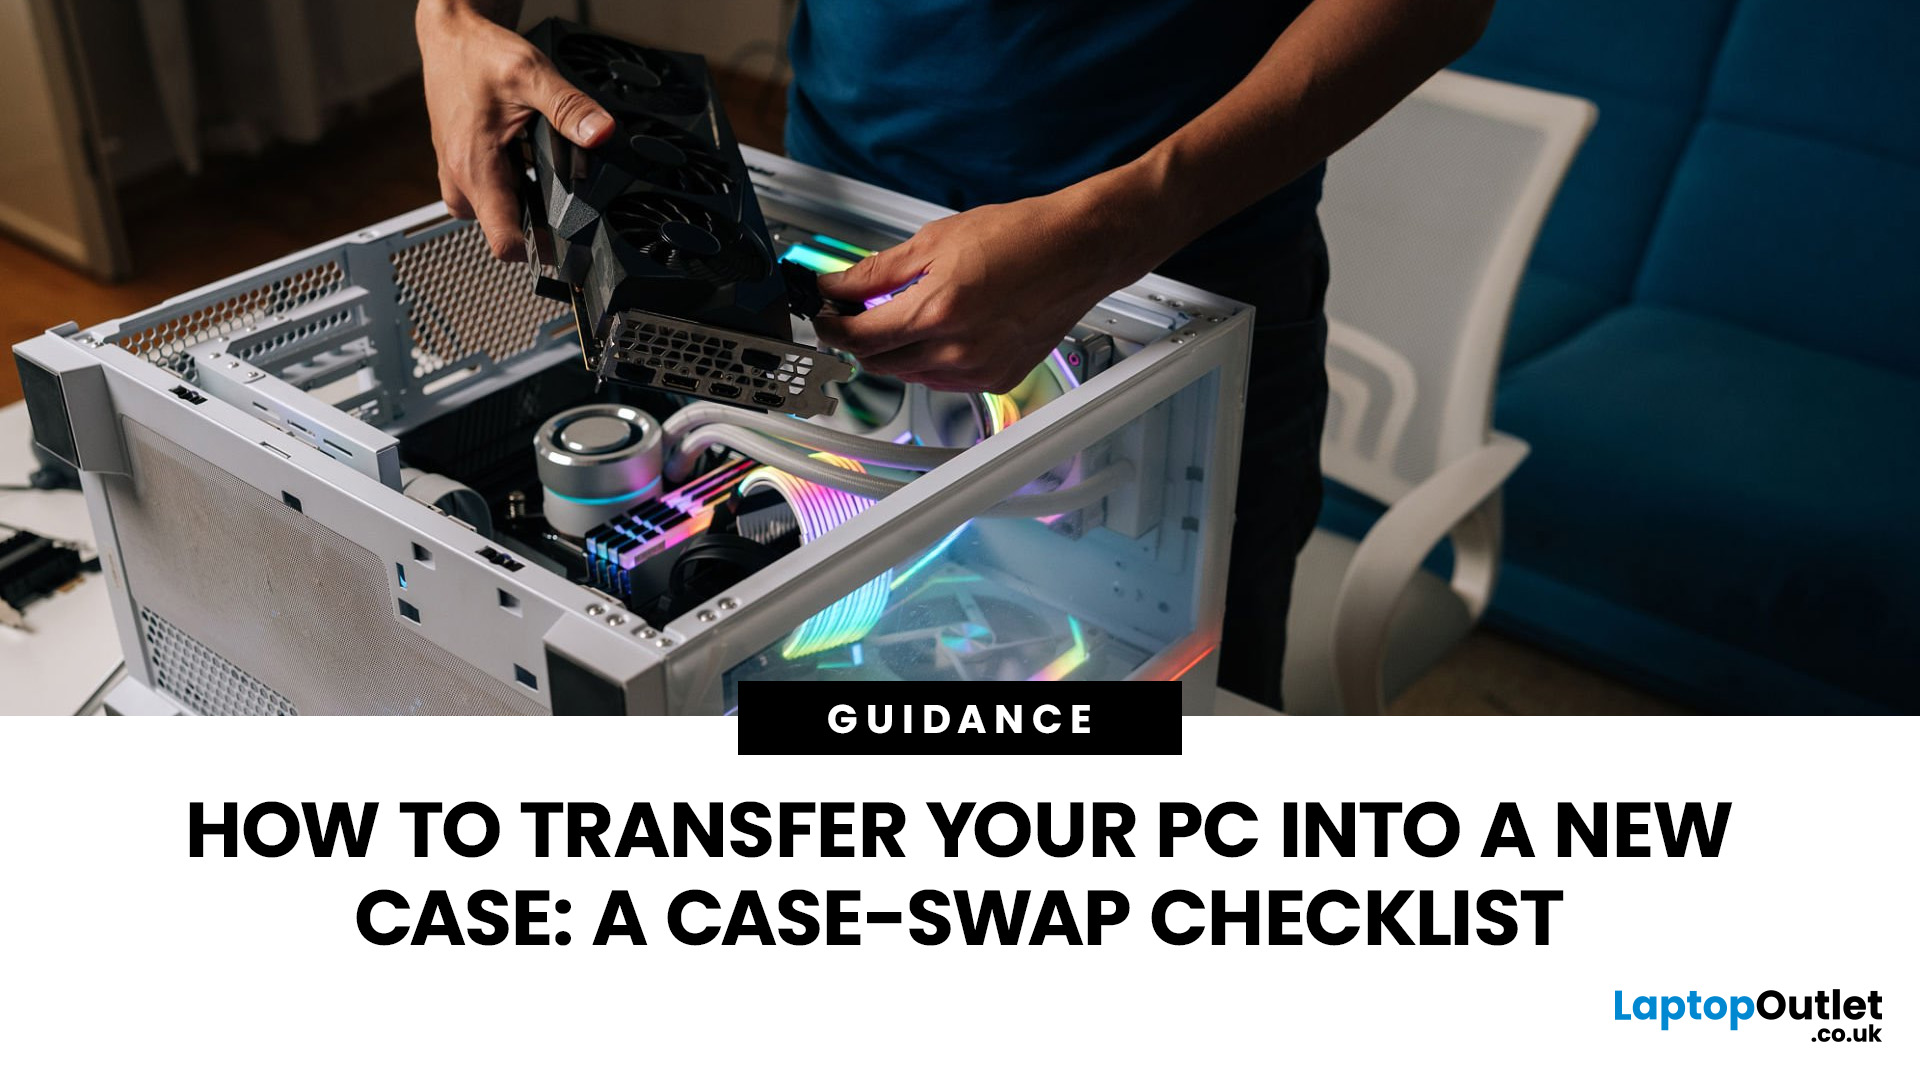
To learn how to change PC case safely, first confirm that the new chassis fits your motherboard, graphics card, power supply and cooling hardware. Photograph every cable before disconnecting it, remove the GPU and PSU, transfer the motherboard carefully, reconnect front-panel and power cables, then test the system before closing the case. Most components can be reused without reinstalling Windows.
A PC case swap is not the same as building a computer from scratch. Your processor, memory, storage and operating system are already working. The job is to move that working hardware into a new chassis without creating a new compatibility or cabling problem along the way.
The safest approach is to treat changing computer case hardware as a controlled transfer. Check the new case first, document the old build, remove parts in a sensible order, prepare the new chassis, then reconnect and test before you tidy every cable.
Before You Change PC Case: Check Compatibility First
Before you start dismantling anything, check out PC cases for rebuild by the parts you already own. A case can look large enough from the outside and still fail on one critical measurement inside.
Use the exact model specifications for both the new case and your existing hardware. Do not rely only on labels such as ATX, mid-tower or gaming case, because clearance can change once radiators, front fans, drive cages or vertical GPU hardware are installed.
|
Check |
What to confirm |
Why it matters |
|
Motherboard |
Form factor, standoff pattern and rear-connector support |
A board must align with the tray and case cut-outs. |
|
Graphics card |
Length, thickness, height and power-cable clearance |
A GPU can fit by length but still press against the side panel or radiator. |
|
CPU cooler |
Air-cooler height or radiator size/thickness |
Side-panel and radiator interference is common in tighter cases. |
|
Power supply |
ATX/SFX format, PSU length and cable reach |
A PSU may physically fit while thick cables struggle to route. |
|
Storage |
2.5-inch/3.5-inch mounts and any drive-cage conflicts |
Not every modern case provides the same number of drive bays. |
|
Front I/O |
USB-A, USB-C, audio and front-panel headers |
A front port is only useful if the motherboard has the matching header. |
|
Cooling |
Fan sizes, radiator positions and component conflicts |
Installing a radiator can reduce GPU or motherboard clearance. |
Motherboard Size and Standoff Positions
ATX, micro-ATX and mini-ITX boards use different mounting patterns. The new case must support your board, and every installed standoff should line up with a motherboard mounting hole. An extra standoff sitting underneath the PCB where there is no screw hole can create an electrical short.
If the swap is part of a larger platform change rather than a simple chassis move, check PC motherboards separately because replacing the board changes the job, the cabling and potentially Windows activation.
Do Not Forget Rear-Connector Motherboards
Some newer motherboards move power, fan and I/O headers to the rear of the PCB. These boards need a case with the correct cut-outs behind the motherboard tray. A case that supports ordinary ATX does not automatically support a rear-connector ATX board.
If you are downsizing an existing system, compact Micro ATX PC Cases can reduce the footprint, but check GPU thickness, cooler clearance and cable space more carefully because smaller layouts leave less room for error.
GPU, Cooler and Radiator Clearance
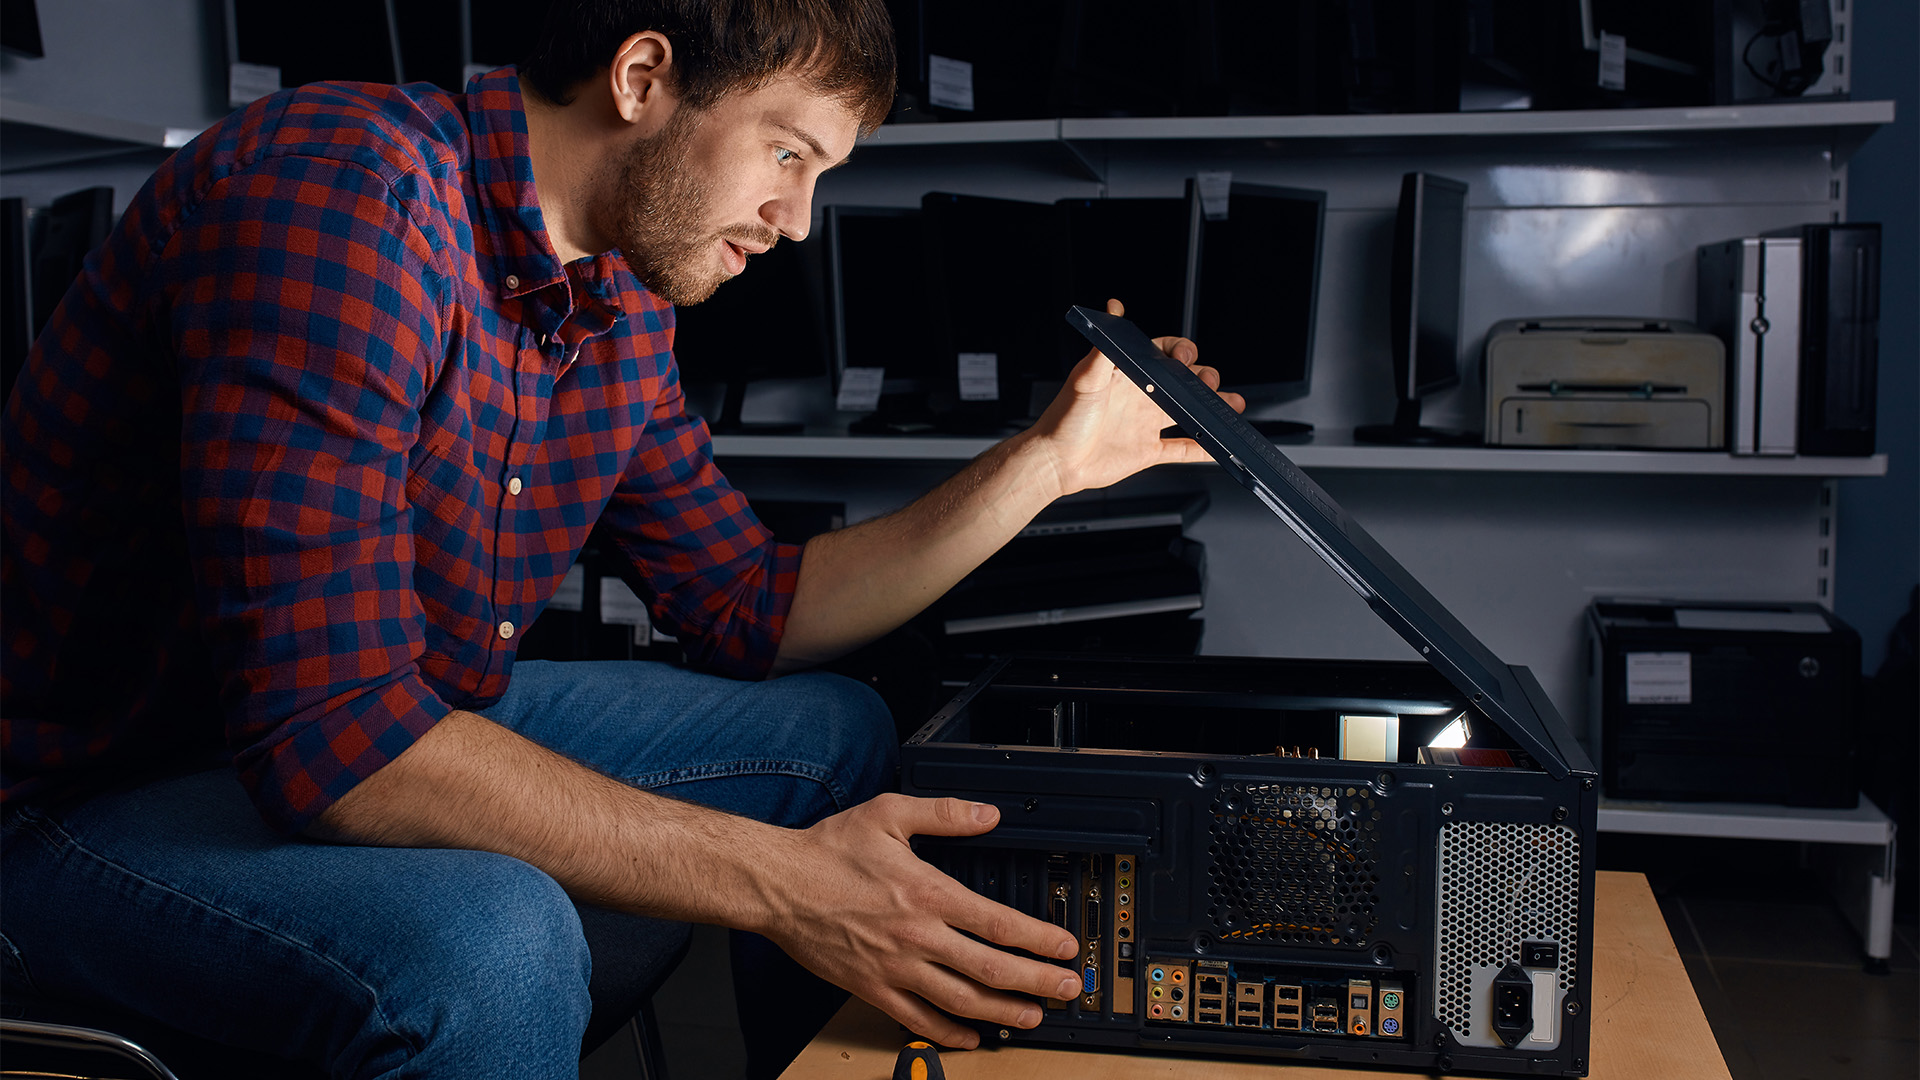
Measure the graphics card in the configuration you will actually use. A front-mounted radiator and fans can reduce usable GPU length, while a thick card can also need extra room for its power connector before the side panel closes.
The same applies to CPU coolers . Check maximum air-cooler height or the supported radiator size and thickness before removing the existing cooling hardware.
Model-specific dimensions matter more than brand assumptions. For example, different Fractal case layouts can change usable GPU or cooler space depending on the configuration, so compare the exact measurements rather than assuming every model within a range behaves the same way.
If you are already considering Fractal Design PC cases , use each model's clearance table as part of the swap plan, not as something to check after the old PC is already dismantled.
PC Case Swap Tools and Preparation
A straightforward swap does not need specialist workshop equipment. Good organisation matters more than owning a large tool kit.
- A suitable Phillips-head screwdriver.
- A small tray, magnetic parts dish or labelled containers for screws.
- Cable ties or reusable hook-and-loop straps.
- A phone or camera for photographing cable positions before removal.
- Masking tape or small labels if several cables look similar.
- An anti-static wrist strap if available, or a sensible grounding routine on a hard, static-safe work surface.
- Fresh thermal paste only if you remove and remount the CPU cooler.
- The motherboard manual and the new case manual, preferably open before you disconnect the front-panel leads.
Safety: Shut Windows down fully, switch the power supply off, unplug the mains lead and disconnect external devices before opening the system. Never open the power-supply casing itself. Back up important files before hardware work, especially if you are moving storage drives.
Take clear photos of the old build from several angles. Pay particular attention to the front-panel header, CPU power cable, fan headers, SATA connections and any RGB or fan controller. Those photos are often faster to use during reassembly than trying to remember where every small connector was fitted.
Case-Swap Checklist: How to Change PC Case Step by Step
The exact order can vary with the case, especially in compact builds. The sequence below works well for a typical ATX or micro-ATX tower because it removes the bulky and fragile parts first and leaves the motherboard until the workspace is clear.
1. Record the Existing Build Before Disconnecting Anything
- Photograph cable routes, front-panel pins, fan headers and storage connections.
- Note which fans are intake and which are exhaust.
- Check whether the CPU cooler or radiator will be easier to remove before or after the motherboard comes out.
2. Remove the Graphics Card and Other Expansion Cards
- Disconnect GPU power cables first.
- Remove the rear bracket screws or retention hardware.
- Release the PCIe slot latch before lifting the card out.
- Support a heavy graphics card with both hands and place it on a safe, non-conductive surface.
3. Disconnect Storage, Front I/O and Internal Controllers
- Unplug SATA data and power cables where used.
- Disconnect front USB, USB-C, HD Audio and front-panel leads.
- Disconnect RGB hubs, fan controllers and internal USB devices if fitted.
- M.2 SSDs can normally stay on the motherboard because they do not depend on the case.
4. Remove Case-Dependent Cooling Hardware
- Case fans obviously stay with the old chassis unless you intend to reuse them.
- For an AIO, the radiator must be released from the old case before the motherboard can move freely.
- A very large air cooler can make the motherboard difficult to handle. Remove it if the board feels awkward or unsafe to lift.
- If the CPU cooler is removed, clean and replace the thermal paste before remounting it.
5. Remove the Power Supply
- Disconnect the 24-pin motherboard cable, CPU/EPS power, GPU power and any SATA or peripheral power leads.
- Support the PSU while removing its mounting screws so it cannot drop into the case.
- With a modular PSU, keep the existing PSU cables with that exact power supply. Do not mix modular PSU cables from different models unless compatibility is explicitly confirmed.
6. Remove the Motherboard Last
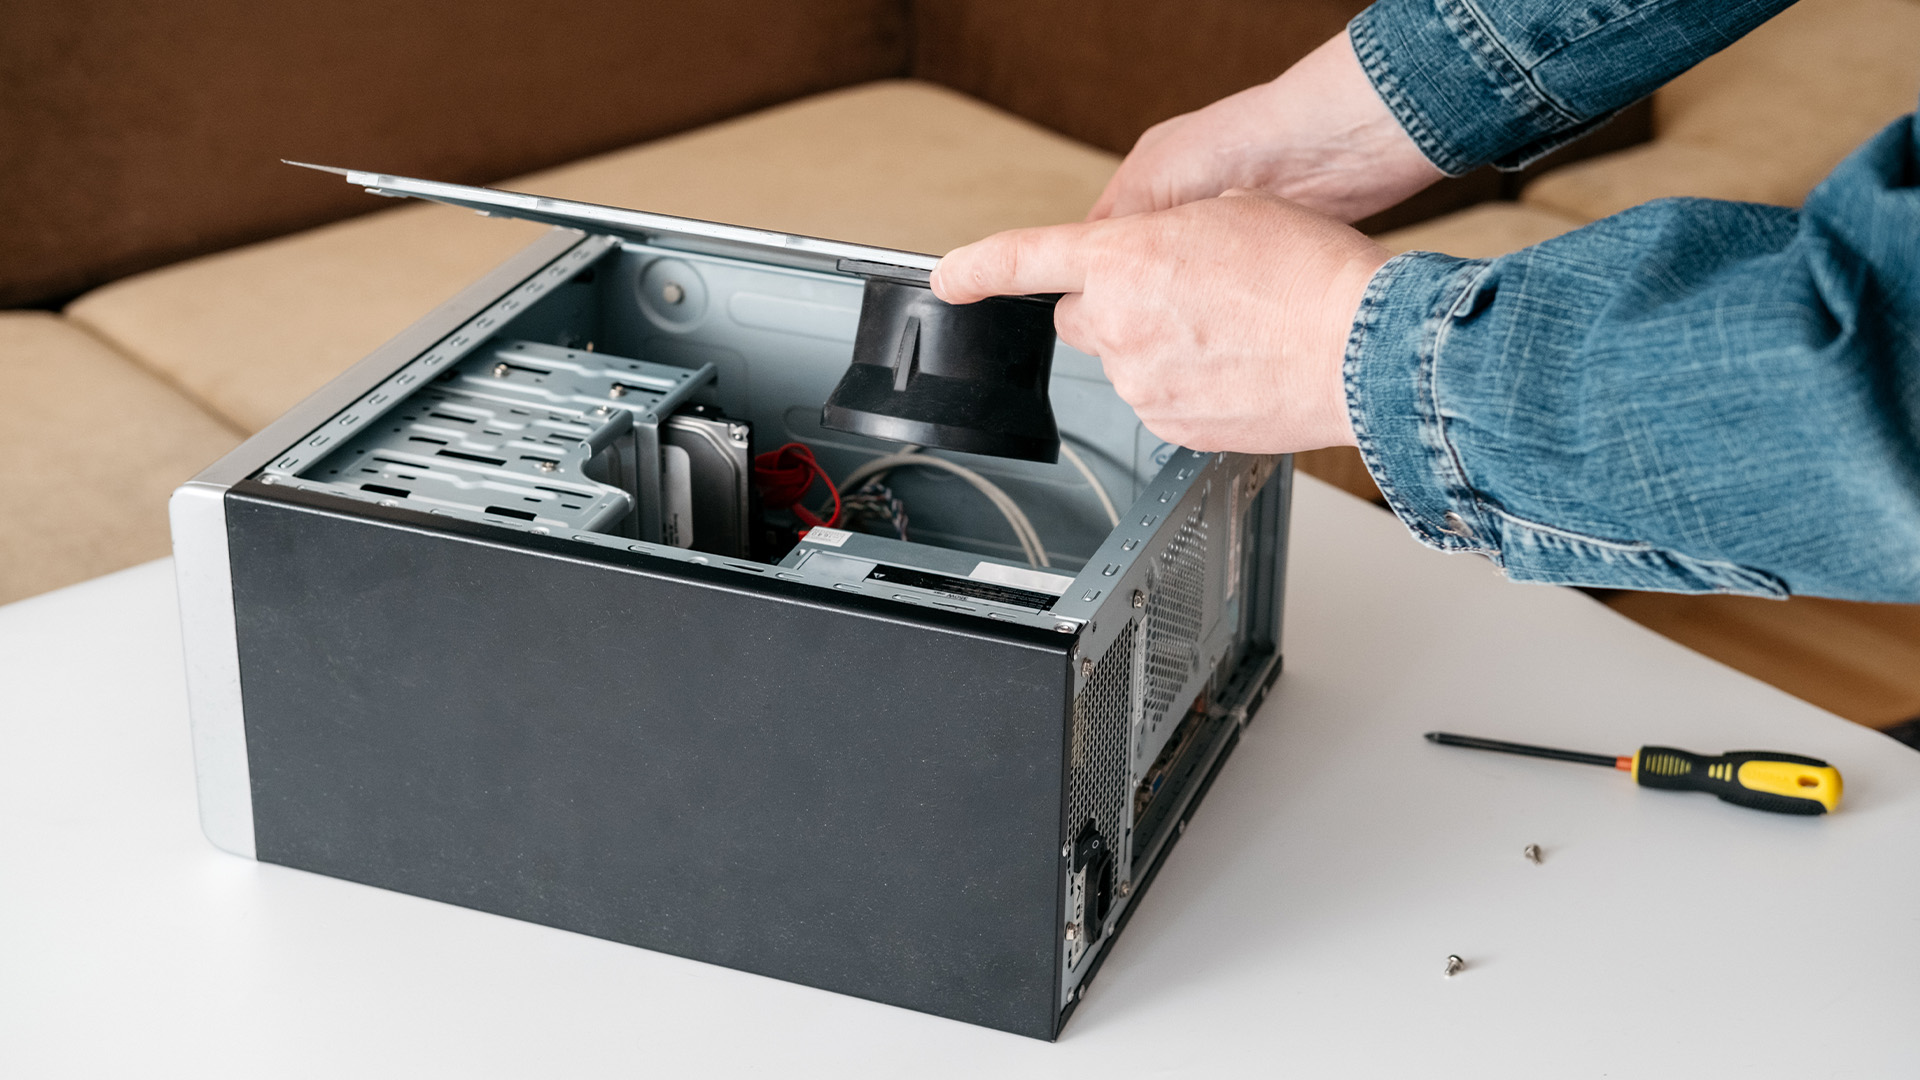
- Check once more that no cable is still attached to the board.
- Remove the motherboard screws while supporting the board.
- Lift the board by its edges. Avoid flexing it or dragging the underside across standoffs.
- The CPU, RAM and M.2 SSDs can usually remain installed during a normal transfer.
7. Prepare the New Case Before Installing Components
- Remove side panels and any protective packaging.
- Fit or reposition motherboard standoffs for the correct form factor.
- Install the separate rear I/O shield now if the motherboard does not have one built in.
- Plan the PSU, radiator, fan and main cable routes before the motherboard blocks access.
8. Install the Motherboard and Main Hardware
- Lower the motherboard onto the correctly positioned standoffs and secure it without overtightening.
- Install the PSU in the orientation required by the case ventilation.
- Reinstall storage drives, cooling hardware and the graphics card.
- Use the new case hardware where required rather than assuming screws from the old case are identical.
9. Reconnect Power, Front I/O, Fans and Storage
- Reconnect 24-pin ATX power and CPU/EPS power before cable access becomes crowded.
- Connect GPU power exactly as required by the graphics card.
- Reconnect front-panel, USB and audio headers using the motherboard pinout.
- Reconnect case fans and controllers, keeping fan cables clear of blades.
10. Test Before Closing the Case
- Leave the side panel off for the first boot.
- Check that the system reaches POST, fans spin normally and storage devices are detected.
- Test the power button, front USB ports and front audio before completing cable management.
- Only close the panels after you know the system is stable.
How to Reconnect Front Panel Cables Correctly
This is the part of a PC case swap that catches out otherwise careful builders. The power switch, reset switch, power LED and drive-activity LED usually connect to a small system-panel header near the edge of the motherboard, but the exact pin layout varies by board.
Use the motherboard manual rather than copying the old physical cable order from memory. Power and reset switches normally work regardless of connector orientation, while LED connectors have positive and negative polarity. If an LED does not light but the PC works normally, the LED plug may simply be reversed.
Latest Corsair PC cases may use a unified front-panel plug on some models and an adapter for boards with different pin layouts. Whatever case you use, the motherboard pinout remains the final reference for the connection.
Front USB and Audio Headers
Front USB-A, USB-C and audio ports use separate motherboard headers. They are not interchangeable, and larger USB headers can be awkward to remove or reconnect in a cramped chassis. Align keyed connectors carefully and do not force a plug that does not seat naturally.
When comparing NZXT PC cases , check the exact model's front-I/O specification as well as its external design. A case may include USB-C, for example, but the motherboard still needs the matching internal header if you want that front port to work.
Rebuild the Airflow, Not Just the Hardware
Moving the same components into a different chassis changes the airflow path. Do not automatically copy the old fan positions if the new case uses different vents, filters or radiator mounts.
A common starting point is front or bottom intake with rear or top exhaust, but the best layout depends on the case and cooling system. Keep the GPU intake area clear, make sure radiator tubes are not under unnecessary strain and route thick power cables so they do not sit against fan blades.
If the new chassis has empty fan positions or the old fans do not fit, compare PC case cooling fans by supported size, connector type and intended position rather than adding fans at random.
Extra Checks Before a Prebuilt PC Case Swap
A standard self-built desktop is usually the easiest system to move into another case. Prebuilt PCs need more caution because some use custom motherboard shapes, proprietary power connectors, non-standard front-panel pinouts, bespoke cooling mounts or chassis-specific RGB controllers.
Do not buy the new case until you have confirmed that the motherboard, PSU and front-panel arrangement are standard enough to transfer. Also check the warranty terms for the exact system before dismantling it, because modification or damage during the swap may affect support.
Practical rule: If moving a prebuilt PC would force you to replace the motherboard, power supply and cooling system as well as the case, it is no longer a simple case swap. Price and plan it as a broader rebuild.
First Boot After the PC Case Swap
Do a controlled first boot before fitting both side panels. If something is wrong, you want immediate access to the motherboard and cables rather than reopening a finished build.
- 24-pin motherboard power fully seated.
- CPU/EPS power connected near the top of the motherboard.
- GPU fully seated and its power cable connected where required.
- CPU fan or pump connected to the correct header.
- Front-panel power switch on the correct pins.
- No loose screws, tools or cable ties inside the chassis.
- Fans can spin without touching a cable.
- Monitor connected to the graphics card if the system uses a discrete GPU.
Once the machine reaches Windows, check temperatures, fan operation, storage drives, front USB ports and audio. A pure case change should not require a Windows reinstall because the motherboard and system drive remain the same. Windows activation issues are more commonly associated with significant hardware changes such as replacing the motherboard.
Common PC Case Swap Problems and What to Check
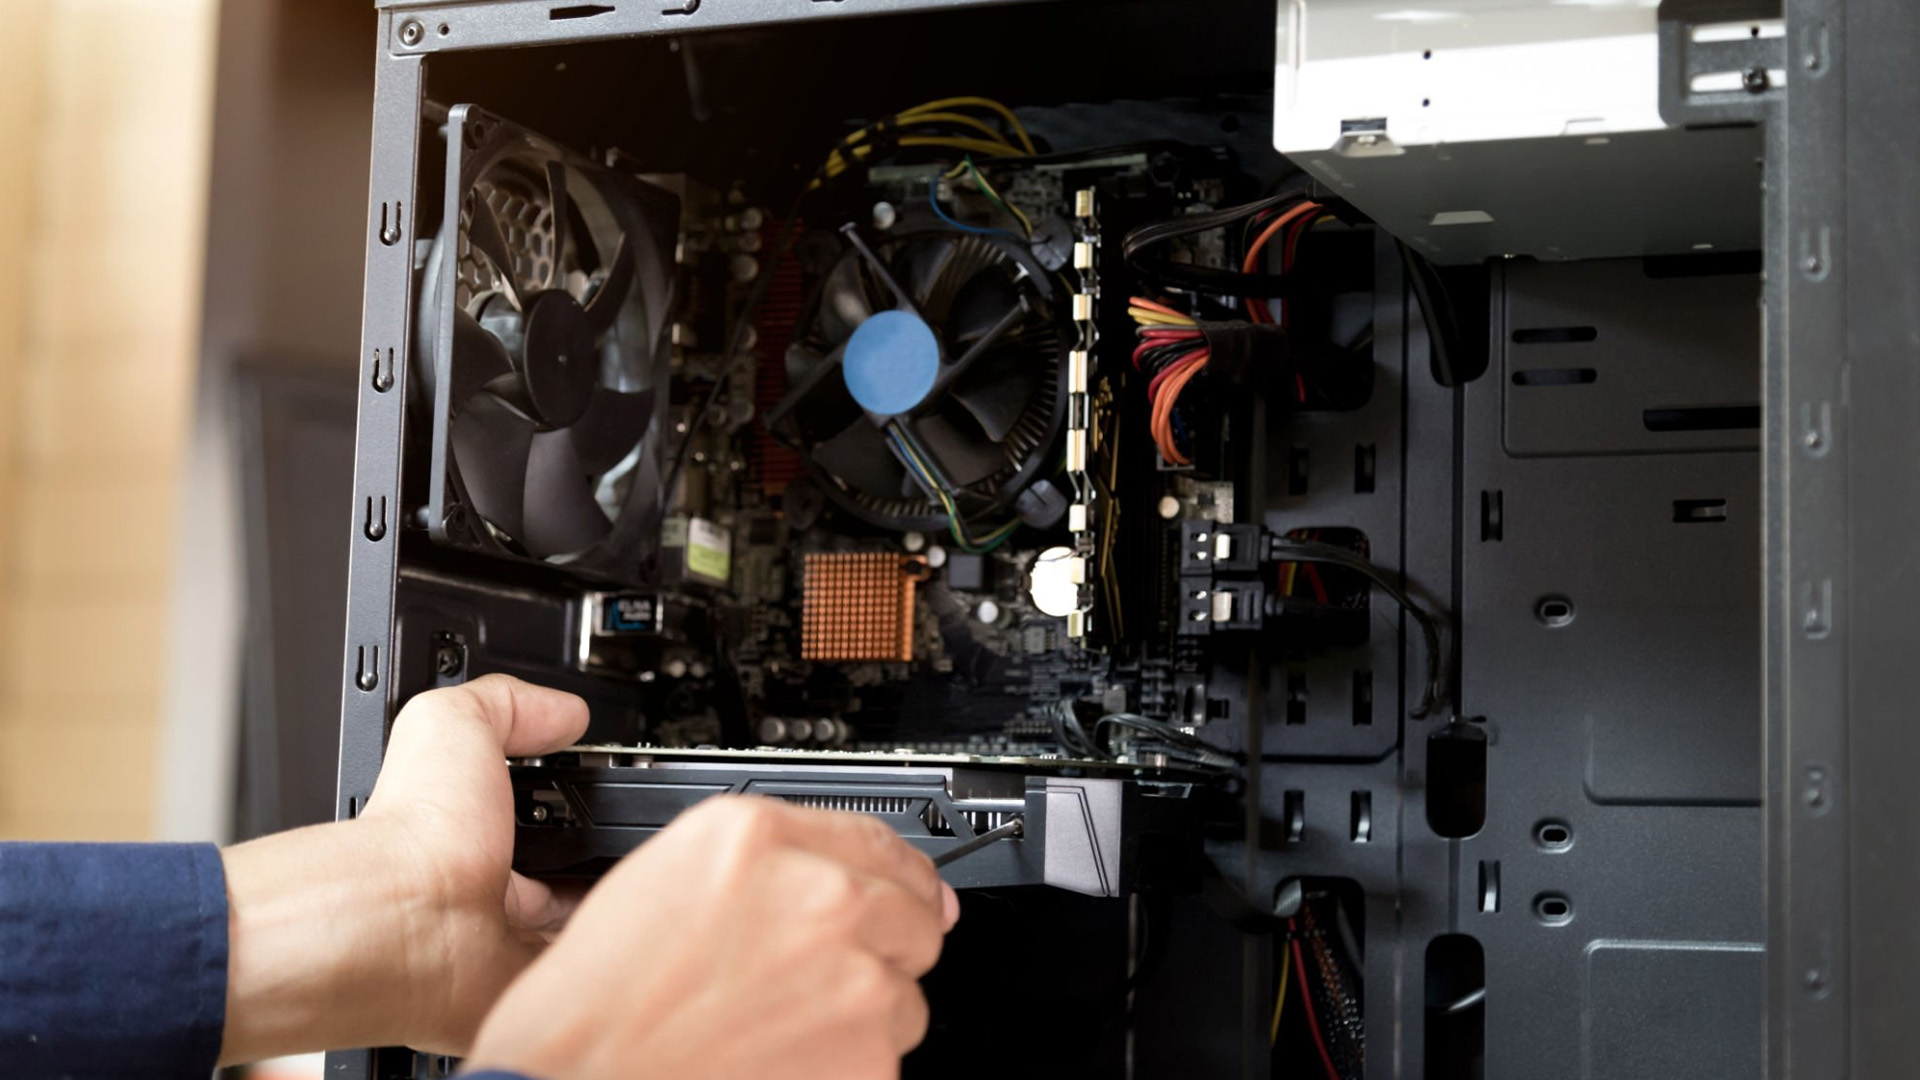
Nothing happens when you press the power button
Check the PSU switch, mains cable, 24-pin power, CPU/EPS power and the small front-panel power-switch connector first. A misplaced PWR SW lead is one of the easiest case-swap mistakes to make.
The PC powers on but there is no display
Confirm the monitor is connected to the correct video output, reseat the graphics card, check GPU power and make sure the PCIe latch has engaged.
Front USB ports do not work
Check that the case USB cable is connected to the correct motherboard header. USB 2.0, USB 3.x front-panel and USB-C headers use different connectors.
One case LED does not light
Check the positive and negative orientation of the LED connector. Switch connectors are less sensitive to orientation, but LEDs need the correct polarity.
CPU temperature is suddenly much higher
If the cooler was removed, confirm it has been remounted evenly with fresh thermal paste and that its fan or pump is connected correctly.
A fan rattles after the swap
Look for a loose cable touching the blades, a poorly seated filter, an overtightened fan frame or an unsecured panel before assuming the fan itself is faulty.
When Replacing the PC Case May Not Be Worth It
A new chassis makes sense when the current case limits airflow, component clearance, cable management, noise control or future upgrades. It makes less sense when the transfer requires several additional replacements just to make the existing hardware fit.
- The prebuilt motherboard or PSU uses proprietary mounting or connectors.
- A compact case would force you to replace a perfectly good GPU, cooler or power supply.
- The system is still under a warranty that could be affected by the modification.
- The real problem is overheating caused by dust, a failed fan or a poorly mounted cooler rather than the chassis itself.
- You are planning a motherboard, CPU and PSU upgrade soon anyway, in which case doing one full rebuild may be more sensible than transferring the system twice.

A Good PC Case Swap Is Mostly About Preparation
Learning how to change PC case is less about advanced PC building and more about careful preparation. Confirm compatibility before dismantling the old system, photograph every connection, keep screws organised and move the most fragile components deliberately. The motherboard, CPU, RAM and storage can usually stay largely intact, while the case-dependent parts, power supply connections and cooling layout need the most attention. Before closing the new chassis, verify front-panel connections, fan operation, temperatures, storage and display output. A methodical PC case swap should leave you with the same working computer in a chassis that better suits your space, cooling or upgrade plans.

PC Case Swap: Common Questions
Can I change my PC case without reinstalling Windows?
Yes. If you keep the same motherboard and system drive, moving the components into a different case does not normally require a Windows reinstall. Significant hardware changes, especially replacing the motherboard, are more likely to affect activation.
Can I leave the CPU and RAM installed during a PC case swap?
Usually, yes. The CPU, RAM and M.2 SSDs can normally remain on the motherboard during transfer. Remove an unusually heavy CPU cooler if it makes the board difficult to lift or puts excessive leverage on it.
Do I need new thermal paste when changing PC case?
Only if you remove the CPU cooler. If the cooler stays mounted, the thermal interface does not need to be disturbed. If you remove it, clean the old paste and apply fresh thermal paste before reinstalling the cooler.
Why will my PC not turn on after a case swap?
Start with the PSU switch, 24-pin motherboard power, CPU/EPS power and front-panel power-switch pins. If those are correct, recheck the GPU, RAM and any cables that may have loosened while the motherboard was moved.
How do I know if a new PC case is compatible with my components?
Check motherboard form factor, GPU dimensions, CPU-cooler height, radiator support, PSU size, drive mounts and front-I/O headers. Use exact model measurements because fans, radiators and drive cages can reduce the space available inside the case.
| Read More: |
| How to Build a Gaming PC |
| Vertical vs Horizontal GPU Mounting: Cooling and Compatibility |
| Gaming Desktop PC Overheating? How to Fix High Temperatures |
Related Articles

Last Updated: September 09, 2025
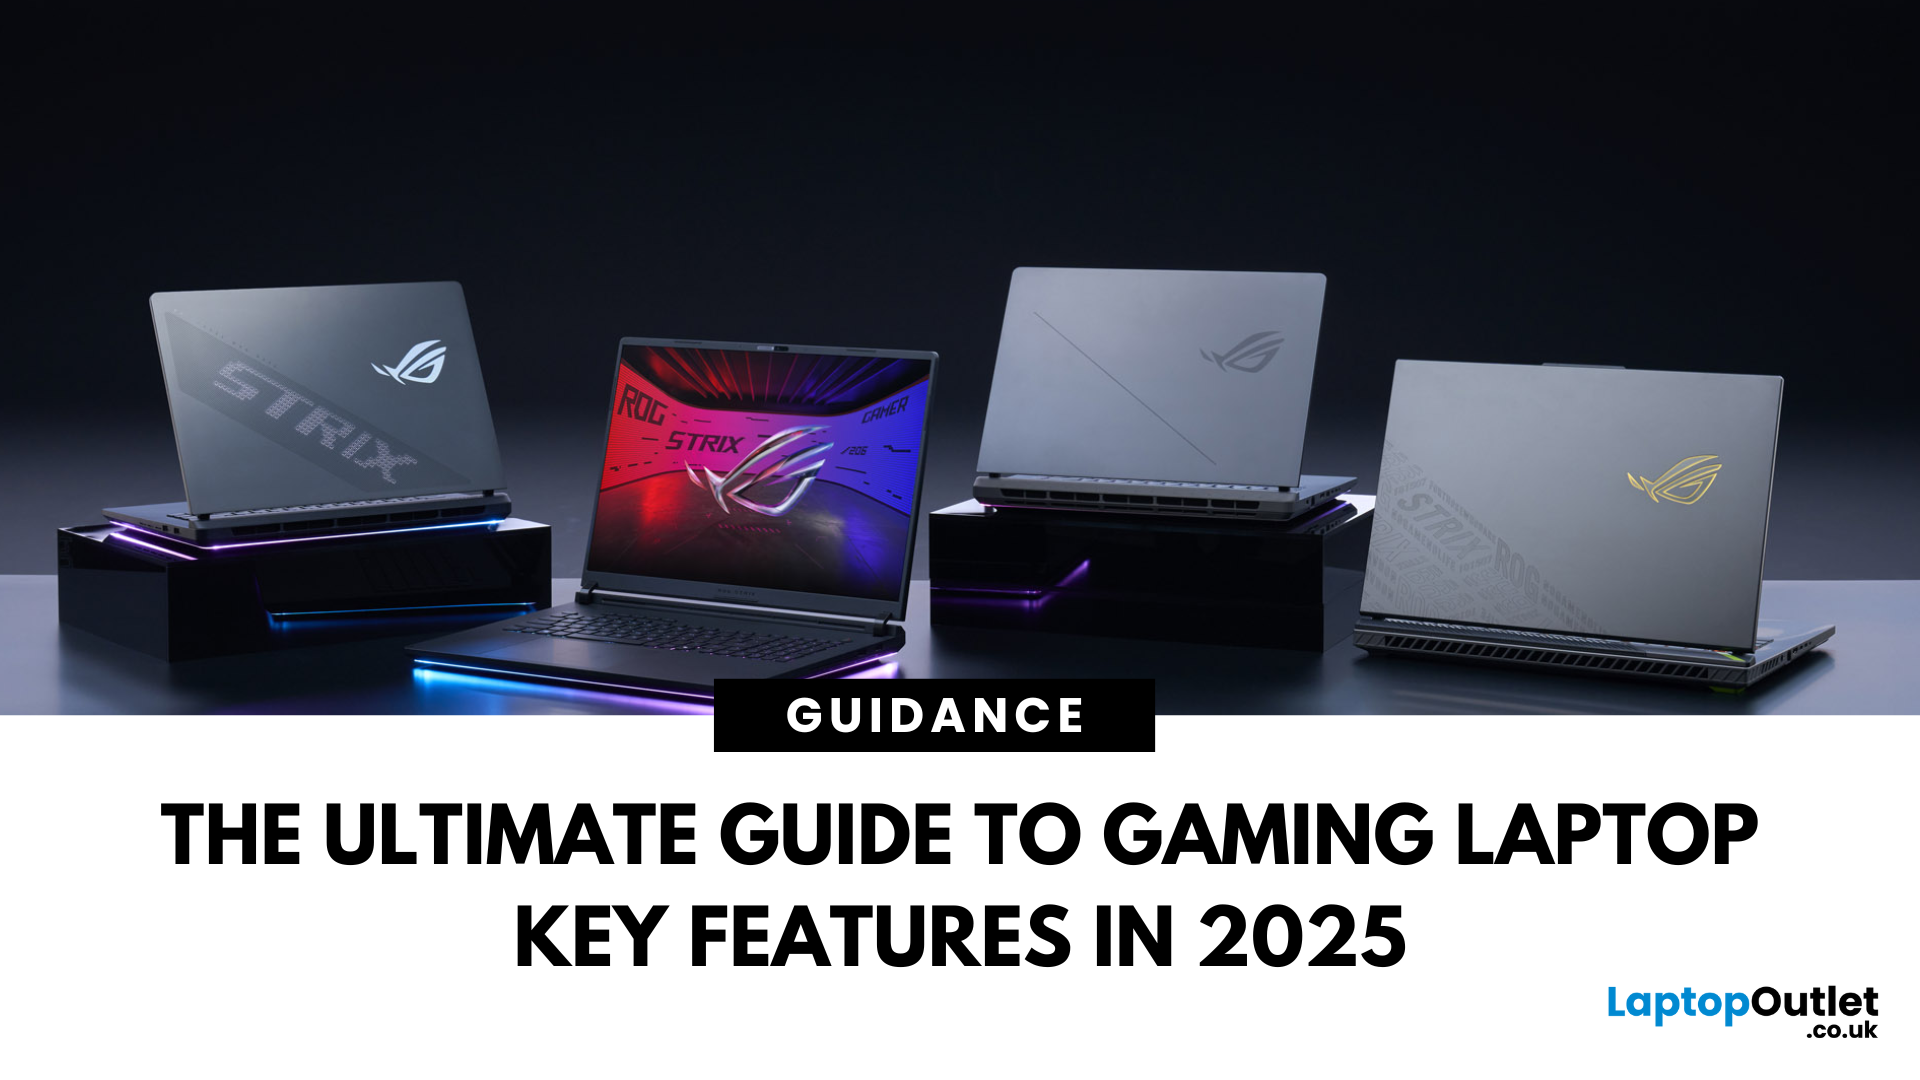
Choosing a gaming laptop today is all about understanding the gaming laptop key features that move the needle foryourgames and workflow. In 2025, the big shifts are real: next‑gen GPUs with AI frame generation, smarter CPUs with onboard NPUs, faster storage that feeds data straight to the GPU, premium displays (OLED/Mini‑LED) at esports‑grade refresh rates, and cooling systems that can keep all of it performing sustainably.
However, what does all of that actually mean when you just want smooth gameplay and a machine that lasts? Below, we have you covered with a clear, up‑to‑date walkthrough of what to look for in a gaming laptop with the evidence to back it. Whether you’re looking at entry-level models around £900, mid-range workhorses at £1,500, or premium powerhouses above £2,000, this guide focuses on the essential gaming laptop key features.
If you’d like a broader perspective from budgeting to comparisons, you can check out our full gaming laptop buying guide.
GPU: the first decision
Last Updated: October 24, 2025
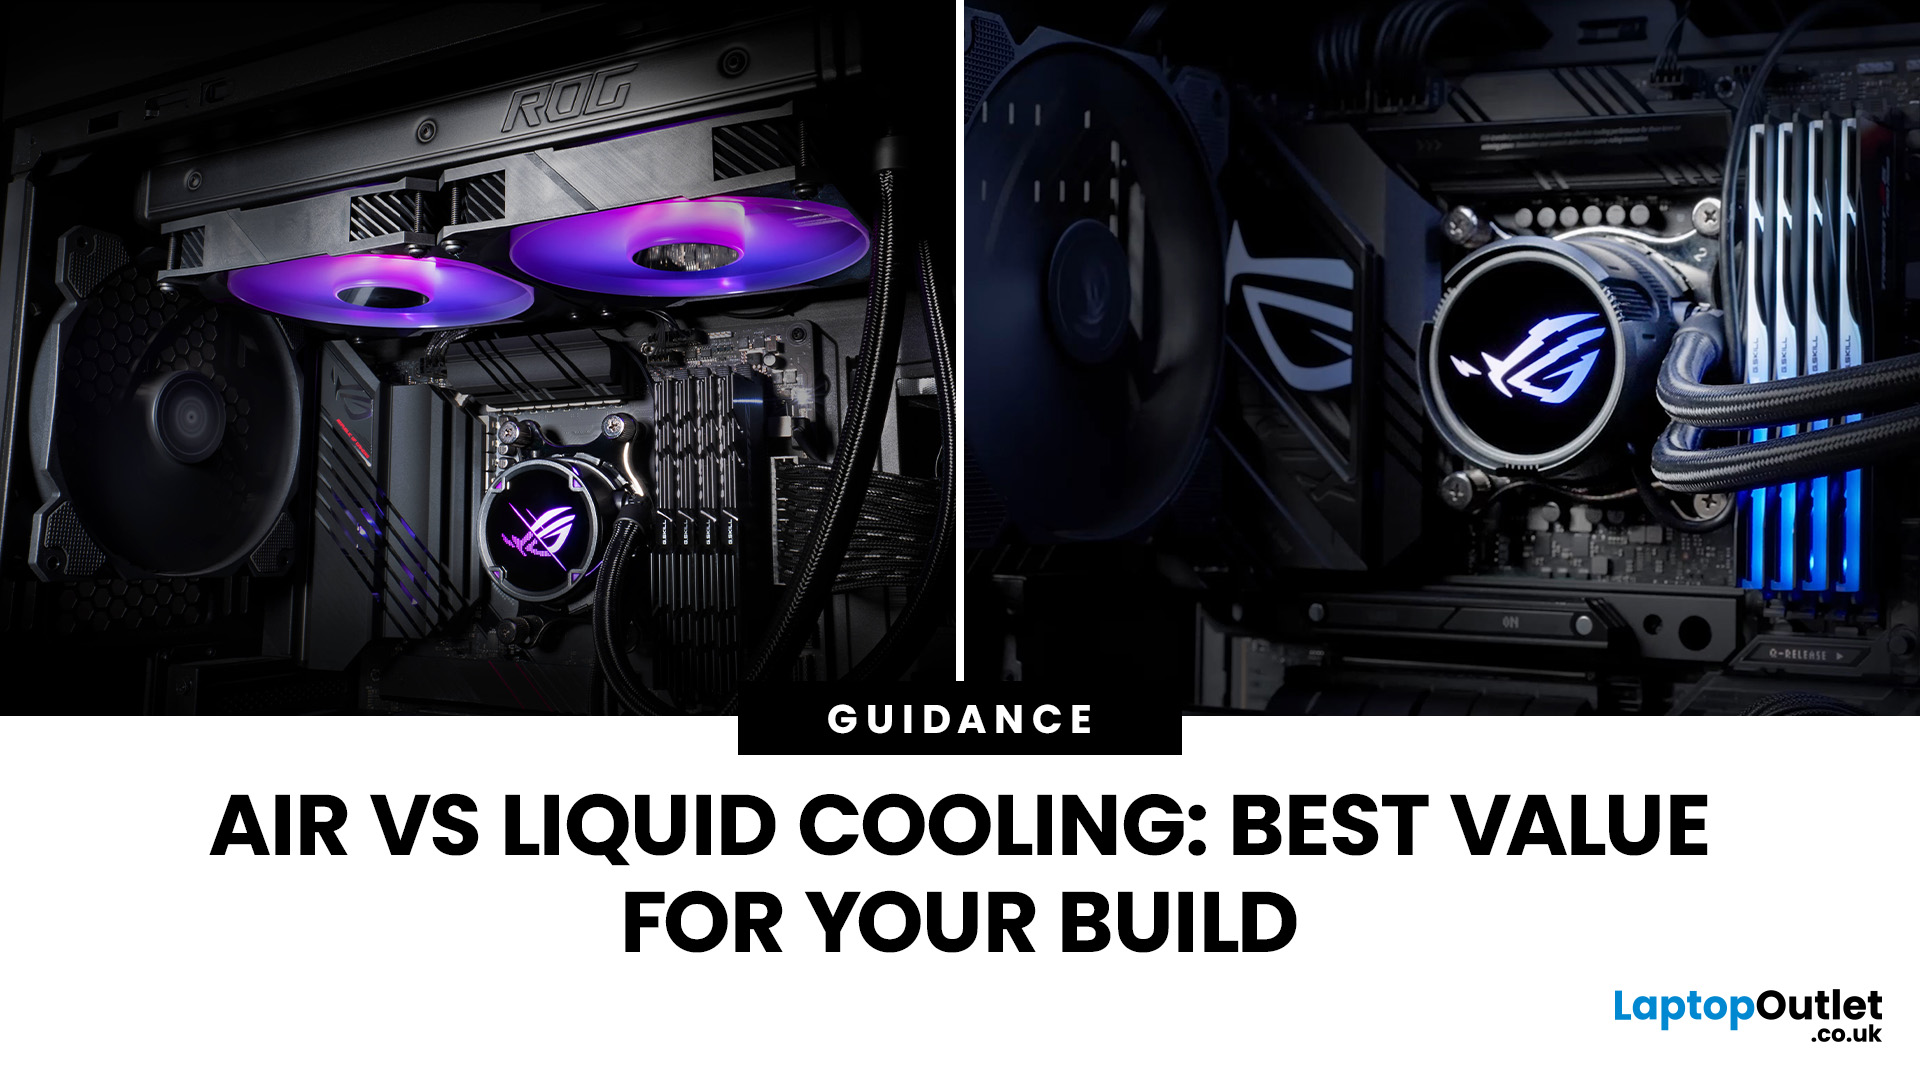
Whether you’re building your dream gaming rig or configuring a high-performance workstation, one of the biggest decisions you’ll face is how to keep your system cool. With modern CPUs and GPUs pushing the limits of performance, thermal management is more important than ever. The debate between air vs liquid cooling PC solutions is one that no serious builder can ignore. In this article, let’s discuss how both cooling methods work, their pros and cons, and which one may be best suited to your particular use case.
How PC Cooling Works: Basics & Why it Matters
To understand the difference between methods, it helps to go back to fundamentals.
Heat Generation in Modern PCs
Every time your CPU or GPU does work, it consumes electrical energy. Inevitably, some of that becomes heat. If that heat isn’t effectively carried away, component temperatures will rise, leading to thermal throttling or even permanent damage.
As such, effective PC cooling solutions are essential for maintaining performance,
Last Updated: May 05, 2026
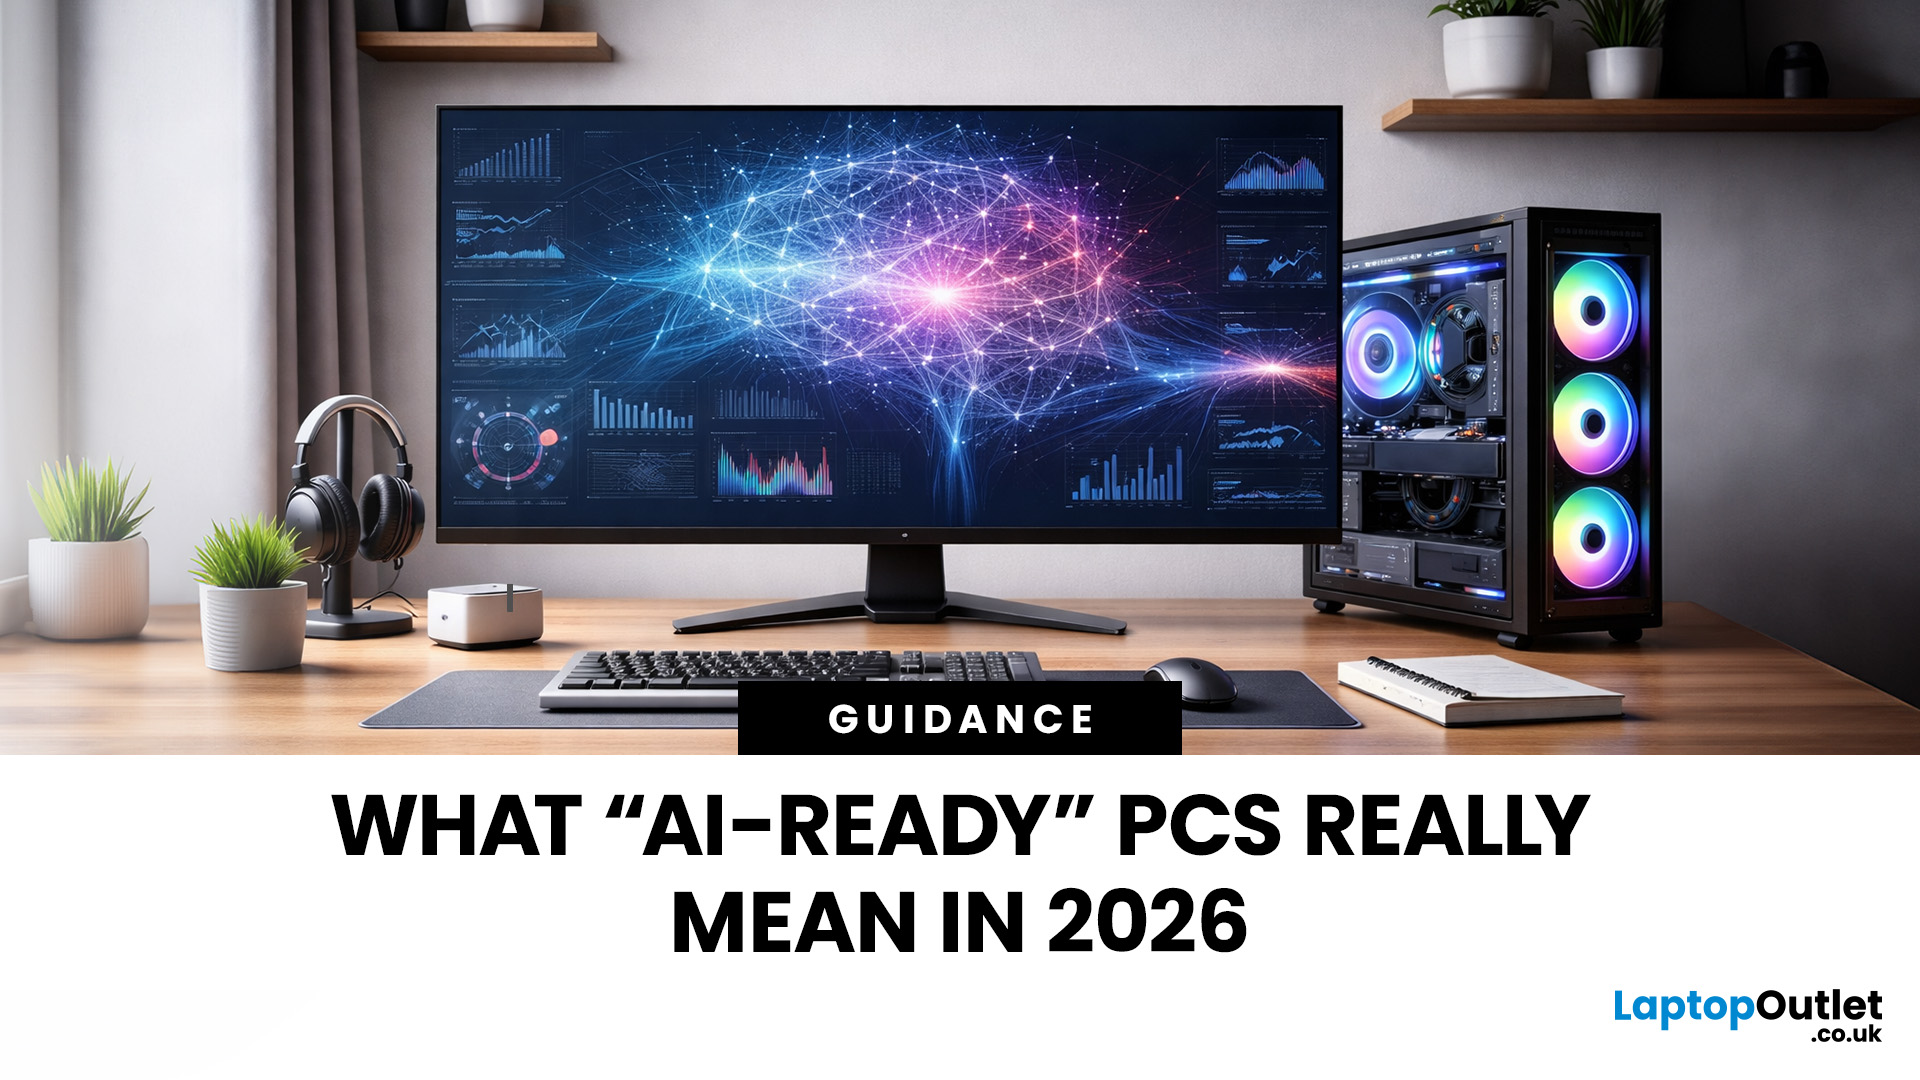
Let’s call this out early: “AI-Ready” is one of those phrases that sounds important but tells you almost nothing by itself.
Every PC brand is using it. Every listing claims it. And most buyers still walk away thinking, “Cool… but what does that actually do for me?”
So instead of selling you a future fantasy, let’s talk about what AI-Ready desktops actually change in 2026, where they matter, and where they really don’t.
First: Why Everyone Is Suddenly Calling Their PCs “AI-Ready”
AI didn’t just become a software thing - it became a hardware conversation.
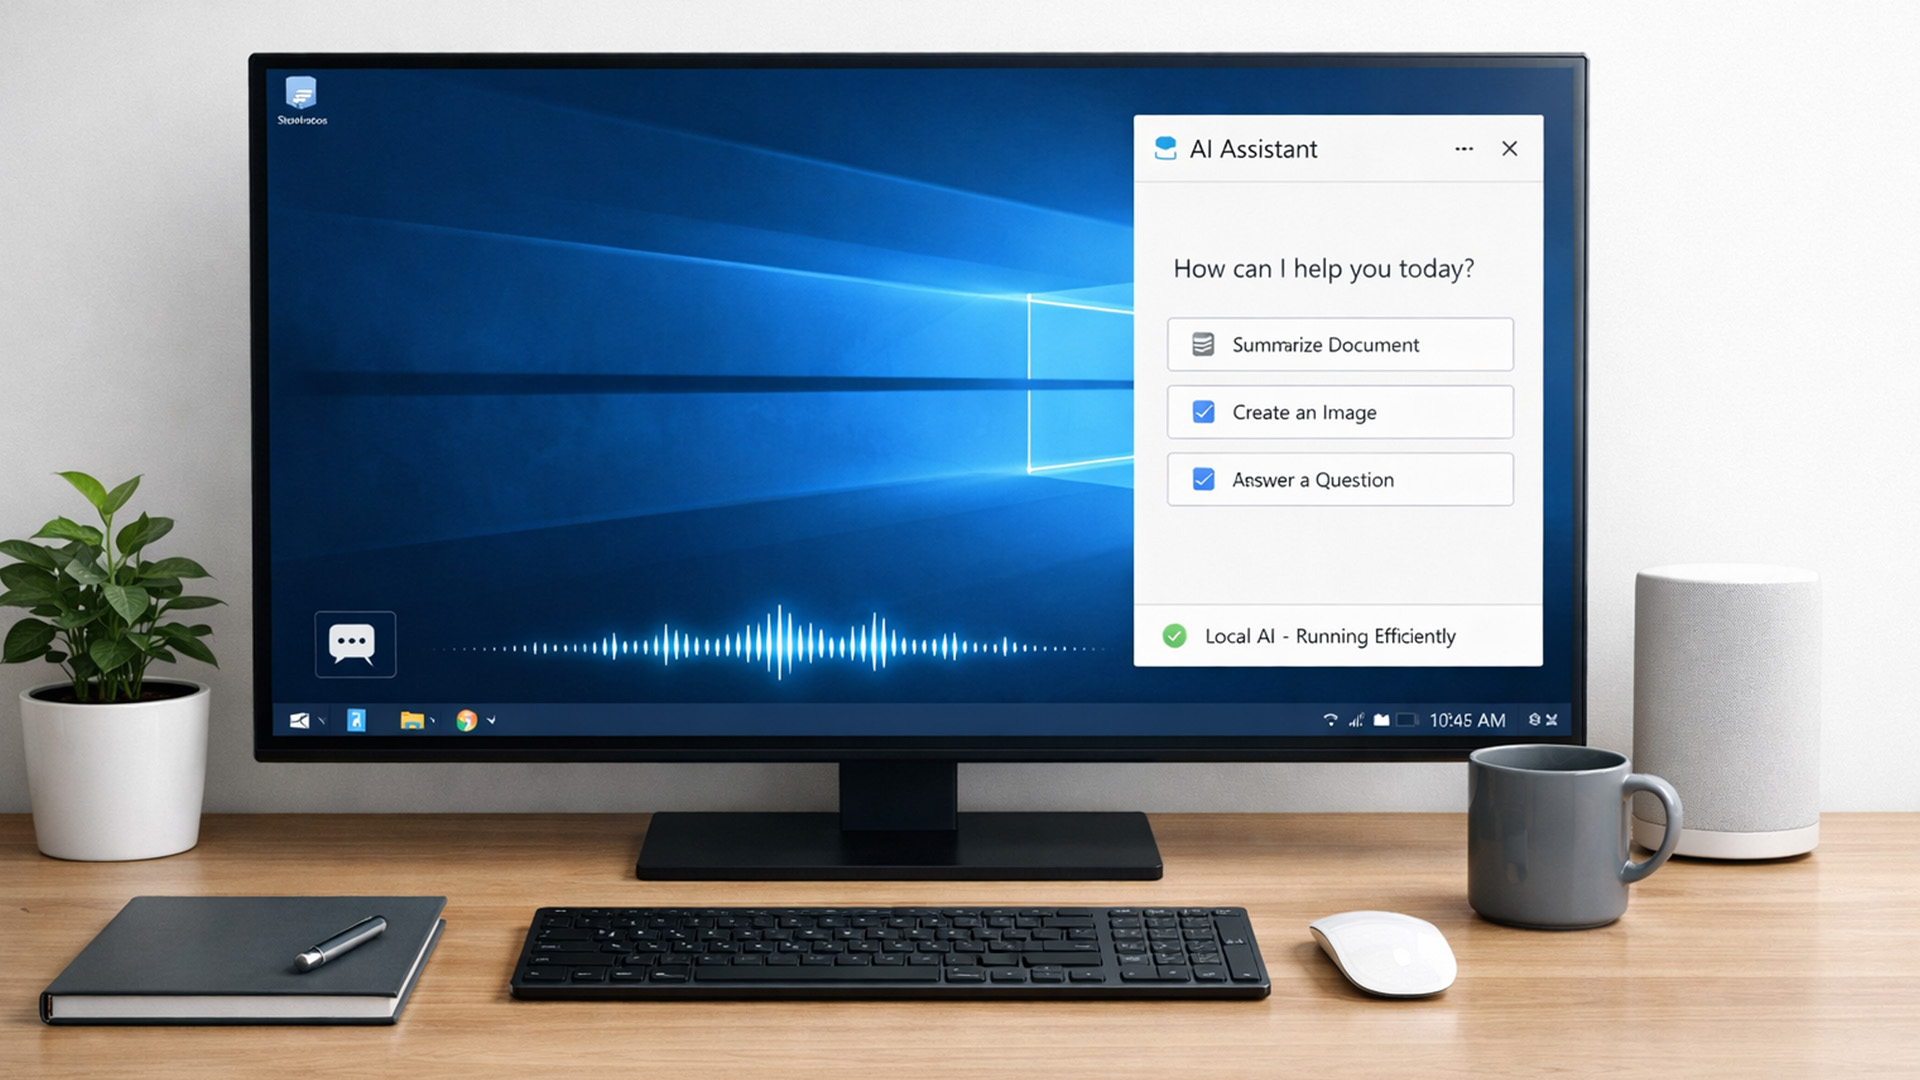
For years, AI lived in the cloud. You typed something, it went to a server, magic happened, and the result came back. Now, operating systems (especially Windows) are pushing AI features onto the device itself. That shift is what triggered the “AI-Ready” wave.
An AI-Ready desktop is basically a PC that can:
- Run certain AI tasks locally
- Do it efficiently
- Without destroying performance or power usage
That’s it. No sentience. No robot takeover.

Last Updated: February 11, 2026
Choosing the right desktop PC can feel a bit like picking a side in a long-running tech rivalry. HP, Dell, and Lenovo are three of the biggest names and for good reason. They all offer reliable, powerful desktops that suit everything from casual home use to hardcore business workloads and creative setups.
But when it comes to HP vs Dell vs Lenovo desktop PCs, which brand actually wins for you?
Why Compare HP, Dell, and Lenovo Desktop PCs?
HP, Dell, and Lenovo are all global heavyweights in the PC world. They each offer a wide range of desktops — from budget-friendly towers to powerful workstations and compact all-in-one PCs.
But here’s the thing:
Not all desktop PCs are built for the same kind of user.
Some are better for productivity, some for gaming, and others for long-term reliability. Understanding the differences is key before you hit “Add to Basket”.
HP Desktop PCs: Style Meets Performance
HP desktops are known for blending solid performance with modern design. If you like your
Published: February 09, 2026
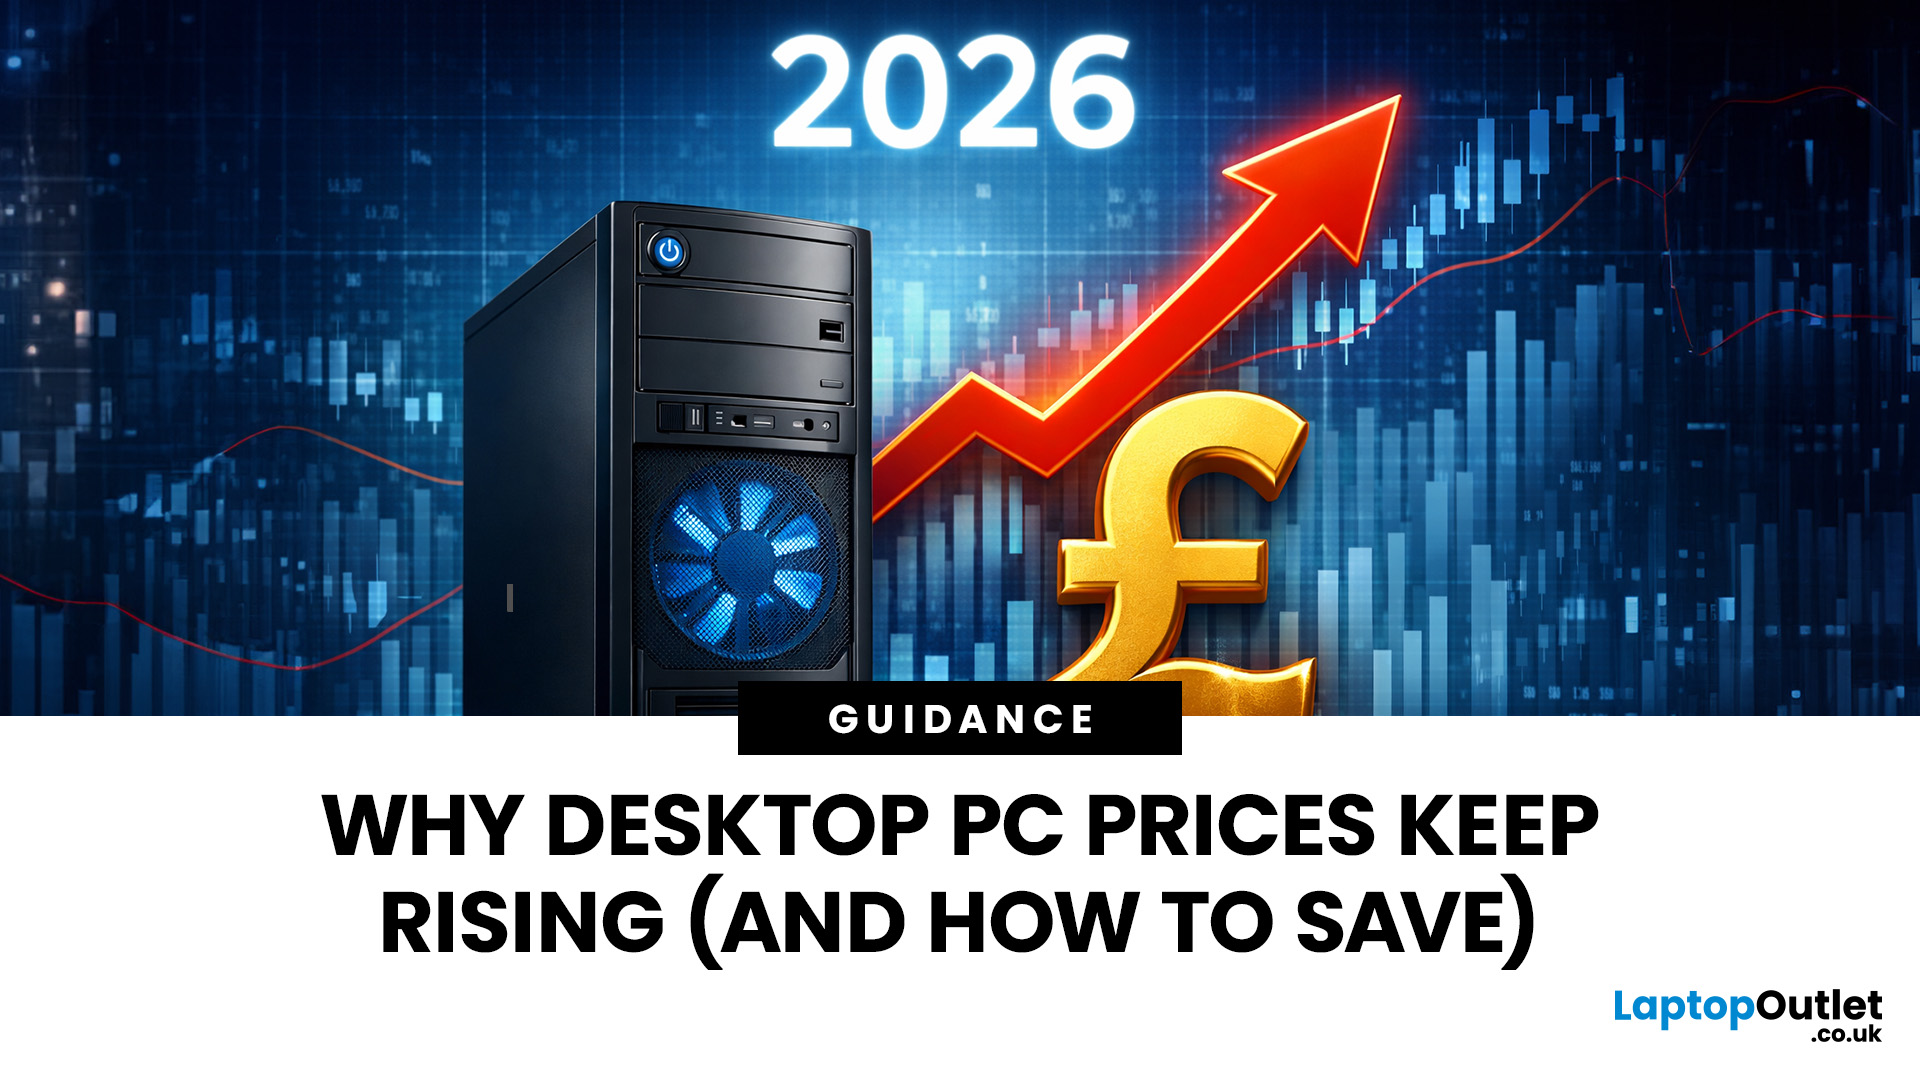
If you have been browsing for a new PC lately, you might have noticed a bit of a price shock. Whether you are looking for a sleek all-in-one for your home office or a powerful gaming rig, the numbers on the price tags in 2026 are noticeably higher than they were just a couple of years ago.
Many UK buyers are left scratching their heads, asking the same question: why are desktop PCs expensive all of a sudden? It is a fair question. In this guide, we will break down exactly what is driving these costs and, more importantly, how you can still find incredible value.
Key Reasons Desktop PC Prices Are Rising
Understanding the "why" behind the price hike helps you time your purchase better. Here are the primary factors driving the market today.
The "AI Squeeze" on Components
The biggest culprit isn't a lack of chips, but a shift in what those chips are used for. Huge data centres are currently buying up almost 70% of the world’s advanced memory (DRAM) and storage (NAND) to power AI models.

Last Updated: September 15, 2026
If you’re asking “are refurbished desktop PCs worth it” in 2026, you’re not alone. Refurb is having a moment in the UK, partly because budgets are tight, and partly because more people want a cheaper, lower-waste way to get solid tech. At the same time, buyers are more hesitant than ever… and that hesitation is not random. A few very 2026-specific changes have raised the stakes.
This guide breaks down the real reasons people hesitate in 2026, and how Laptop Outlet reduces those risks so you can buy refurbished with genuine peace of mind - without losing out on choice or price.
What changed in 2026 that made buyers more cautious?
1) The Windows 10 “cliff edge” is now behind us
Windows 10 support ended on 14th October 2025, which means many older desktops are now in a riskier zone if they can’t upgrade cleanly.
Yes, Microsoft offers Extended Security Updates (ESU), but for consumers it’s a limited runway (through 2026) and comes with requirements that can add friction.
Why this makes refurbished
Published: March 12, 2026
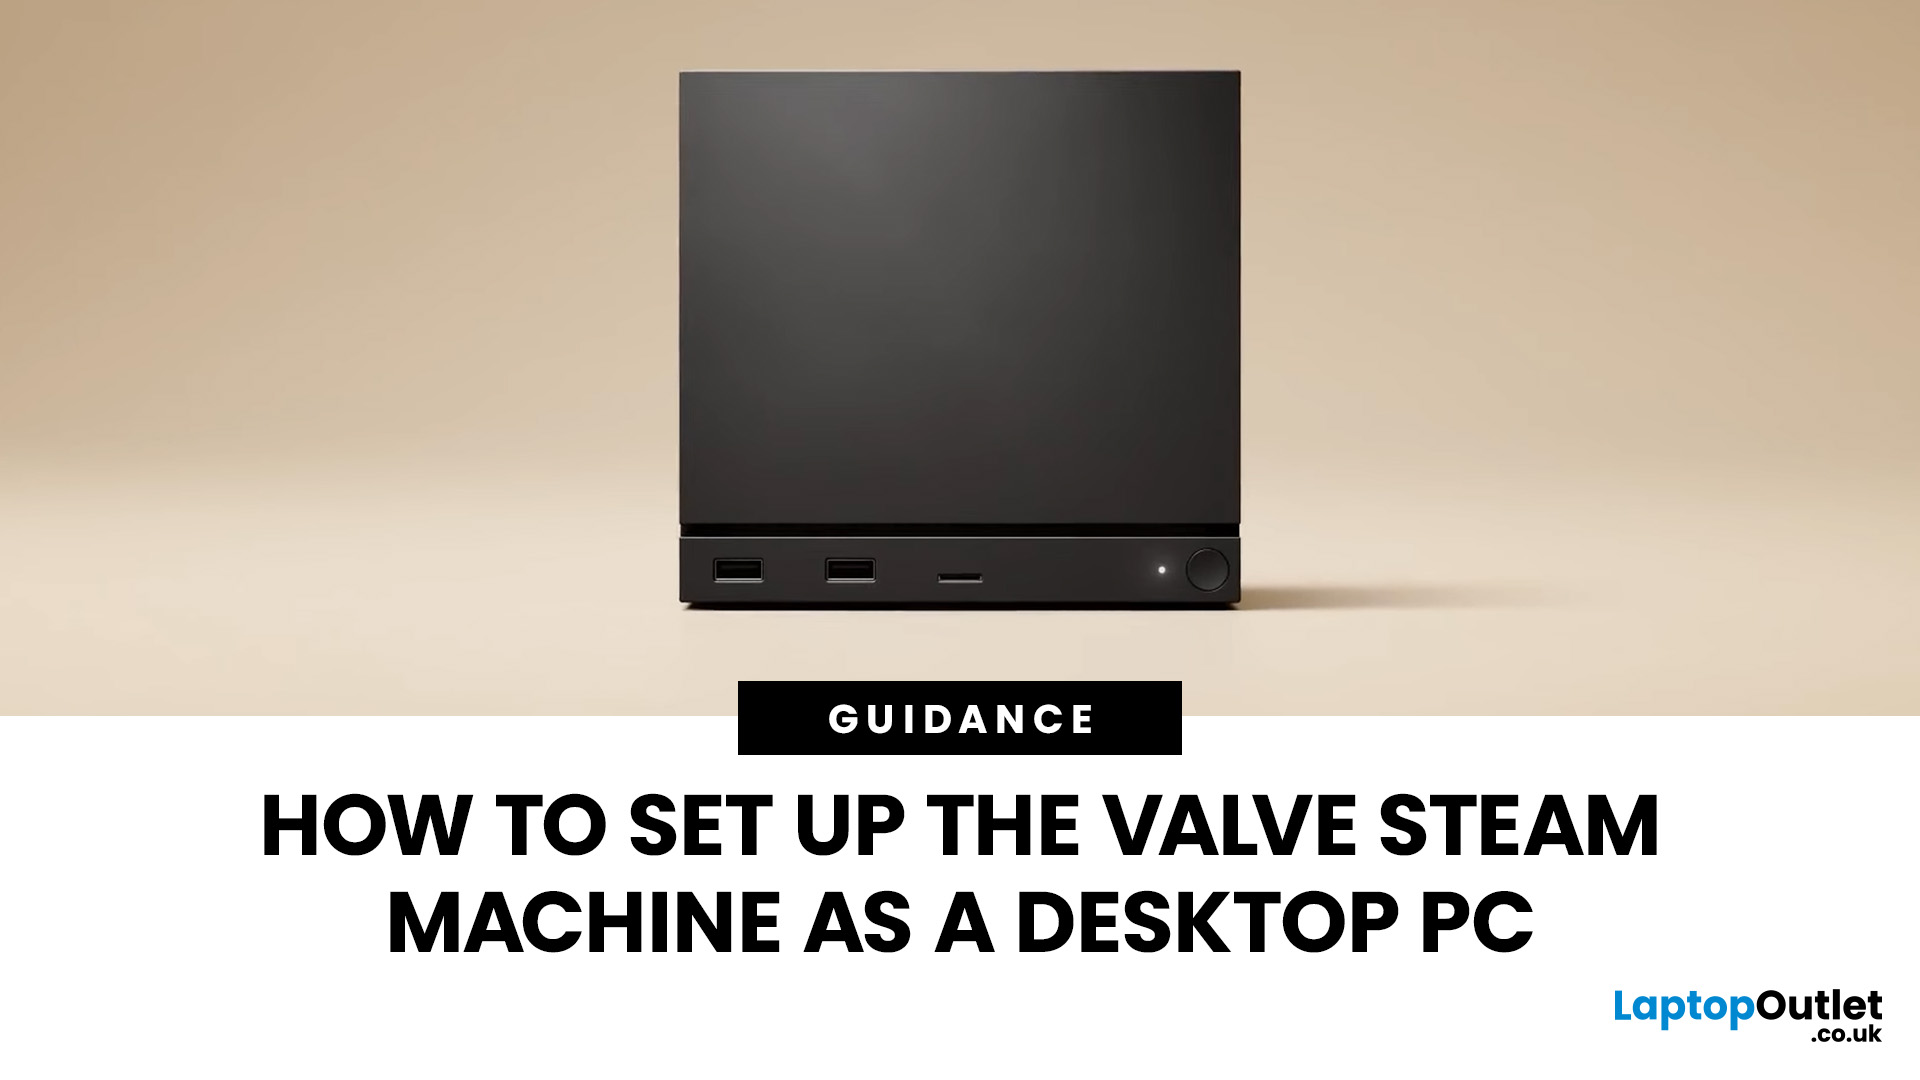
If you have an old Valve Steam Machine tucked away under the telly or on a shelf, you might be wondering whether it can still do more than launch games. The good news is that, with the right setup, it can absolutely pull double duty as a compact desktop computer for everyday use.
This guide walks you through a practical Valve Steam Machine setup for desktop use, from connecting a monitor and peripherals to accessing SteamOS desktop mode and making the system feels more like a standard PC. Whether you want a lightweight machine for web browsing, media streaming, or casual home computing, repurposing a Steam Machine can be a clever and cost-effective option.
What is a Valve Steam Machine?
A Valve Steam Machine was originally designed as a living-room gaming PC. It brought PC gaming closer to the console experience, usually running SteamOS and focusing on controller-friendly play from the sofa.
That said, the hardware inside many Steam Machines is still capable of handling basic desktop
Published: June 04, 2026
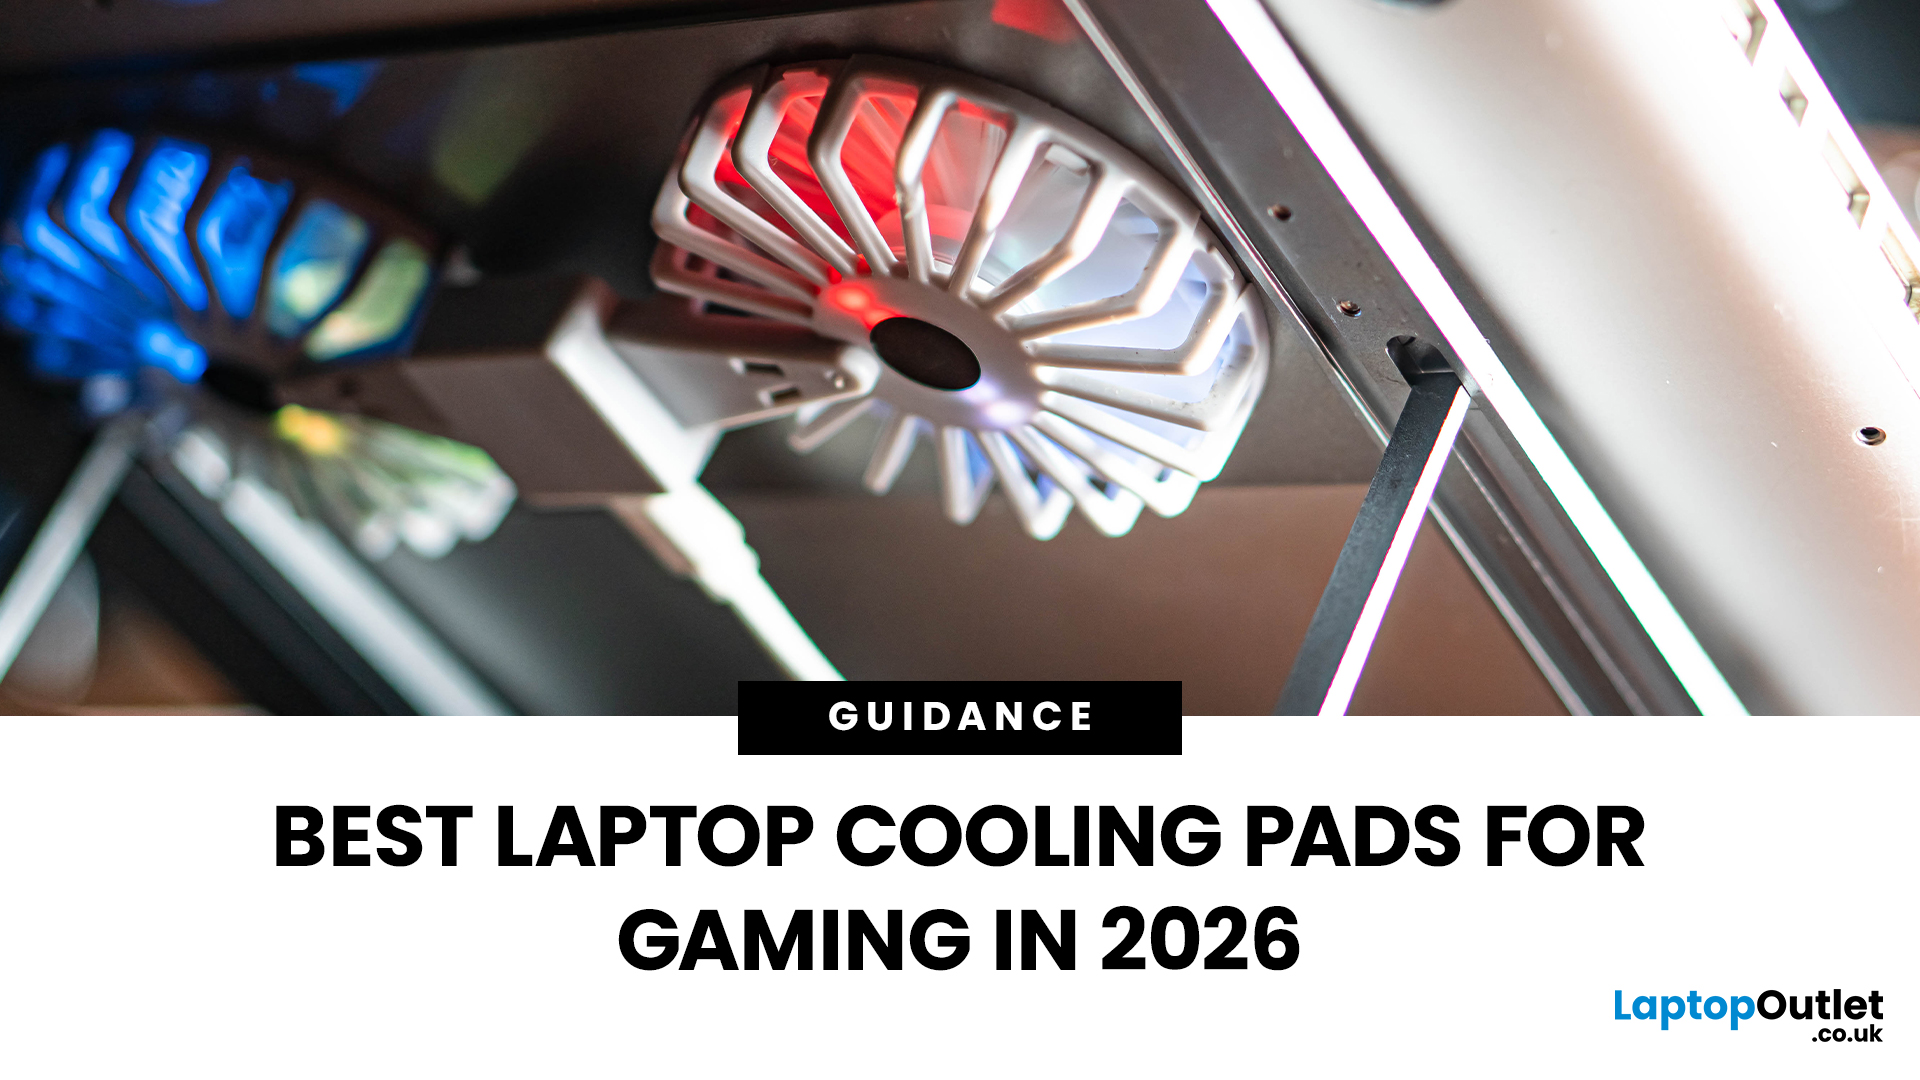
Gaming laptops are built to push frames, load heavy worlds, and keep up with long sessions. But when temperatures climb, performance can take a hit. That is where the right cooling setup matters.
A gaming laptop cooling pad can help improve airflow around your laptop, raise it into a better position, and reduce heat build-up during long gaming sessions. For more advanced setups, PC builders may also look at liquid coolers, CPU coolers, and performance cooling fans to keep gaming rigs running cooler and more consistently.
In this guide, we break down the Best laptop cooling pads UK shoppers should look for in 2026, what features actually matter, and the top cooling picks to upgrade your gaming space.
Why Laptop Cooling Matters for Gaming
Gaming pushes your laptop harder than everyday browsing or streaming. The CPU and GPU work together to deliver smooth frame rates, detailed graphics, and fast response times. More power means more heat.
When your laptop gets too hot, it may reduce performance
Published: June 11, 2026
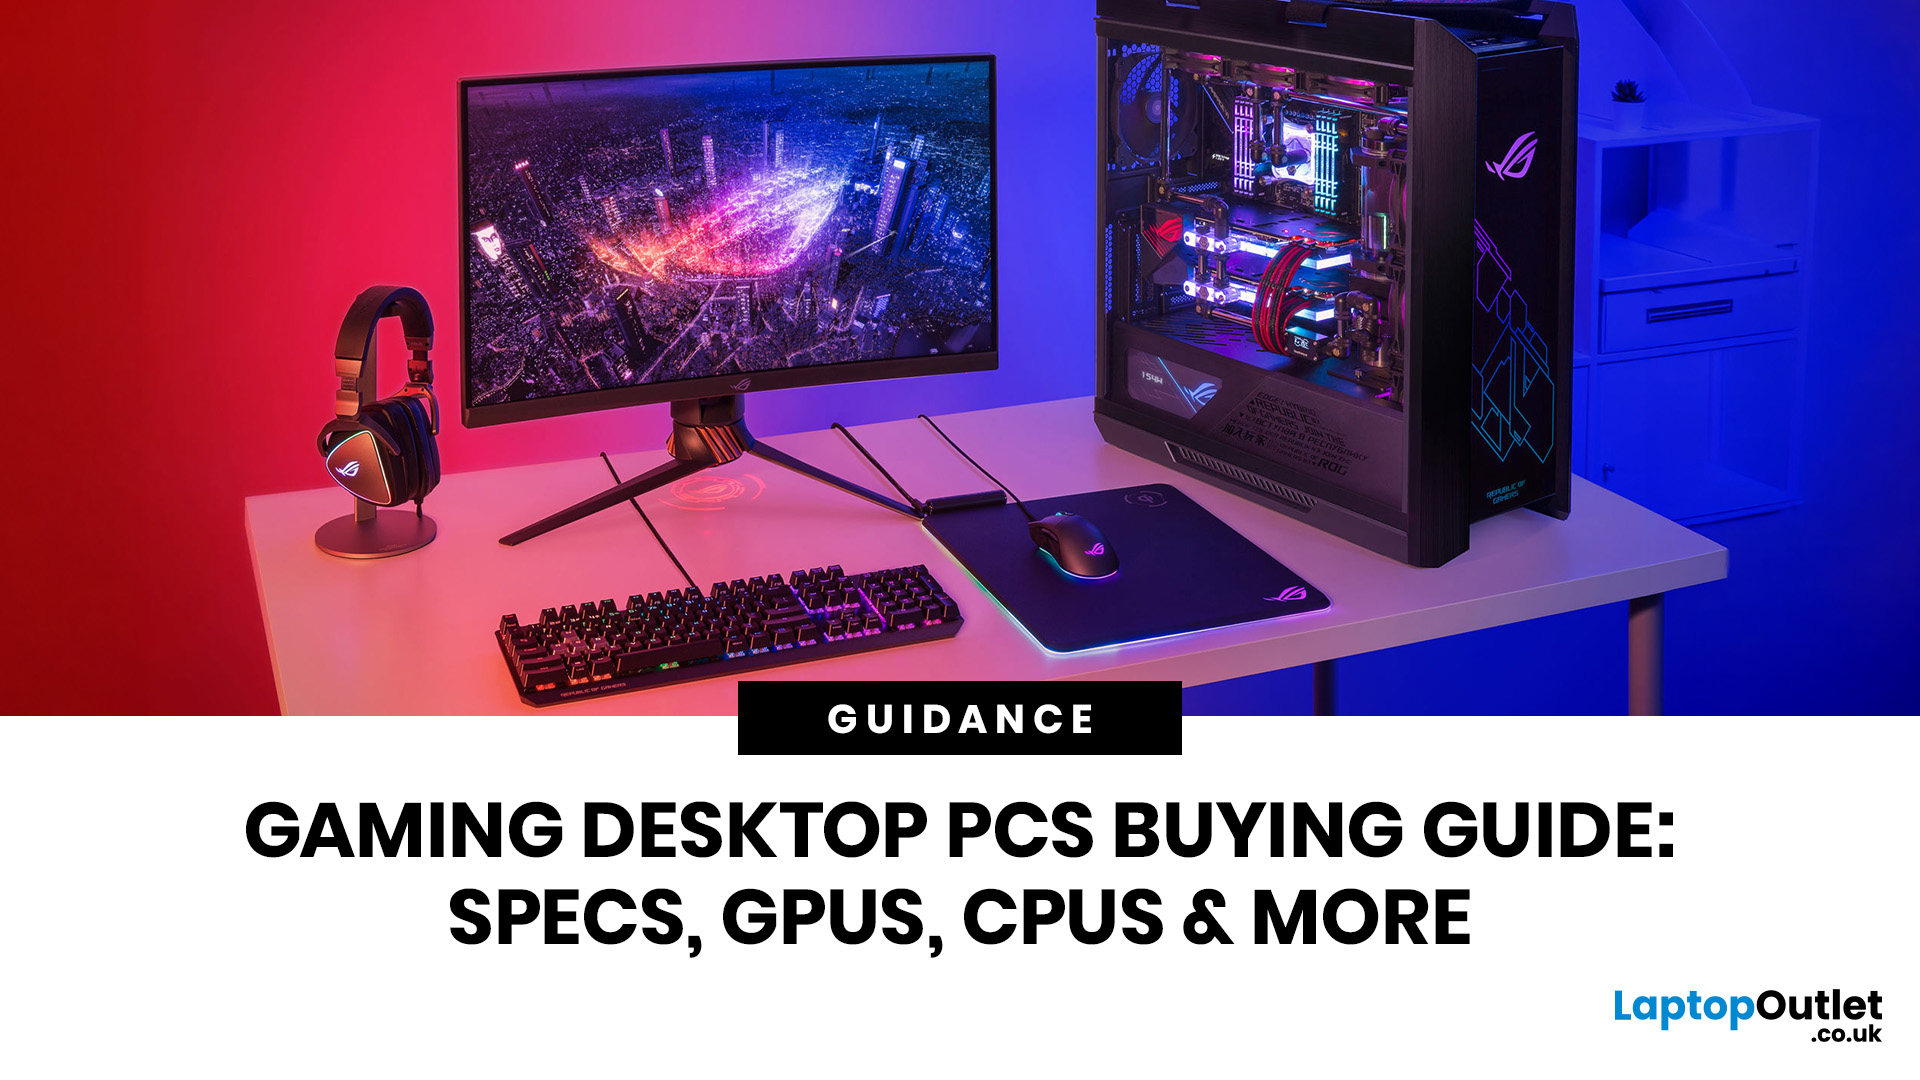
Choosing the right gaming desktop can be the difference between smooth, immersive gameplay and a system that struggles within a year. This gaming PC buying guide explains the key components that affect gaming performance, future-proofing, and value for money, so you can buy with confidence rather than guessing from confusing spec sheets.
A good gaming PC is not just about the most expensive graphics card. It is about balance. The CPU, GPU, RAM, storage, cooling, power supply, motherboard, and case all work together. Whether you play competitive esports, cinematic single-player titles, open-world RPGs, racing games or VR, understanding the right configuration helps you avoid overspending and choose a desktop that lasts.
This article is designed as a practical gaming PC specs guide for beginners, but it also includes up-to-date 2026 advice for buyers comparing modern RTX, Radeon, Intel, and AMD-powered systems.
Why Buy a Gaming Desktop PC?
A gaming desktop PC remains one of the best choices
Last Updated: June 15, 2026
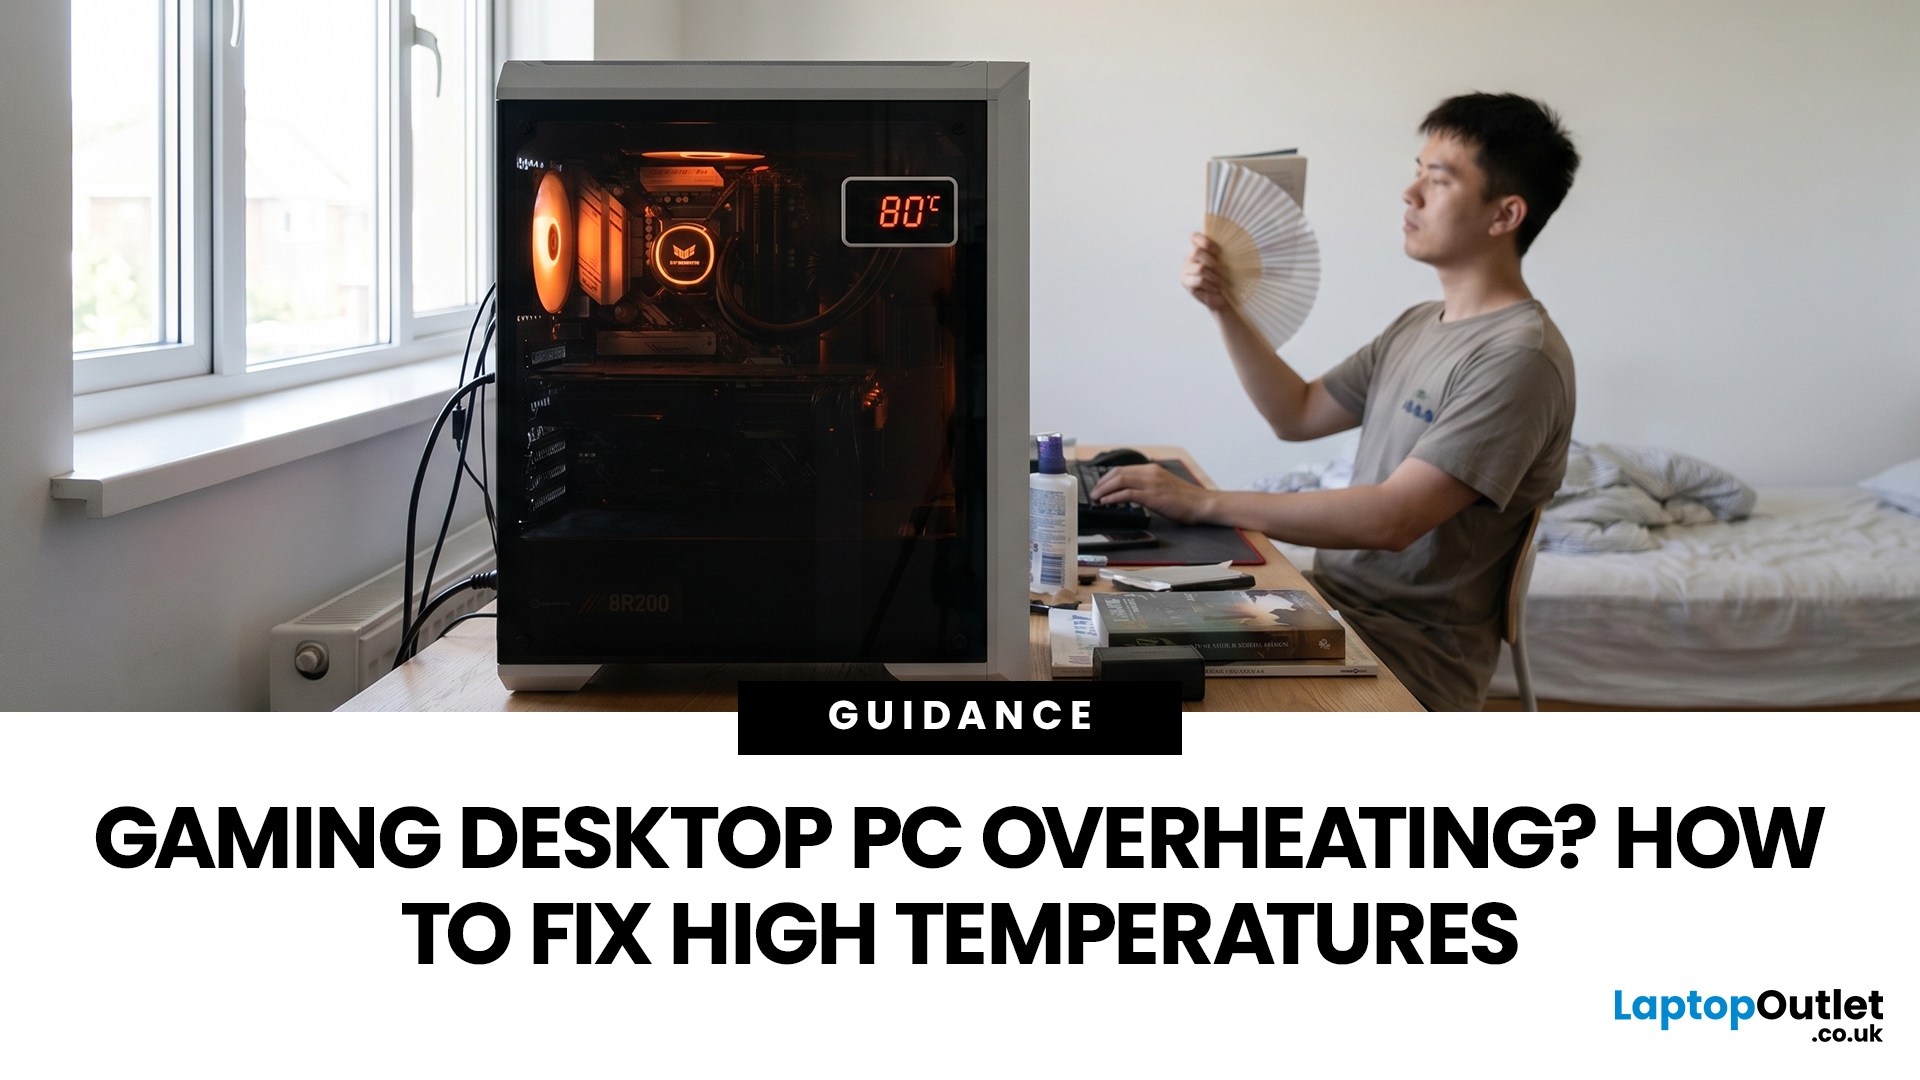
A gaming PC overheating usually comes down to one of five things: blocked airflow, dust build-up, weak cooling, aggressive game settings, or poor contact between the CPU/GPU and its cooler.
| Here is the fast version:
|
Gaming PC Overheating: What It Means and Why It Matters
You’re mid-match. Your FPS is smooth. Then suddenly, the game stutters, the fans sound like a jet engine, and your PC feels like it could toast bread.
That is not “just gaming PC life”.
A hot gaming desktop is normal. An overheating

