



How to Wall-Mount a Monitor: A Complete VESA Guide
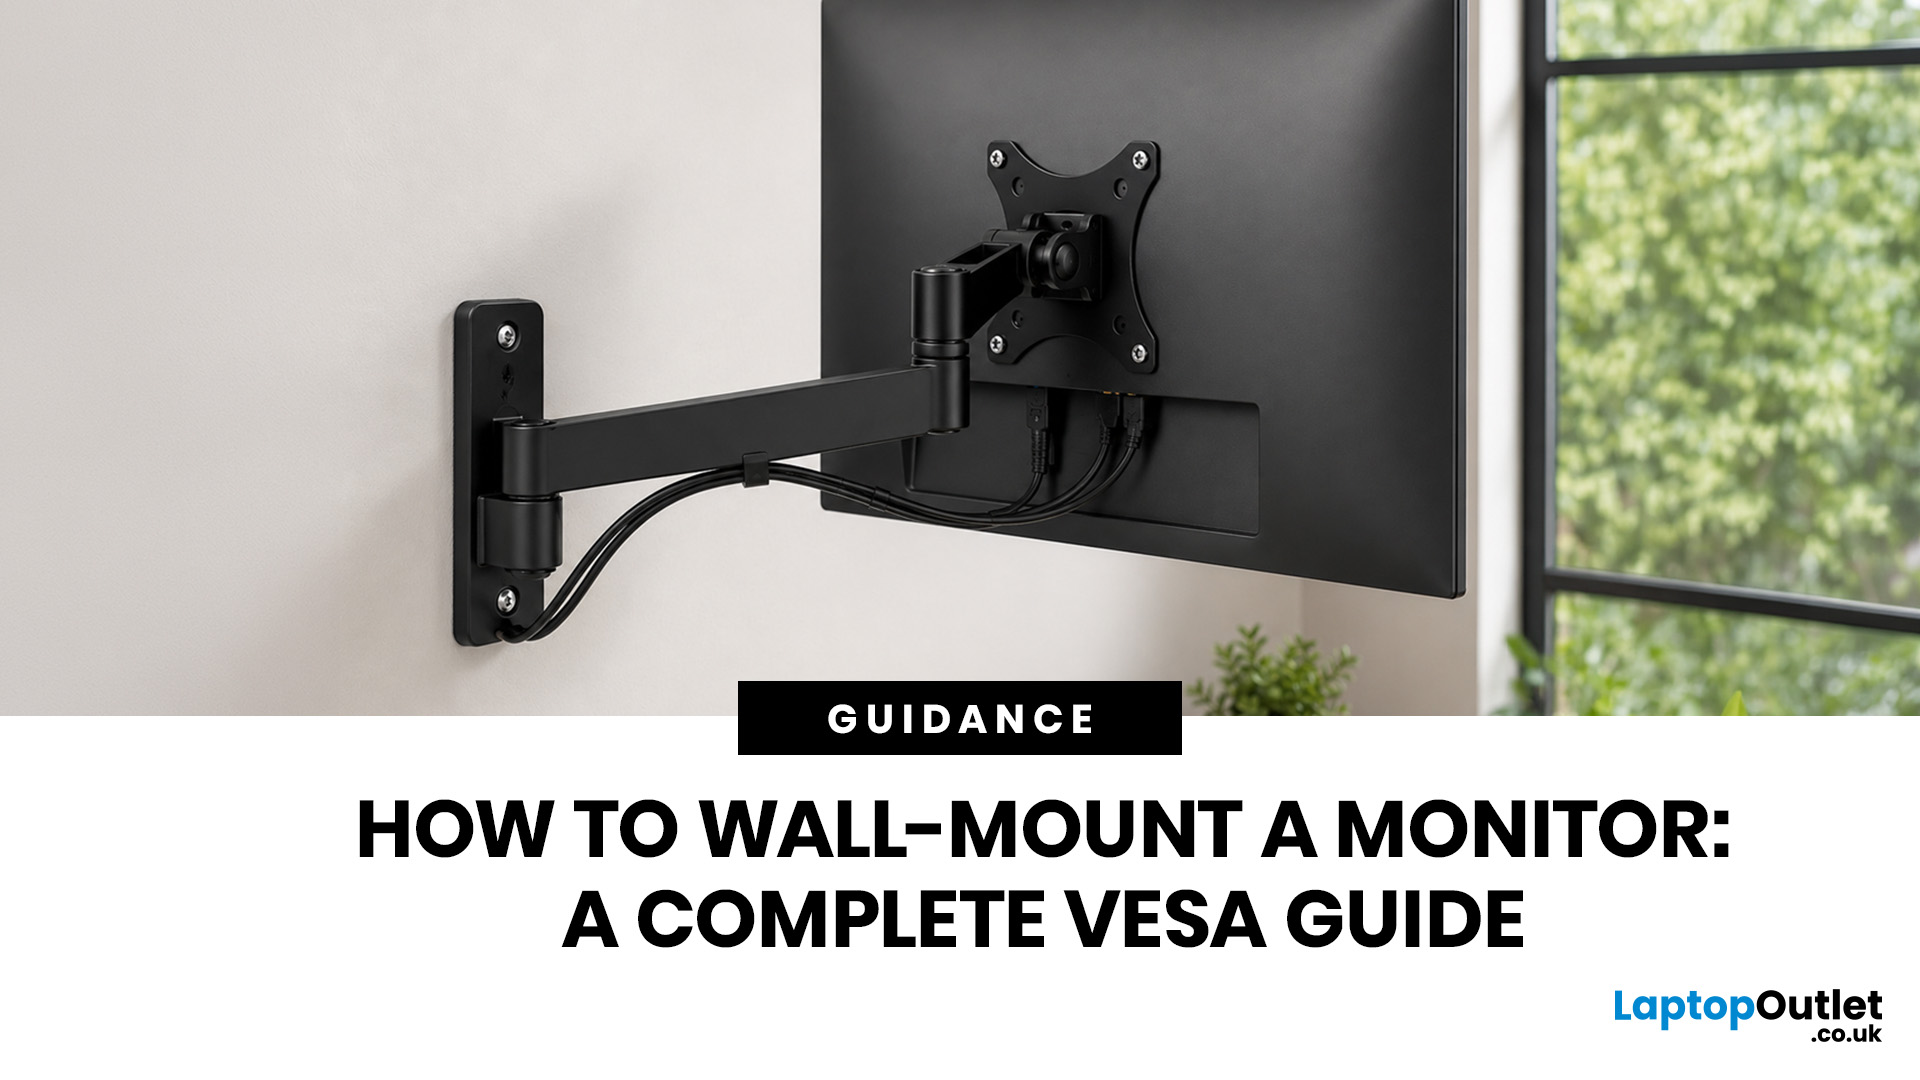
Quick Answer: Wall-mounting a monitor is worth it if you want to save desk space, improve posture and create a cleaner setup. Before you start, check that your monitor supports VESA mounting, confirm the correct VESA mounting pattern, choose a wall mount that supports your monitor’s weight, and make sure your wall can safely hold it. This VESA mount monitor guide explains what VESA mounting is, how to check compatibility, what tools you need, and how to wall mount a monitor safely step by step.
Wall-mounting a monitor can make your setup look instantly cleaner. No bulky stand. More desk space. Better cable management. A screen that actually sits at the right height instead of forcing your neck into questionable positions. Before you grab a drill and start making holes in the wall like you’re on a home renovation show, there are a few things to check. Not every monitor can be mounted, not every wall is suitable, and not every mount fits every screen.
What is VESA Mounting?
VESA mounting is a standard screw-hole pattern found on the back of many monitors and TVs. It allows your screen to attach to compatible wall mounts, desk arms or monitor stands.
Basically, it is the universal mounting language for displays. If your monitor has a VESA pattern and your mount supports the same size, they should fit together. This makes it much easier to choose a monitor VESA mount without guessing whether the holes will line up.
A VESA mount monitor usually has four screw holes arranged in a square or rectangle on the back. These holes are measured in millimetres, such as 75 × 75mm or 100 × 100mm. So, when someone asks, “what is VESA mounting?”, the simple answer is:
VESA mounting is the standard screw-hole layout that lets you attach a monitor to a wall mount, desk arm or adjustable stand.
Common VESA Mounting Patterns Explained
The VESA mounting pattern tells you about the distance between the screw holes on the back of your monitor. It is measured width by height in millimetres.
|
VESA Pattern |
Common Use |
Best For |
|
75 × 75mm |
Smaller monitors |
Compact displays and lightweight screens |
|
100 × 100mm |
Most standard PC monitors |
Common home office and gaming monitors |
|
200 × 100mm |
Larger monitors |
Wider or heavier desktop displays |
|
200 × 200mm |
Large monitors and small TVs |
Bigger wall-mounted screens |
Most PC monitor VESA mount setups use 75 × 75mm or 100 × 100mm, but do not assume. Always check your monitor’s product page, manual or the back of the screen.
Laptop Outlet Expert Tip:
Do not just measure the screen size and guess the VESA pattern. Two different 27-inch monitors can have different mounting support.
How to Check if Your Monitor Has a VESA Mount
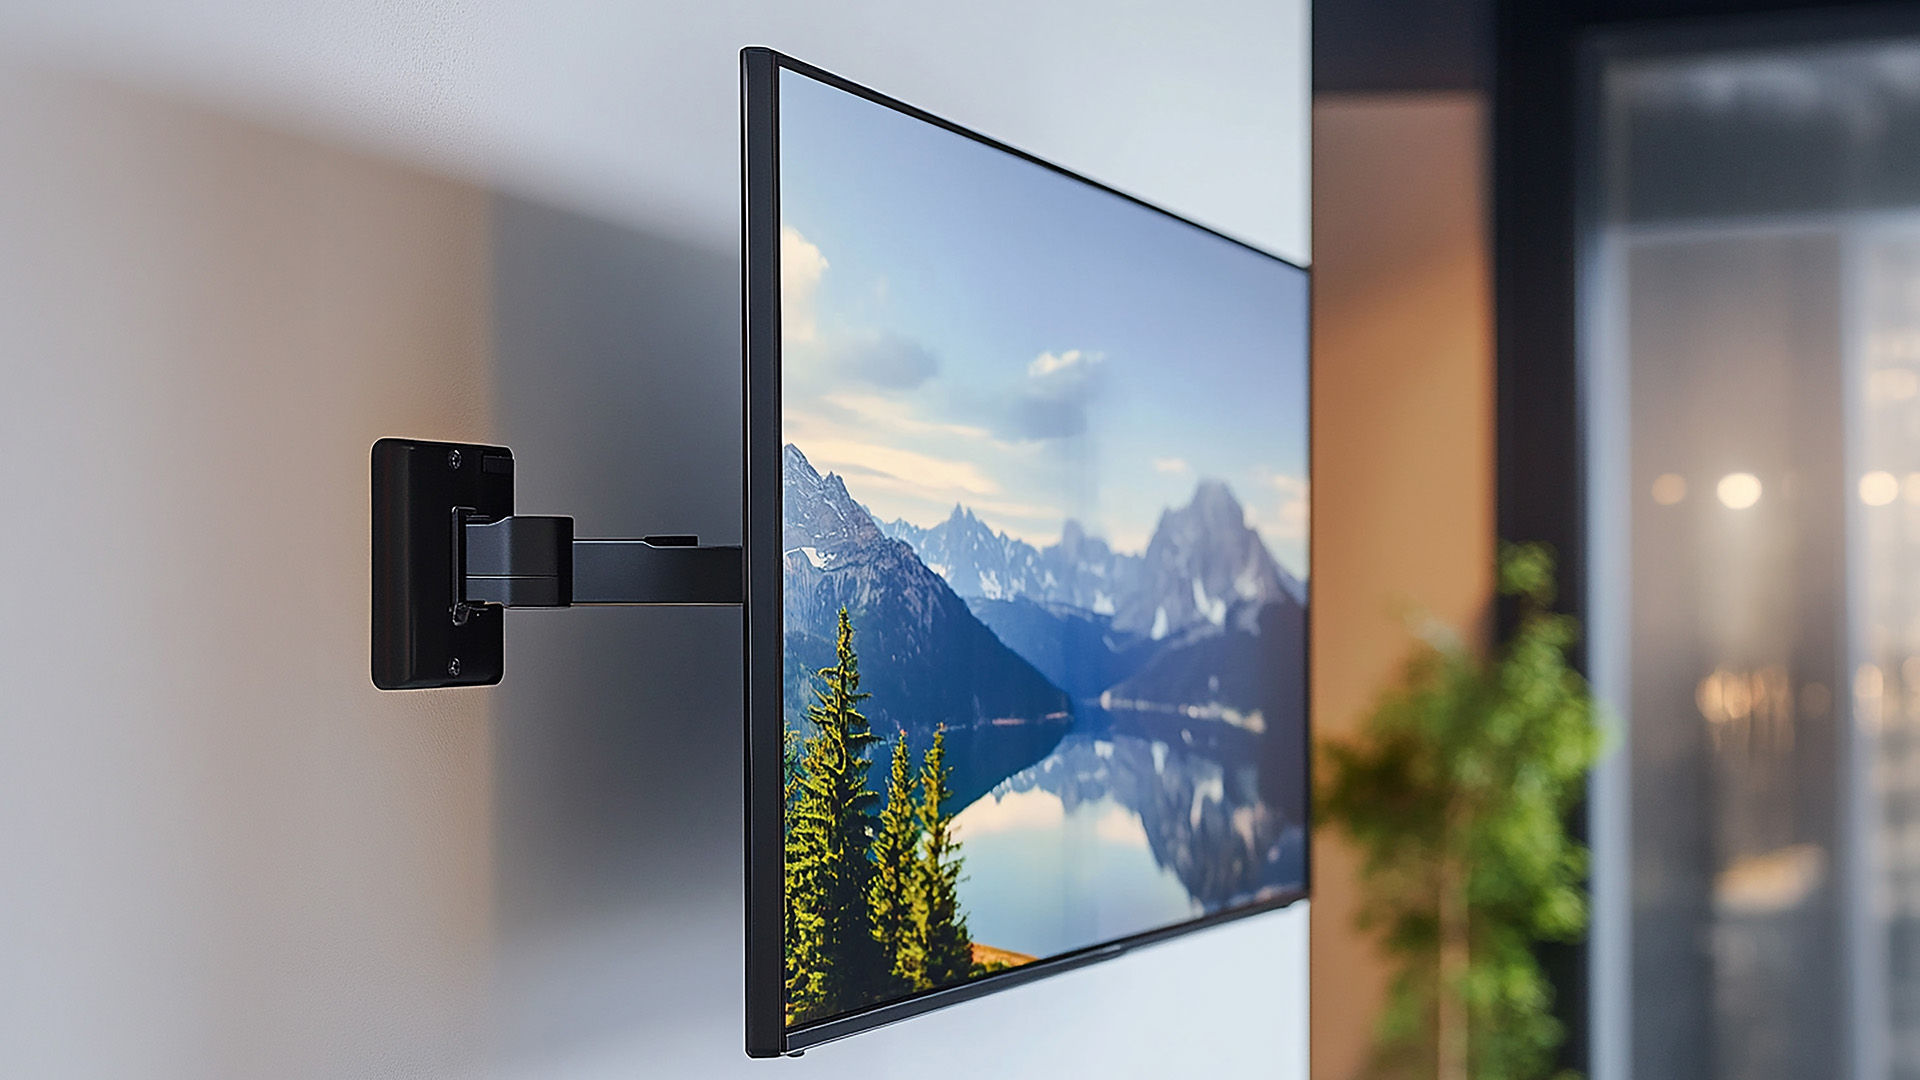
Before buying a mount, check whether your monitor actually supports VESA.
1. Look at the Back of the Monitor
Check for four screw holes arranged in a square or rectangle. They may be visible straight away, or they might be hidden behind the original stand or a plastic cover.
2. Check the Product Specifications
Look for phrases such as:
- VESA compatible
- VESA mount support
- Wall mount compatible
- 75 × 75mm
- 100 × 100mm
- Mounting pattern
- Monitor VESA mount
3. Check the Manual
If you still have the manual, it should confirm whether the screen supports VESA mounting for monitor setups.
4. Check for Adapter Support
Some monitors do not have built-in VESA holes but can still be mounted using a brand-specific adapter. Others may need a clamp-style adapter.
When shopping for a new display, look for monitors with VESA mount support if you want a cleaner wall-mounted or arm-mounted setup.
VESA Monitor Mount Benefits
There are plenty of VESA monitor mount benefits, especially if your desk feels cramped or messy.
|
VESA Wall Mount Benefit |
Why It Helps |
|
Saves desk space |
Removes the monitor stand from your desk |
|
Cleaner setup |
Creates a more minimal, organised look |
|
Better posture |
Lets you position the screen at eye level |
|
Improved viewing angle |
Tilt or swivel options can reduce strain |
|
Great for small desks |
Helps when desk depth is limited |
|
Better cable management |
Cables can be routed neatly down the wall |
|
Useful for gaming and work |
Helps centre your screen properly |
One of the biggest VESA wall mount benefits is that it frees up space. Monitor stands can take up more room than expected, especially on smaller desks. Wall-mounting moves the display off the desk completely. It can also improve your setup ergonomics. A screen that is too low can cause neck strain, while a properly mounted monitor can sit closer to eye level.
Monitor Wall Mount Advantages and Disadvantages
A wall-mounted setup can look clean, but it is not perfect for everyone. Here are the honest monitor wall mount advantages and disadvantages.
|
Monitor Wall Mount Advantages |
Wall Mount Monitor Disadvantages |
|
Frees up desk space Looks clean and premium Can improve posture Reduces desk clutter Great for small workspaces Works well for permanent setups |
Requires drilling or wall fixing Harder to move than a desk stand Not all walls are suitable Wrong fixings can be unsafe Cable routing can be awkward Less flexible if you often change layout |
If you rent, move your desk often or are unsure about your wall type, a desk monitor arm may be a safer option than a monitor VESA mount wall setup.
Types of Monitor Wall Mounts
Not all wall mounts work the same way. The best option depends on how much movement you want.
Fixed Wall Mount
A fixed wall mount keeps the best LED monitors close to the wall with little or no movement.
Best for:
- Clean desk setups
- Permanent workstations
- Basic office use
- Minimalist rooms
This is the neatest option, but also the least flexible.
Tilting Wall Mount
A tilting mount lets you angle the screen up or down.
Best for:
- Reducing glare
- Slightly higher wall positions
- Shared viewing angles
- More comfortable screen positioning
This is a good middle-ground choice.
Full-Motion Monitor Arm
A full-motion arm allows tilt, swivel, and extension. You can pull the budget gaming monitors forward, push it back or angle it to suit your setup.
Best for:
- Gaming setups
- Flexible desks
- Hybrid workstations
- Users who adjust screen position often
Gas Spring Monitor Arm
These are usually desk-mounted rather than wall-mounted, but they often use VESA mounting too. They are great if you want adjustability without drilling into the wall.
Best for:
- Sit-stand desks
- Home offices
- Shared workspaces
- Users who want flexible positioning
Tools You Need to Wall-Mount a Monitor
Before starting, get everything ready. Nothing ruins the vibe like holding a speaker-enabled monitors in one hand and realising the screwdriver is in another room. You may need:
- VESA-compatible monitor
- Compatible wall mount
- Screws and spacers
- Drill
- Screwdriver
- Spirit level
- Pencil
- Tape measure
- Wall plugs or anchors
- Stud finder for plasterboard walls
- Cable clips or cable trunking
- A second person for larger monitors
Safety Note:
If you are unsure about your wall type or the monitor is heavy, get professional help. A badly mounted monitor is not just annoying; it can be dangerous.
Before You Start: Compatibility Checks
Before learning how to mount VESA monitor hardware, check these points first.
Check the VESA Pattern
Your monitor and mount need to support the same VESA mounting pattern. For example, if your monitor is 100 × 100mm, your mount must support 100 × 100mm.
Check Monitor Weight
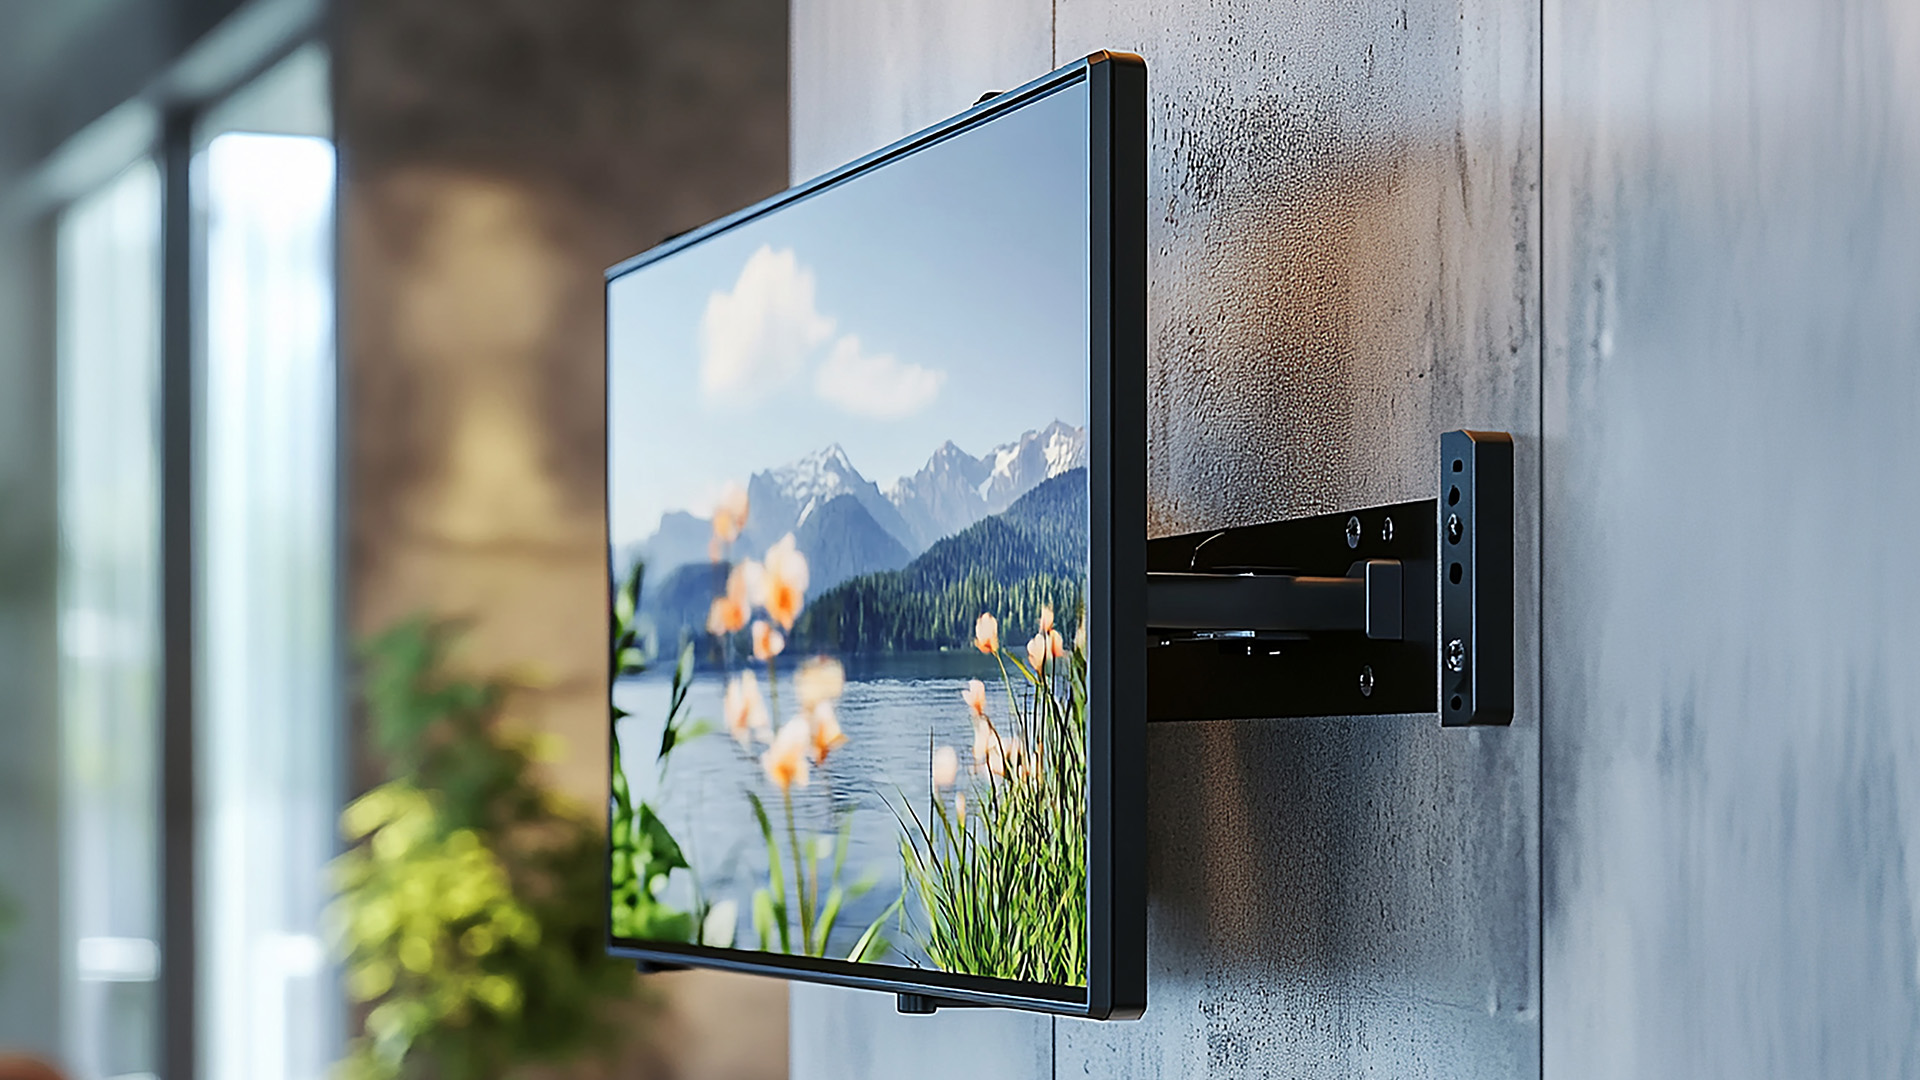
Every wall mount has a maximum weight limit. Your monitor must be under that limit. Ideally, leave a bit of safety margin rather than pushing the mount to its maximum.
Check Wall Type
Different walls need different fixings.
|
Wall Type |
What to Know |
|---|---|
|
Brick or concrete |
Strong, but needs masonry fixings |
|
Solid wall |
Usually suitable with correct anchors |
|
Plasterboard or drywall |
Needs studs or heavy-duty anchors |
|
Partition wall |
May not be suitable for heavier monitors |
Check Viewing Height
Plan the monitor height before drilling. The top of the screen should usually sit around eye level when you are seated.
Check Cable Length
Make sure power, HDMI, DisplayPort or USB-C cables can reach neatly. Wall mounting looks less clean if cables are stretched or dangling everywhere.
How to Wall-Mount a Monitor: Step-by-Step Guide
Here is the practical monitor mounting guide.
Step 1: Remove the Monitor Stand
Turn off the monitor and unplug everything. Place it face-down on a soft towel or blanket to avoid scratches. Remove the original stand carefully.
Step 2: Attach the VESA Plate
Line up the VESA plate with the screw holes on the back of the monitor. Use the correct screws included with the mount or monitor.
Do not overtighten. You want it secure, not crushed.
Step 3: Mark the Wall Position
Hold the wall mount where you want it. Use a pencil to mark the screw holes. Use a spirit level so the monitor does not end up slightly tilted. A wonky monitor will annoy you forever.
Step 4: Drill the Holes
Use the correct drill bit for your wall type. Brick, concrete and plasterboard all need different approaches. If using plasterboard, make sure you are drilling into studs or using suitable heavy-duty anchors.
Step 5: Secure the Wall Mount
Attach the wall mount firmly using the correct screws and plugs. Check that it is level and does not wobble.
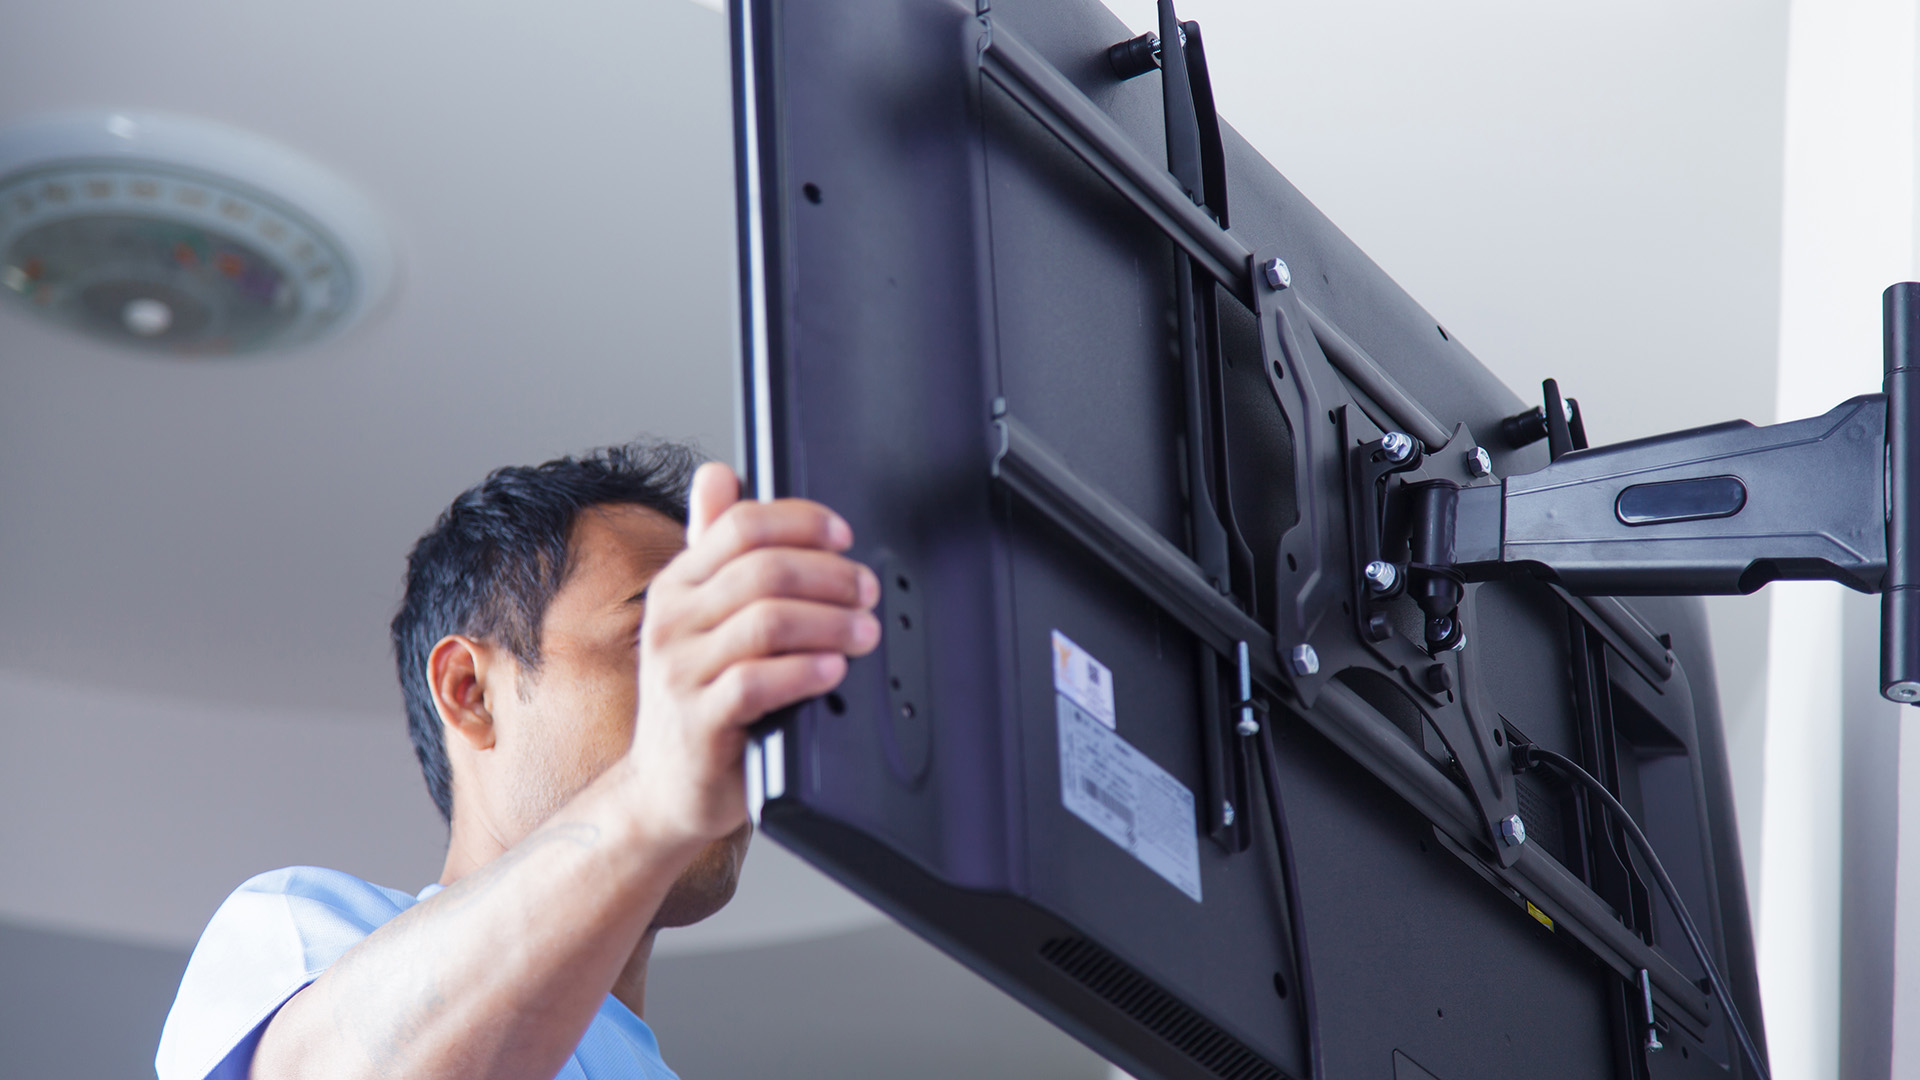
Step 6: Attach the Monitor
Carefully lift the monitor and connect it to the wall plate or arm. If the monitor is large, get someone to help. This is not the moment to test your one-handed lifting skills.
Step 7: Connect Cables
Connect power, HDMI, DisplayPort, USB-C or any other required cables. Try to route cables neatly using clips, trunking or cable sleeves.
Step 8: Adjust the Position
Set the height, tilt and angle. Make sure the display is comfortable to view from your normal sitting position.
Step 9: Test Stability
Gently check that the monitor is secure. Do not yank it around. Just make sure it feels stable before using it daily.
Best Height and Position for a Wall-Mounted Monitor
A wall-mounted monitor should look good, but it also needs to feel comfortable.
Use these ergonomic tips:
- Keep the top of the screen around eye level
- Place the monitor directly in front of your chair
- Keep it roughly an arm’s length away
- Avoid mounting it too high
- Tilt slightly if needed
- Keep the screen centred with your keyboard
- Avoid glare from windows
- Keep cables away from feet and desk edges
A common mistake is mounting the screen too high. It might look cool at first, but if you are tilting your head up all day, your neck will not thank you.
Can You Wall-Mount a Monitor for Gaming?
Yes, you can wall-mount a gaming monitor, and it can look seriously clean.
A wall-mounted gaming monitor works best when the screen is centred, secure and positioned at the right height. You should also make sure your cables support the monitor’s resolution and refresh rate. For example, if you have a high refresh rate gaming monitor, use the right HDMI or DisplayPort cable so you do not accidentally limit performance. Gaming wall-mount tips:
- Keep the monitor directly in front of you
- Avoid mounting it too high
- Use DisplayPort or HDMI that supports your specs
- Consider a full-motion mount if you change position often
- Check that ports are still easy to access
- Keep the screen stable for competitive play
If you are building a gaming or work setup from scratch, compare monitors with the right resolution, refresh rate and VESA support before choosing a mount. If you are mounting a display for gaming, films or content creation, our HDR monitor guide explains how HDR affects brightness, contrast and colour quality.
Wall-Mounted Monitor vs Desk Monitor Arm
A wall mount is not your only option. A desk monitor arm can also give you VESA mounting without drilling into the wall.
|
Setup |
Pros |
Cons |
Best For |
|---|---|---|---|
|
Wall-mounted monitor |
Saves maximum desk space, clean look |
Less flexible, needs drilling |
Permanent setups |
|
Desk monitor arm |
Adjustable, easier to move |
Takes clamp space, needs strong desk |
Flexible workstations |
|
Original monitor stand |
No setup hassle |
Takes desk space, less adjustable |
Basic setups |
- Choose a wall mount if you want a permanent, clean setup.
- Choose a desk arm if you want flexibility. Stick with the original stand if you do not want setup hassle.
If you are planning to mount more than one display, our dual monitor setup guide explains how to connect, arrange and optimise two screens properly.
Common Monitor Wall-Mounting Mistakes to Avoid
Avoid these common mistakes before you commit to drilling.
Buying the Wrong VESA Mount
The mount and monitor pattern must match. Check the VESA size before buying.
Ignoring Monitor Weight
A mount that cannot support your monitor is unsafe. Always check the maximum load rating.
Mounting Too High
This can cause neck strain. Keep the display at a natural viewing height.
Using the Wrong Wall Fixings
Different walls need different anchors. Do not use basic plugs for a heavy monitor on plasterboard.
Forgetting Cable Management
Dangling cables can ruin a clean setup. Plan cable routing before mounting.
Blocking Ports
Some mounts can block HDMI, DisplayPort or power ports. Check port placement before attaching the mount.
Not Checking Adjustment Range
A fixed mount may look sleek, but it offers limited movement. If you need flexibility, choose tilt or full-motion.
Is Wall-Mounting a Monitor Worth it?
Wall-mounting a monitor is worth it if you want to save desk space, improve ergonomics and create a cleaner setup. It is especially useful for small desks, gaming rooms, home offices and permanent workstations.
It may not be the best choice if you rent, cannot drill into walls, move your setup often or need frequent screen adjustment.
|
Wall-Mount a Monitor if… |
Avoid or Choose a Desk Arm if… |
|
You want to save desk space |
You rent and cannot drill |
|
You want a clean setup |
You move your screen often |
|
You have a suitable wall |
Your wall cannot support the mount |
|
You want fixed eye-level positioning |
You need frequent adjustment |
|
Your monitor supports VESA |
Your monitor has no VESA support |
The final takeaway is simple: a VESA wall mount can make your setup look cleaner and feel better, but only if the monitor, mount and wall are all compatible. However, if you want more screen space but do not want to mount two separate displays, our guide on whether ultrawide monitors are worth buying in 2026 can help you compare a wider single-screen setup.
Ready to Build a Cleaner Desk Setup?
Wall-mounting a monitor can make your workspace look cleaner, feel more comfortable and free up valuable desk space. Just make sure you check VESA compatibility, mount strength, wall type, and cable access before you start. Whether you need a VESA-compatible monitor for your workspace or a portable touchscreen device for flexible working, we also have displays, laptops and tablets to suit your setup.
Still Got questions?
What is VESA mounting?
VESA mounting is a standard screw-hole pattern on the back of monitors. It allows the screen to attach to compatible wall mounts, desk arms and monitor stands.
How do I know if my monitor is VESA compatible?
Check the back of the monitor for four screw holes or look at the product specifications for VESA sizes such as 75 × 75mm or 100 × 100mm.
What is the most common VESA mounting pattern for monitors?
The most common VESA mounting patterns for PC monitors are 75 × 75mm and 100 × 100mm.
How do I wall-mount a monitor?
Check VESA compatibility, choose a suitable mount, mark the wall, drill the correct holes, secure the mount, attach the VESA plate and hang the monitor carefully.
Can all monitors be wall-mounted?
No. Only monitors with VESA support or compatible adapters can usually be wall-mounted.
| Read More |
| Should You Buy a Touch Screen Monitor? A Complete Guide |
| Monitor Buying Guide: How to Choose the Right Resolution & Refresh Rate |
| What is HDR on a Monitor? Everything You Need to Know |
Related Articles


Last Updated: April 14, 2026
If you want reliable colour from a BenQ creative monitor, calibration is not the final polish. It is the foundation. Whether you are editing photos, preparing work for print, designing for web, or reviewing client visuals, the goal is the same: your monitor should show colour in a way that is consistent, repeatable, and appropriate for the job in front of you.
This guide will walk you through how to calibrate a BenQ DesignVue monitor or BenQ PhotoVue monitor, when to use sRGB vs AdobeRGB on BenQ monitors, what hardware calibration changes, and how often you should recalibrate if accurate colour matters to your work.
Why BenQ Monitor Colour Calibration Matters
A high-spec monitor is only one part of colour accuracy. Out of the box, even a very good display may be too bright for print work, set to the wrong colour space for your workflow, or simply drift over time. That is where BenQ monitor colour calibration comes in.
BenQ explains that hardware calibration works by adjusting colour directly
Last Updated: April 28, 2026
Choosing the right monitor format can transform how you work. Whether you are a developer, analyst, designer, or remote professional, your display shapes your entire workflow.
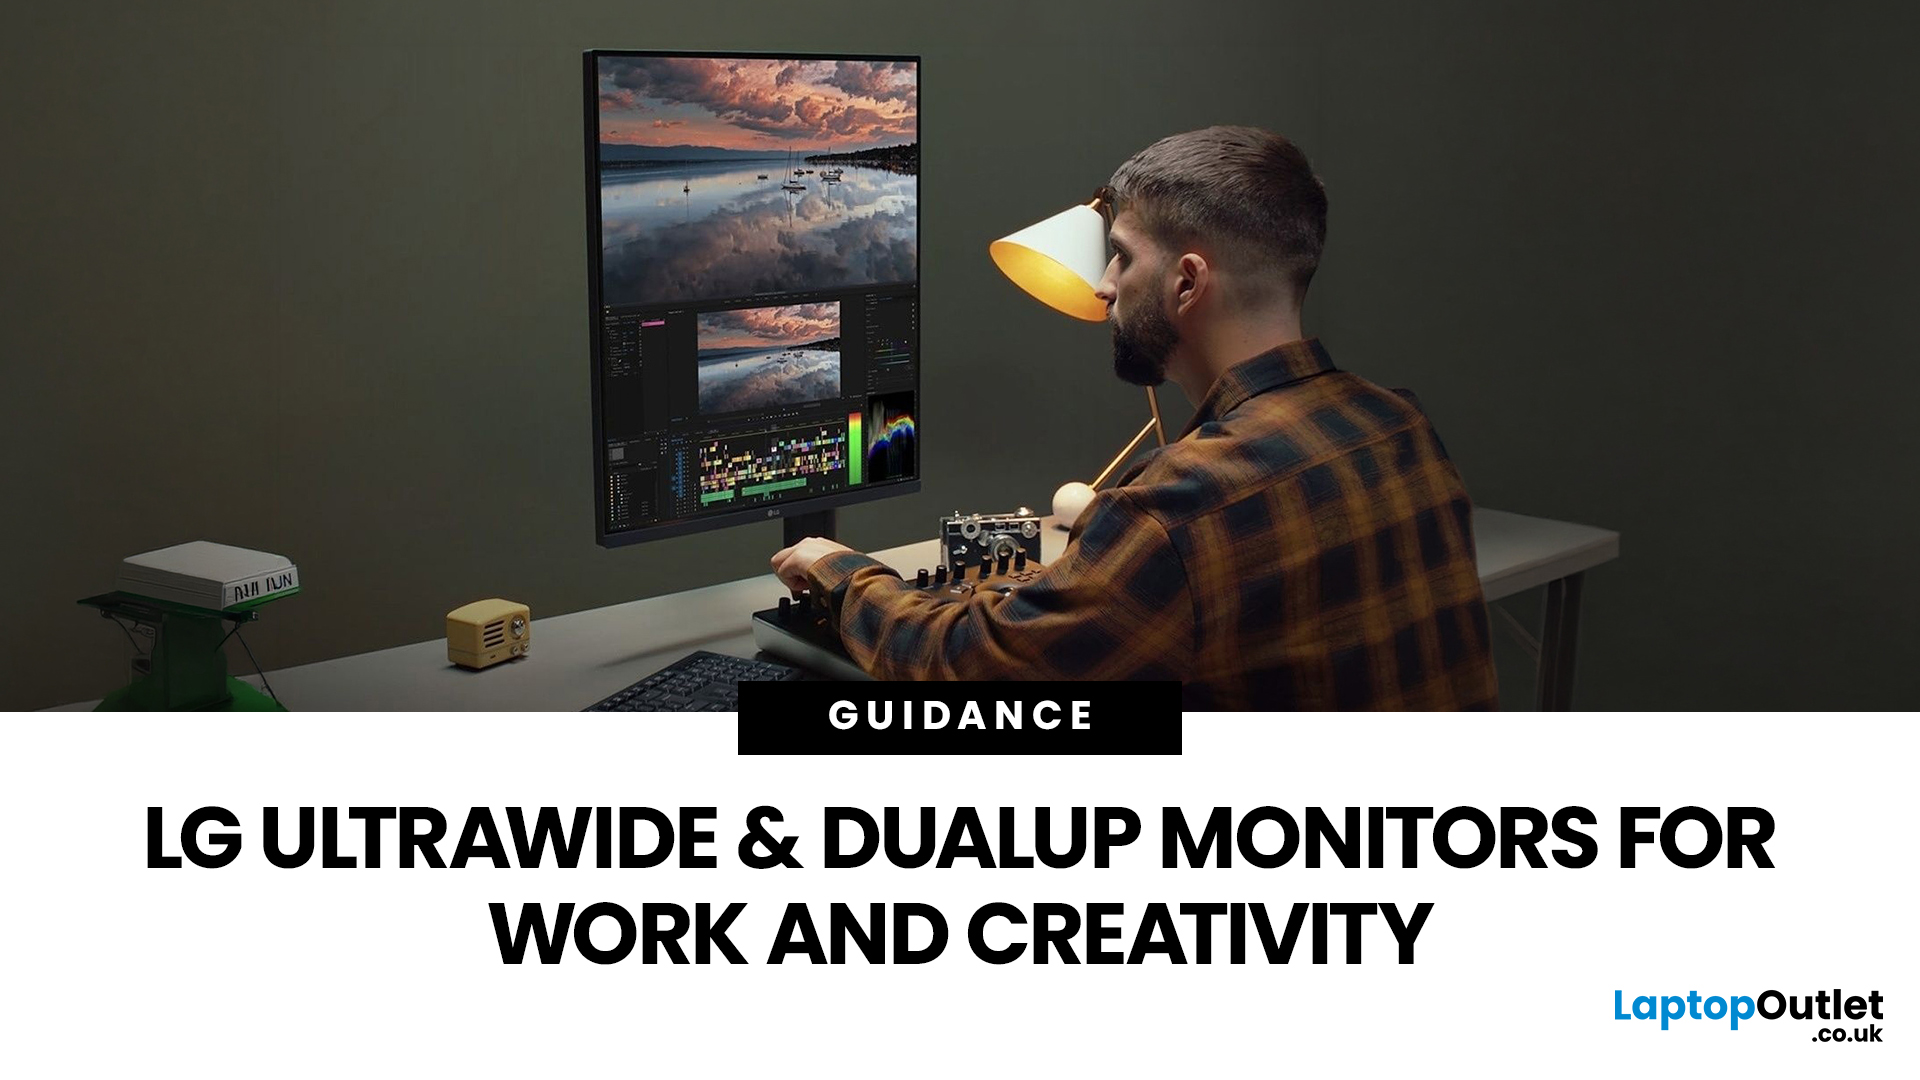
LG UltraWide and DualUp productivity monitors have become a firm favourite across the UK for professionals who need more screen space without the cable clutter of multiple setups.
This guide breaks down how each format performs for coding, content creation, dashboards, and day-to-day productivity, so you can pick the right one for your desk.
Why Screen Format Changes Everything
The shape of your display directly influences how many windows you can manage, how much you need to scroll, and whether your neck stays comfortable after a full working day. It is worth understanding the two non-standard formats LG offers before deciding which suits your setup.
LG monitors come in two distinctive formats: the horizontal 21:9 or 32:9 UltraWide and the vertical 16:18 DualUp. Both give you significantly more usable space than
Last Updated: August 28, 2026
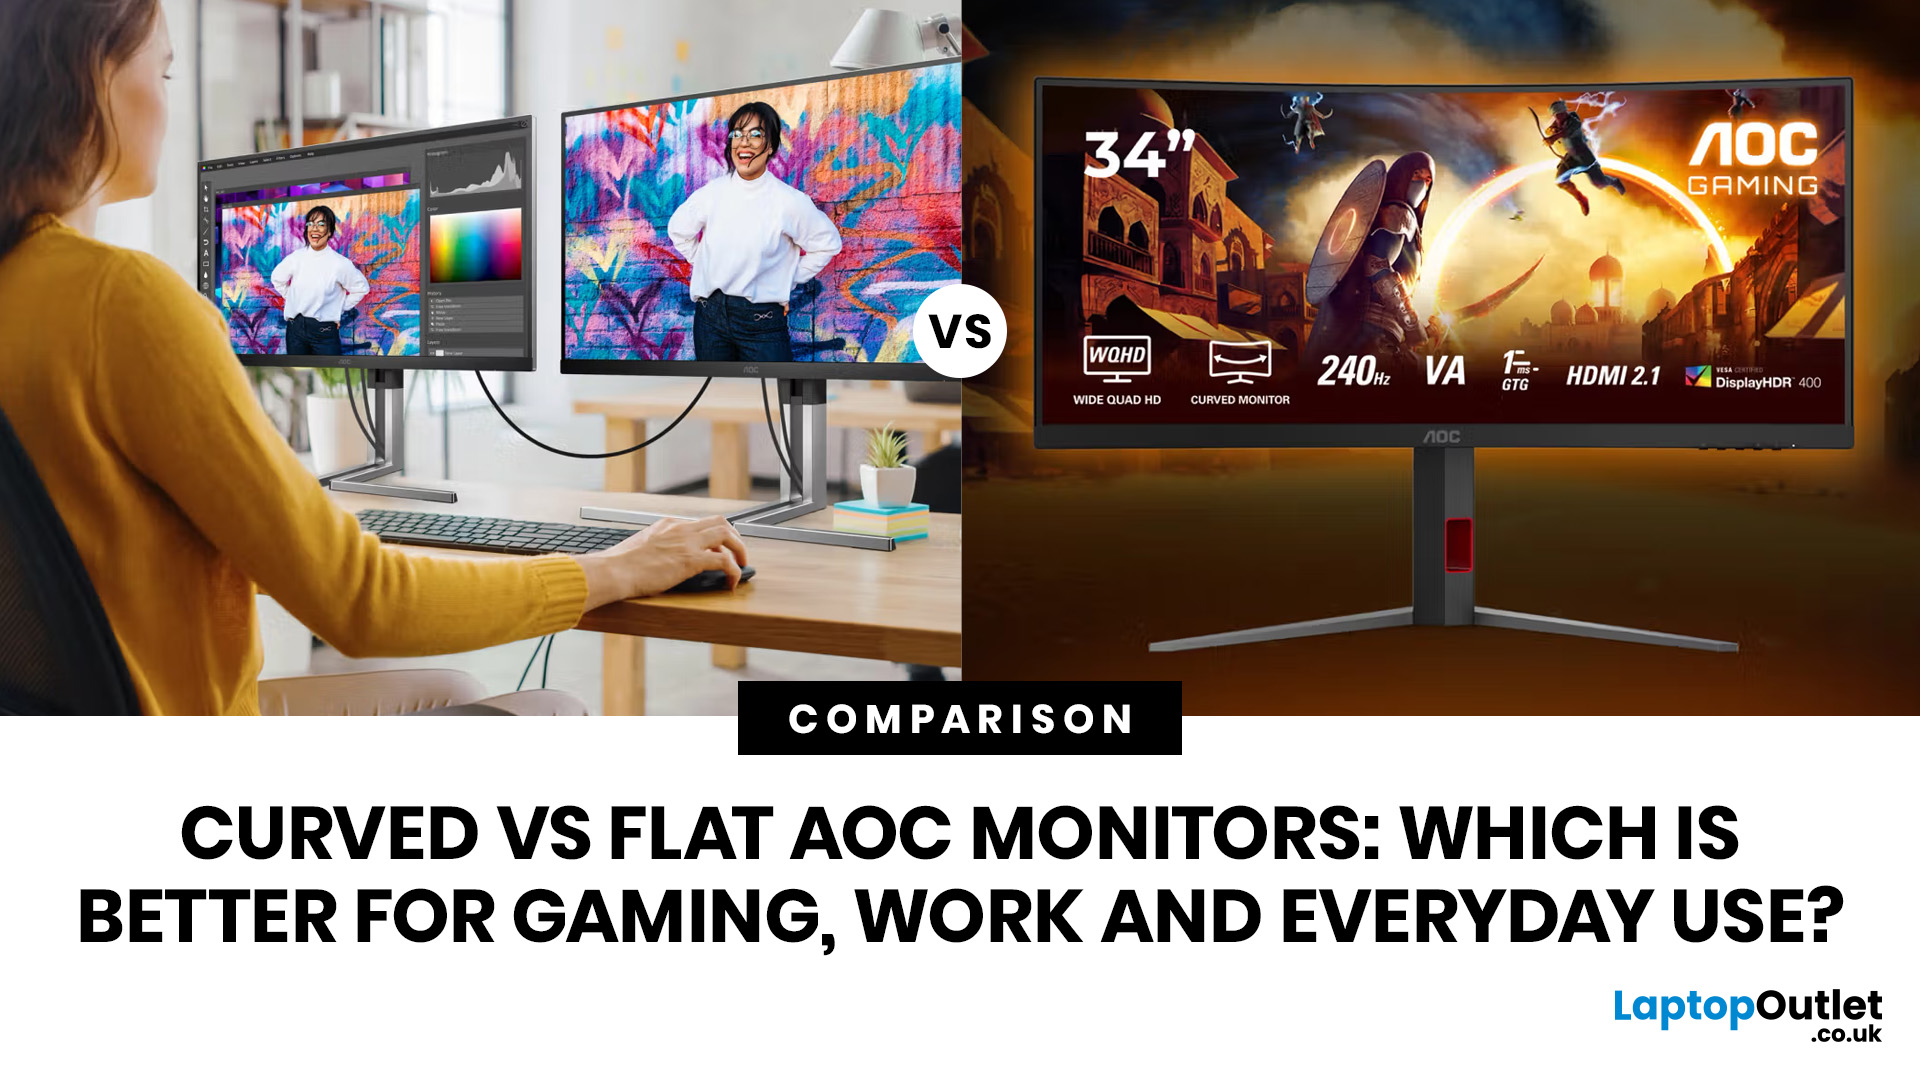
If you are comparing curved vs flat AOC monitors, the right choice depends less on trends and more on how you actually use your screen every day.
For gaming and entertainment, a curved display often feels more immersive, especially in racing games, open-world titles and films. For work, study and general day-to-day use, a flat screen is usually the more practical option because it is easier to position, easier to pair in dual-screen setups and often better suited to documents, spreadsheets and precision-focused tasks.
So, are curved monitors better? Not always. A curved model can be a great upgrade for the right person, but flat screens still make more sense for many buyers.
Here is the simplest way to think about it:
| Use case | Usually the better choice | Why |
| Immersive gaming | Curved | Feels more engaging and cinematic |
| Esports and fast competitive play | Depends | Refresh rate matters more than screen shape |
| Office work and spreadsheets | Flat | Cleaner lines, easier multi-window working |
| Study and everyday |
Published: April 27, 2026
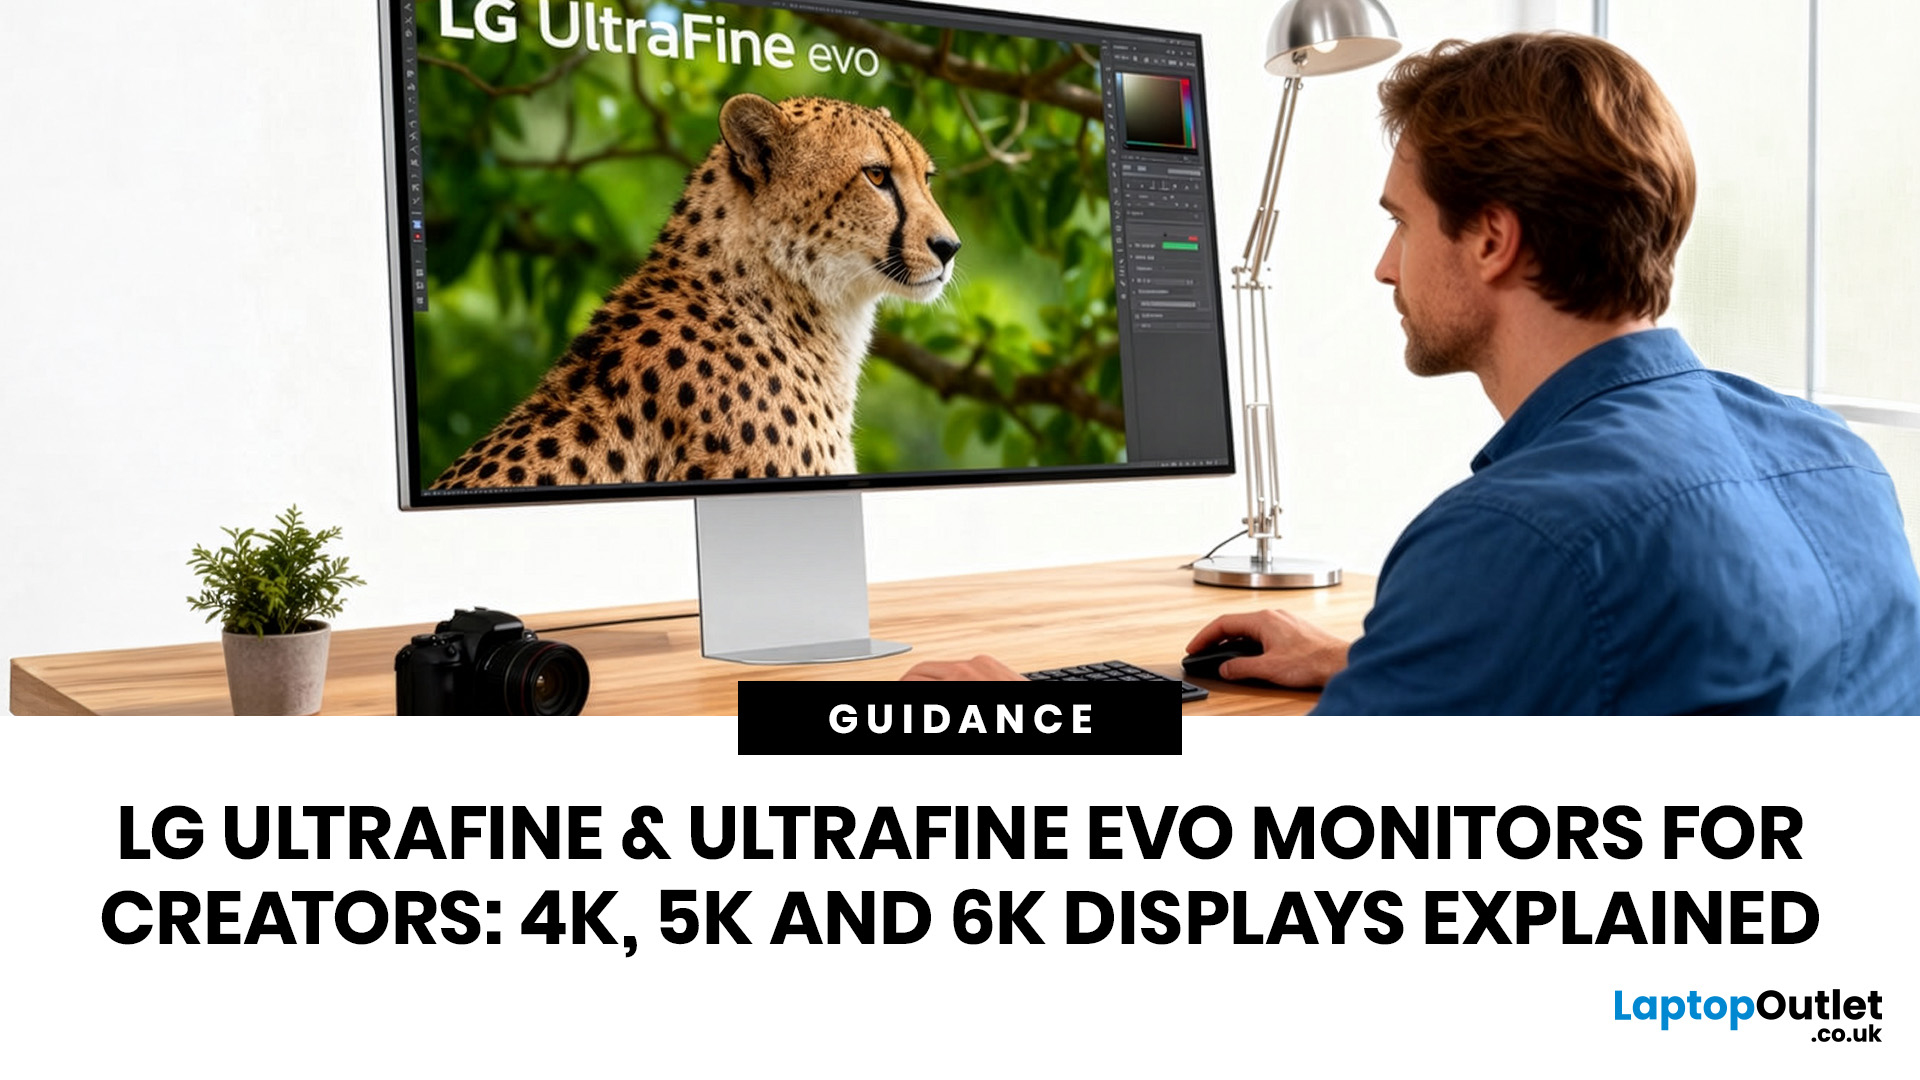
LG UltraFine monitors for creators cover three resolutions: 4K (entry-level colour accuracy), 5K (high pixel density), and 6K (the new UltraFine evo flagship). All prioritise wide colour gamut, IPS panel quality, and clean USB-C or Thunderbolt connectivity.
If you work in photo editing, video production, graphic design, or any colour-critical discipline, LG UltraFine monitors have been a trusted name for years. The right choice depends on your budget, resolution needs, and the software you rely on daily.
What Makes LG UltraFine Monitors Stand Apart for Creative Professionals?
Before going model by model, it helps to understand what the UltraFine brand actually stands for. It is a fundamentally different product category from general office or gaming displays, built around a single non-negotiable: colour and detail accuracy.
The Core Focus: Colour, Calibration, And Pixel Precision
Every UltraFine model ships with wide colour gamut coverage, typically covering 98–99% of the DCI-P3 colour
Published: April 28, 2026
If you spend the better part of your working day staring at a screen, you already know what digital eye strain feels like. That dull ache behind your eyes, the heaviness by mid-afternoon, the headache that creeps in by the end of a long session. You are not alone in that, and it is not just "screen time." It is often a combination of poor monitor settings, bad posture, and a setup that was never properly dialled in.
The good news is that LG has put real thought into tackling these problems at the hardware and software level. This guide walks you through every LG monitor eye care feature worth knowing about, how to set your screen up properly, and which models are genuinely worth considering if comfort is a priority for you.
Why Do Eye-Care and Ergonomics Actually Matter with Modern Monitors?
You might think that modern screens are already comfortable enough out of the box. The reality is that even a high-quality monitor, poorly positioned and left on factory settings, can cause very real
Last Updated: September 01, 2026
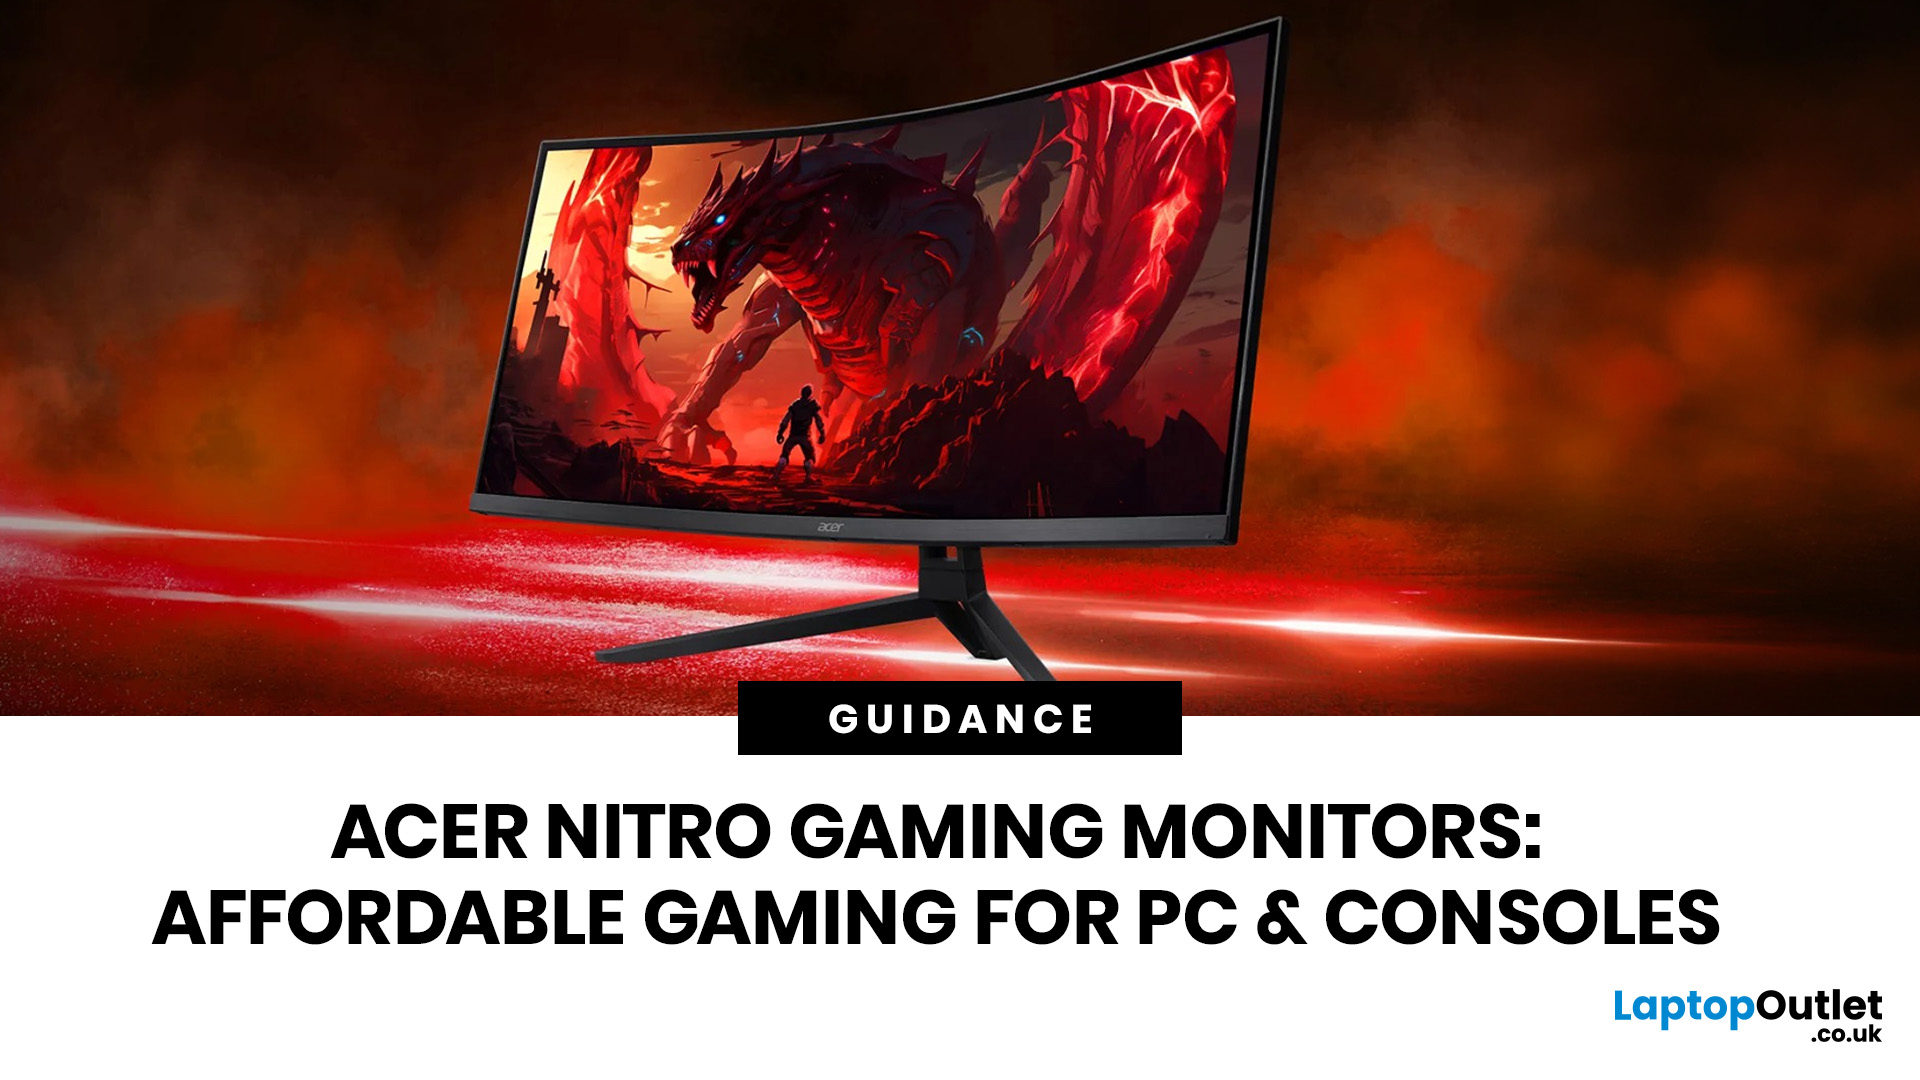
If you want smooth gameplay without jumping straight into premium OLED pricing, Acer Nitro gaming monitors are one of the easiest ranges to shortlist. Acer positions the Nitro line as a gaming family with options for fast-paced play, ultrawide immersion and richer colour, while Our Acer monitor range backs that up with Full HD, QHD, curved and ultrawide Nitro models aimed at buyers who want value, not just spec-sheet flexing.
That is exactly why Acer Nitro monitors UK shoppers keep coming back to the series. The range is broad enough to cover casual desk gaming, PS5 and Xbox setups, and entry-level PC esports, but it still stays realistic on price compared with high-end Predator and OLED alternatives. Nitro models from compact 23.8-inch Full HD panels up to 34-inch curved UWQHD displays, with refresh rates running from 120Hz to 240Hz.
Are Acer Nitro Gaming Monitors Good for Budget Gaming?
Yes. For casual gaming, console play and entry-level PC builds, Acer Nitro sits in a very practical
Last Updated: July 06, 2026
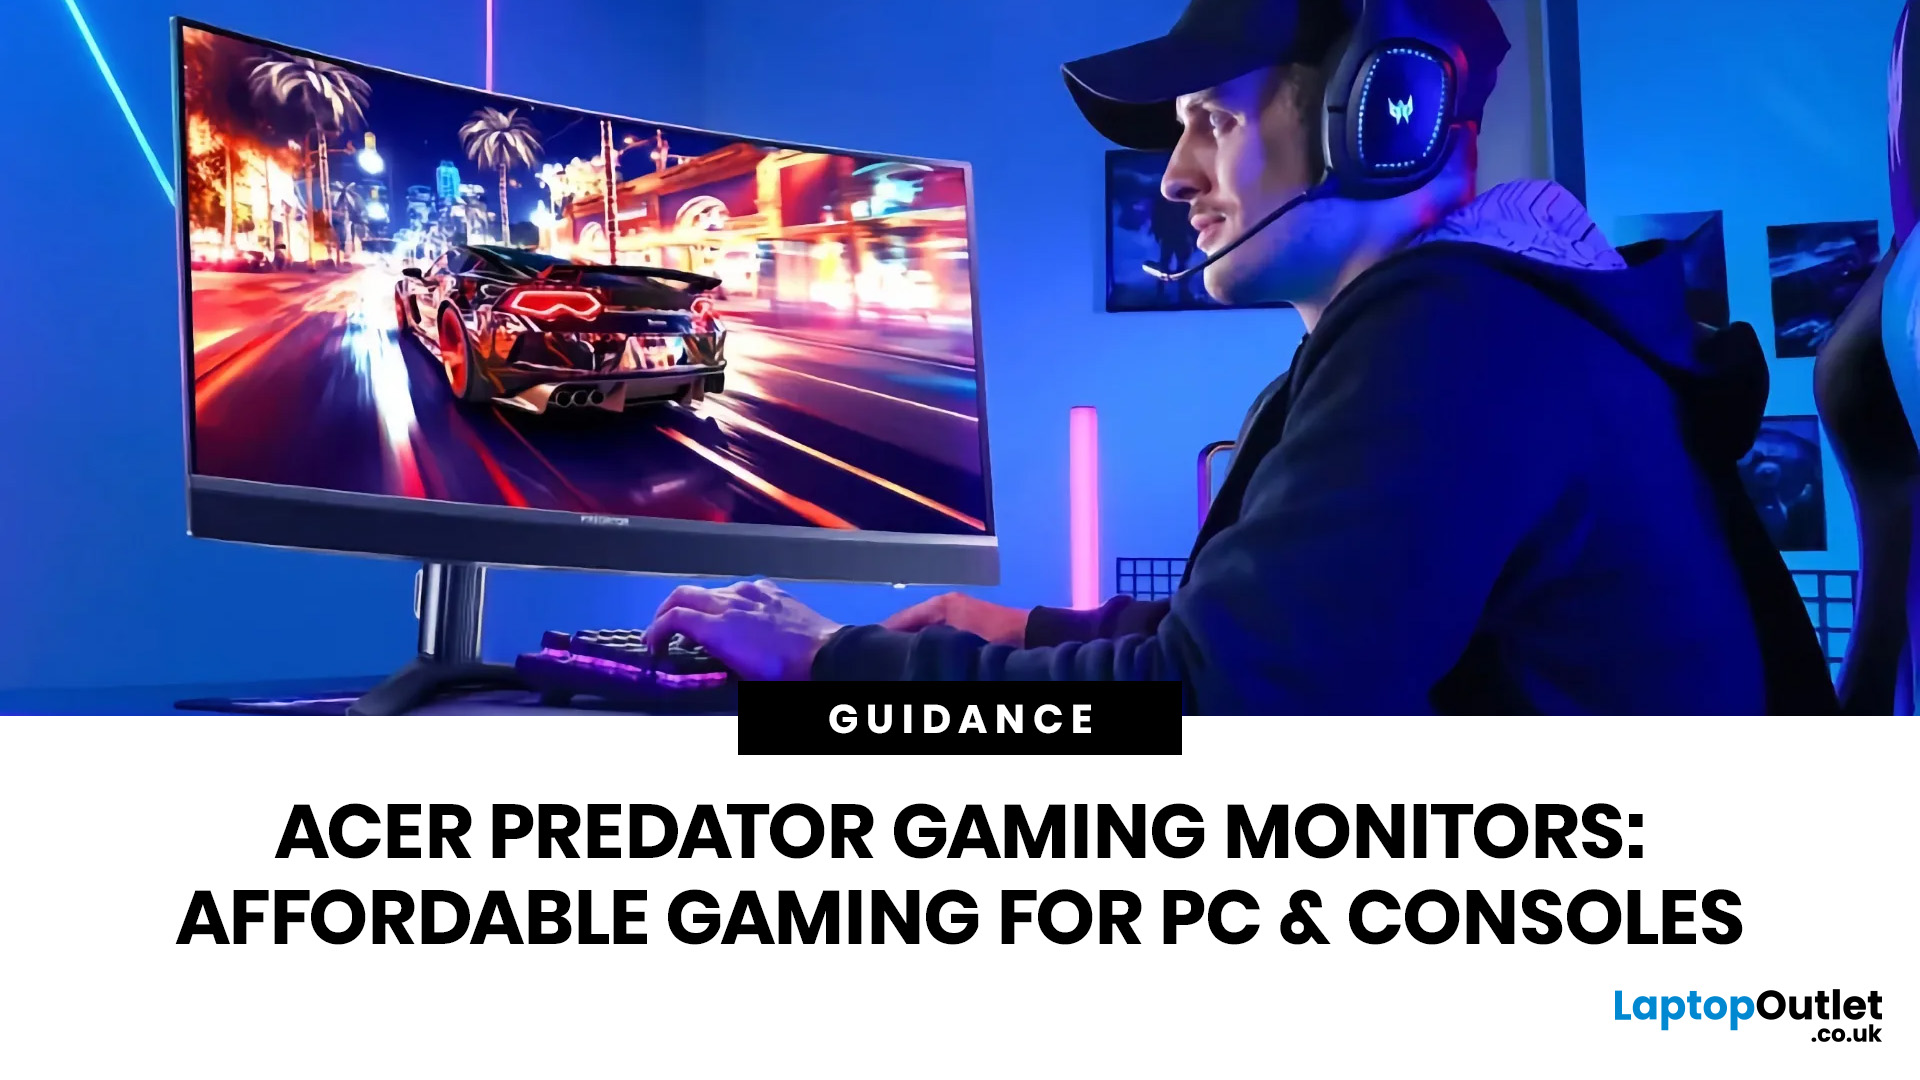
you are shopping for Acer Predator gaming monitors, you are usually not looking for a basic panel. You are looking for speed, image quality and a monitor that genuinely fits the kind of games you play. For some buyers, that means a fast 27-inch display for ranked shooters and esports titles. For others, it means a bigger 4K panel for high-detail single-player games. And for enthusiasts building the kind of setup that makes every desk photo look dramatic, it means an ultrawide or super-ultrawide screen that turns a gaming PC into the centrepiece of the room.
That is why Predator remains such an interesting range. Acer's broader monitor line covers different budgets and uses cases, but the Predator family is where Acer pushes harder on premium gaming features like OLED and QD-OLED panels, very high refresh rates, ultrawide formats and esports-level response times.
If you want the simple answer: Why choose Acer Predator monitor
Here is the short version.
- For competitive esports and fast shooters,
Last Updated: May 20, 2026
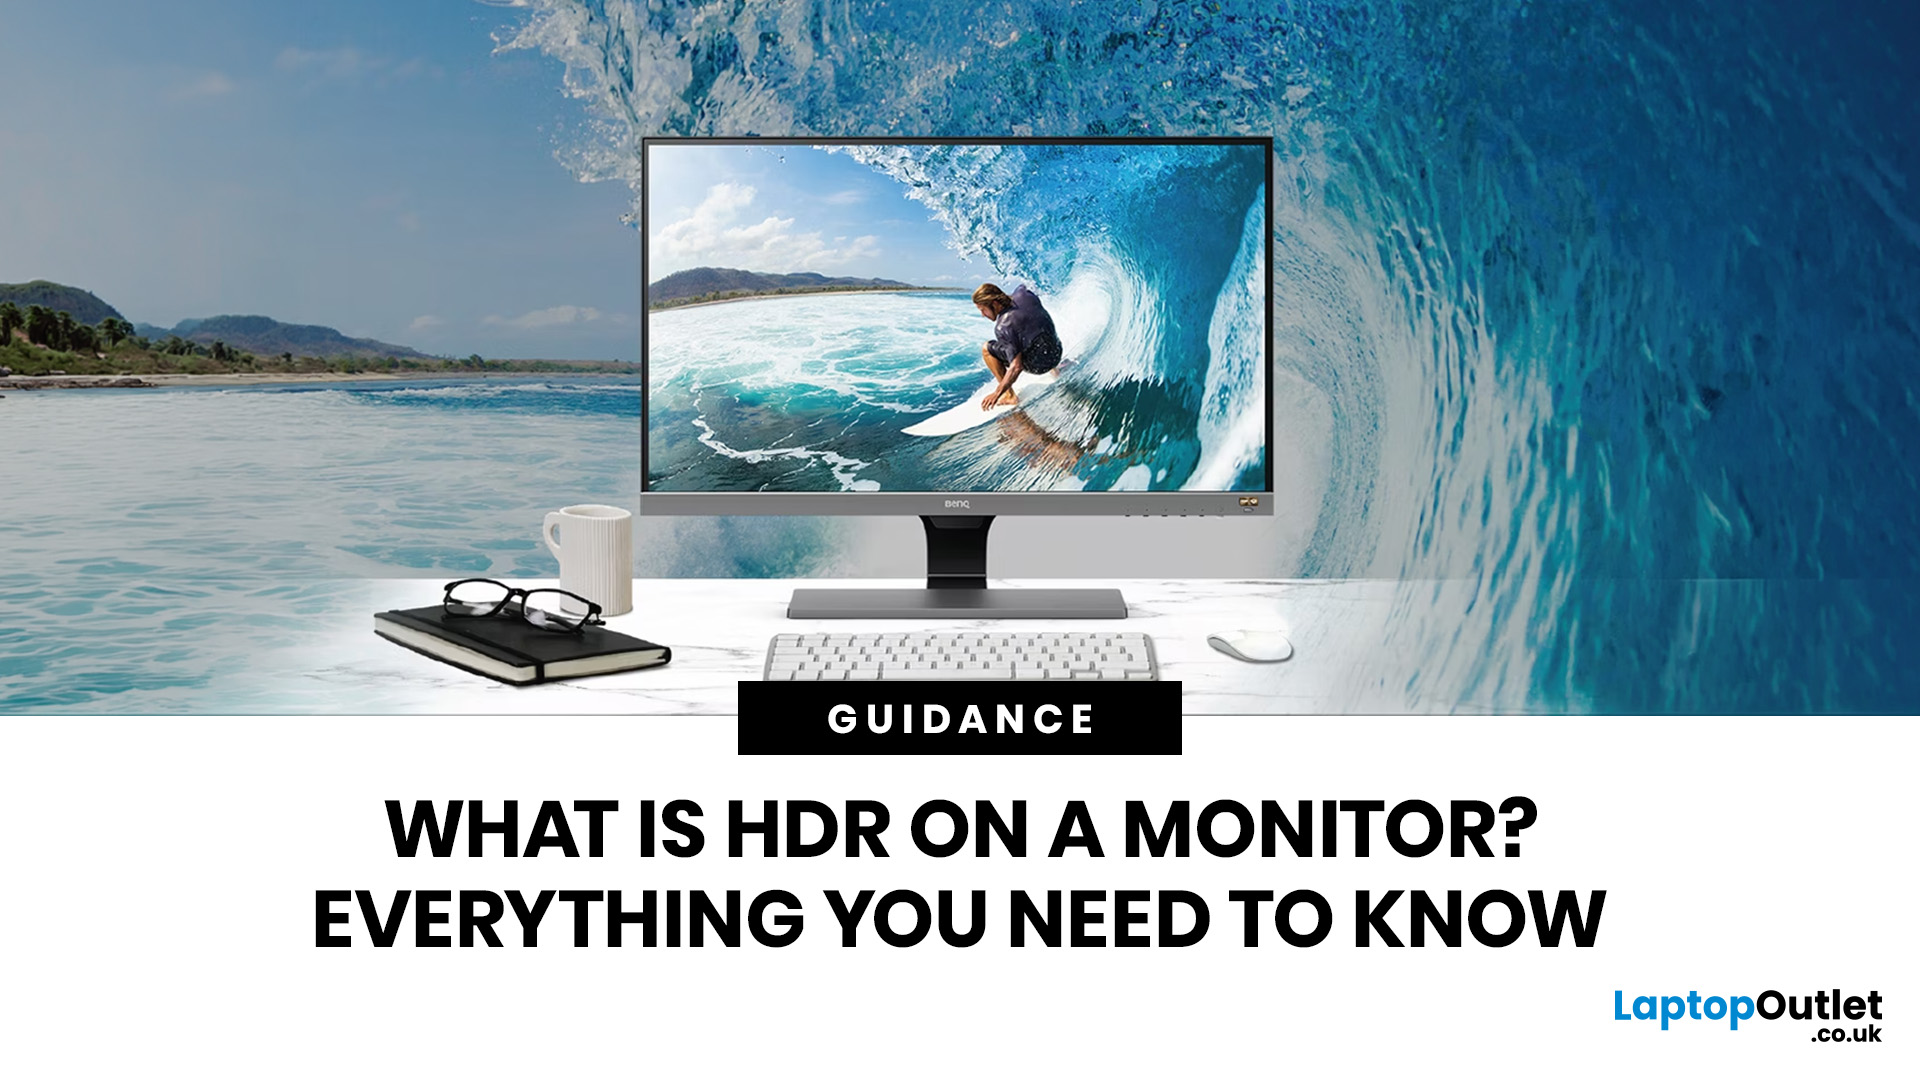
HDR is one of those monitor specs that sounds instantly premium. You see it on gaming monitors, 4K displays, creator screens, and even some budget monitors. But here’s the plot twist: not every HDR monitor gives you that “wow, this looks unreal” experience.
Some HDR displays look bright, rich and cinematic. Others technically support HDR but barely look different from standard mode. Bit awkward. So, what is HDR on a monitor, how does it work, and is HDR actually worth paying for? This complete HDR monitor explained guide breaks it all down in plain English, so you can shop smarter and avoid getting finessed by shiny spec labels.
What Does HDR Mean on a Monitor?
HDR stands for High Dynamic Range.
On a monitor, HDR is designed to show a wider range of brightness, contrast and colour than a standard SDR display. In simple terms, it helps bright areas look brighter, dark areas look deeper and colours look richer when you are watching or playing HDR-supported content.
So, when someone asks,
Last Updated: August 24, 2026
Buying a monitor should be simple. Pick a screen, plug it in, done. Except the second you start shopping, you’re hit with Full HD, QHD, 4K Ultra HD, 60Hz, 144Hz, 240Hz, IPS, VA, response time, HDMI, DisplayPort and about 47 other things that sound like they belong in a sci-fi film.
So, let’s make it easy.
This monitors & displays guide breaks down the two specs that matter most for most buyers: resolution and refresh rate. Whether you’re building a gaming setup, upgrading your home office, sorting a uni desk, editing content or just replacing an old screen that’s seen better days, this guide will help you choose the right monitor without getting finessed by big numbers.
Quick Answer: What Resolution and Refresh Rate Should You Choose?
Here’s the no-stress version.
| What You Use it For | Best Resolution | Best Refresh Rate | Best Monitor Type |
| Everyday browsing, emails and admin | Full HD | 60Hz–100Hz | Budget monitor |
| Studying or home office work | Full HD or QHD | 75Hz–120Hz | Productivity monitor |
| Multitasking |
Last Updated: August 24, 2026
One screen is fine. Two screens? That is where your setup starts feeling seriously organised. Whether you are working from home, studying, gaming, editing, coding or just tired of switching between 27 tabs every five seconds, a dual monitor setup can make your desk feel cleaner and your workflow feel smoother.
The good news is that learning how to set up dual monitors is not as complicated as it sounds. You just need the right monitors, the correct cables or adapters, and a few display settings adjusted properly. This complete guide explains how to connect two monitors, how to set up dual monitors on Windows, how to set up dual monitors with a laptop, and how to get the best layout for work, study, gaming and everyday use.
How Do You Set Up Dual Monitors?
Here is the simple version.
To set up dual monitors, connect both screens to your laptop or desktop PC using HDMI, DisplayPort, USB-C, Thunderbolt or a compatible docking station. Then open your display settings, choose Extend these displays

