

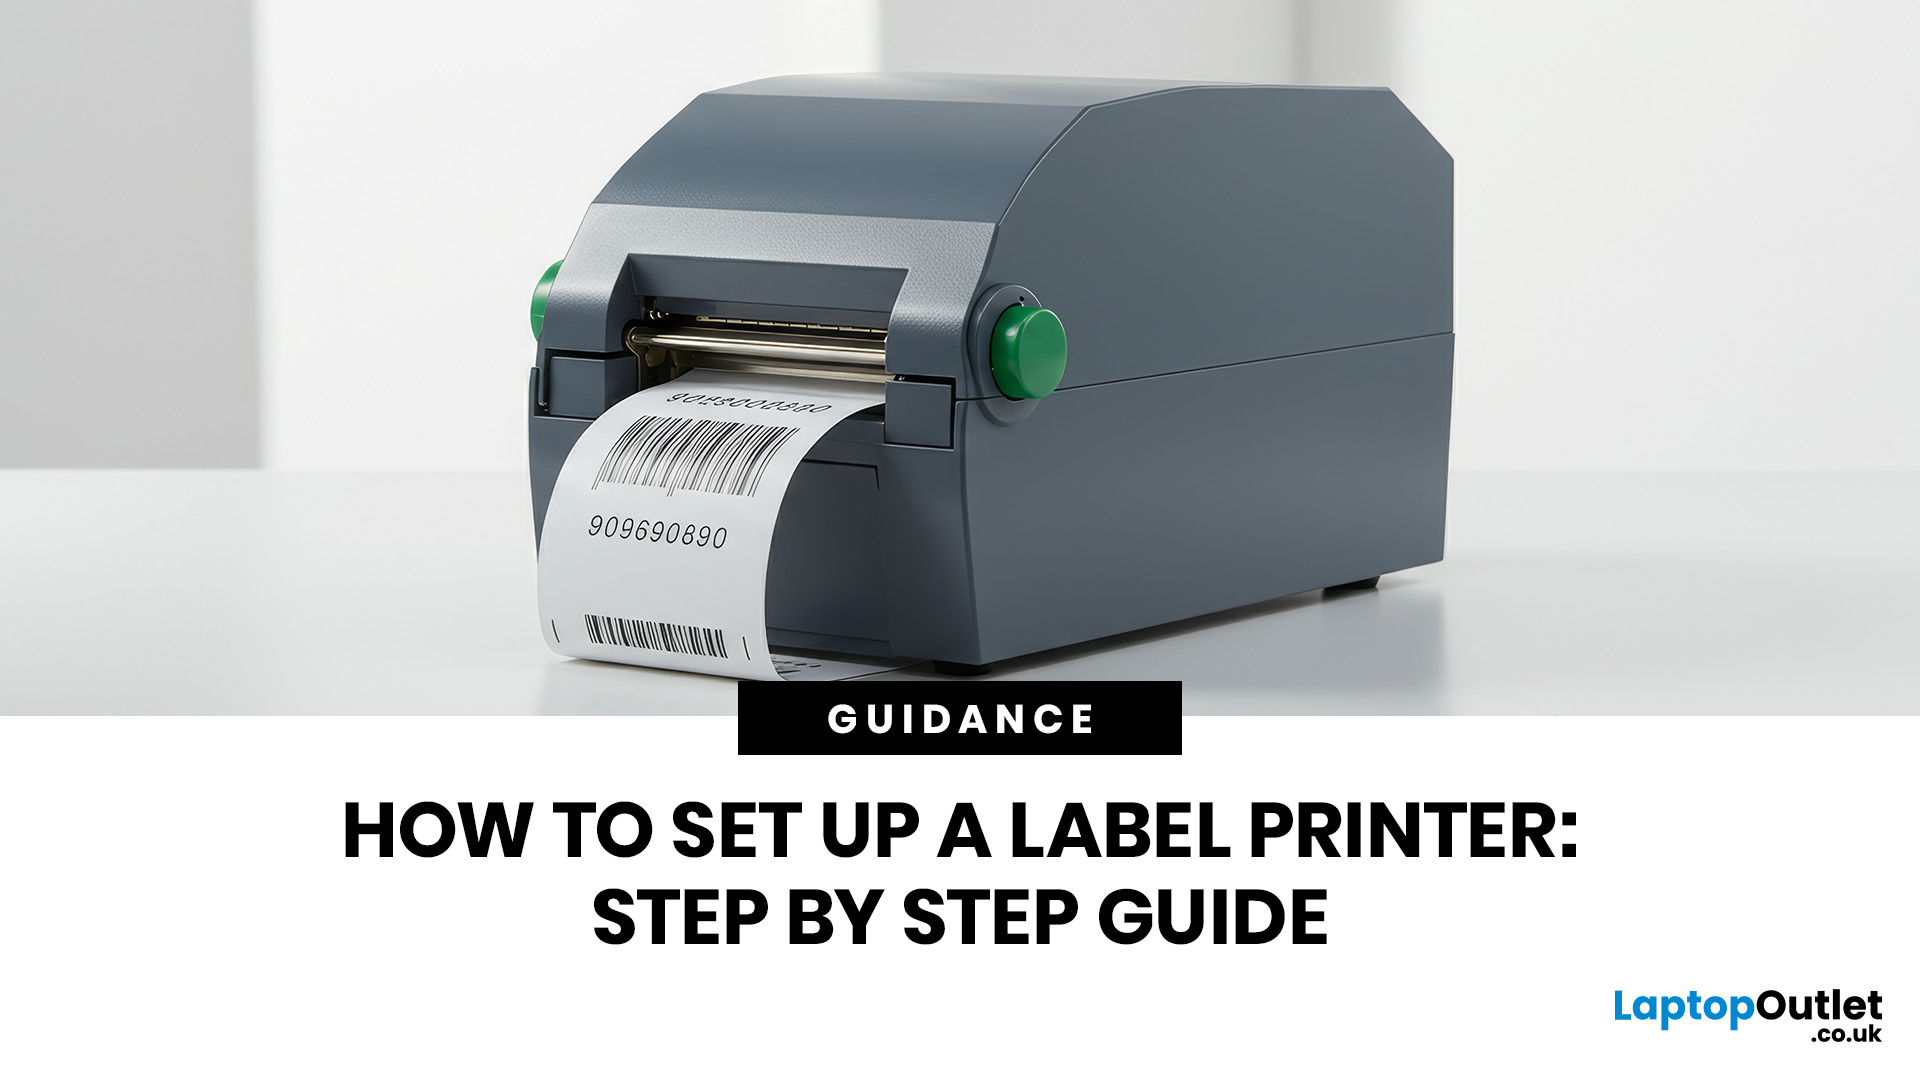
How to Set Up a Label Printer: Step by Step Guide
You are printing shipping labels, barcode labels, address stickers, product tags, file labels, or office labels. Setting up a label printer properly from the start saves time and avoids annoying print errors later.
This label printer setup guide walks you through every step in a clear, beginner-friendly way, so you can install, configure, and start printing labels without guessing your way through the manual.
Why Label Printer Setup Guide Matters
A label printer may look like a plug-and-play device, but the setup still matters. If the printer driver is wrong, the labels may print sideways. If the label size is not configured properly, the printer may waste labels. If the roll is loaded incorrectly, you may get blank prints or paper jams.
For businesses, warehouses, online sellers, home offices, schools, and retail teams, a reliable label printer can make daily work much smoother. It helps organise stock, speed up postage, improve packaging, and make paperwork easier to manage.
If you are still choosing a printer, you can explore the wider printer collection to compare different models for home, office, and business use before starting your setup.
If you are still comparing models, choosing the right label printer first can make the setup process much easier and help you avoid compatibility issues later.
Before You Start: What You Need
Before setting up a label printer, keep these items ready:
- Label printer
- Power cable or adapter
- USB cable, if using wired setup
- Label roll or label sheets
- Laptop, desktop PC, Mac, or mobile device
- Printer driver or setup software
- Wi-Fi details, if using wireless printing
- Manufacturer instructions, if included
Also check the label roll size before installation. Common label sizes are used for shipping, barcodes, addresses, folders, product packaging, and pricing labels. Using the wrong label size is one of the most common reasons labels do not print correctly.
If your main goal is shipping, barcodes, or stock organisation, browsing the best label printers can help you choose a model that matches your workload.
Step 1: Unbox and Inspect the Label Printer
Start by removing the printer from its packaging and checking that all accessories are included. Most label printers come with a power cable, adapter, USB cable, sample labels, and a quick-start guide.
Place the printer on a flat, stable surface with enough room for labels to feed out smoothly. Avoid placing it too close to the edge of the desk, near liquids, or in dusty areas.
This first stage is part of the label printer initial setup, and it helps prevent simple issues such as loose cables, blocked label exits, or unstable printing.
Step 2: Load the Label Roll Correctly
Open the printer cover and insert the label roll according to the direction shown inside the printer or in the user guide. Labels usually need to feed from the bottom or top of the roll depending on the model.
Make sure the labels are centred and aligned with the guides. Do not force the roll into place. The labels should move smoothly without bending or catching.
Once loaded, close the printer cover and press the feed button if the printer has one. This allows the printer to detect the label gap or edge. If the labels feed unevenly, open the cover and realign the roll.
Step 3: Connect the Power Cable
Plug the power cable into the printer and then into a wall socket. Switch the printer on and wait for the power light to appear.
Some label printers take a few seconds to initialise. You may hear the printer feed or adjust the label position. That is normal.
If the power light does not turn on, check the power adapter, socket, and cable connection. Avoid using damaged cables or third-party adapters unless they are approved for your printer model.
Step 4: Choose Your Connection Type
There are three common ways to connect a label printer:
USB connection: Best for simple desktop setups. It is stable, direct, and usually easiest for beginners.
Wi-Fi connection: Best for shared spaces, offices, and wireless desks. Multiple users may be able to print from different devices.
Bluetooth connection: Best for mobile devices, tablets, and compact workstations.
A wireless label printer setup is useful if you want fewer cables or need several people to access the same printer. However, USB is often the quickest option if only one computer will use the printer.
For larger workplaces, it may also be worth comparing printers for office use, especially if your team needs labels, documents, invoices, and reports from one printing setup.
Step 5: Install the Label Printer Driver
The driver is the software that helps your computer communicate with the printer. Without the correct driver, your computer may detect the printer but still fail to print labels correctly.
To install label printer software, visit the manufacturer’s official website and search for your exact printer model. Download the latest driver for your operating system.
Avoid downloading drivers from random third-party sites. Printer drivers should come from the brand’s official support page or the setup link included in the product manual.
A proper label printer driver setup helps control print size, label orientation, print darkness, speed, and device compatibility.
Step 6: Install Label Printer on Windows
To install label printer on Windows, follow these steps:
- Connect the printer using USB, Wi-Fi, or Bluetooth.
- Open Windows Settings.
- Go to Bluetooth & devices.
- Select Printers & scanners.
- Click Add device.
- Choose your label printer from the list.
- Install the driver if Windows asks for it.
- Open printer preferences and set the correct label size.
After installation, right-click the printer and select printing preferences. This is where you can adjust label width, height, orientation, print speed, and darkness.
If the label prints too small, too large, or sideways, the label size setting is usually the issue.
Step 7: Install Label Printer on Mac
To install label printer on Mac, follow these steps:
- Connect the printer to your Mac.
- Open System Settings.
- Go to Printers & Scanners.
- Click Add Printer.
- Select your label printer.
- Choose the correct driver or printer software.
- Add the printer.
- Open print settings and choose the right label size.
For Mac users, it is important to check whether the printer supports macOS. Some label printers need brand-specific software to unlock all settings, especially for custom label sizes or barcode printing.
Once the printer is added, run a test print before using expensive labels or bulk printing.
Step 8: Configure Label Size and Print Settings
This is where many setup issues happen. Good label printer configuration means matching your digital settings to your physical label roll.
Check these settings:
- Label width
- Label height
- Print orientation
- Print darkness
- Print speed
- Label type
- Margins
- Barcode or text scaling
For shipping labels, make sure the label size matches the courier or marketplace requirement. For barcode labels, make sure the print is dark and sharp enough to scan.
If you use your printer for home tasks like jars, files, storage boxes, or postage, you may also find useful options in home printing solutions, especially if you need both label and document printing around the house.
Step 9: Run a Test Print
Before printing a full batch, always run one test label.
Your test print should check:
- Text alignment
- Label direction
- Barcode clarity
- Logo placement
- Margins
- Print sharpness
- Correct label size
If the label looks right, you can continue. If not, go back to printer preferences and adjust the settings.
When setting up a label printer, this test stage is important because it prevents wasted labels and avoids messy packaging, unreadable barcodes, or wrongly sized shipping labels.
Step 10: Save Your Printer Settings
Once the printer works properly, save your settings as a preset if your software allows it. This is helpful if you print different label types, such as shipping labels, barcode stickers, product tags, and address labels.
For example, you can create one preset for shipping labels and another for small product labels. This makes future printing faster and reduces setup mistakes.
If your office also prints forms, invoices, reports, and marketing material, top all in one printers may be useful alongside a dedicated label printer.
Common Label Printer Setup Problems and Fixes
The printer is printing blank labels
Check whether the label roll is loaded the correct way. Thermal label printers need the coated side of the label to face the print head.
The label is printing sideways
Open printer preferences and change the orientation from portrait to landscape, or vice versa.
The label size is wrong
Update the paper size settings. Make sure the software label size matches the physical label roll.
The printer is not detected
Try another USB port, restart the printer, reinstall the driver, or reconnect Wi-Fi/Bluetooth.
The barcode will not scan
Increase print darkness, reduce print speed, and make sure the barcode is not stretched or blurred.
The labels keep jamming
Check that the label roll is aligned and not too tight. Clean the printer path if dust or adhesive has built up.
If your printer still refuses to print properly after setup, checking common label printer problems and solutions can help you fix issues like blank labels, poor alignment, paper jams, and barcode errors.
Wired vs Wireless Label Printer Setup
A wired setup is best if you want a stable connection to one computer. It is often easier for small desks, reception areas, stockrooms, and shipping stations.
A wireless setup is better if several users need to print from different devices. It also keeps your workspace cleaner. However, wireless printing depends on your Wi-Fi strength and printer compatibility.
For most small businesses, USB is the simplest option. For shared office spaces, Wi-Fi is usually more flexible.
Do You Need a Label Printer or a Standard Printer?
A label printer is best for labels, barcodes, stickers, shipping labels, and product tags. It is faster and cleaner for repeated label printing.
A standard inkjet printer is better for documents, colour prints, homework, posters, forms, and general printing. If you need every day print flexibility, you can compare affordable inkjet printers as part of your wider setup.
Many users benefit from both: a label printer for packaging and organisation, plus a regular printer for documents.
Final Checklist for Label Printer Setup
Before you start regular printing, make sure:
- The label roll is loaded correctly
- The printer is powered on
- The correct driver is installed
- The printer is connected by USB, Wi-Fi, or Bluetooth
- Label size is configured correctly
- Print orientation is correct
- A test label has printed successfully
- Settings are saved for future use
Once these steps are complete, your label printer should be ready for everyday use. It is also worth understanding the different types of label printers, as thermal, direct thermal, transfer, desktop, and portable models are designed for different printing needs.

Final Thoughts
A good label printer can make your workspace faster, cleaner, and much more organised. The setup process is not complicated, but it does need the right order: load the labels, connect the printer, install the driver, configure the label size, and run a test print.
This label printer setup guide is designed to help you avoid the usual setup headaches and get printing quickly. Whether you are preparing shipping labels for an online shop, organising office files, printing barcodes, or creating home storage labels, the right setup makes everything easier.
If you are still comparing options, a simple guide to label printers can help you understand which type of label printer suits your needs before you buy.

Common Questions Everyone Ask
How do I set up a label printer for the first time?
Start by loading the label roll, connecting the power cable, installing the printer driver, connecting the printer to your device, setting the correct label size, and running a test print.
Do I need a driver for a label printer?
Yes, most label printers need a driver or setup software. The driver helps your computer recognise the printer and control settings such as label size, print direction, darkness, and speed.
How do I install a label printer on Windows?
To install a label printer on Windows, connect the printer, open Printers & scanners, add the device, install the driver, and set the correct label size in printing preferences.
How do I install a label printer on Mac?
To install a label printer on Mac, open System Settings, go to Printers & Scanners, add the printer, choose the correct driver, and configure the label size before printing.
Why is my label printer printing blank labels?
Blank labels usually mean the roll is loaded the wrong way, the wrong label type is used, or the thermal side is not facing the print head.
Can I set up a label printer wirelessly?
Yes, many modern label printers support Wi-Fi or Bluetooth. For wireless setup, connect the printer to your network or pair it with your device, then install the correct driver or app.
What is the best connection for a label printer?
The USB is usually the best for one computer because it is stable and simple. Wi-Fi is better for offices or shared spaces where multiple users need to print labels.
Related Articles
Published: May 07, 2026
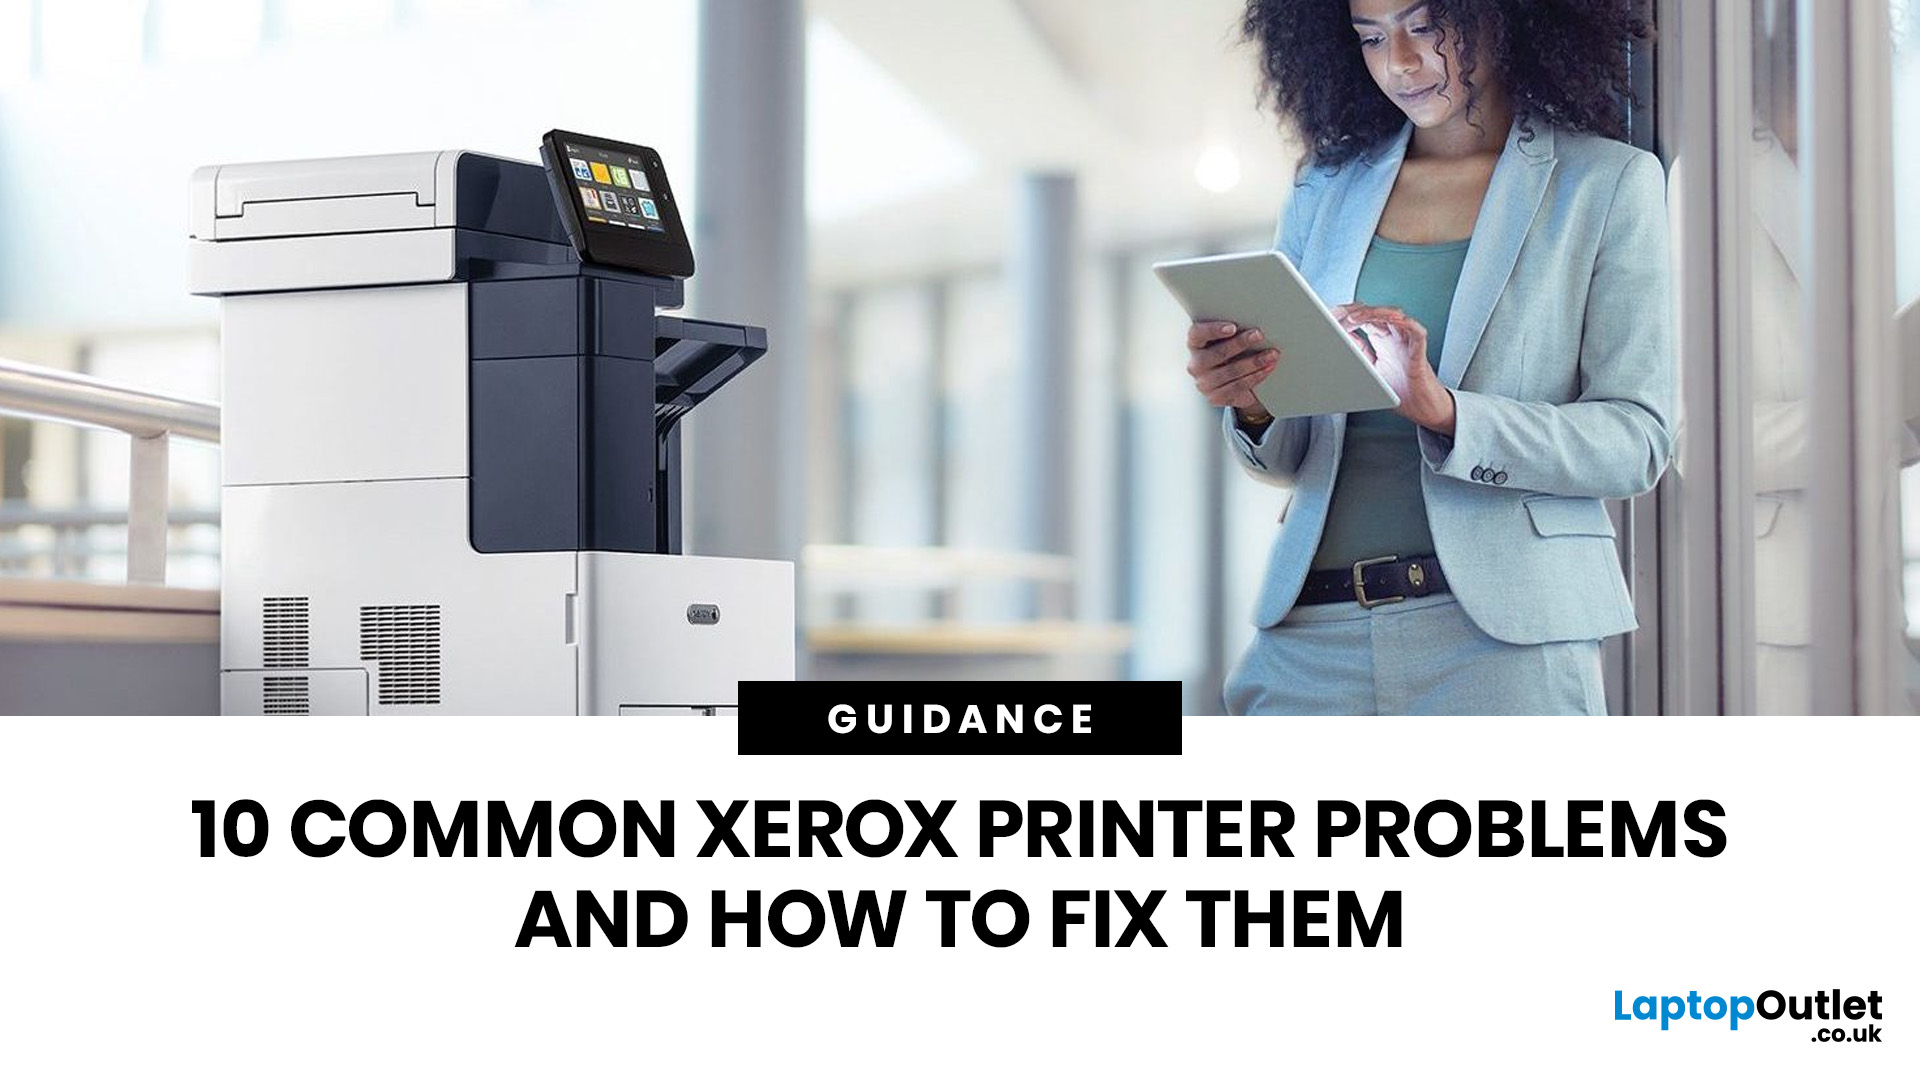
Most Xerox printer problems come from paper jams, low toner, incorrect paper settings, outdated drivers, network issues or print-quality settings. Start by restarting the printer, checking the paper tray, confirming toner levels, matching the paper type in the driver, and looking up any Xerox printer error codes in the official Xerox support portal.
Xerox printers are built for reliable document printing, but even a good printer can have a bad day. One minute everything is fine, the next your Xerox printer is offline, paper is stuck halfway through, prints look faded, or a random fault code appears on the display. Annoying? Absolutely. Usually fixable? Also, yes.
This guide covers the most common Xerox printer issues, what causes them, and how to fix them without panicking. It is written for everyday users, home offices and small businesses that need their printer working again quickly.
Quick Xerox printer troubleshooting checklist
Before going deep, try these basics first:
| Problem | Quick |
Last Updated: May 19, 2026
Quick Answer
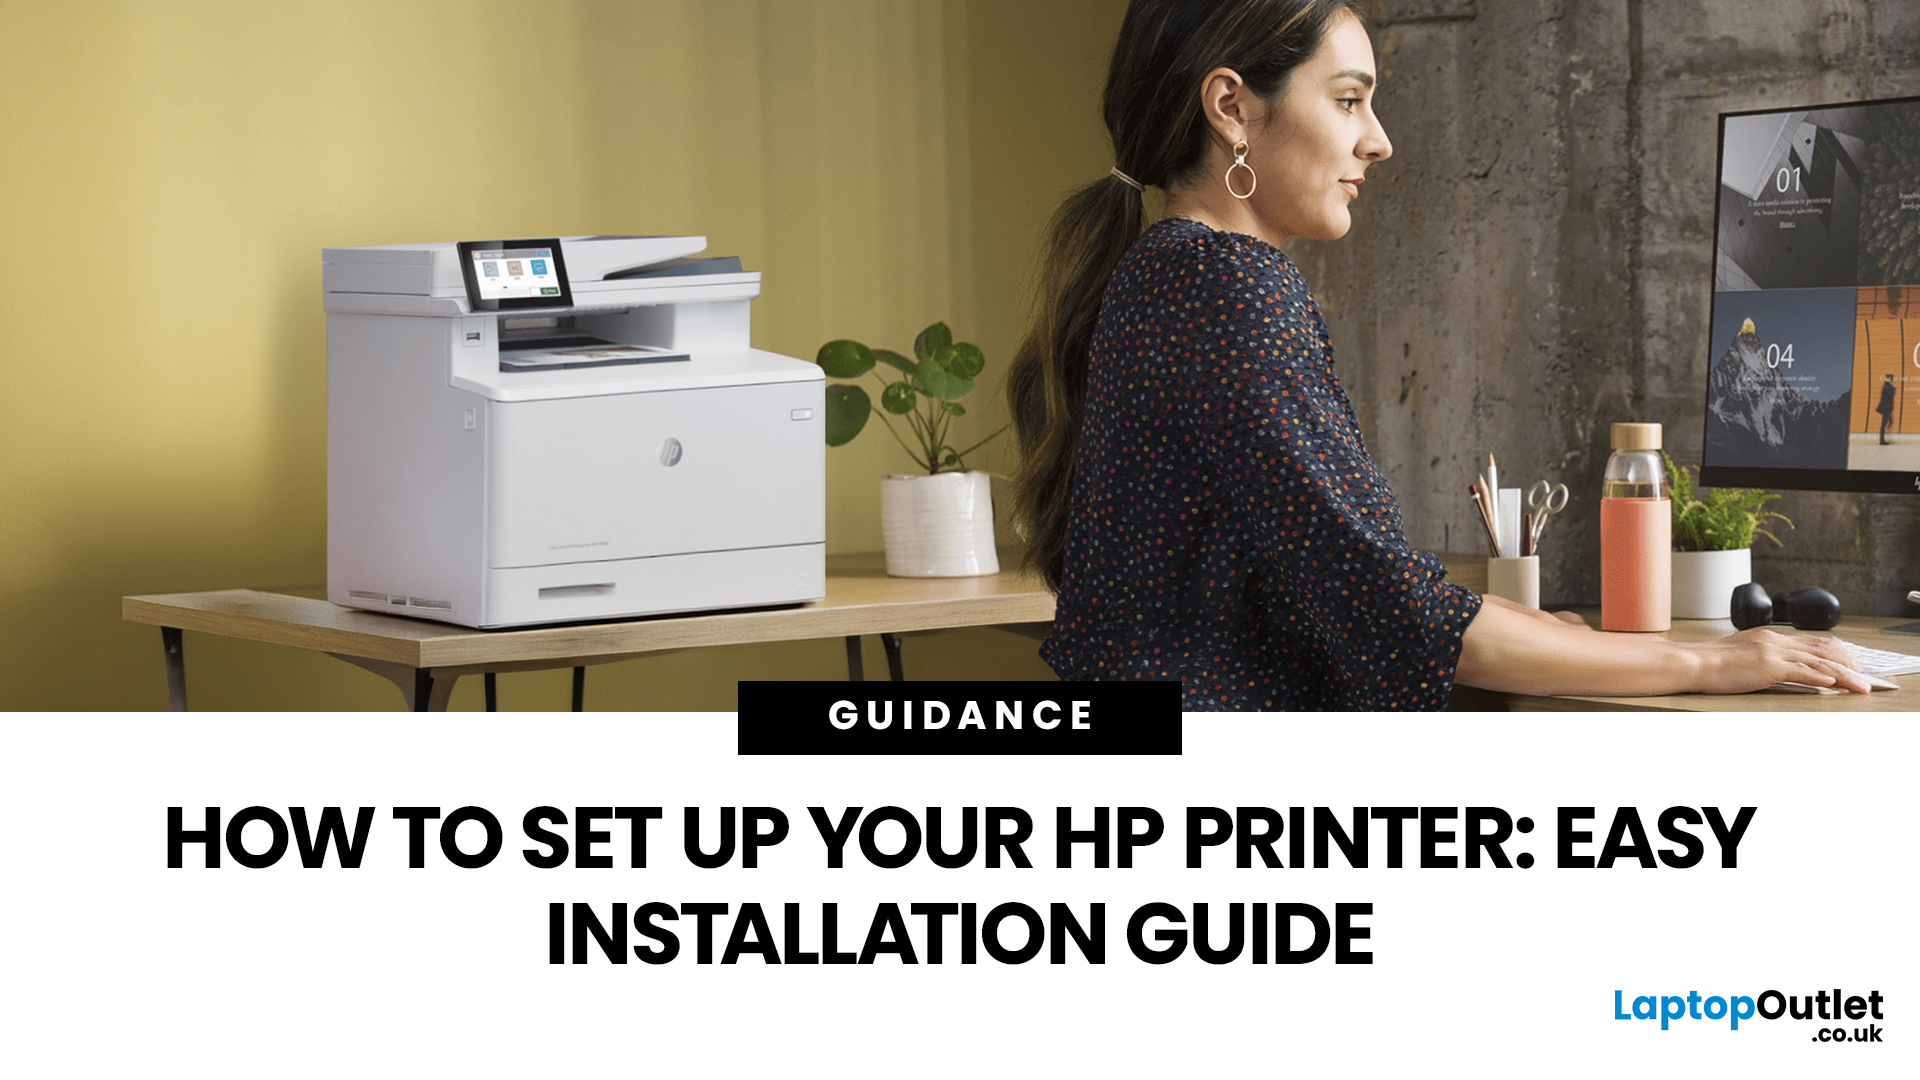
For a quick HP printer installation, follow this order:
- Place the printer close to your router during setup.
- Connect the power cable and turn the printer on.
- Load plain A4 paper.
- Install the supplied ink cartridges or toner.
- Open the HP app or HP Smart app.
- Choose Set Up a New Printer or Add Printer.
- Connect the printer to your Wi-Fi network.
- Print a test page.
Once that is done, you can print wirelessly from your laptop, phone, tablet, or desktop.
Setting up an HP printer should not feel technical, even when you are doing it for the first time. Most new printers require only a few basic steps: power, paper, ink or toner, Wi-Fi connection, and device setup.
The confusion usually starts when different devices ask for different setup routes. A Windows laptop may ask you to add the printer through Printers & Scanners. A Mac may detect it through AirPrint. A phone may need the HP app. A Chromebook may require you to add it in Chrome OS printer settings. Your printer may also
Last Updated: May 12, 2026
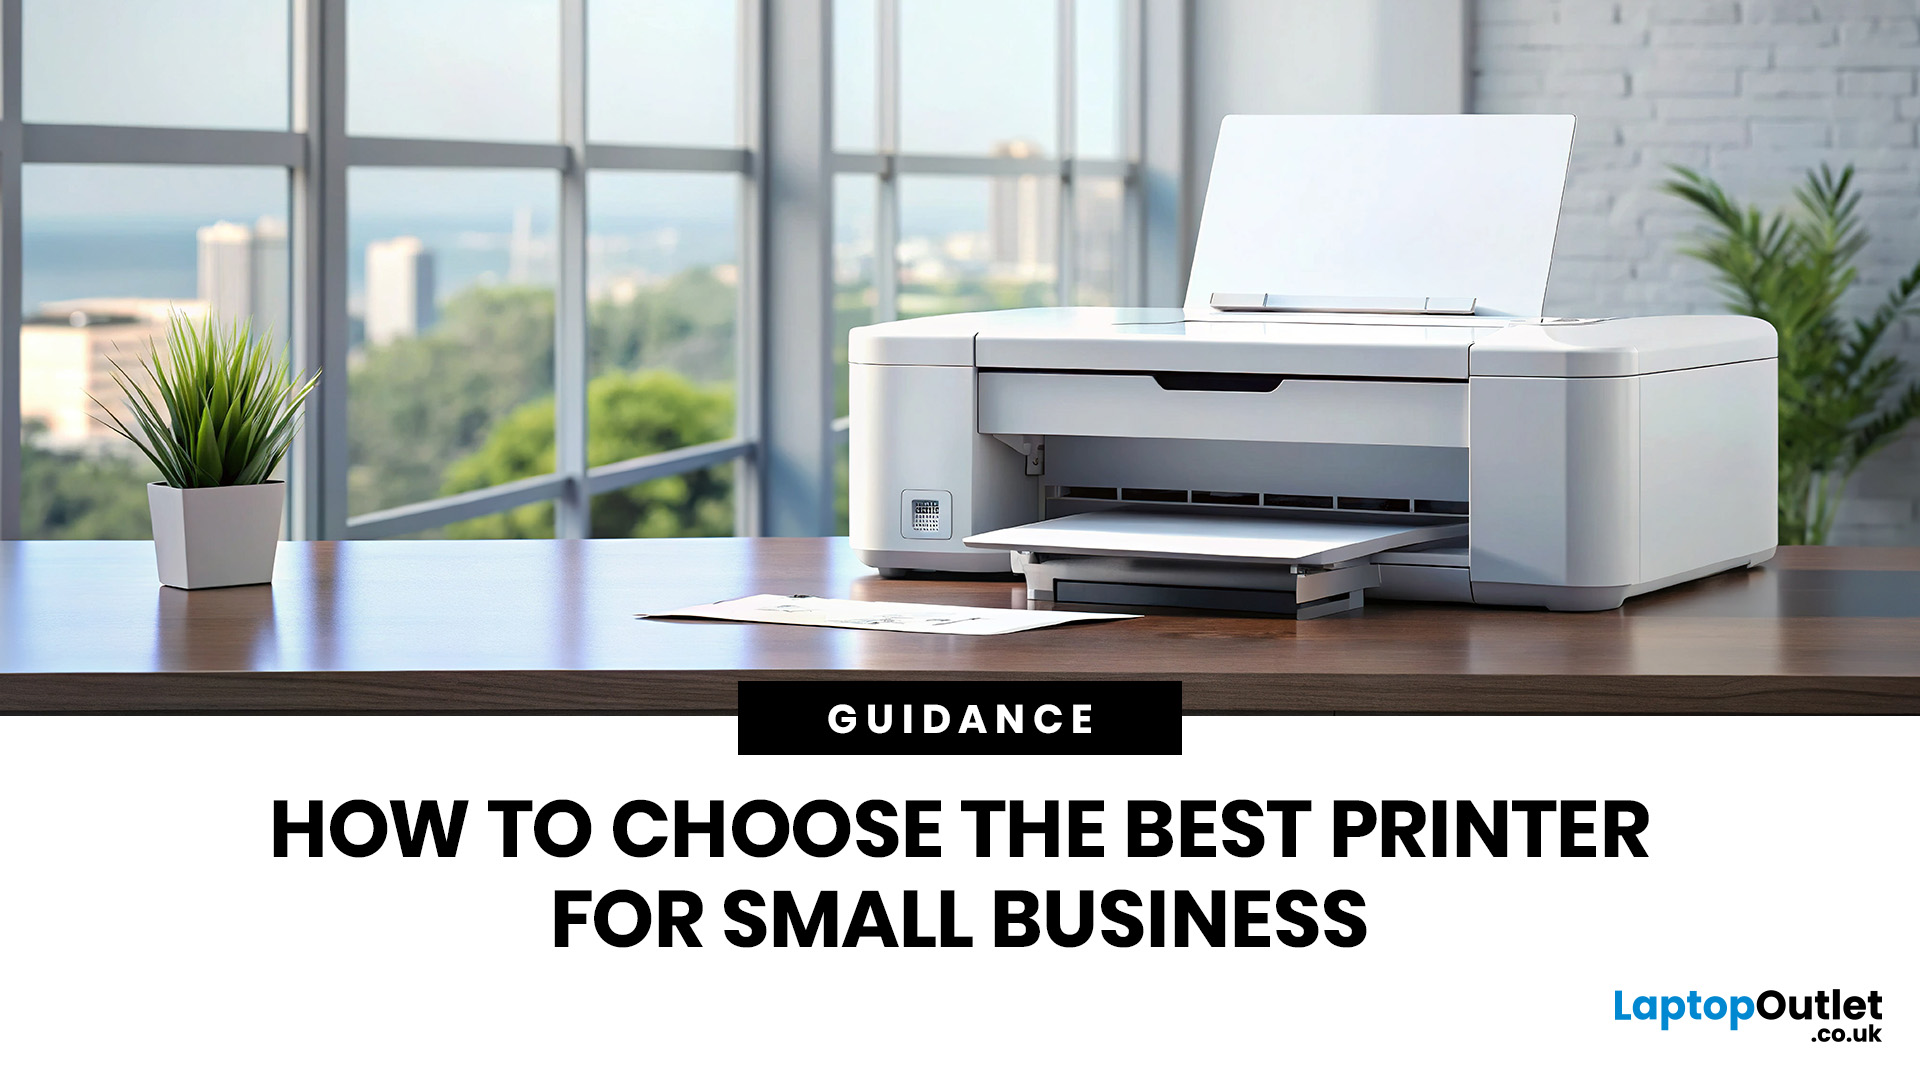
Quick Answer: Choosing the best printer for small business comes down to your print volume, budget, and document types. For mostly text, a laser printer offers fast speeds and low running costs. For colour-rich output, an inkjet is worth a look. If you need to print, scan, and copy, an all-in-one covers every base.
Running a small business means every purchase needs to earn its keep. A printer is no different. Whether you're producing invoices, contracts, client proposals, or marketing materials, finding the best printer for small business use can save you a surprising amount of time, money, and frustration over a year.
The UK printer market in 2026 is packed with options. Getting this decision wrong costs you far more in ink, toner, and paper waste than the device itself. This guide covers everything you genuinely need to know before you buy a printer, from print technology and running costs to connectivity and security.
What Types of Printer Are Available for Small Businesses?
Last Updated: May 12, 2026
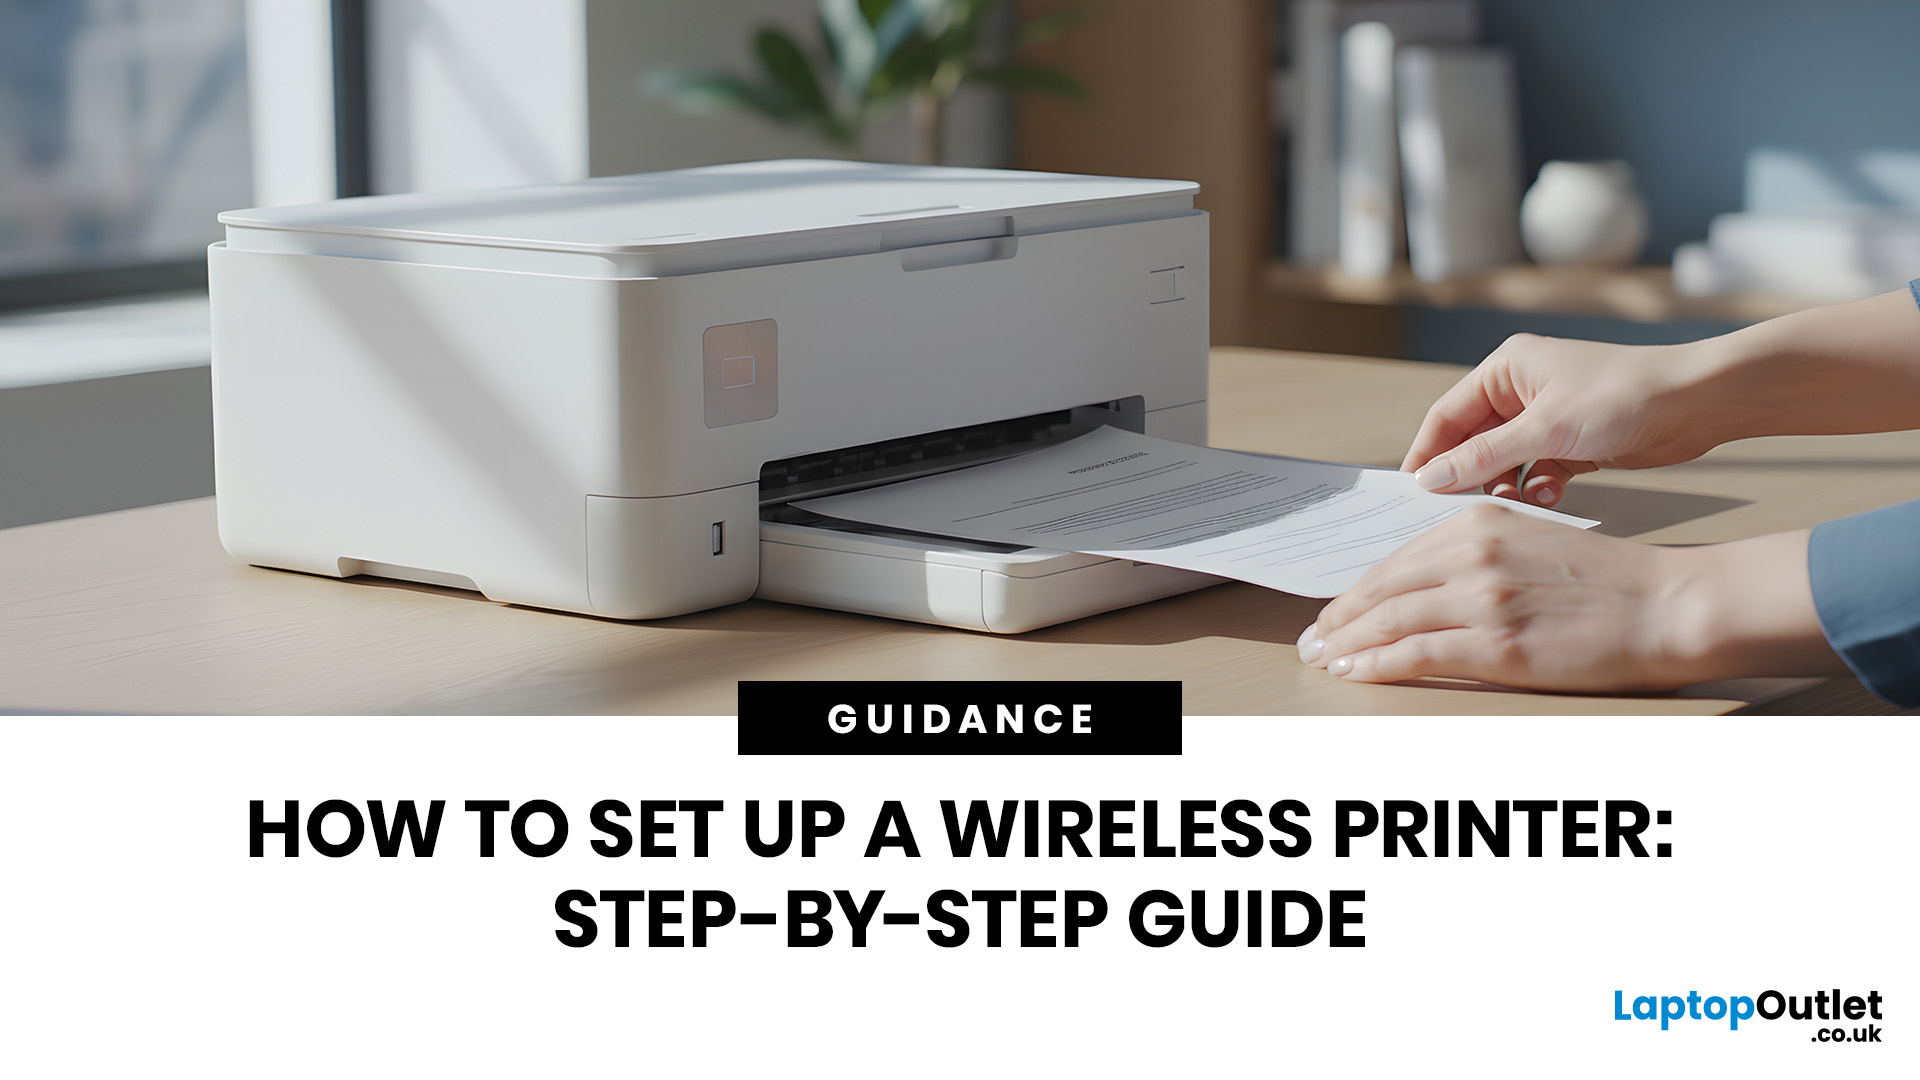
Quick Answer: To set up a wireless printer, connect it to your Wi-Fi network using the WPS button, your printer’s touchscreen menu, Wi-Fi Direct, or a temporary USB cable. Then add it on Windows via Settings > Printers & Scanners, or on macOS via System Settings. On mobile, AirPrint handles iPhones automatically, while Android uses the Default Print Service, Mopria, or manufacturer apps. Most setups take under 10 minutes.
Knowing how to set up a wireless printer properly saves you from the frustration of cables, failed connections, and endless troubleshooting. Whether you have just unboxed a brand-new model or are reconnecting an existing one to a new router, this guide walks you through it all.
What Do You Need Before Setting Up a Wireless Printer?
A quick checklist before you begin will save a lot of frustration. Getting these sorted upfront means the setup should go smoothly first time round.
- Your WiFi network name (SSID) and password
- Your printer powered on and within range of

Published: May 11, 2026
When your Xerox printer starts leaving streaks, fading text, jamming paper, or showing toner warnings, the problem is often easier to fix than it looks. In many cases, you can improve print quality with the right toner check, a quick scanner clean, better paper loading, or a simple printhead lens clean.
This Xerox printer maintenance guide provides a clear, step-by-step routine you can follow without guesswork. You will learn how to replace Xerox toner, how to clean a Xerox printer safely, what causes common toner issues, and which quick checks improve everyday performance.
The aim is simple: help you keep your Xerox printer producing sharp, clean pages for longer. Xerox support notes that printhead lenses require cleaning when print quality starts to degrade, especially when prints show light streaks or voids, while its safety guidance also warns against using pressurised sprays, strong solvents, or direct liquid cleaning inside the printer.
Want to compare Xerox models before you maintain,
Last Updated: May 13, 2026
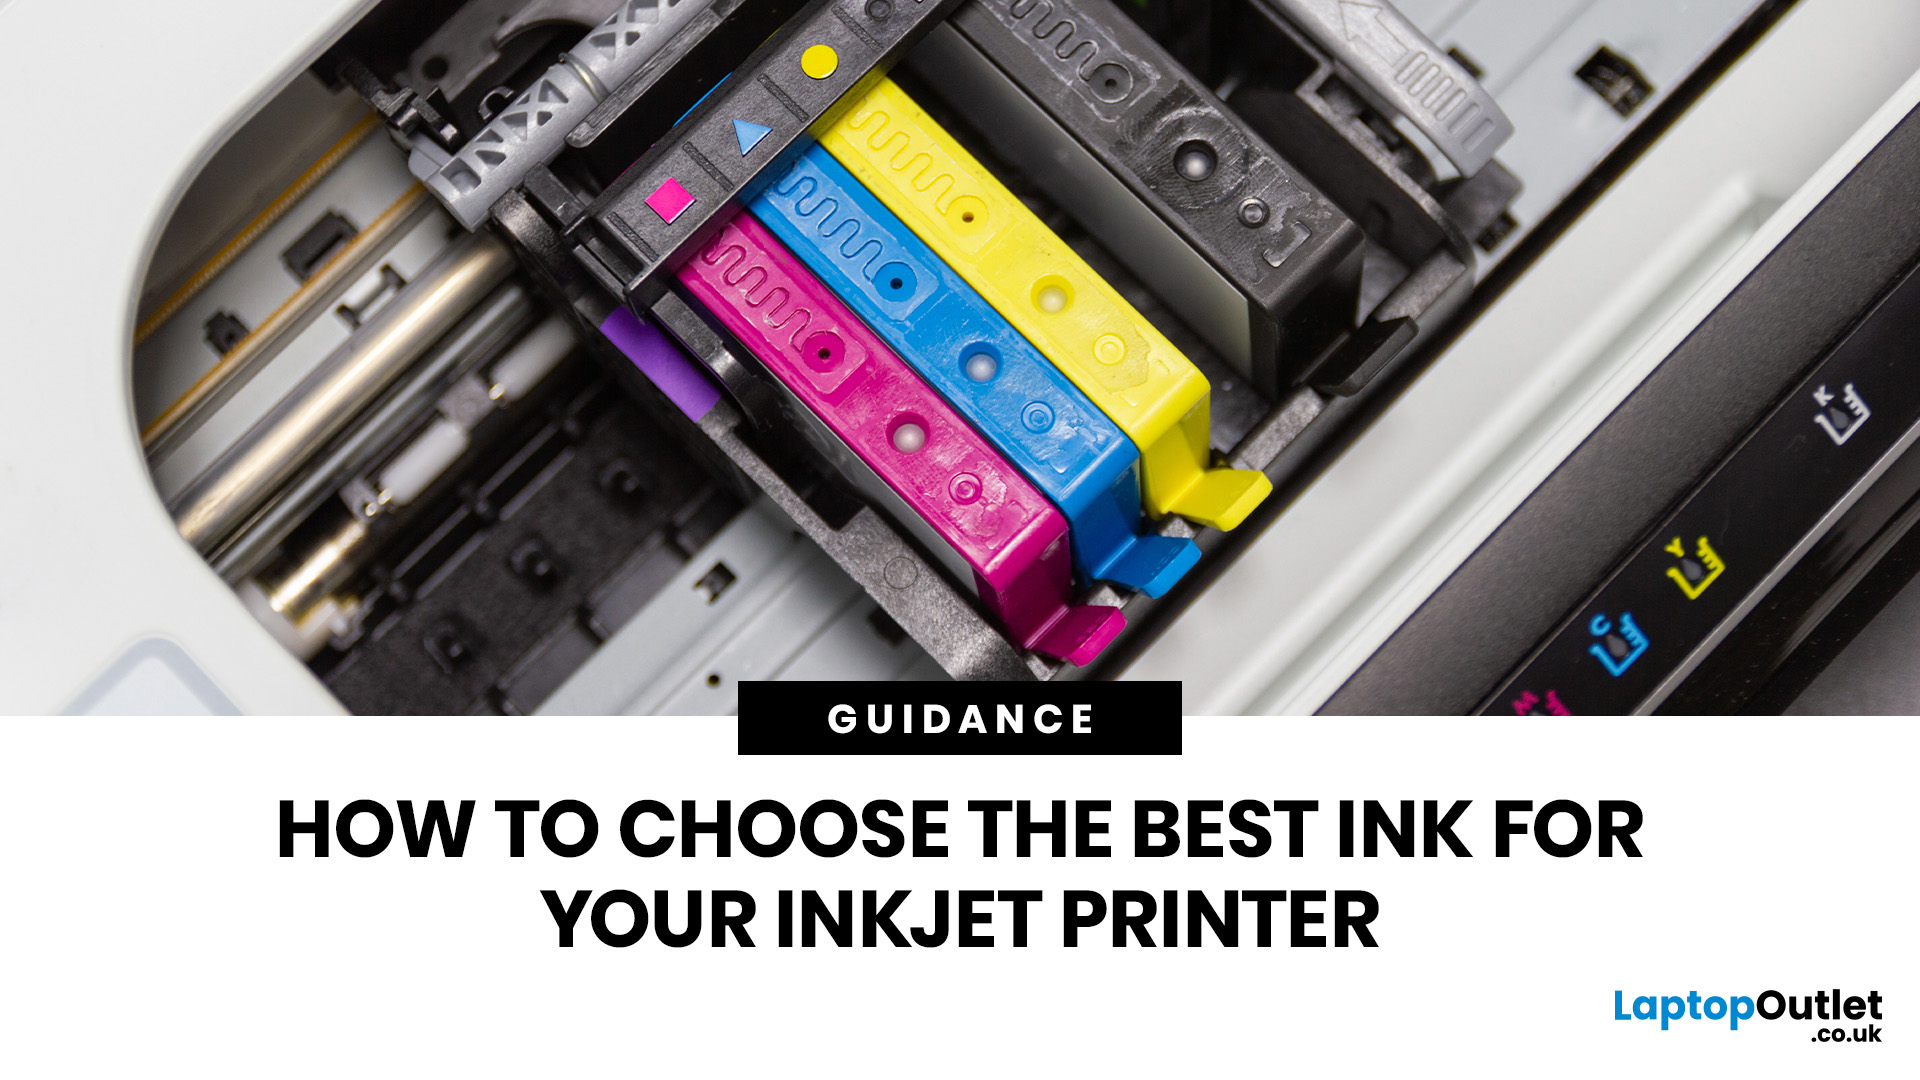
Quick Answer: Choose ink that matches your exact printer model first. Then decide whether you need original cartridges, compatible cartridges, remanufactured cartridges, refill ink, or bottled ink for an ink tank printer.
For sharp documents, pigment ink is usually the stronger choice. For bright photos and colourful images, dye-based ink often gives richer colour. You should not buy ink only because it is cheap. Check the cartridge number, page yield, ink type, printer warranty position, return policy, and whether you print often enough to justify XL, refillable, or subscription ink.
Introduction
Buying ink sounds simple until you see original cartridges, compatible cartridges, remanufactured cartridges, refill kits, XL cartridges, ink bottles, dye ink, pigment ink, and subscription plans. The wrong choice can leave you with poor print quality, blocked cartridges, warning messages, or higher running costs than expected.
You do not need to understand every technical detail to make a
Last Updated: July 06, 2026
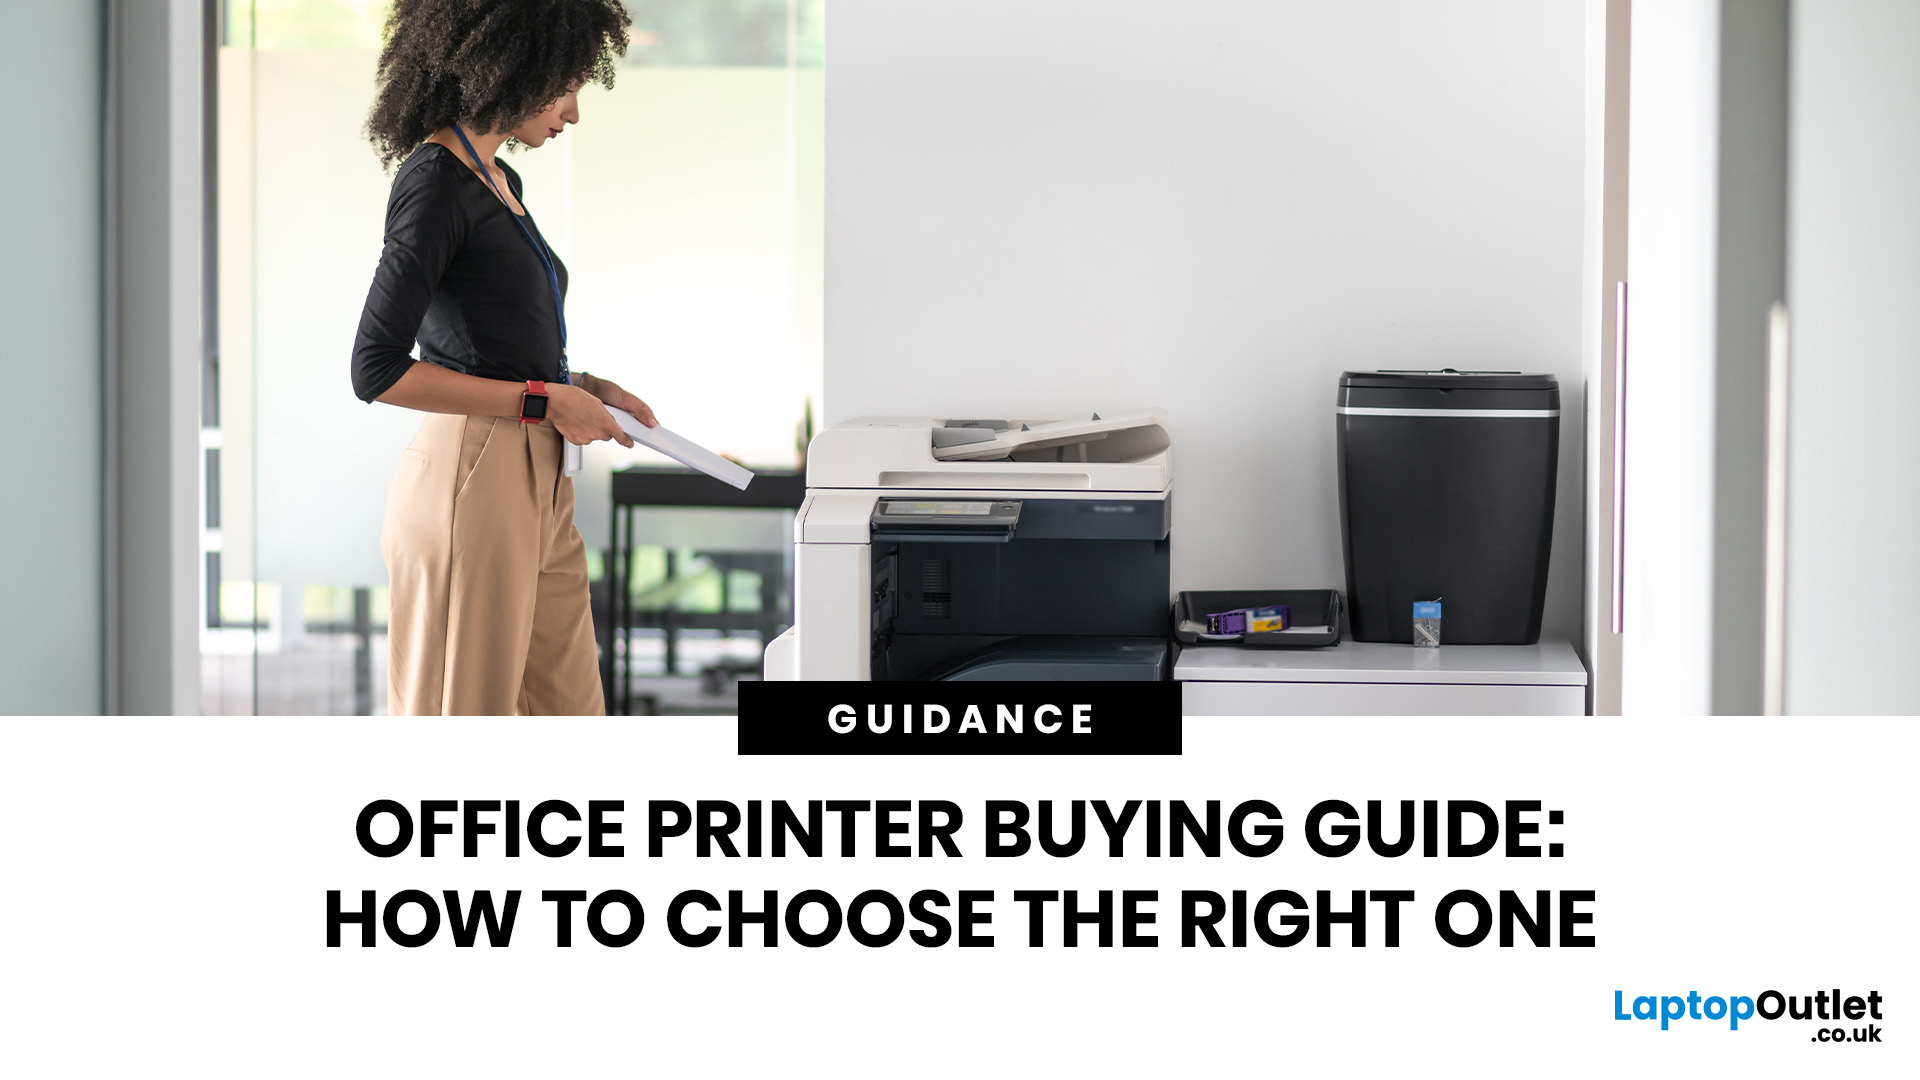
Quick Answer: To choose the right office printer, identify your monthly print volume, preferred print type (colour or mono), and whether you need scanning or copying. Laser printers suit high-volume offices, inkjet printers work well for colour-heavy or lower-volume tasks, and all-in-one models offer the best flexibility. Always factor in running costs, connectivity, and paper handling alongside the upfront price.
Picking the wrong printer for your office is an easy mistake to make, and a surprisingly costly one. Between the upfront price, ink or toner costs, paper handling, and connectivity options, there is a lot more to consider than most people realise.
This office printers buying guide covers everything you need to make a confident, well-informed decision in 2026. Whether you are kitting out a home office, a small business, or a large corporate workspace, we have got you covered.
What Types of Office Printer Are There?
Understanding the different categories of printers for
Last Updated: May 25, 2026
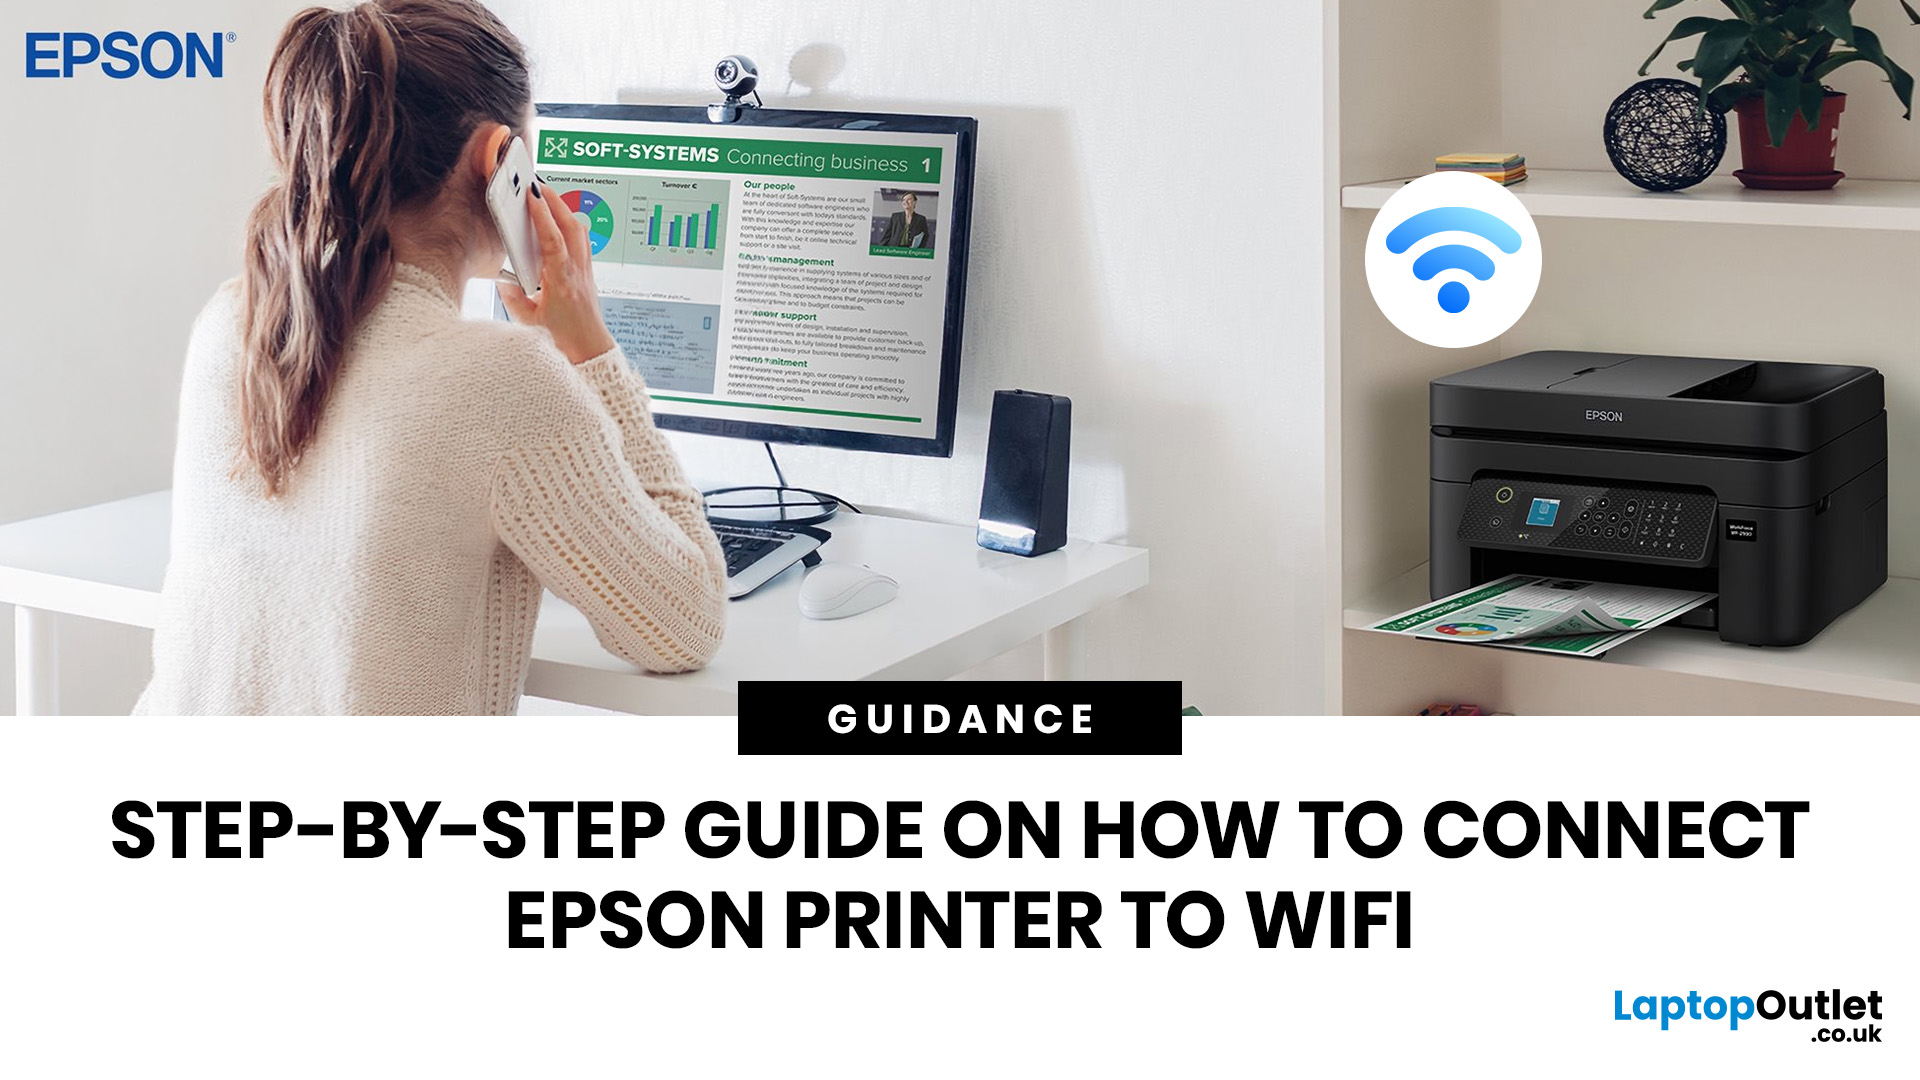
To connect an Epson printer to WiFi, turn on the printer, open its WiFi or Network Settings, select WiFi Setup Wizard, choose your network name, enter the WiFi password and confirm the connection. If your Epson printer has no screen, use Epson Smart Panel, WPS, Epson setup software or a temporary USB setup method, depending on your model. Always keep your WiFi name and password ready before starting.
Trying to set up a printer and watching it refuse to connect is a very specific kind of pain. You just want to print one document, and suddenly your Epson printer is acting like it has trust issues with your router.
This guide explains how to connect Epson printer to WiFi in simple steps, whether your model has a screen, works through WPS, needs the Epson Smart Panel app, or requires setup software on Windows or Mac. We will also cover what to do if your Epson printer is not connecting to WiFi, because let’s be honest, that is usually where the drama starts.
Before You Start: What You Need

Last Updated: June 08, 2026
If your Epson printer is not printing, the problem is usually caused by low ink, clogged print heads, offline settings, connection issues, stuck print jobs, or outdated drivers. Most Epson printer problems can be fixed with simple troubleshooting steps such as checking cartridges, cleaning the print head, clearing the print queue, updating drivers, or resetting the printer.
An Epson printer not printing can be frustrating, especially when you need an important document, return label, invoice, or school assignment right away. The good news is that most Epson printer problems are not as serious as they first seem. In many cases, the issue comes down to low ink, clogged nozzles, offline settings, a weak connection, or a stuck print queue.
So, if you are wondering, “Why is my Epson printer not printing?”, this guide will walk you through the most common causes and simple ways to fix Epson printer issues at home. Before you think about replacing your printer, try these easy Epson printer troubleshooting
Last Updated: June 10, 2026
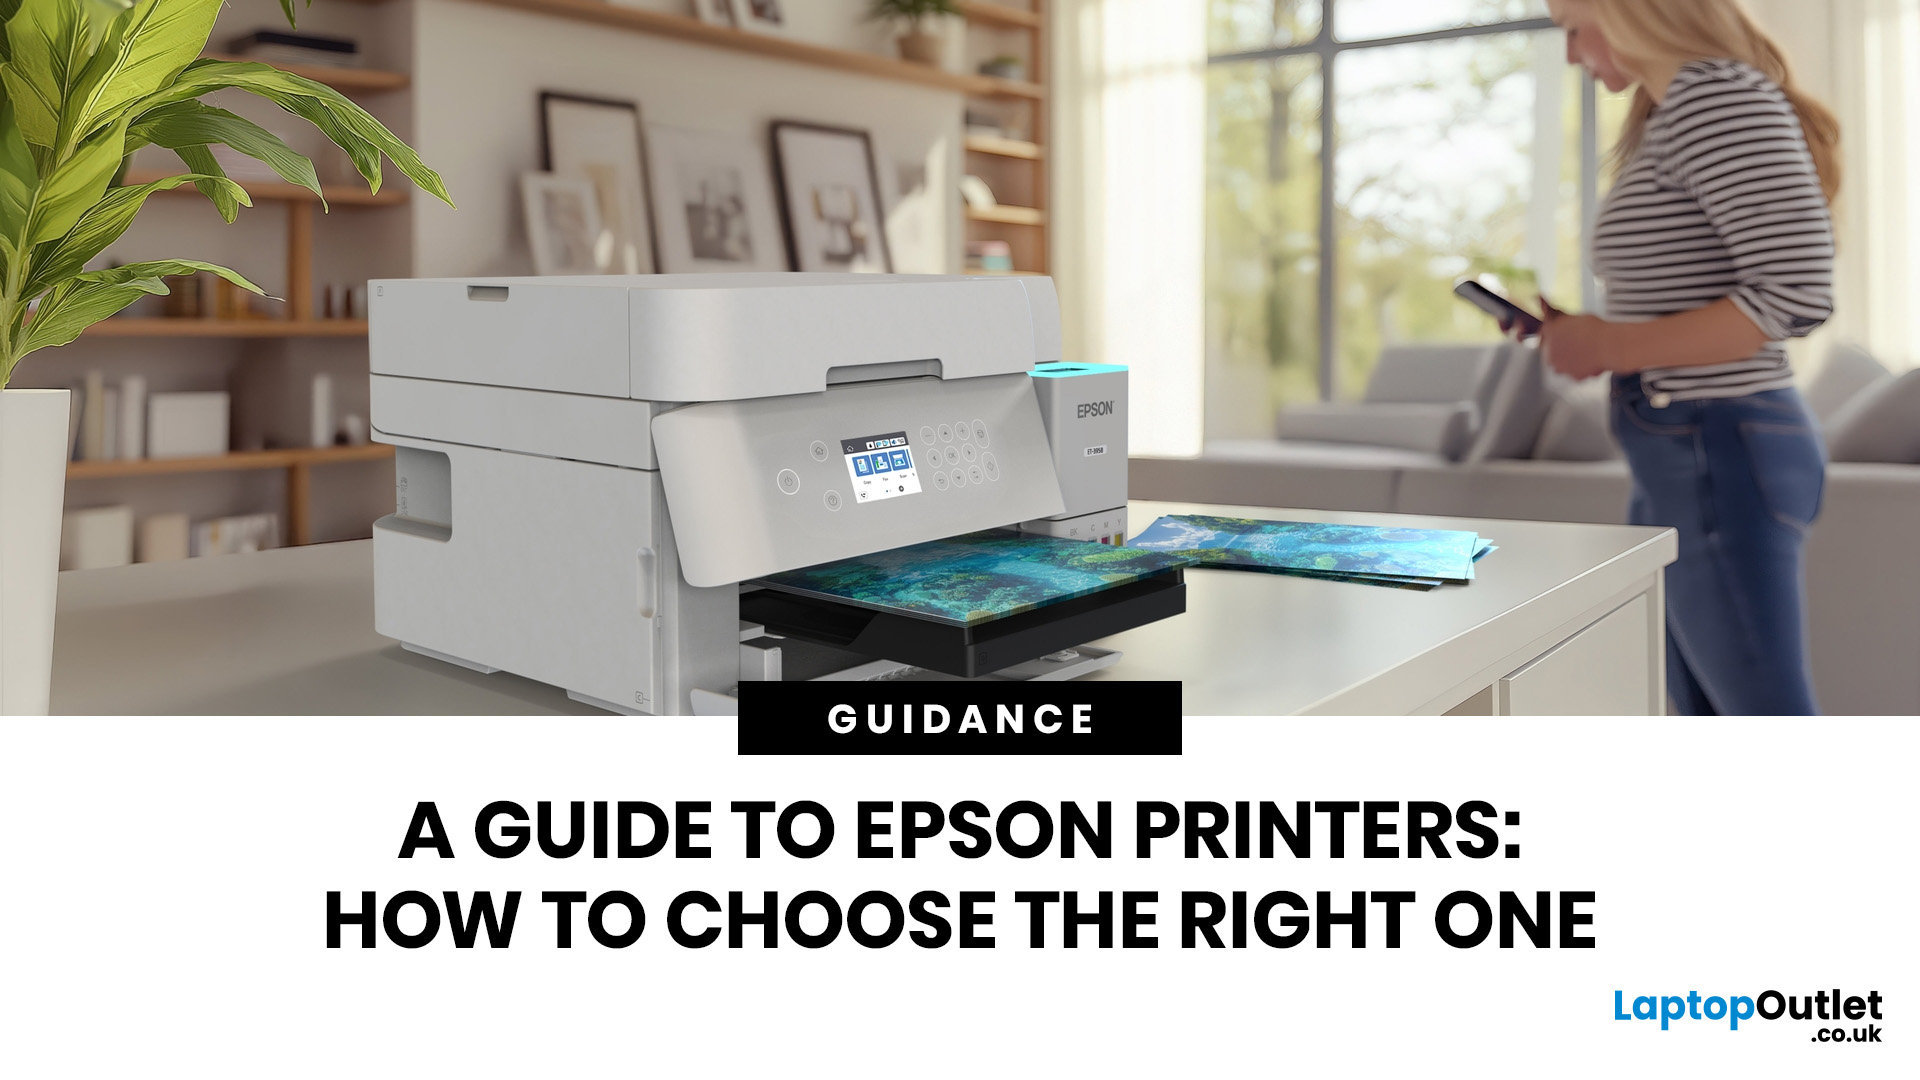
Epson is one of the most popular printer brands for UK homes, students, hybrid workers, small offices and creative users. Choosing the right Epson printer depends on how often you print, what you print, and how much you want to spend long term. For occasional home use, an affordable Epson inkjet printer is a solid pick. For regular printing, Epson EcoTank offers better running value with refillable ink tanks. If you need scanning, copying and mobile printing, choose a wireless all-in-one Epson printer for the easiest everyday setup.
Buying a printer should be simple. You want to print, scan, copy, maybe send something from your phone, and not spend half your life decoding ink cartridges like it is a secret side quest. That is where Epson printers come in. The brand covers compact inkjet printers, refillable EcoTank printers, wireless all-in-one models, photo printers and business-friendly options.
This Epson printer guide breaks down how Epson printers work, how to choose an Epson printer,