

How to Use Hashtags on a MacBook: Your Simple Guide

The hashtag symbol (#) is a fundamental part of online communication and social media strategy. It's how you categorise content, join trending conversations, and boost the visibility of your posts across platforms like Instagram, X (Twitter), LinkedIn, and more.
However, many new MacBook users, especially those switching from a Windows machine, find themselves scratching their heads when they look for a dedicated "hash" key. Don't worry, the solution for how to use hashtags on MacBook is incredibly simple. Here’s how to do it:
Your Essential Keyboard Shortcuts
The method for typing the hash symbol (#) on your MacBook depends slightly on the specific keyboard layout your Mac uses, primarily whether you are using a US or UK keyboard.
The US Keyboard Shortcut
If your MacBook uses the standard US keyboard layout, the hash symbol is typically printed directly above the number '3' key on the top row.
Here’s the simple combination you need:
- Find the Shift key.
- Press and hold the Shift key.
- While holding Shift, press the 3 key.
That’s it! The hash symbol (#) should appear instantly. This is the most common way to get hashtags on MacBook models sold in the US and many other regions.
The British Keyboard Shortcut
For those using a MacBook with a UK keyboard layout, the system is slightly different. On a UK Mac keyboard, pressing Shift + 3 gives you the pound symbol (£) instead. The hash symbol is usually a third option on that same key.
To type the hash symbol on a UK MacBook:
- Find the Option key (sometimes labelled Alt).
- Press and hold the Option key.
- While holding Option, press the 3 key.
You will see the hashtag (#) pop up exactly where you need it. This simple trick is the key to creating hashtags on MacBook devices configured for the UK.
What If the Shortcut Isn’t Working?
Sometimes, you might be certain of your physical keyboard layout, but the shortcut still produces the wrong symbol. If your UK MacBook is giving you the pound sign (£) when you press Option + 3, or your US MacBook isn't cooperating, the issue is probably in your system settings.
Checking Your Input Source
Your MacBook’s operating system (macOS) needs to know which keyboard you are using. This setting is called the 'Input Source'.
- Go to System Settings (or System Preferences on older versions of macOS).
- Click on Keyboard.
- Look for Text Input or Input Sources and click Edit....
- Here, you will see the list of active keyboard layouts. Ensure the correct one is selected (e.g., 'British' or 'U.S.').
- If the wrong one is there, remove it using the minus (-) button and add the correct one back using the plus (+) button.
Adjusting this setting will ensure your Mac's digital input matches your physical keyboard, making typing hashtags on MacBook a straightforward process once again.
A Clever Alternative: The Character Viewer
If you find yourself frequently using multiple symbols, or perhaps you've forgotten the shortcut, there is another handy tool at your disposal: the Character Viewer.
The Character Viewer allows you to browse and insert any special symbol, including the hashtag.
- Place your cursor where you want the hashtag to appear.
- Press the keyboard shortcut: Control + Command + Spacebar. This will open the Character Viewer panel.
- In the search bar at the top, type "number sign" or "hash".
- The hash symbol (#) will appear in the results.
- Double-click the symbol to insert it into your document or social media post.
This method is reliable if you struggle to remember the keyboard shortcuts, making it easy to create hashtags on MacBook without fuss.

Quick Tips for Hashtag Use
Knowing how to type the symbol is only the first step. To effectively use hashtags on MacBook for your online content, follow these simple best practices:
- No Spaces Allowed: Hashtags are one continuous string of characters. For example, use #SimpleMacTips, not #Simple Mac Tips.
- Keep it Relevant: Only use hashtags that are directly related to your content to connect with the right audience.
- Capitalisation is Fine: While not strictly necessary, capitalising the first letter of each word (e.g., #DigitalMarketing and #AppleHacks) improves readability for longer, multi-word hashtags.
Mastering the quick key combination means you can now effortlessly integrate hashtags into all your digital content, helping you connect, categorise, and conquer your social media goals from your MacBook!

The "Wait, What About...?" Zone
What key is used to type a hashtag on a UK MacBook?
On a UK Mac keyboard, the correct key combination is Option (or Alt) + 3. This should reliably generate the hash symbol (#).
What is the quickest way to type a hashtag on a US MacBook?
The quickest way is to press and hold the Shift key, then press the 3 key. This combination will immediately produce the hash symbol (#).
Why does Option + 3 give me a pound sign (£) instead of a hashtag?
This usually means your Mac’s Input Source is set to a layout where the £ symbol is prioritised, often in certain regional settings like US or "British - PC".
How can I open the Character Viewer to find the hashtag symbol?
You can open the Character Viewer by pressing the keyboard shortcut Control + Command + Spacebar at the same time. Then, search for 'number sign'.
Can I use special characters in a hashtag on MacBook?
You should avoid using special characters (!, $, &) or punctuation (., ?, ') within a hashtag. Only letters and numbers are supported; the hashtag will break at the first special character.
| Read More: |
| How to Change Your MacBook Name |
| How to Choose the Right MacBook RAM & Storage |
| Best MacBook Accessories for Students & Professionals |
Related Articles
Last Updated: December 17, 2025
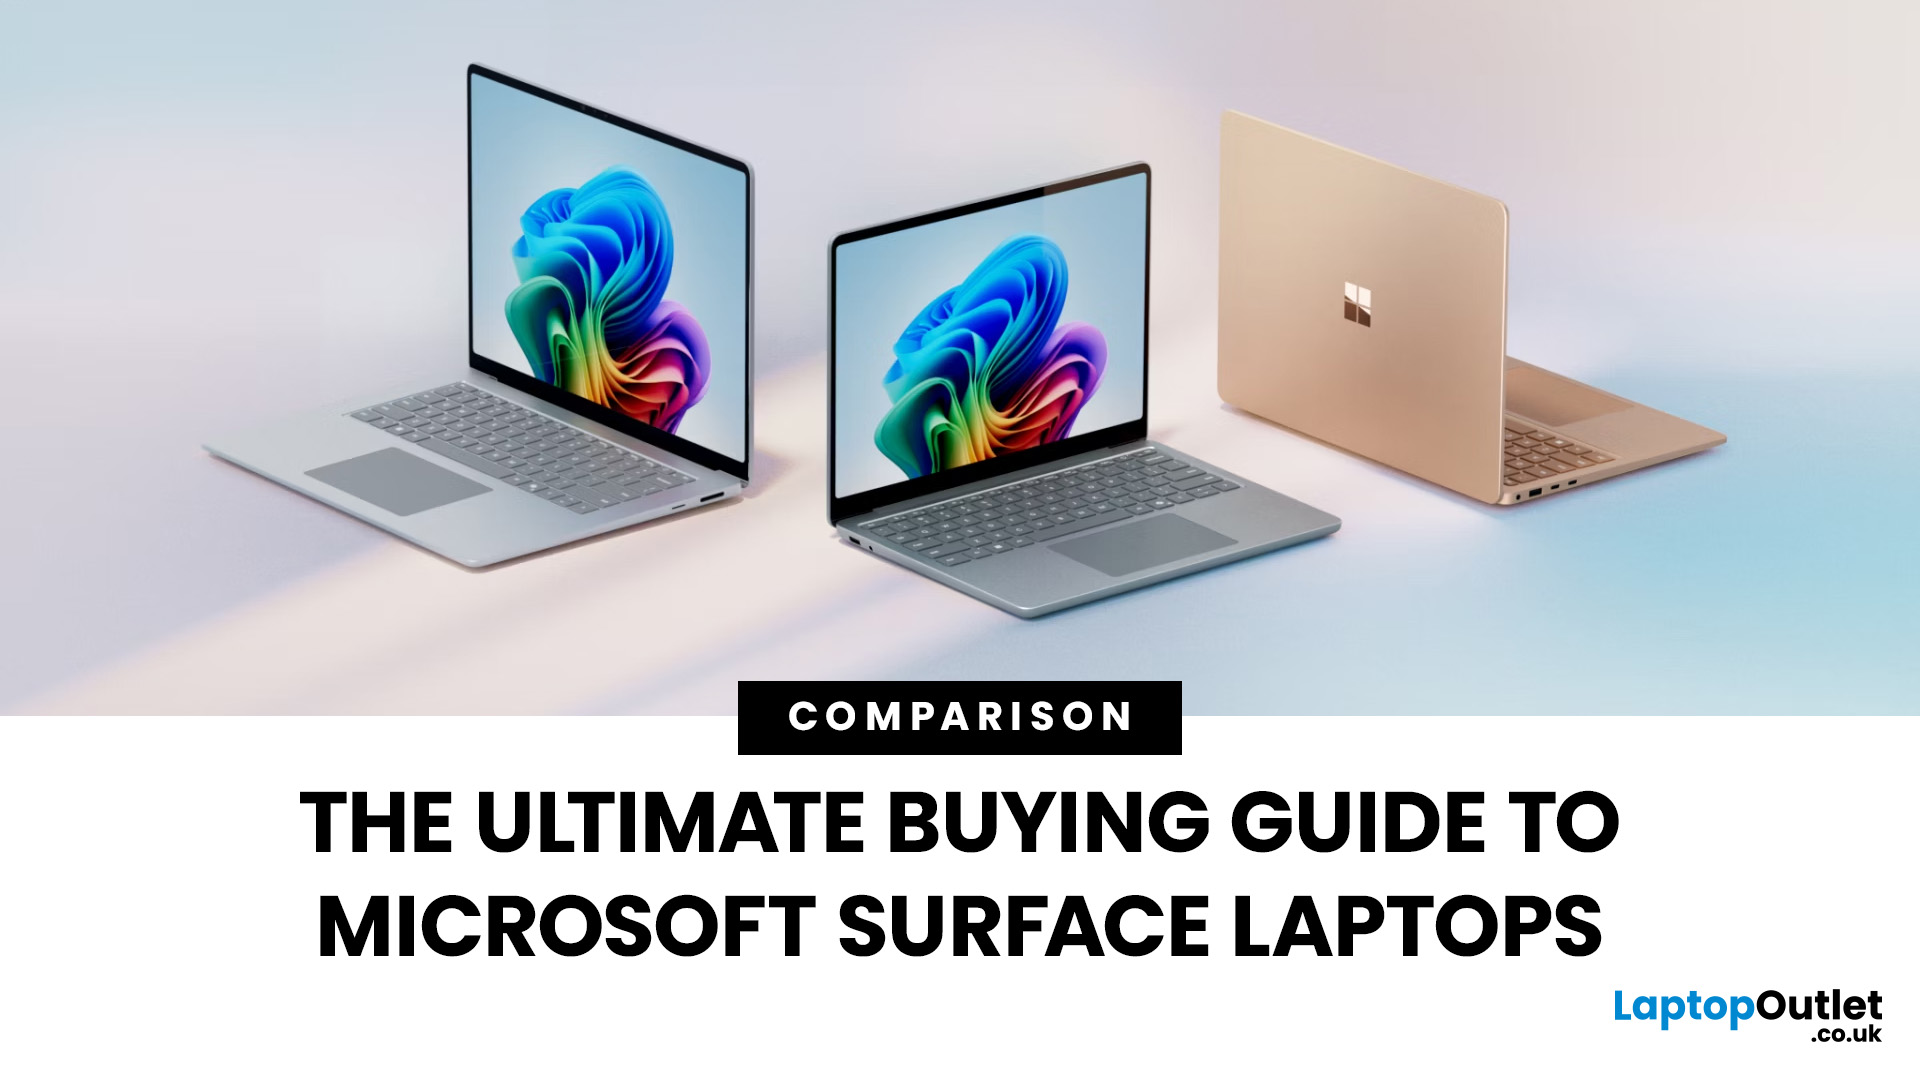
The Microsoft Surface Laptop series has redefined what modern laptops can offer, combining premium design, strong performance, and seamless integration with Windows. With so many models available, from the lightweight Surface Laptop Go to the powerful Surface Laptop Studio, buyers often ask: Which Surface is right for me? That’s where a Microsoft Surface Laptop Buying Guide becomes essential.
Surface laptops stand out for more than just portability and style. With the rise of Copilot+ PC Surface benefits, AI-powered features like Windows Recall and productivity tools make these devices more than laptops; they’re intelligent companions for work, study, and creativity.
Why Choose Microsoft Surface?
Microsoft Surface laptops have earned a reputation as premium devices that combine design elegance, reliable performance, and powerful software integration. For many buyers, the appeal of Surface lies in how seamlessly it blends hardware and software, something only a handful of manufacturers

Last Updated: June 15, 2026
If you're in the market for a new laptop, it's definitely worth taking a closer look at Acer. Acer is one of the most established names in the laptop market, known for delivering a wide spectrum of devices that balance performance, design, and price. The brand covers everything from affordable student notebooks to high-end gaming rigs and enterprise-ready business systems.
Over the years, Acer has built a reputation for combining practical features with competitive pricing, often undercutting rivals without compromising on quality. Its portfolio is organised into series such as Aspire, Swift, Predator, Nitro, TravelMate, and Vero, each designed with specific users and workloads in mind.
This Acer laptop buying guide explains the differences between the series, highlights which models work best for students, professionals, and gamers, and outlines the key features to prioritise when comparing options. It also includes buying tips and expert recommendations to help you make a decision with
Last Updated: June 22, 2026
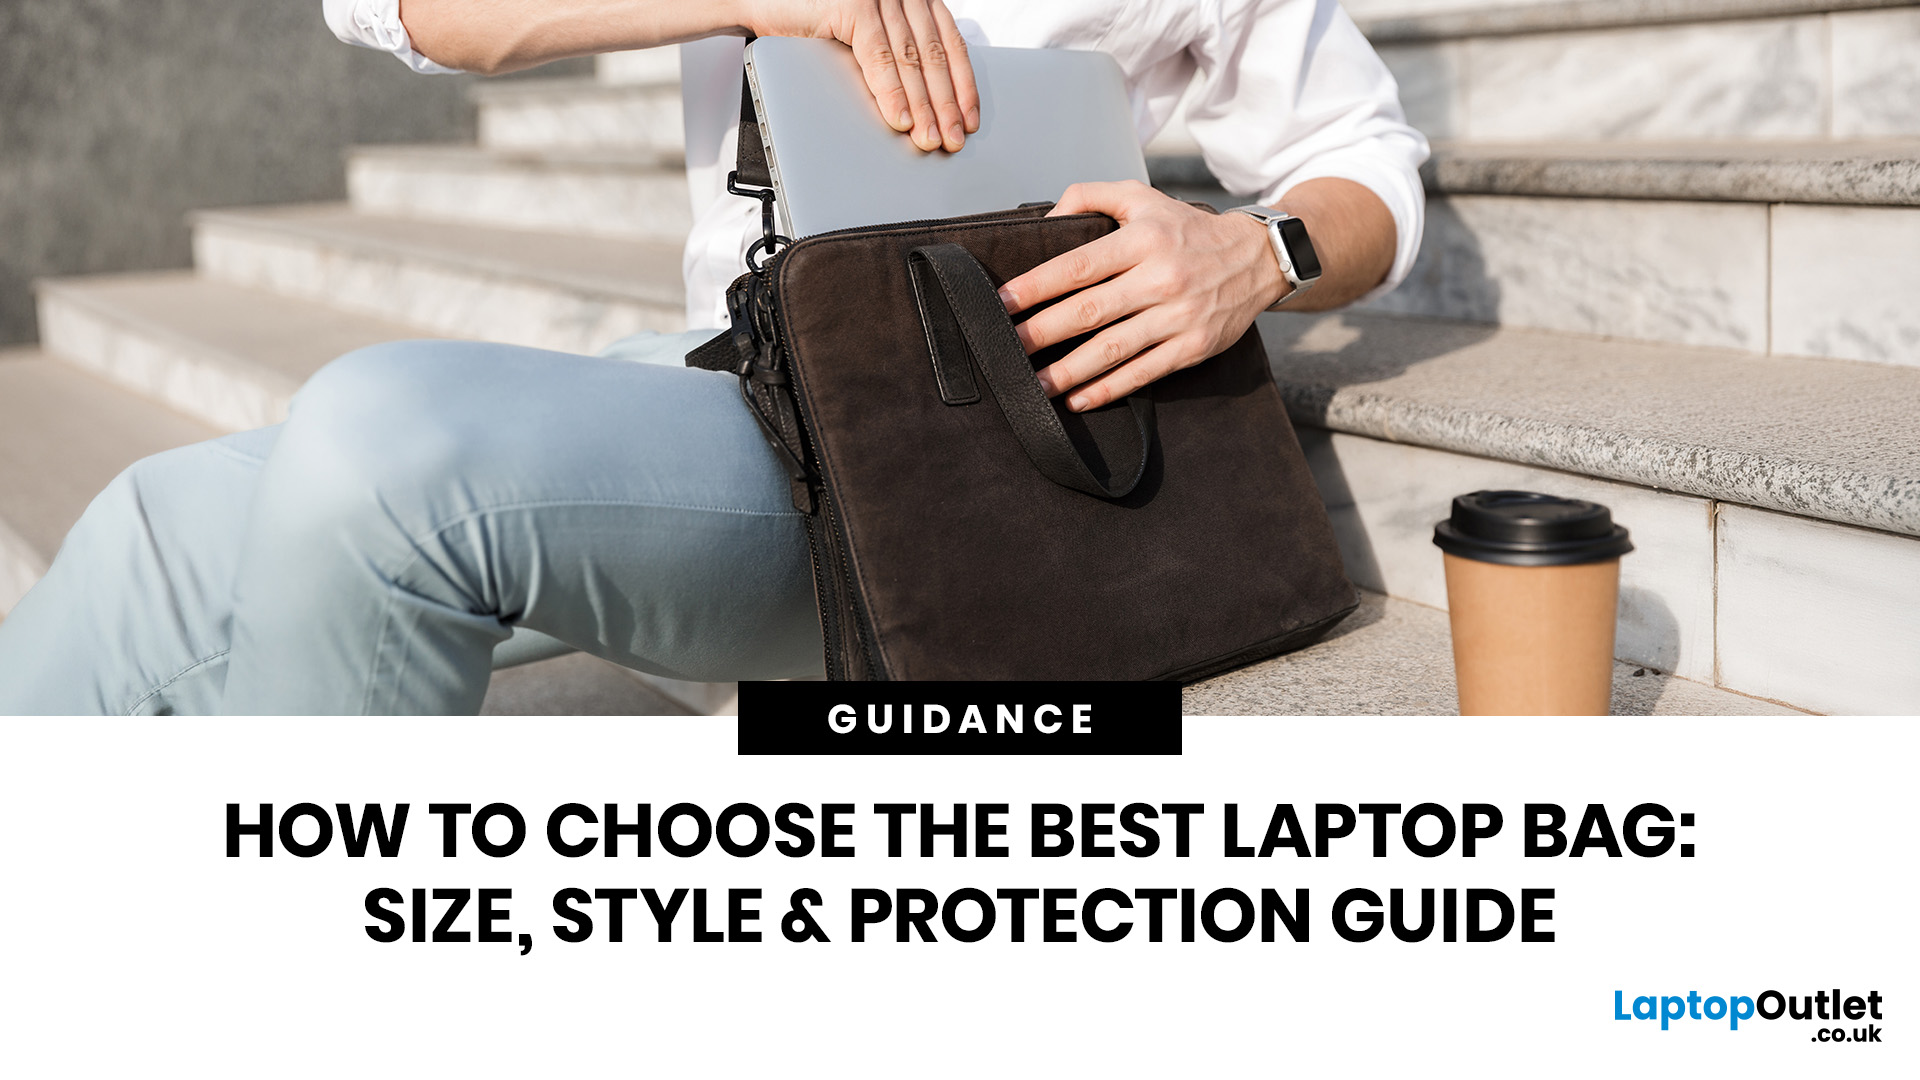
To choose the best laptop bag, start with your laptop's screen size and actual dimensions to find the right sleeve fit. Then pick a style (backpack, messenger, briefcase or sleeve) that suits your daily routine. Look for at least 1 cm of foam padding, water-resistant outer material, organised compartments, and comfortable straps.
Finding the best laptop bag sounds simple enough, but with dozens of styles, materials, and features on the market, it is easy to end up with something that does not quite fit your device or your day. A bag that is too loose offers poor protection; one that is too tight puts stress on the zips and your shoulders. This guide walks you through how to choose a laptop bag.
First Things First: Getting the Size Right
Size is the single most important factor when choosing a laptop bag, and it trips up more buyers than any other, because even the best laptop case will not protect your device properly if the fit is wrong.
How to Measure Your Laptop
Before you browse any

Last Updated: March 27, 2026
Business laptops are not what they used to be. Forget those chunky grey bricks you dragged to meetings — 2026 is all about AI business laptops. And no, that’s not just another bit of marketing fluff. These machines are actually smart enough to protect your files, stretch your battery, and even take meeting notes while you’re busy zoning out. If you’re running a business, freelancing, or just want a laptop that makes your workday less painful, let’s break down why these AI-packed beasts are worth a look.
What Makes a Laptop “AI Business Ready”?
Right, so what’s all this on-device AI about? In plain English: the laptop’s got extra brains built into it (NPUs and fancy processors) that don’t need the cloud to work. That means:
- Security features happen locally — no faffing about with servers.
- Productivity boosts are instant — your laptop reacts in real time.
- Less reliance on dodgy Wi-Fi — AI features still work offline.
So instead of just being “fast,” these laptops are clever too.
Why On-Device
Published: October 08, 2025
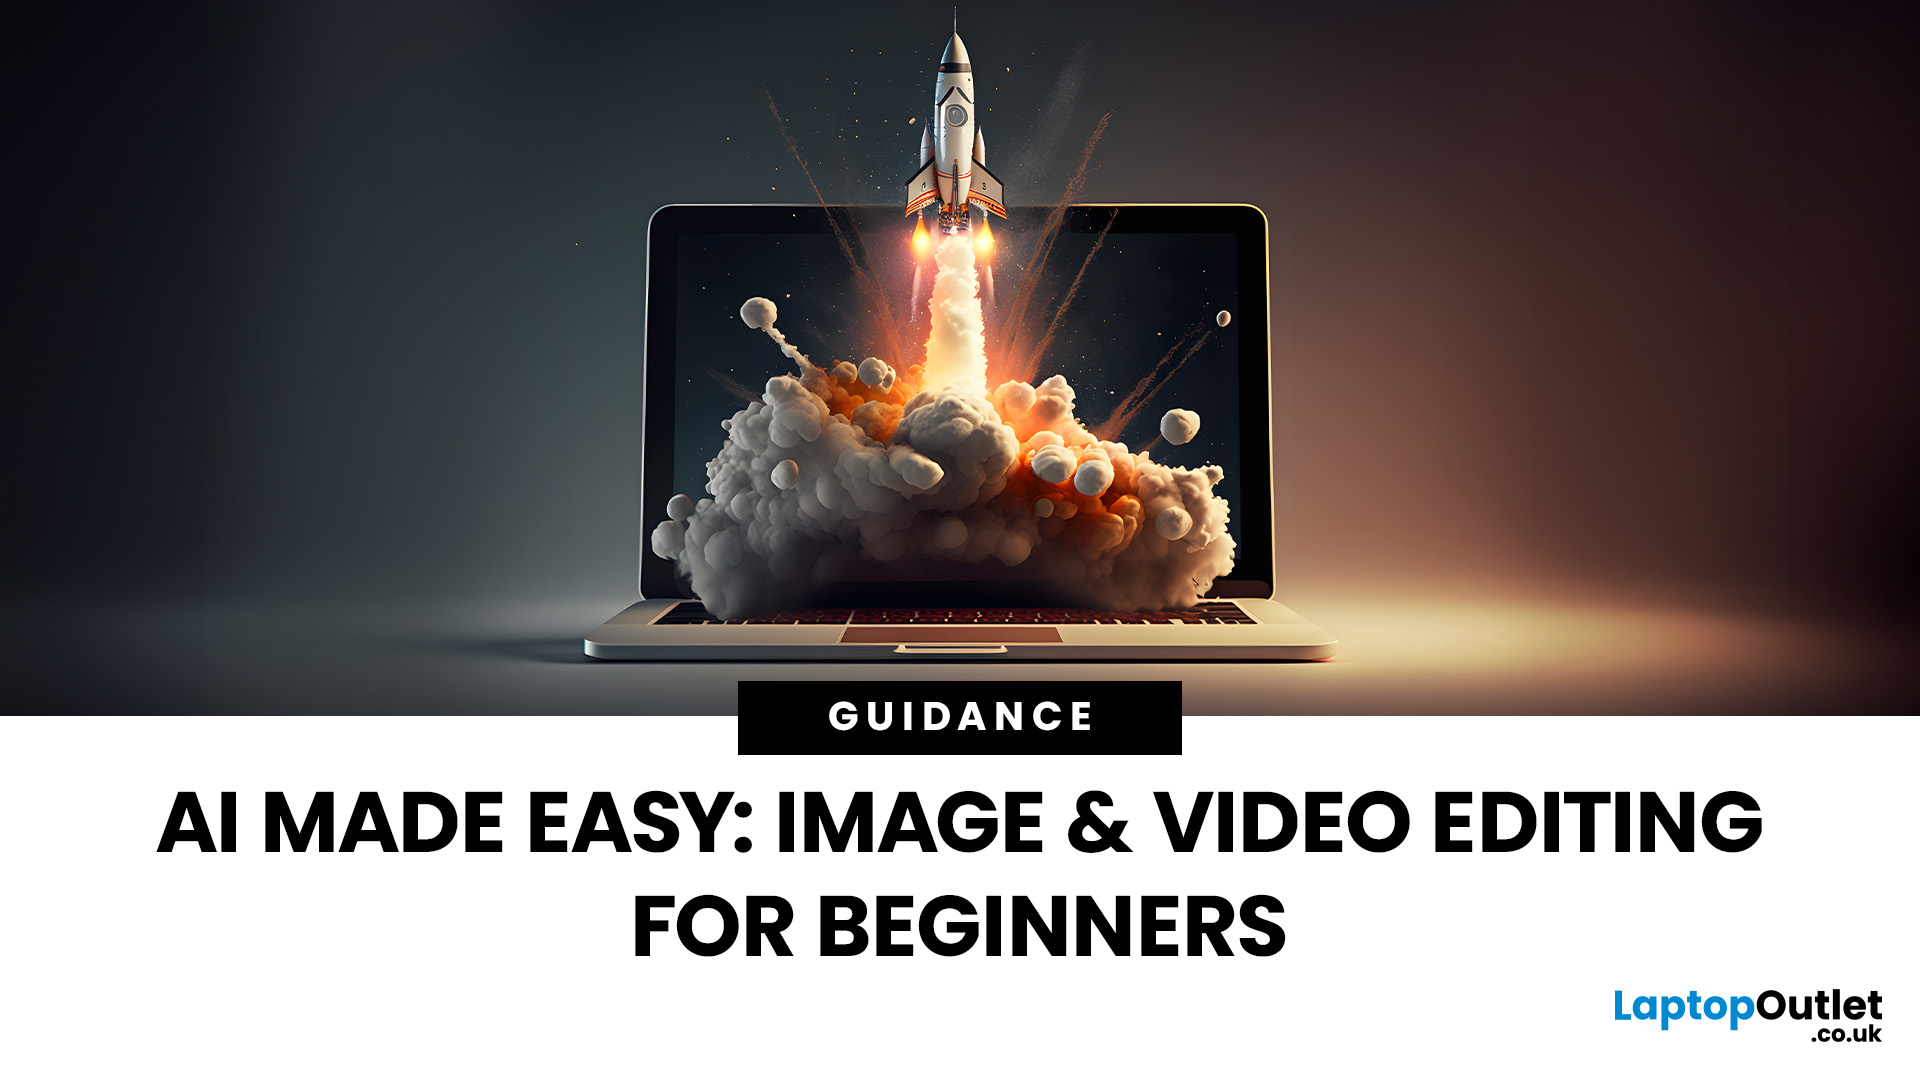
Why AI Editing is the New Creative Superpower
Back in the day, photo and video editing meant hours hunched over Adobe apps, manually tweaking every detail. Fast-forward to 2025, and AI has changed the game. Now, your laptop can generate hyper-realistic art in seconds, cut down video editing workflows, and even clean up footage automatically. But here’s the catch — with so many tools out there and specs to think about, diving into AI image & video editing can feel overwhelming.
What is AI Image & Video Editing, Anyway?
Simply put, AI image & video editing is when your laptop uses machine learning to handle tasks that normally take ages. That includes:
- AI Image Generation: Tools like Stable Diffusion, DALL·E, or MidJourney can create custom visuals, concept art, or even product photos just from text prompts.
- AI Video Editing: Think auto-cutting, background removal, colour correction, or even AI-generated B-roll clips. Apps like Runway, Adobe Premiere Pro’s AI tools, and DaVinci Resolve

Published: October 08, 2025
Choosing the right laptop in 2025 can be overwhelming, given the wide range of options available across budgets, designs, and performance levels. With Microsoft’s Windows 11 becoming the most optimised OS for hybrid work, gaming, and everyday use, selecting the right device is more important. In this Windows 11 laptops buying guide, we’ll cover everything you need to know before purchasing. From Windows 11 laptop comparisons to use-case specific recommendations for students, business users, and gamers, this guide ensures you make an informed decision.
Why Choose a Windows 11 Laptop?
Enhanced Performance
In 2025, Windows 11 is fully optimised for the latest Intel Core Ultra (Meteor Lake) and AMD Ryzen 8000/9000 series processors. These chips integrate dedicated NPUs (Neural Processing Units), which offload AI workloads from the CPU and GPU, resulting in:
- Faster multitasking across productivity apps like Microsoft 365, Adobe Creative Suite, and Teams.
- Improved power efficiency, extending

Last Updated: December 05, 2025
Portable monitors have completely changed the way we work, game, and watch media on the move. They offer a much larger display than your smartphone, transforming your pocket-sized device into a mini-desktop or a fully immersive entertainment system.
If you want to connect smartphone to a portable monitor for work or play, you've come to the right place. This complete guide will walk you through every possible connection method, covering both Android and iPhone devices, as well as essential tips for a seamless setup.
What You Need to Connect Smartphone to a Portable Monitor
Before we dive into 'how to use phone with portable monitor, you need to check a few things. Having the right kit is essential for a successful smartphone to portable monitor setup.

1. The Right Portable Monitor
Your monitor needs to have the correct input ports. The best portable monitors for phones feature a dual-connection design, offering both USB-C (for single-cable power and video) and Mini-HDMI ports (for universal

Last Updated: December 03, 2025
Ever found yourself out and about, needing to work on your laptop, but there’s no reliable Wi-Fi? It’s a common scenario. Luckily, your smartphone holds the solution: tethering.
Tethering is a simple, effective way to use your phone's mobile data connection to get your PC online. Essentially, you're turning your phone into a portable Wi-Fi hotspot or a physical modem.
This comprehensive guide will walk you through the three main ways to tether phone to PC, ensuring you can get back to work (or play) swiftly and securely.
What is Tethering?
Tethering is the process of sharing your mobile phone's internet connection with another device, like a computer or tablet. It effectively turns your phone into a portable Wi-Fi router. You are "tethering" the two devices together to share the data.
You can tether phone to PC using a cable (USB), wirelessly (Wi-Fi hotspot), or via Bluetooth. Each method has its own advantages, which we will explore below.
Method 1: Wi-Fi

Last Updated: November 25, 2025
Unboxing a brand-new computer is always exciting, whether you’ve chosen a compact laptop for portability or a powerful desktop for home productivity. But once the thrill settles, the next step is understanding how to set up your new laptop or desktop properly. A smooth setup ensures your device runs efficiently, securely, and exactly the way you need it to. In this guide, we walk you through the essential steps to get started.
1. Powering Up and Completing Initial Setup
The first step in setting up your new laptop or desktop is powering it on and walking through the built-in setup wizard. Most Windows devices will guide you through essential features such as:
- Language and region selection
- Wi-Fi connection
- Microsoft account login or creation
- Device name setup
Signing in with a Microsoft account allows you to sync settings across devices, access OneDrive cloud storage, and download apps seamlessly from the Microsoft Store.
If you prefer not to create an account, some versions of Windows