Best TV Settings to Maximise Your Gaming Experience
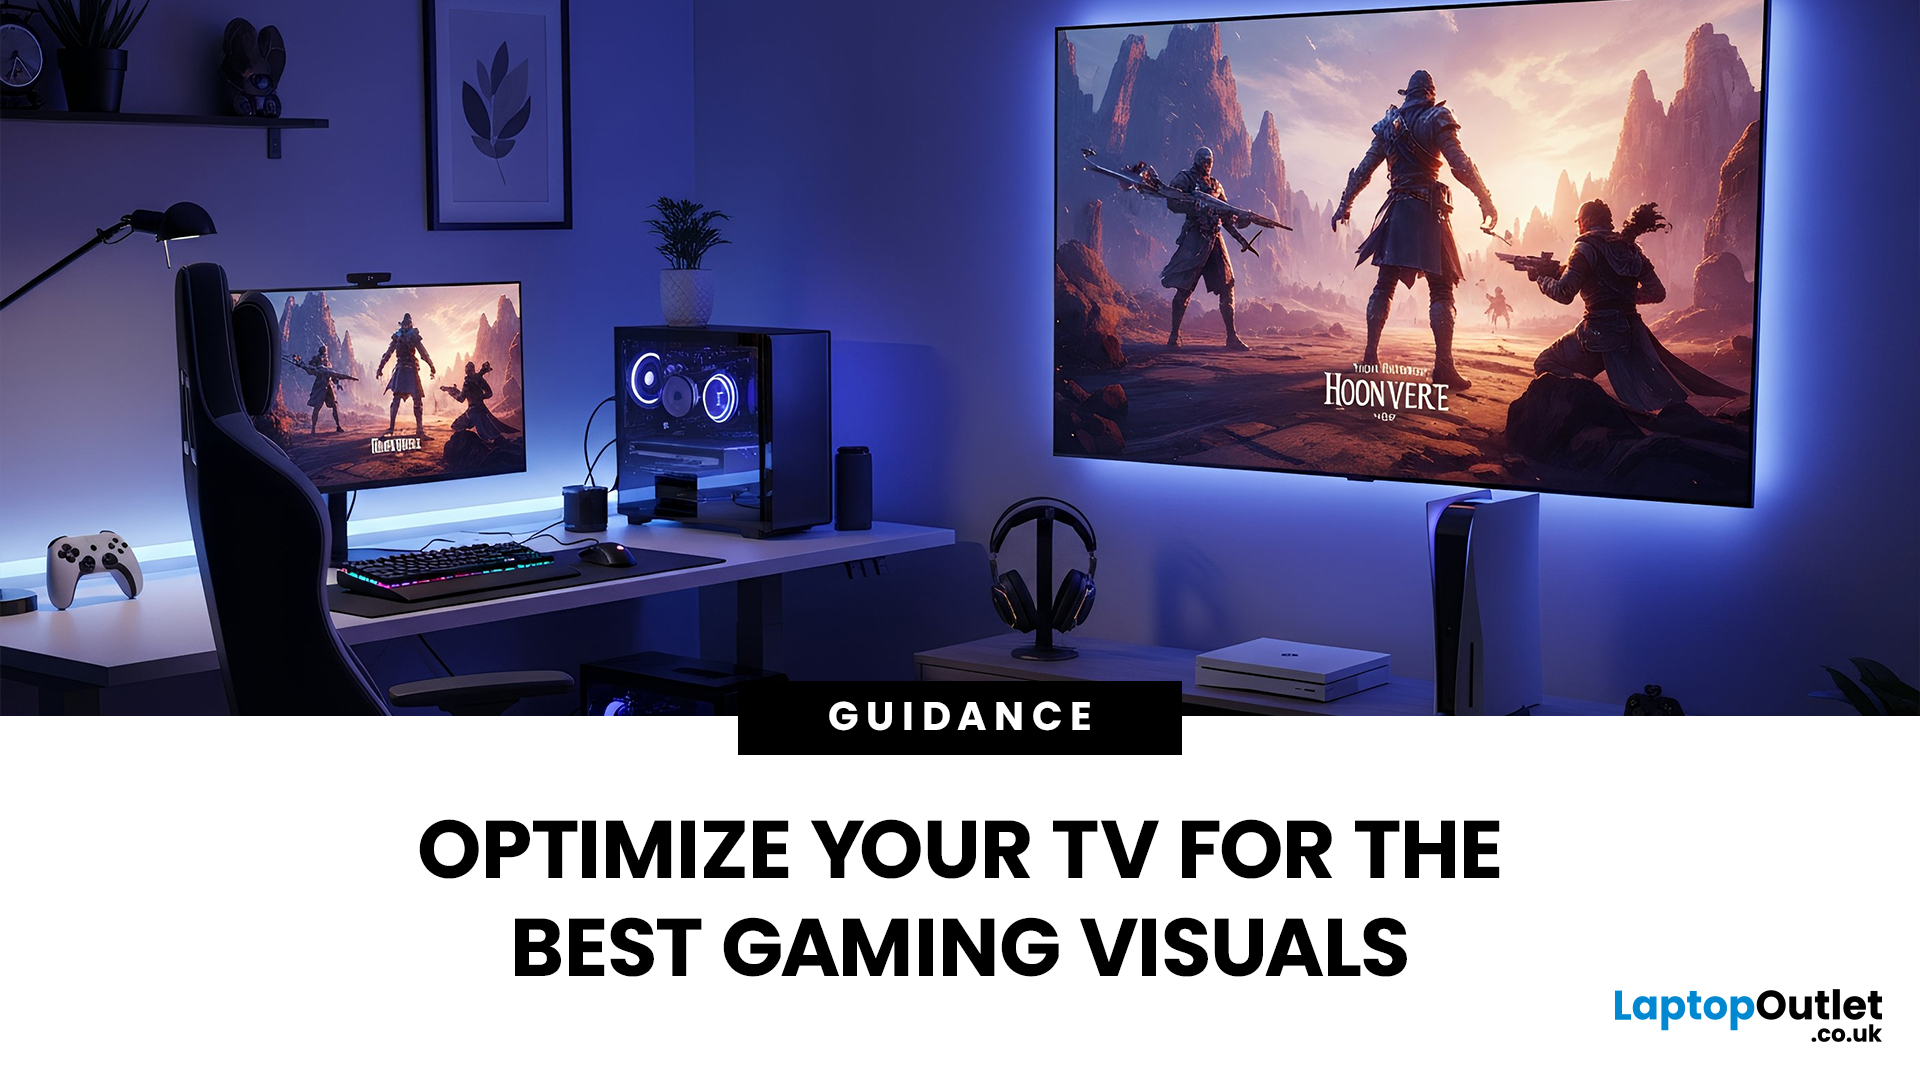
Whether you’re diving into the latest console titles or playing fast-paced online games, your TV settings can dramatically impact how smooth, vibrant, and responsive your gameplay feels. Modern TVs offer a wide range of picture modes and performance features, but not all are optimised for gaming out of the box. To get the most out of your console or PC setup, it’s important to fine-tune your display for low latency, crisp visuals, and accurate colour.
1. Switch to Game Mode
The single most impactful change you can make is to enable Game Mode. Most modern TVs include a dedicated gaming preset designed to reduce input lag, the delay between pressing a button and seeing the action on screen.
What Game Mode does:
- Minimises image processing
- Improves controller response time
- Provides smoother on-screen motion
While Game Mode may slightly reduce picture enhancements such as heavy sharpening or advanced noise reduction, the performance improvement is well worth it, especially for competitive or fast-paced games.
2. Use the Right Resolution and Refresh Rate
For the best experience, ensure your console or PC is outputting the highest resolution and frame rate your TV supports.
Best settings to aim for:
- 4K resolution (if supported)
- 120Hz refresh rate for next-gen consoles (PS5, Xbox Series X)
- VRR (Variable Refresh Rate) for smoother motion
If your TV supports HDMI 2.1, enable features such as:
- ALLM (Auto Low Latency Mode)
- VRR or FreeSync
- 4K/120Hz input
3. Adjust Brightness and Contrast
Many TVs come with overly bright or dim presets. For gaming, especially in darker scenes, balanced contrast ensures that details in shadows and highlights remain visible.
Recommended settings:
Avoid maxing out brightness, as it may cause glare or wash out colours. If gaming in a dark room, reduce the backlight to avoid eye strain.
- Brightness: 50–60%
- Contrast: 80–90%
- Backlight/OLED light: Adjust based on your room lighting
4. Enable HDR Properly
High Dynamic Range (HDR) can significantly boost your visual experience by enhancing colour depth and improving highlights. But only if it’s set up correctly.
To optimise HDR gaming:
- Ensure your console is connected to a TV HDMI port that supports HDR
- Run the PlayStation or Xbox HDR calibration tool
- Set HDR tone mapping to either “Game” or “On” depending on your TV brand
5. Fine-Tune Colour Settings
Accurate colours make games look more natural and visually pleasing. TV presets such as “Vivid” often oversaturate colours, while “Cinema” may be too warm for gaming.
Best colour settings for gaming:
- Colour temperature: Neutral or Warm 1
- Colour saturation: 45–55%
- Gamma: 2.2 (bright rooms) or 2.4 (dark rooms)
For consoles like PS5 and Xbox, make sure the colour format (YCbCr or RGB) matches your TV’s recommendation.
6. Reduce Unnecessary Motion Processing
Motion smoothing features such as Motion Flow, TruMotion, or Soap Opera Effect can blur details or create artificial movement in games. They also add input lag, something every gamer wants to avoid.
Turn OFF the Following for Gaming:
- Motion smoothing
- Noise reduction
- Sharpness enhancements
- Dynamic contrast
Set the Following Appropriately:
Your gameplay will look cleaner and feel more responsive.
- Sharpness: 0–10%
- Noise reduction: Off (games don’t require it)
7. Adjust Input Settings for Your Console
Many TVs label HDMI ports differently. To ensure the best performance, rename the HDMI input based on your device (e.g. “Game Console”). Some TVs unlock additional gaming features when they detect a console connection.
Check for:
These settings allow your TV to accept higher-bandwidth signals such as 4K HDR at 120Hz.
- HDMI enhanced/“4K mode”
- Input signal format set to “Optimised”
- HDMI UHD colour
8. Optimise Sound Settings
While picture quality is the priority, sound can elevate your gaming environment. Many TVs have preset sound modes, but not all provide clarity for gaming.
For Better In-Game Audio:
- Switch to Game Sound Mode
- Enable Dolby Atmos if supported
- Turn off heavy compression settings
- Use external speakers or a soundbar for richer detail
9. Consider Environment and Room Setup
Even with the best TV settings for gaming, your room environment plays a big role.
For Ideal Gaming Conditions:
Small tweaks can improve immersion and reduce eye strain during long sessions.
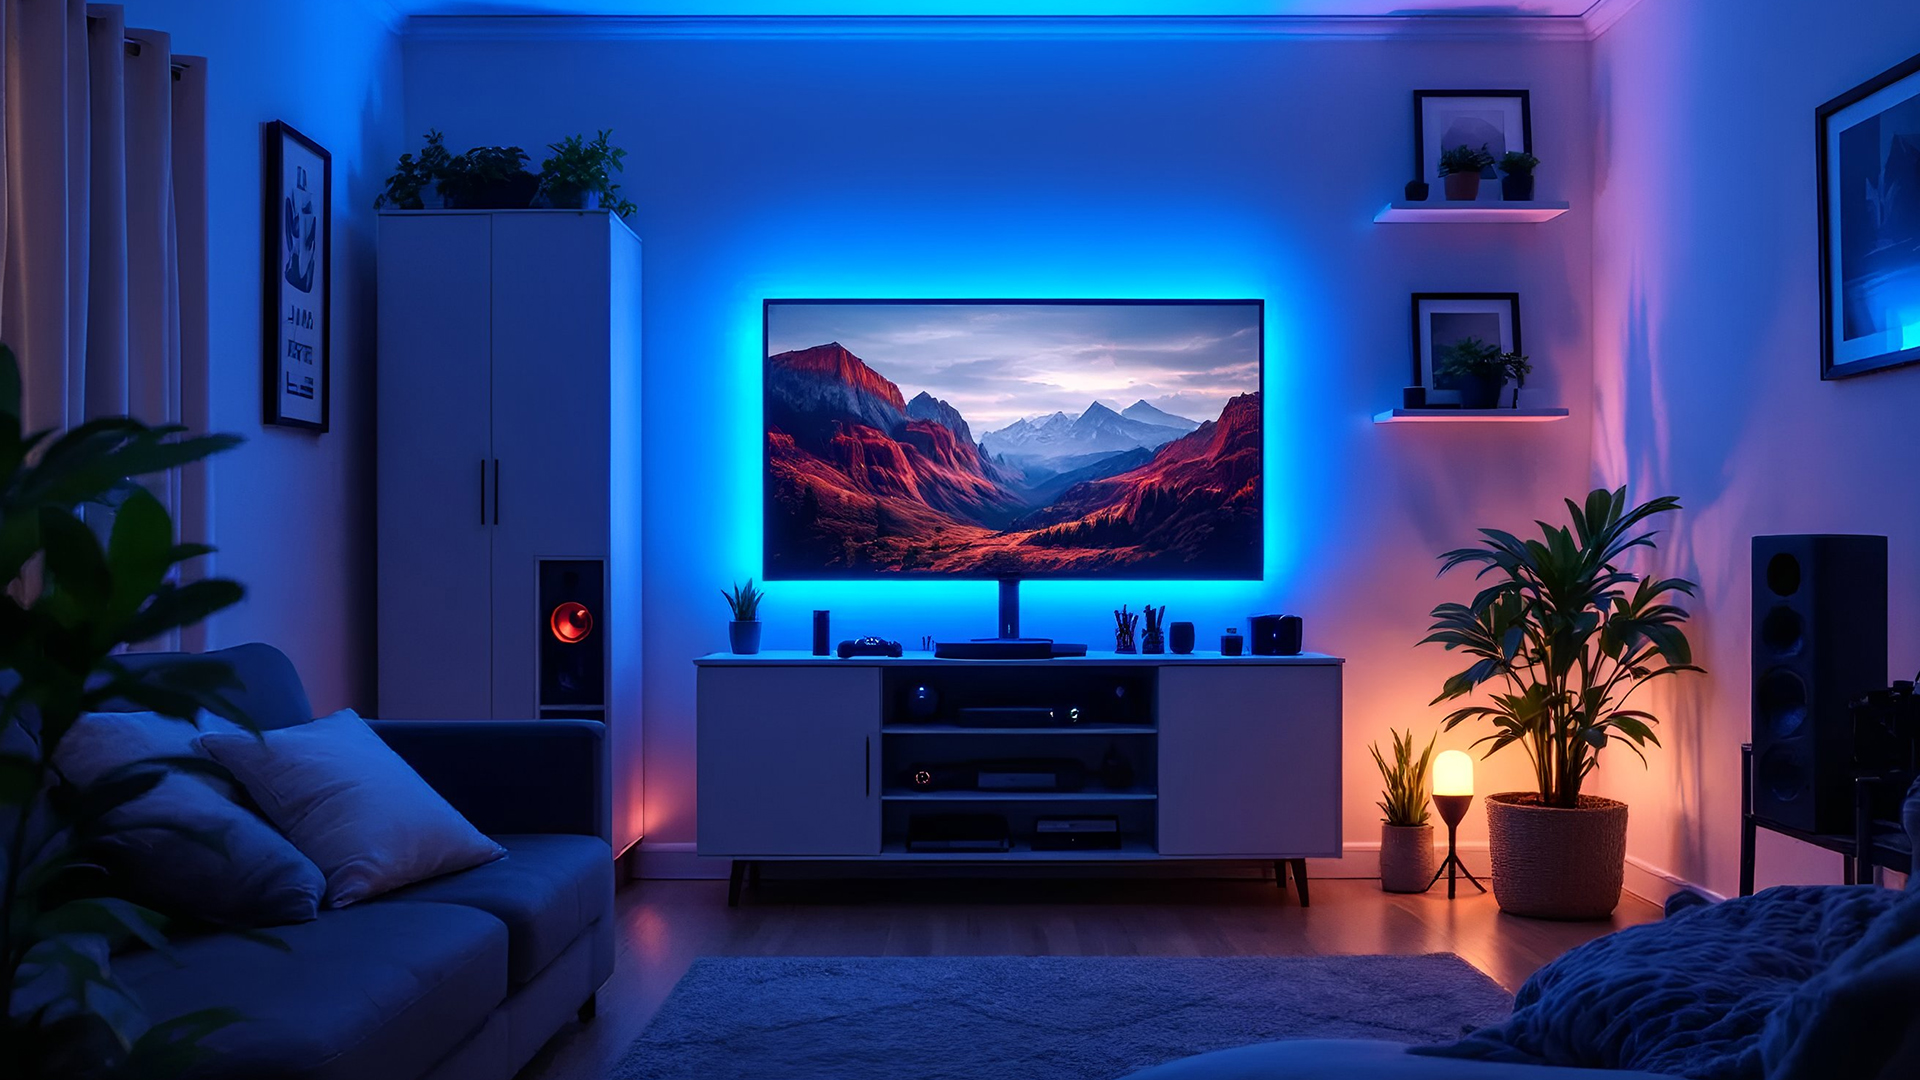
- Reduce glare by positioning your TV away from direct sunlight
- Use bias lighting behind the TV for night gaming
- Sit at the recommended viewing distance for your screen size

Final Thoughts
Finding the best TV settings for gaming can transform your entire experience, making gameplay smoother, visuals sharper, and response times quicker. Whether you're playing cinematic story-driven titles or fast-paced competitive shooters, the right settings ensure your TV keeps up with the action.
At Laptop Outlet, you’ll find a range of gaming-ready TVs, monitors, and accessories designed to level up your setup. Explore top brands and the latest tech to build the ultimate gaming environment.

FAQs
What is the best picture mode for gaming?
Game Mode is the best choice as it reduces input lag and improves responsiveness.
Should I turn off motion smoothing for gaming?
Yes, motion smoothing adds lag and can distort movement, so it’s best disabled.
Do I need HDMI 2.1 for gaming?
Not always, but HDMI 2.1 is recommended for 4K at 120Hz, VRR, and next-gen consoles.
Why does my HDR look too dark?
You may need to recalibrate your console’s HDR settings or change your TV’s tone mapping mode.
What’s the best refresh rate for gaming?
120Hz offers the smoothest performance, especially in fast-paced games.
Read More:
How to Clean Your Monitor and TV Screen
Related Articles
Last Updated: October 02, 2025
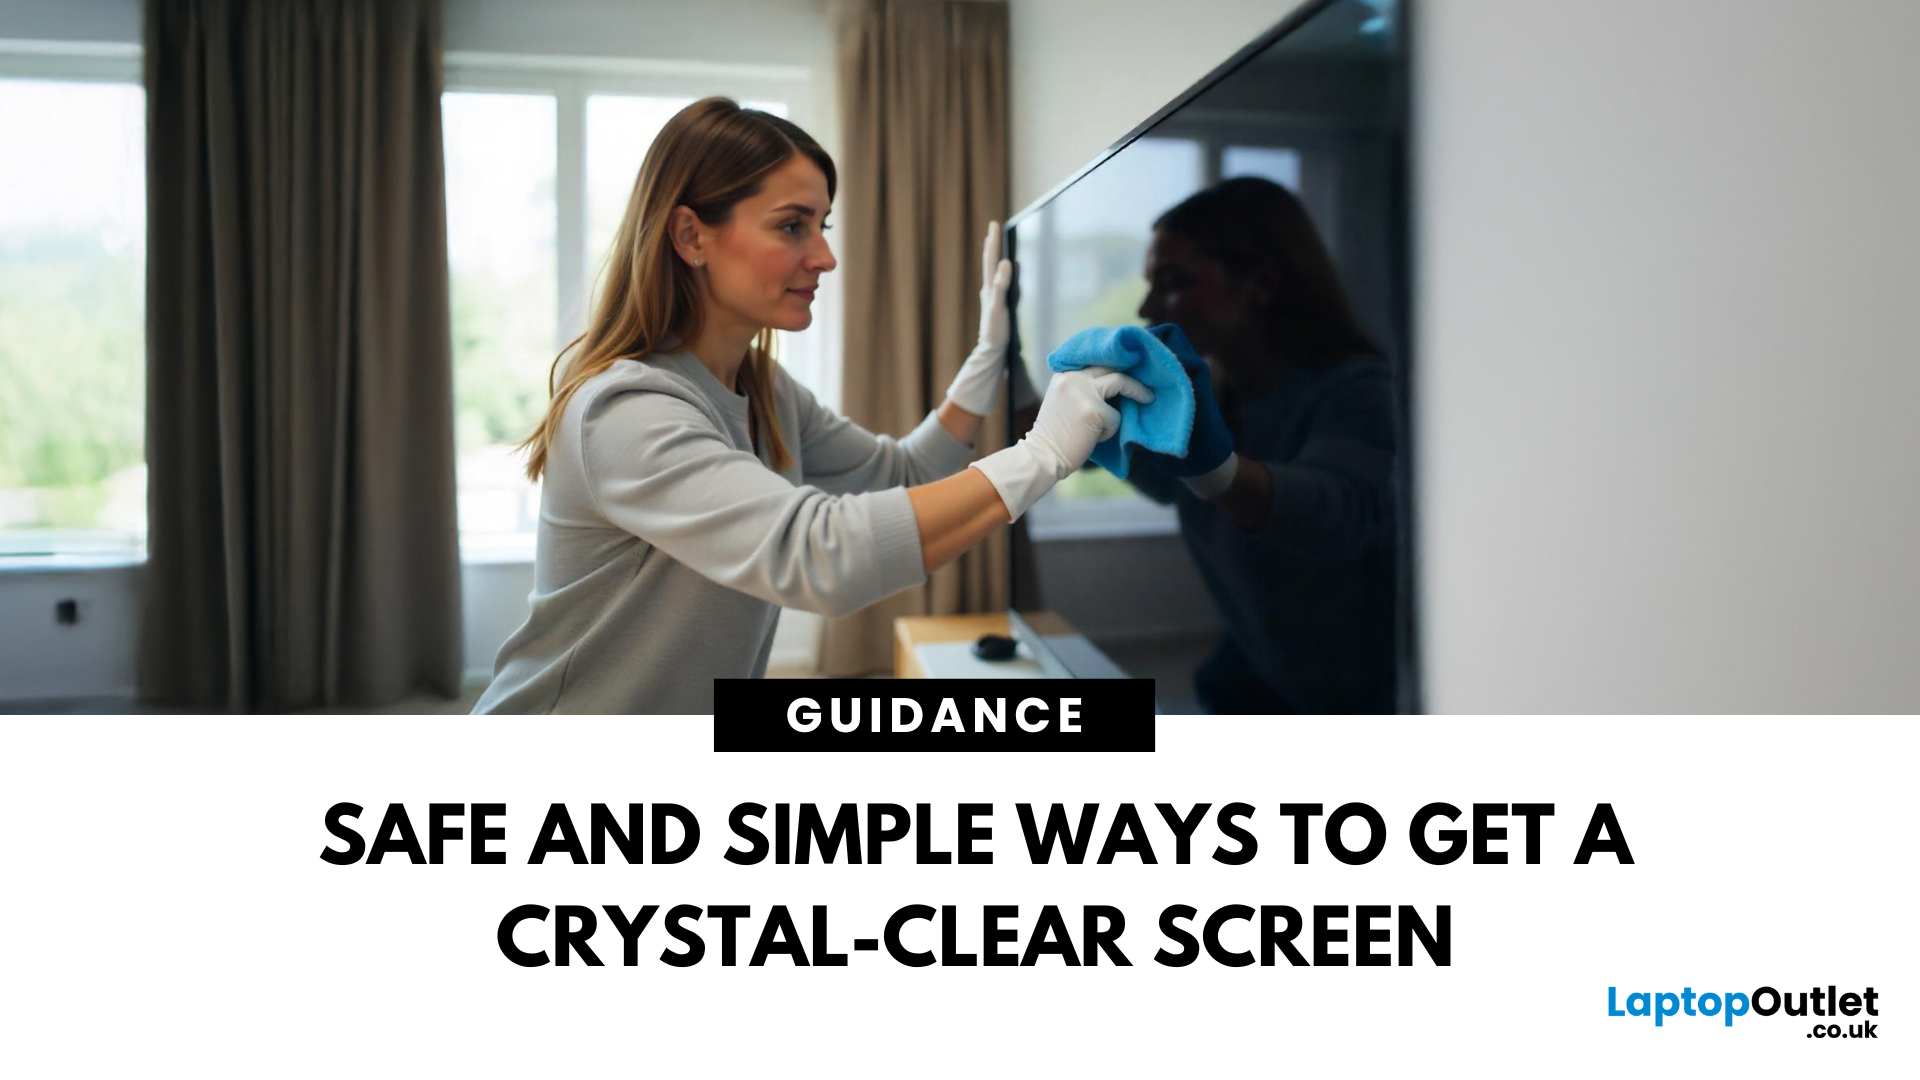
Stop Staring Through Smudges (dust on your screen)
Let’s be real—fingerprints, dust, and mystery marks love your screen way more than you do. Whether you’re gaming, streaming, or working, a dirty screen is a vibe killer. So, if your monitor or TV’s looking foggier than 4K, here’s how to clean it properly—without damage or drama.
What You’ll Need to Clean Your Monitor:
- Before you go in with a kitchen roll (please don’t), grab the right tools:
- Microfibre cloth (the soft kind that doesn’t scratch)
- Distilled water or a 50/50 mix of distilled water and white vinegar
- Spray bottle (optional but handy)
- Screen-safe cleaning solution (no alcohol or ammonia!)
How to Clean a Monitor or TV Screen in 5 Easy Steps
1. Power Off and Unplug
Don’t skip this. Always switch off your screen and unplug it—cleaning a powered device = bad idea.
2. Wipe Gently with a Dry Microfibre Cloth
- Use light pressure.
- Start in the centre and work your way out.
- This alone can remove most dust and fingerprints.
Last Updated: September 11, 2025
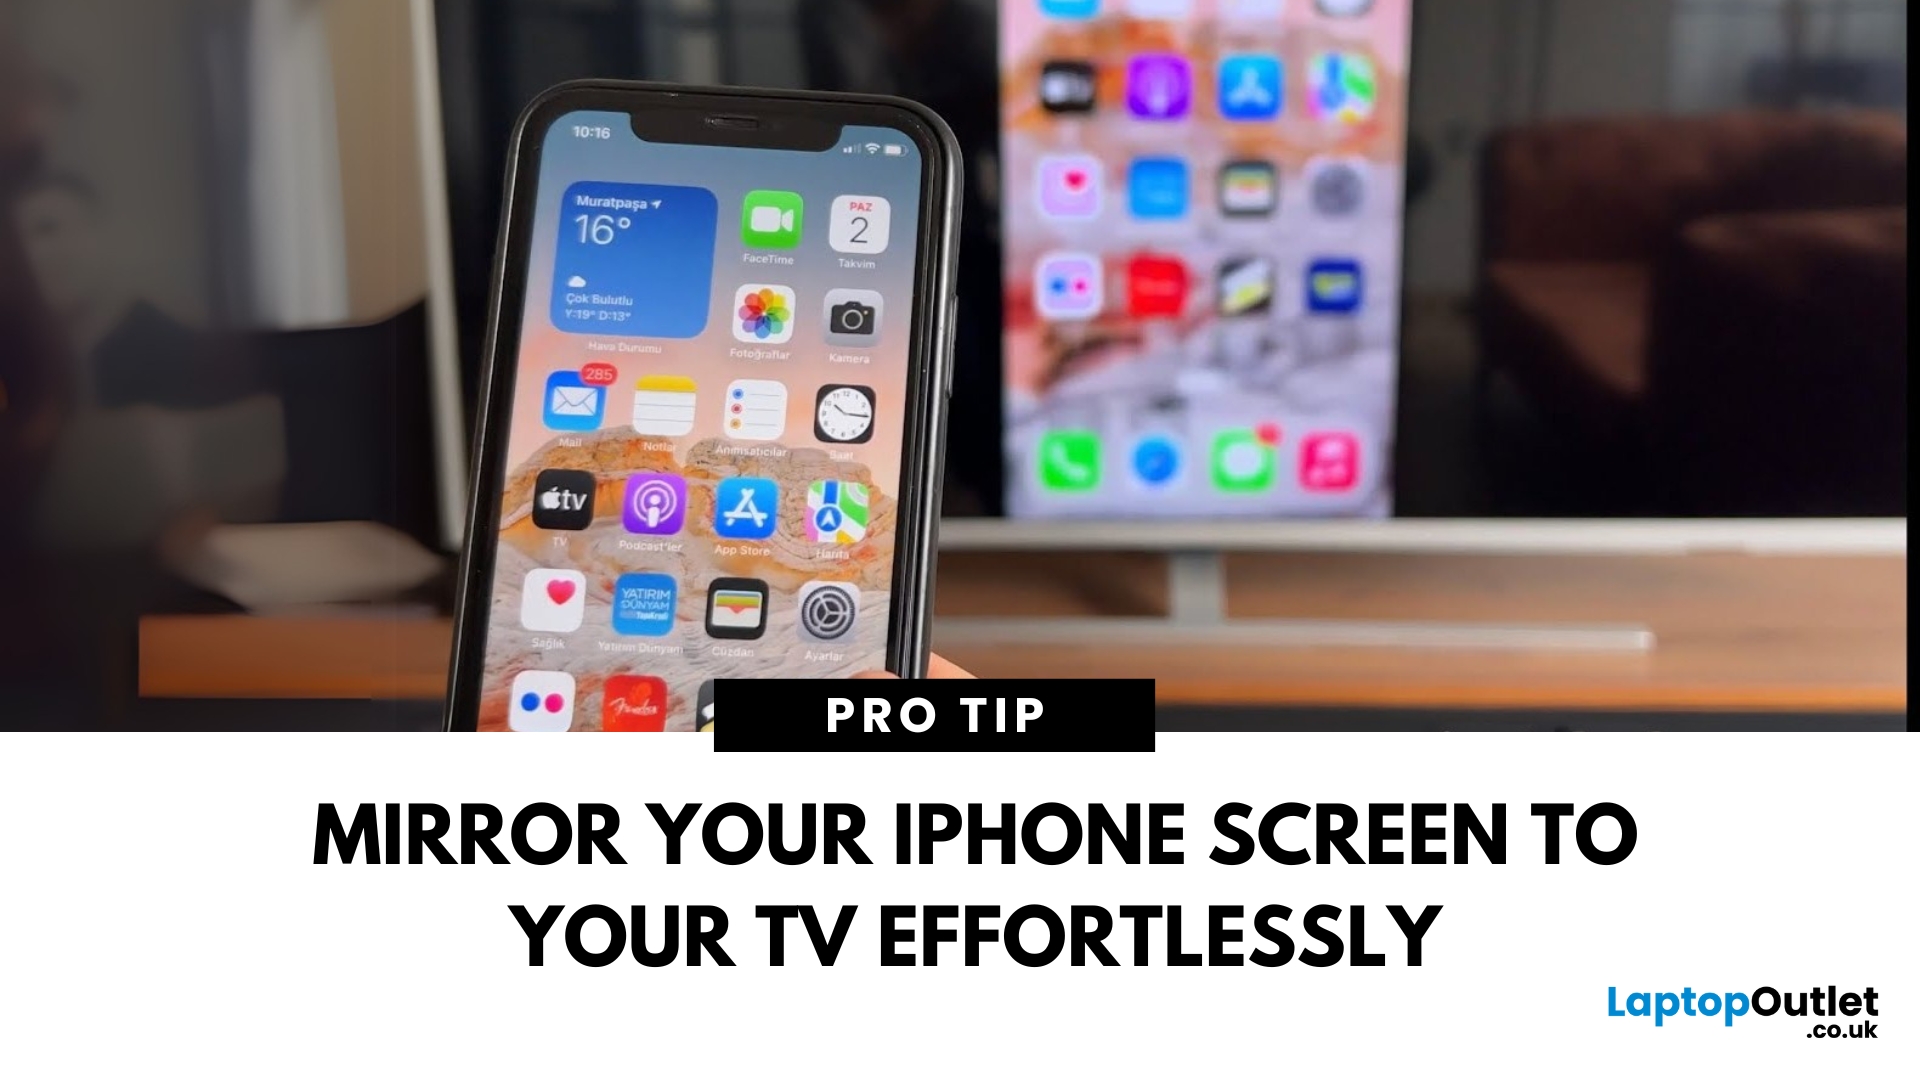
Make Your iPhone Screen Bigger
Want to watch photos, videos, or apps on the big screen? Screen mirroring lets you share your iPhone display to a TV wirelessly or with a cable. Whether you’re streaming a film or showing off holiday snaps, here’s how to do it easily.
How to Screen Mirror iPhone to a Smart TV (AirPlay)
Most smart TVs (Samsung, LG, Sony, etc.) now support Apple AirPlay.
Steps:
- Connect your iPhone and TV to the same Wi-Fi network
- Swipe down on your iPhone to open Control Centre
- Tap Screen Mirroring
- Select your TV from the list
- Enter the AirPlay passcode (if required)
Your iPhone screen will now appear on your TV.
How to Screen Mirror iPhone to TV Using an HDMI Cable
If your TV doesn’t support AirPlay, you can use a cable.
What You’ll Need:
- Apple Lightning Digital AV Adapter
- HDMI cable
Steps:
- Plug the adapter into your iPhone
- Connect an HDMI cable between the adapter and your TV
- Switch your TV input to the correct HDMI port
Your iPhone screen will

Last Updated: September 09, 2025
Take Your Nintendo Switch Gaming to the Big Screen
The Nintendo Switch is built for flexibility—you can play handheld, tabletop, or connect it to your TV for a full console experience. Whether you’re new to the Switch or just need a refresher, here’s how to connect your Nintendo Switch to your TV in minutes.
What You’ll Need
Make sure you’ve got:
- Nintendo Switch console
- Nintendo Switch dock
- HDMI cable
- Nintendo Switch AC adapter
- A TV with an HDMI port
How to Connect Nintendo Switch to TV – Step by Step
1. Open the Switch Dock
- Flip open the back panel of the dock.
2. Plug in the AC Adapter and HDMI Cable
- Insert the AC adapter into the dock’s top port (AC ADAPTER)
- Plug the HDMI cable into the middle port (HDMI OUT)
3. Connect the Dock to Your TV
- Plug the other end of the HDMI cable into your TV’s HDMI port.
4. Place the Nintendo Switch in the Dock
- Align the Switch console with the USB-C connector inside the dock
- Slide it in until it clicks into place
5.
Last Updated: September 09, 2025
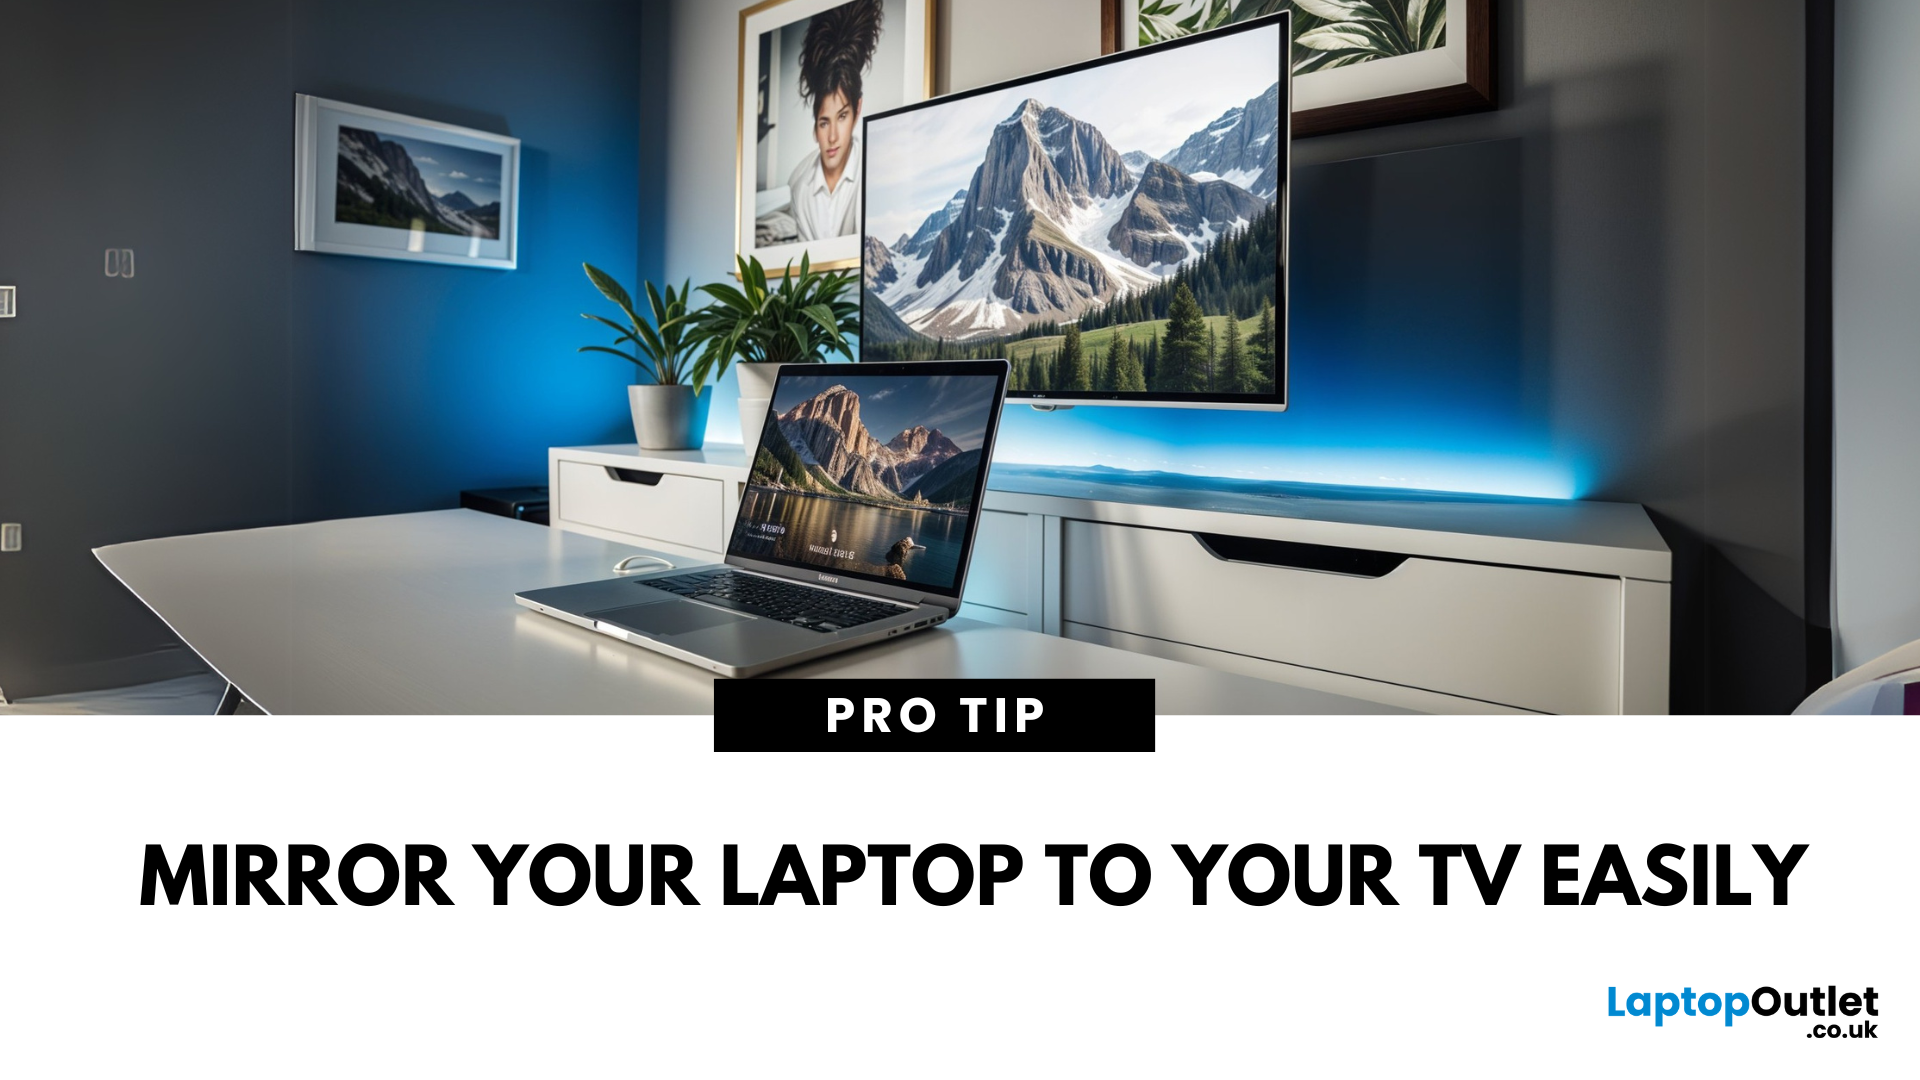
Laptop to TV? Easy
Want to stream Netflix, present slides, or game on a bigger screen? Connecting your laptop to a TV is easier than ever, whether you prefer a cable or a wireless setup. Here’s how to do both quickly and easily.
How to Connect a Laptop to a TV with HDMI (Wired Method)
What You’ll Need:
- A laptop with an HDMI output port
- A TV with an HDMI input port
- An HDMI cable
Steps:
- Plug one end of the HDMI cable into your laptop
- Plug the other end into your TV
- Switch your TV to the correct HDMI input using the remote
- Your laptop screen should appear on the TV
Pro Tip: Press Windows + P (on Windows) to change display mode – Duplicate, Extend, or Second Screen Only
How to Connect a Laptop to a TV Wirelessly
Option 1: Windows Wireless Display (Miracast)
- Make sure your TV supports Miracast or has a streaming device (like Roku or Fire Stick)
- On your laptop, go to Settings > Display > Connect to a Wireless Display
- Select your TV from the list
- Approve the
Last Updated: September 09, 2025
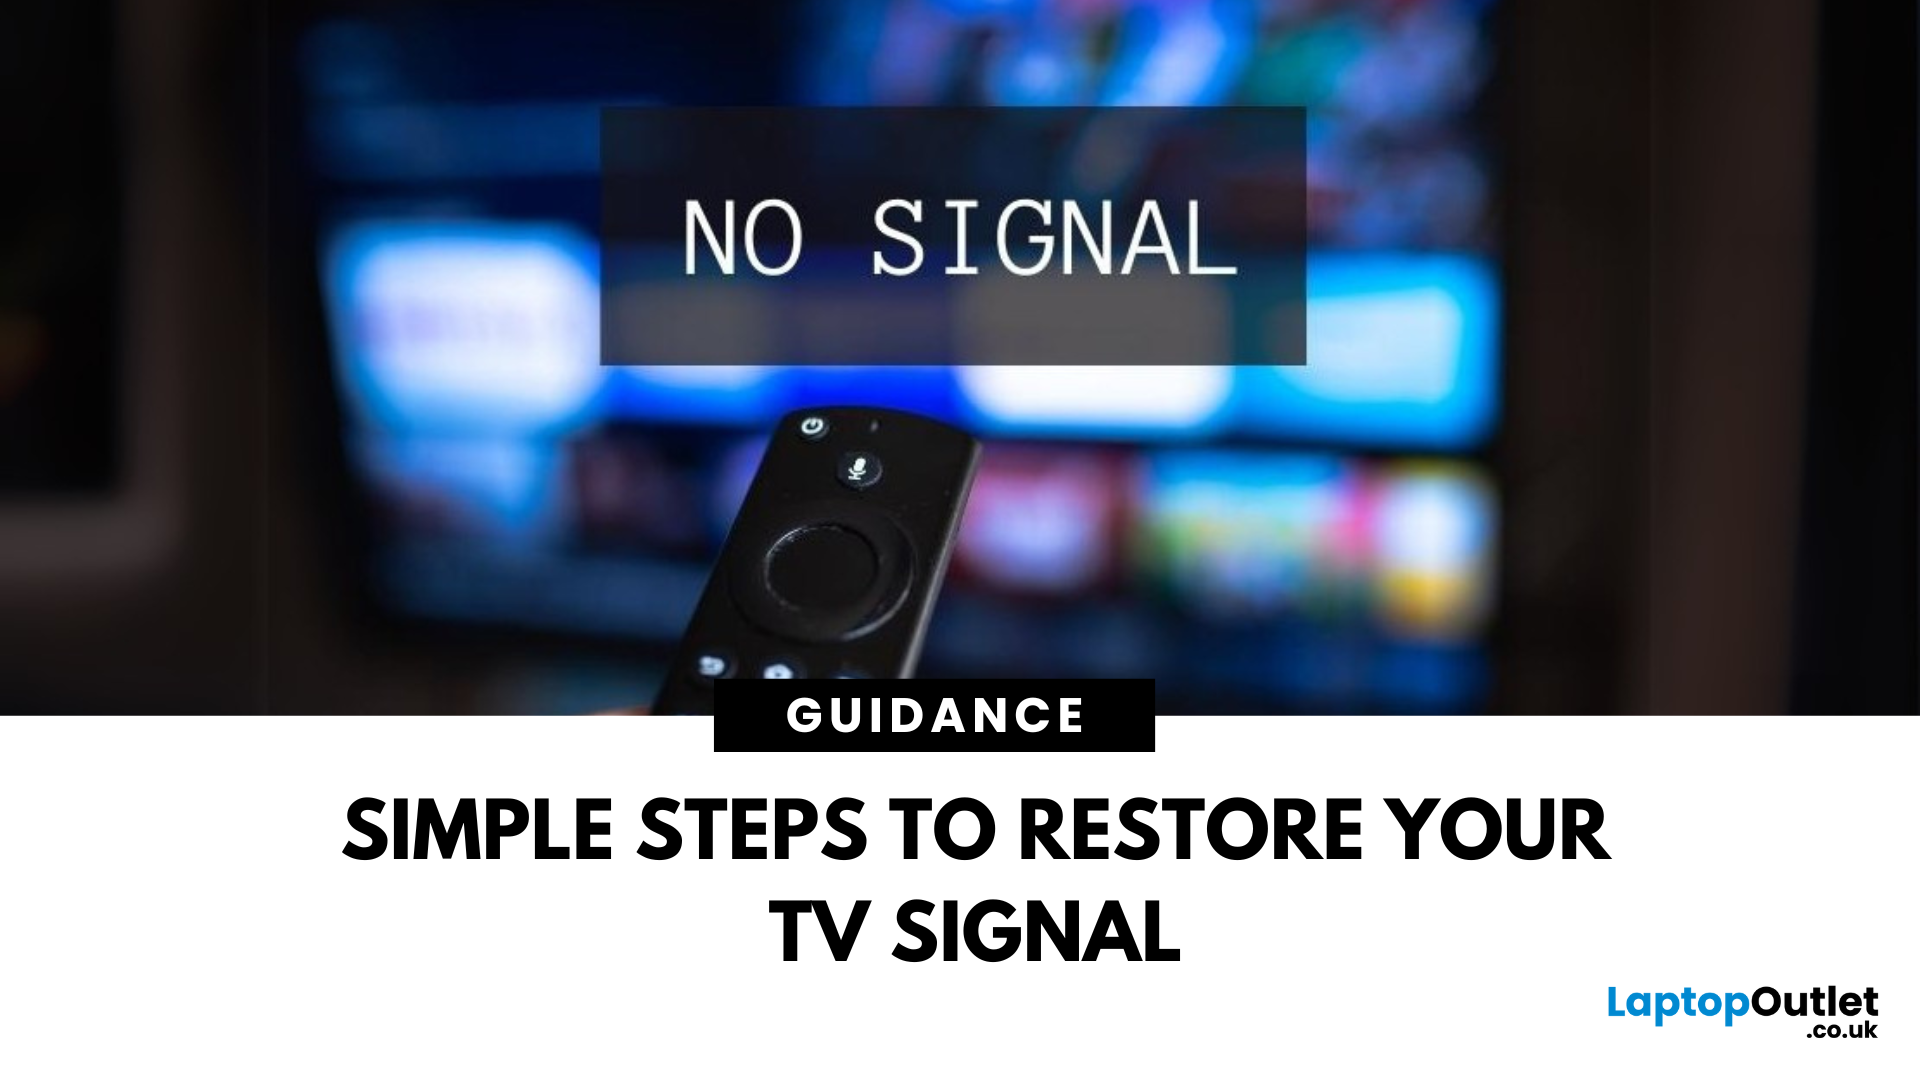
TV Says “No Signal”? Don’t Panic
You’re ready to binge your favourite show—but your TV screen says "No Signal." Frustrating? Absolutely. But don’t worry—it’s usually easy to fix. Let’s break down the most common causes and how to get your screen back in action.
1. The Input Source Is Incorrect
Your TV might be set to the wrong source (HDMI 1, HDMI 2, AV, etc.)
Fix it:
- Press the Input or Source button on your remote
- Cycle through the available sources (HDMI, TV, AV, etc.)
- Stop on the one connected to your device (game console, Sky box, etc.)
2. Loose or Unplugged Cable
A loose HDMI or AV cable can instantly kill the signal.
Fix it:
- Check that all cables are securely plugged in
- Try unplugging and replugging the cable
- Test with a different HDMI port or cable if available
- Pro Tip: Always power off the TV and device before adjusting cables
3. The Connected Device Isn’t Turned On
Sometimes the issue isn’t the TV—it’s the box or console that’s off.
Fix it:
- Make

Last Updated: September 09, 2025
Find Your Perfect Screen
Looking to upgrade your entertainment experience? Whether it’s for movies, gaming, or everyday watching, buying a TV can feel overwhelming with so many options. Here’s your simple guide to what to look for when buying a TV in 2025.
Screen Size: How Big Should You Go?
Tips:
- Measure the space where your TV will go
- Bigger isn’t always better—distance and resolution matter
- For living rooms: 50–75 inches is a sweet spot
- For bedrooms or smaller rooms: 32–43 inches works well
Sit around 1.5 times the screen size away for the best experience
Screen Resolution: How Clear Is the Picture?
- HD (720p): Budget or small TVs only
- Full HD (1080p): Still common for budget and mid-range TVs
- 4K (Ultra HD): Best value and most popular for new TVs
- 8K: Super high-end; limited content but future-ready
For most buyers, 4K is the best value choice
Display Technology: LED, QLED, or OLED?
- LED: Basic, energy-efficient, budget-friendly
- QLED (Quantum Dot): Brighter

Last Updated: April 07, 2026
Tired of endlessly scrolling through streaming services on your old, clunky TV?
Do tech specs make your head spin when you're trying to choose a new television? You’re not alone.
With so many options on the market, from Hisense TV models like the 55 inch and 65 inch Hisense Smart TV, to feature-rich Samsung TV sets and premium OLED displays from LG TV ranges, choosing the “best” Smart TV can feel overwhelming. But don’t worry, we’re here to help you cut through the noise.
In this blog, we’ll walk you through the reasons to buy a Smart TV and identify the best Smart TVs to buy in 2025! Let’s make shopping simple and help you find your perfect screen!
Introduction to Smart TVs- What Is a Smart TV?
A Smart TV is a modern television that goes far beyond traditional viewing. Equipped with internet connectivity and its own operating system, a Smart TV lets you stream content, browse the web, and access a wide range of apps, just like a smartphone or tablet. Think of it as your all-in-one digital
Last Updated: September 09, 2025
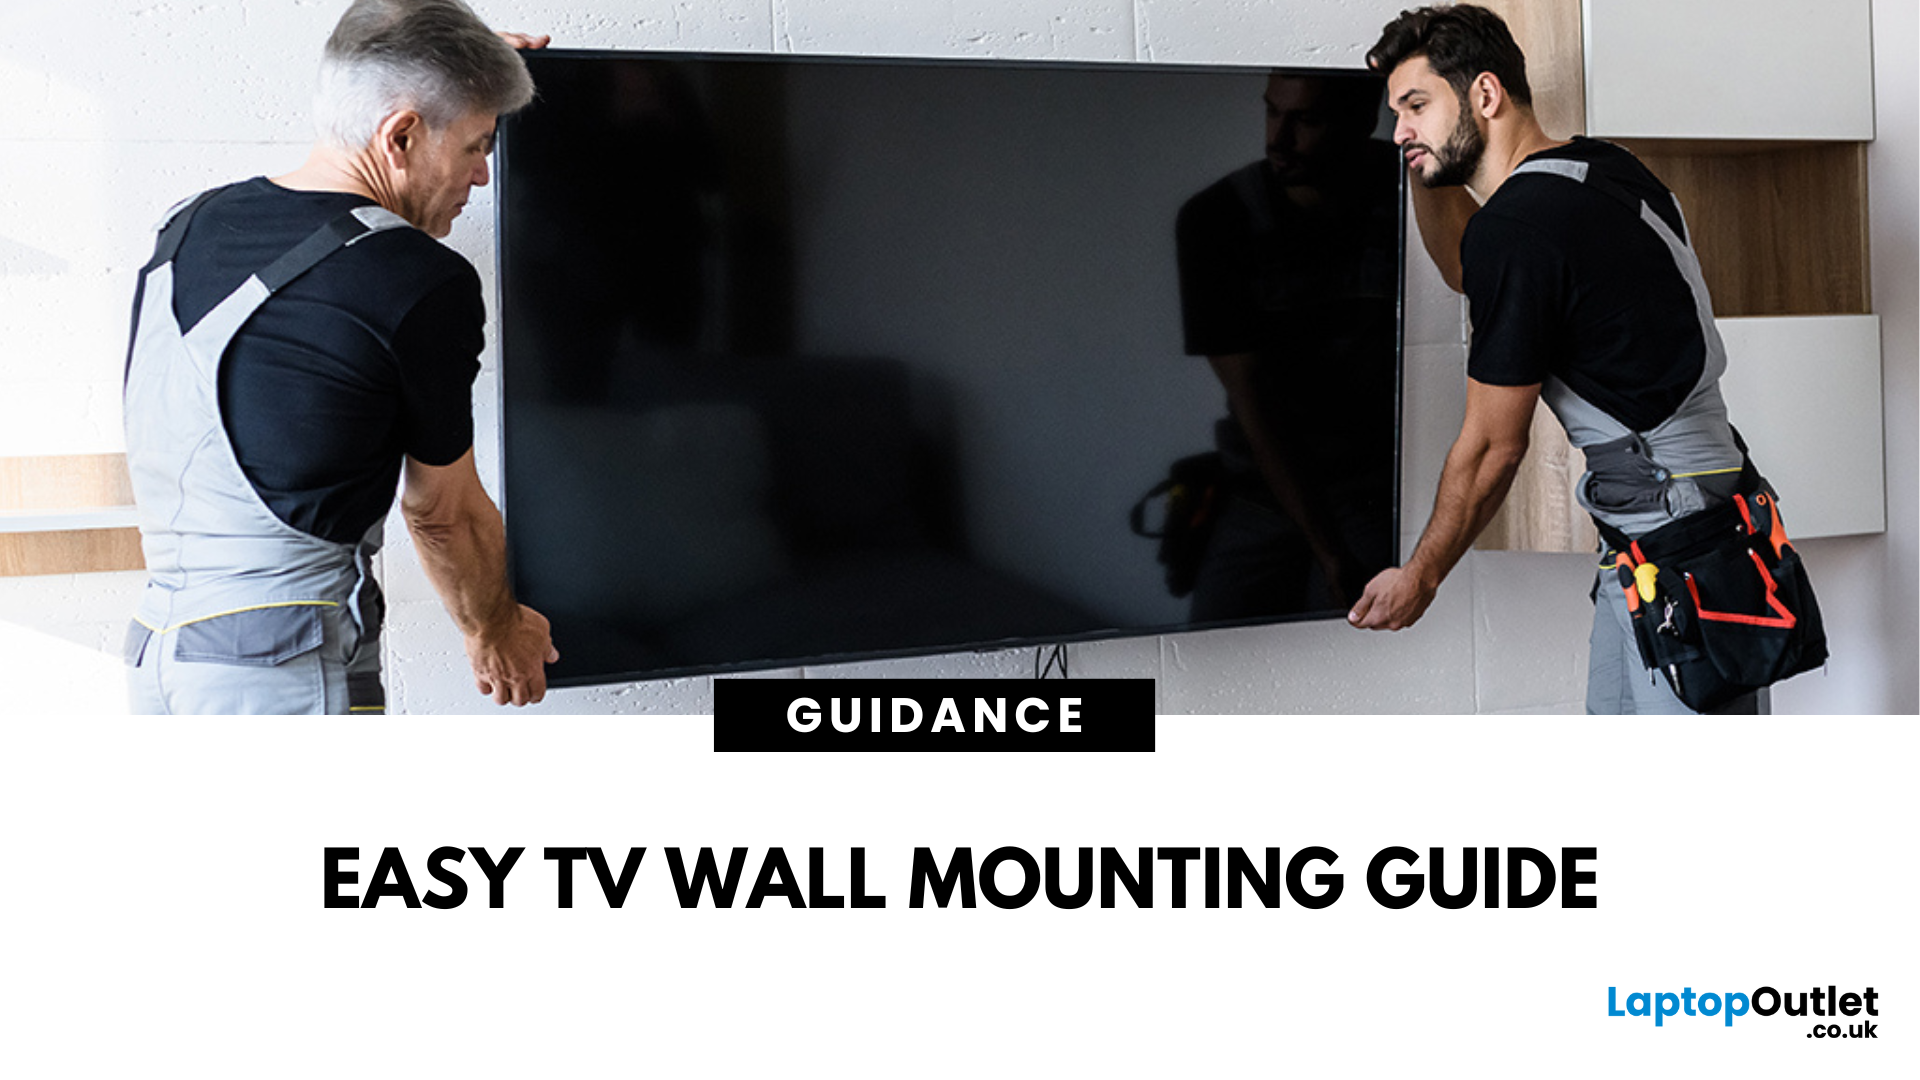
Wall mounting your TV saves space, gives your setup a sleek look, and keeps your screen at the perfect viewing height. Ready to transform your living room? Here’s how to do it.
Choose the Right Wall Mount
There are three main types:
- Fixed Mount: Keeps the TV flush against the wall
- Tilt Mount: Adjusts vertically for better viewing angles
- Full-Motion (Swivel) Mount: Best for flexibility and corner installations
Check your TV’s size and weight to ensure compatibility.
Gather Your Tools
You’ll need:
✔ Drill and drill bits
✔ Stud finder
✔ Spirit level
✔ Tape measure
✔ Screwdriver
✔ TV mount kit (with screws and bolts)
Find the Perfect Spot
- Use a stud finder to locate sturdy wall studs
- Mark the desired height (eye level when seated is ideal)
- Avoid mounting above fireplaces—it can strain your neck and damage the TV
Install the Wall Bracket
- Hold the mount against the wall and mark drill holes
- Drill pilot holes into the studs
- Secure the wall bracket with
Last Updated: September 09, 2025
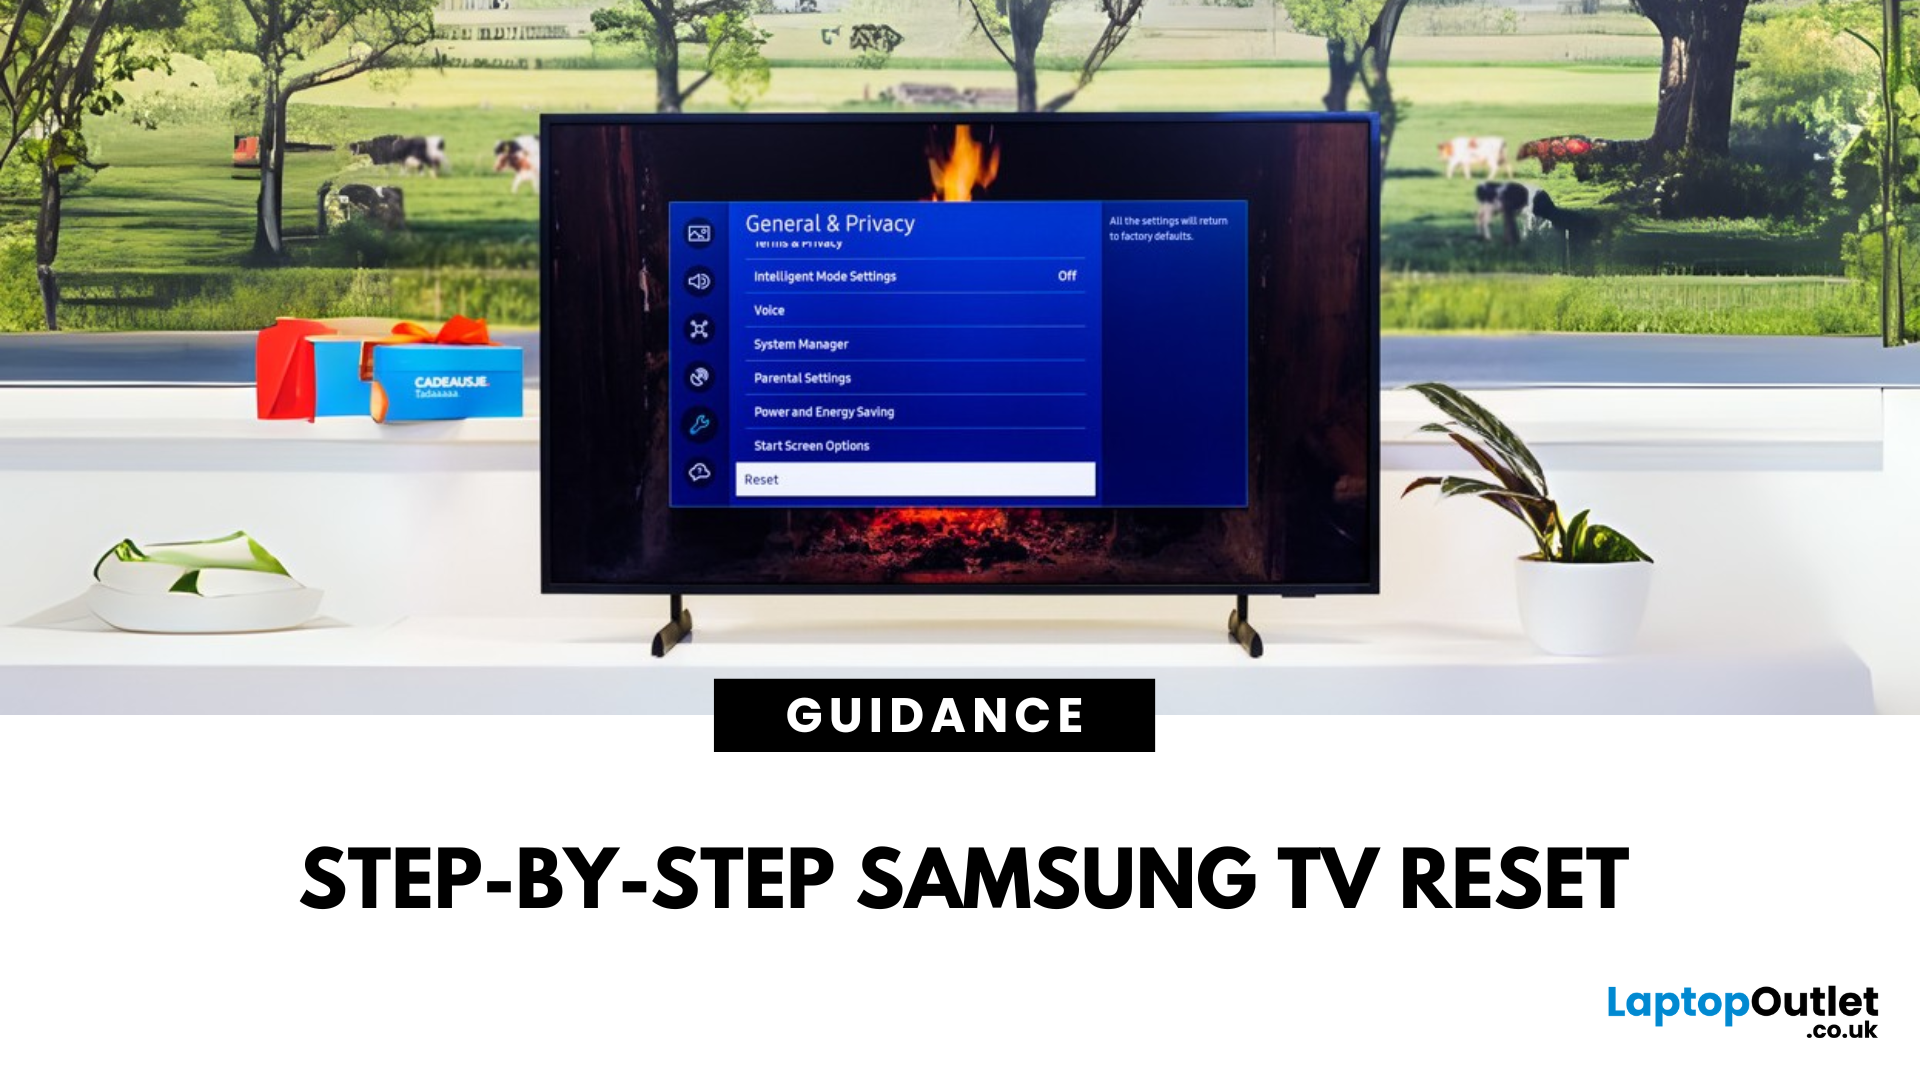
Resetting your Samsung TV can fix glitches, app crashes, or picture and sound issues. Whether you’re troubleshooting or prepping to sell, here’s how to do it safely.
Soft Reset (Quick Fix)
This doesn’t delete your settings—it simply restarts the TV:
- Press and hold the Power button on the remote until the TV turns off and back on.
- Or, unplug your TV from the wall, wait 30 seconds, and plug it back in.
This refreshes the system without erasing any data.
Factory Reset (Erase All Settings)
Warning: This will wipe all settings, apps, and accounts.
From Settings:
- Press the Home button on your remote
- Go to Settings > General > Reset
- Enter your PIN (default is 0000)
- Select Reset and confirm
Your TV will restart and return to factory settings.
For Older Samsung TVs
If your TV doesn’t have the above menu:
- Go to Settings > Support > Self Diagnosis > Reset
- Enter your PIN and confirm
Time for a new screen?
Shop Samsung TVs at Laptop Outlet—epic UK deals on new
Last Updated: February 27, 2026
When it comes to choosing the best TV for your family, it's not just about screen size or brand, it’s about finding the perfect blend of smart features, display quality, energy efficiency, and value. Whether you're enjoying cosy movie nights, streaming kids’ content, or catching up on your favourite series, today’s Smart TVs offer something for everyone.
In this guide, we’ve handpicked the top 10 family TVs available in the UK, featuring leading models from Samsung, LG, Hisense, and Sony. From 4K Ultra HD TVs and Mini LED brilliance to budget-friendly Full HD TVs, this list includes options for every household setup.
1. Hisense 40A4NTUK – 40” FHD LED Smart TV
The Hisense 40A4NTUK is a compact yet powerful choice for families wanting quality entertainment on a budget. Its Full HD resolution provides clear visuals, while DTS Virtual:X audio offers immersive sound. Thanks to VIDAA OS, navigating through apps like Netflix, Prime Video, and YouTube is simple and fast.
Why it’s great for families: