



How to Screen Mirror iPhone to TV
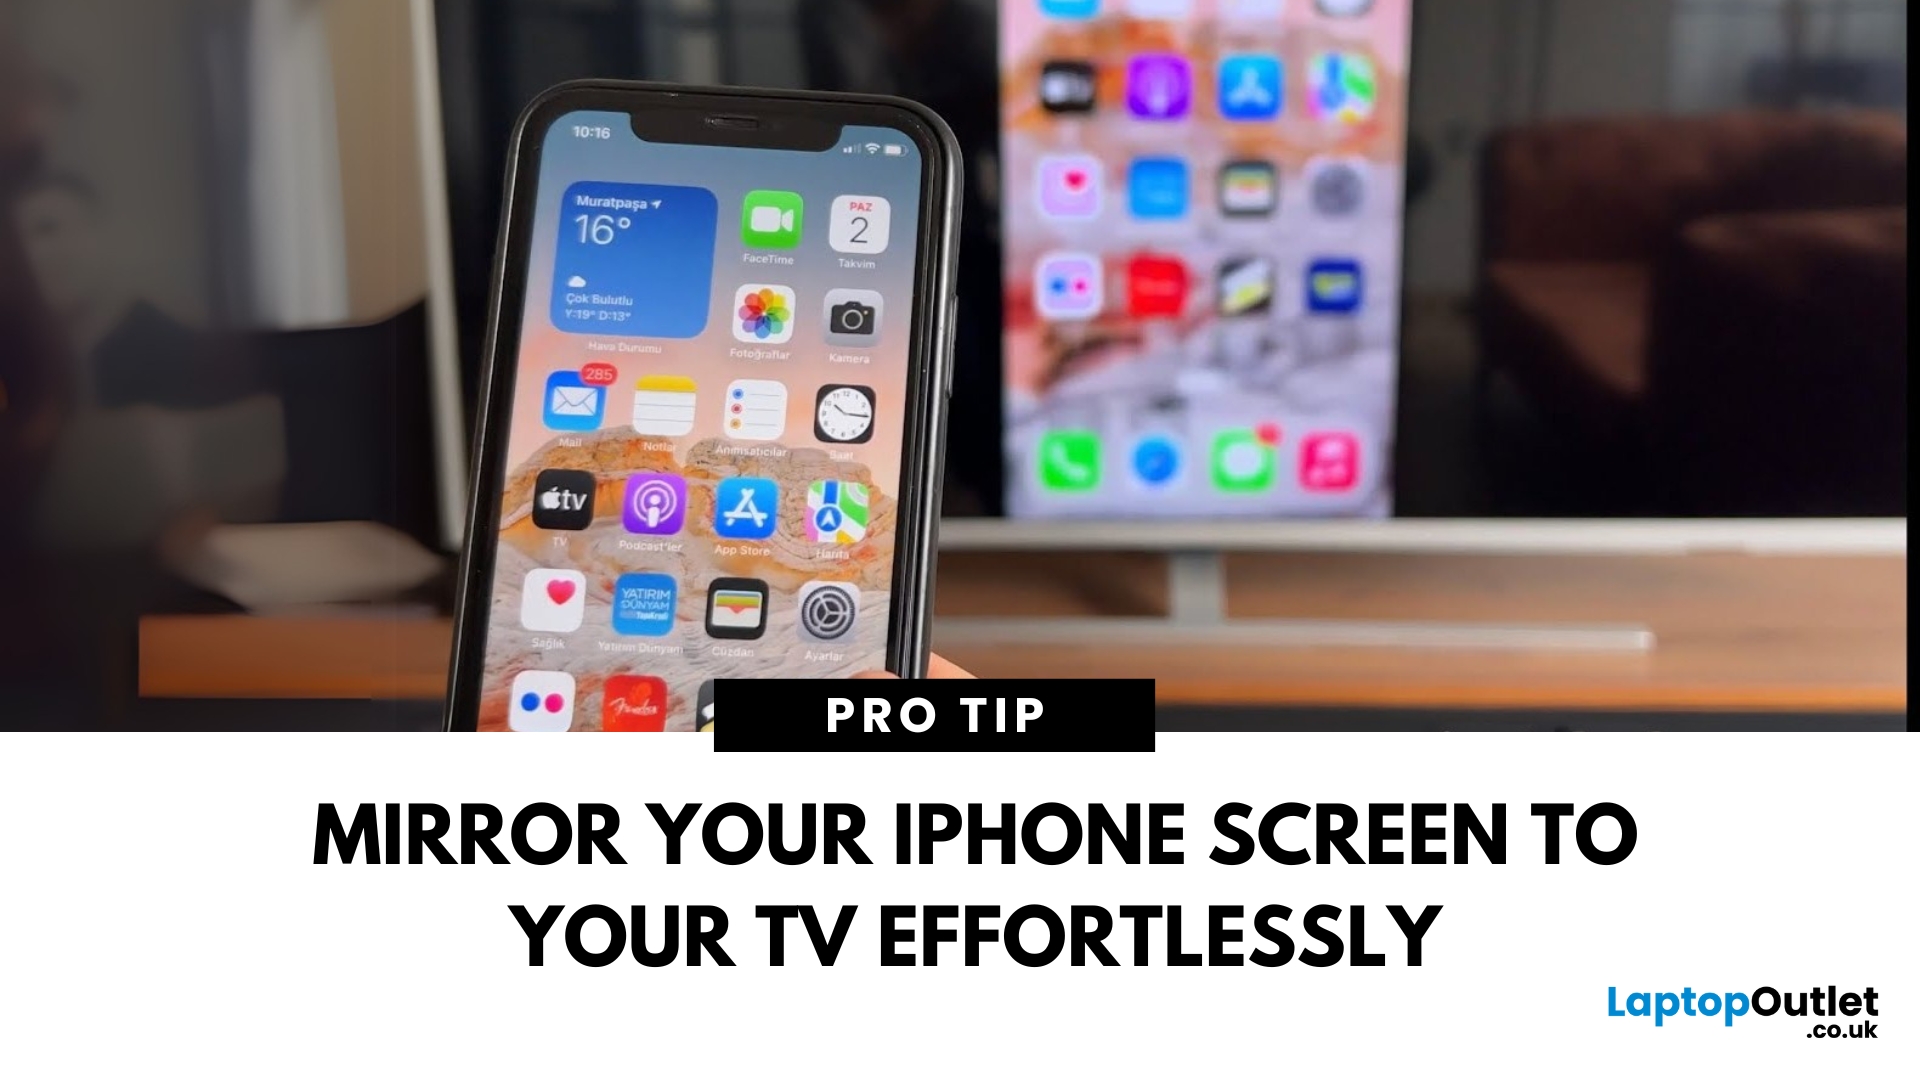
Make Your iPhone Screen Bigger
Want to watch photos, videos, or apps on the big screen? Screen mirroring lets you share your iPhone display to a TV wirelessly or with a cable. Whether you’re streaming a film or showing off holiday snaps, here’s how to do it easily.
How to Screen Mirror iPhone to a Smart TV (AirPlay)
Most smart TVs (Samsung, LG, Sony, etc.) now support Apple AirPlay.
Steps:
- Connect your iPhone and TV to the same Wi-Fi network
- Swipe down on your iPhone to open Control Centre
- Tap Screen Mirroring
- Select your TV from the list
- Enter the AirPlay passcode (if required)
Your iPhone screen will now appear on your TV.
How to Screen Mirror iPhone to TV Using an HDMI Cable
If your TV doesn’t support AirPlay, you can use a cable.
What You’ll Need:
- Apple Lightning Digital AV Adapter
- HDMI cable
Steps:
- Plug the adapter into your iPhone
- Connect an HDMI cable between the adapter and your TV
- Switch your TV input to the correct HDMI port
Your iPhone screen will display on your TV instantly.
How to Screen Mirror iPhone to TV Using Third-Party Apps
Some smart TVs require a third-party app if AirPlay isn’t built-in.
Popular Apps:
TV Cast for Samsung, LG, or Roku
ApowerMirror
Steps:
- Install the app on your iPhone and TV
- Connect both devices to the same Wi-Fi
- Follow the app instructions to mirror your screen
- Troubleshooting: If Screen Mirroring Isn’t Working
- Make sure both devices are on the same Wi-Fi network
- Restart your iPhone and TV
- Ensure AirPlay is enabled on your TV
- Try using an HDMI cable if wireless mirroring fails
Final Thoughts: Stream Big, Screen Bigger
Screen mirroring is an easy way to enjoy content from your iPhone on a large screen—whether for Netflix, YouTube, or a quick photo slideshow.
Looking to upgrade your home tech setup? Browse Laptop Outlet’s latest deals on Smart TVs and accessories.
FAQs: iPhone to TV Screen Mirroring Questions Answered
1. Do I need Wi-Fi to mirror my iPhone to a TV?
Yes—for AirPlay or apps. But you can use an HDMI cable without Wi-Fi.
2. Can I mirror my iPhone to any TV?
Yes—if your TV supports AirPlay, has an HDMI port, or works with mirroring apps.
3. Is screen mirroring the same as casting?
No—casting lets you play specific media, while mirroring duplicates your entire screen.
4. Can I mirror my iPhone to a non-smart TV?
Yes—with an HDMI adapter and cable.
5. Why is there a delay when mirroring?
Wireless mirroring may have a slight lag depending on Wi-Fi strength and device compatibility.
Read More:
| How to Connect Two Monitors to a Laptop? |
| How to Clean Your Monitor and TV Screen |
| How To Connect Your Lenovo Laptop To A TV |
Related Articles

Last Updated: May 06, 2026

Last Updated: October 02, 2025
Got iPhone Photos? Let’s Move Them
Snapped the perfect selfie? Captured your holiday vibes? Now you want to transfer those shots to your laptop—whether it’s for storage, editing, or sharing. We’ve got you covered with simple ways to transfer photos from iPhone to laptop—whether you’re using Windows or Mac.
How to Transfer Photos from iPhone to Windows Laptop
1. Using USB Cable & Photos App
- Connect your iPhone to your laptop using a Lightning to USB cable
- Unlock your iPhone and tap Trust when prompted
- Open the Photos app on your Windows laptop
- Click Import > From a USB device
- Select the photos you want and import
2. Using File Explorer (Manual Method)
- Plug in your iPhone and unlock it
- Open File Explorer > This PC > Apple iPhone
- Go to Internal Storage > DCIM
- Copy and paste photos to your laptop folder
3. Using iCloud Photos
- Enable iCloud Photos on your iPhone: Settings > Photos > iCloud Photos
- Visit iCloud.com and sign in
- Go to Photos, select images, and

Last Updated: April 03, 2026
Mobile Printing Made Simple
Need to print a document, photo, or ticket from your phone? You don’t need to transfer files to a laptop first. Mobile printing lets you print directly from your smartphone or tablet to a wireless printer—fast and hassle-free. Here’s how to do it on both iPhone and Android.
What You’ll Need
Before you start:
- A Wi-Fi-enabled printer
- Your smartphone or tablet
- Both devices connected to the same Wi-Fi network
How to Print from an iPhone (iOS)
1. Use Apple AirPrint
Most modern printers support AirPrint, Apple’s built-in wireless printing feature.
Steps:
- Open the document, photo, or webpage you want to print
- Tap the Share icon (box with arrow)
- Tap Print
- Select your printer from the list
- Choose print settings (number of copies, pages, etc.)
- Tap Print
2. Use the Printer Manufacturer’s App
- If your printer doesn’t support AirPrint:
- Download the manufacturer’s app (e.g., HP Smart, Canon PRINT, Epson iPrint)
- Follow the in-app instructions
Last Updated: May 23, 2025
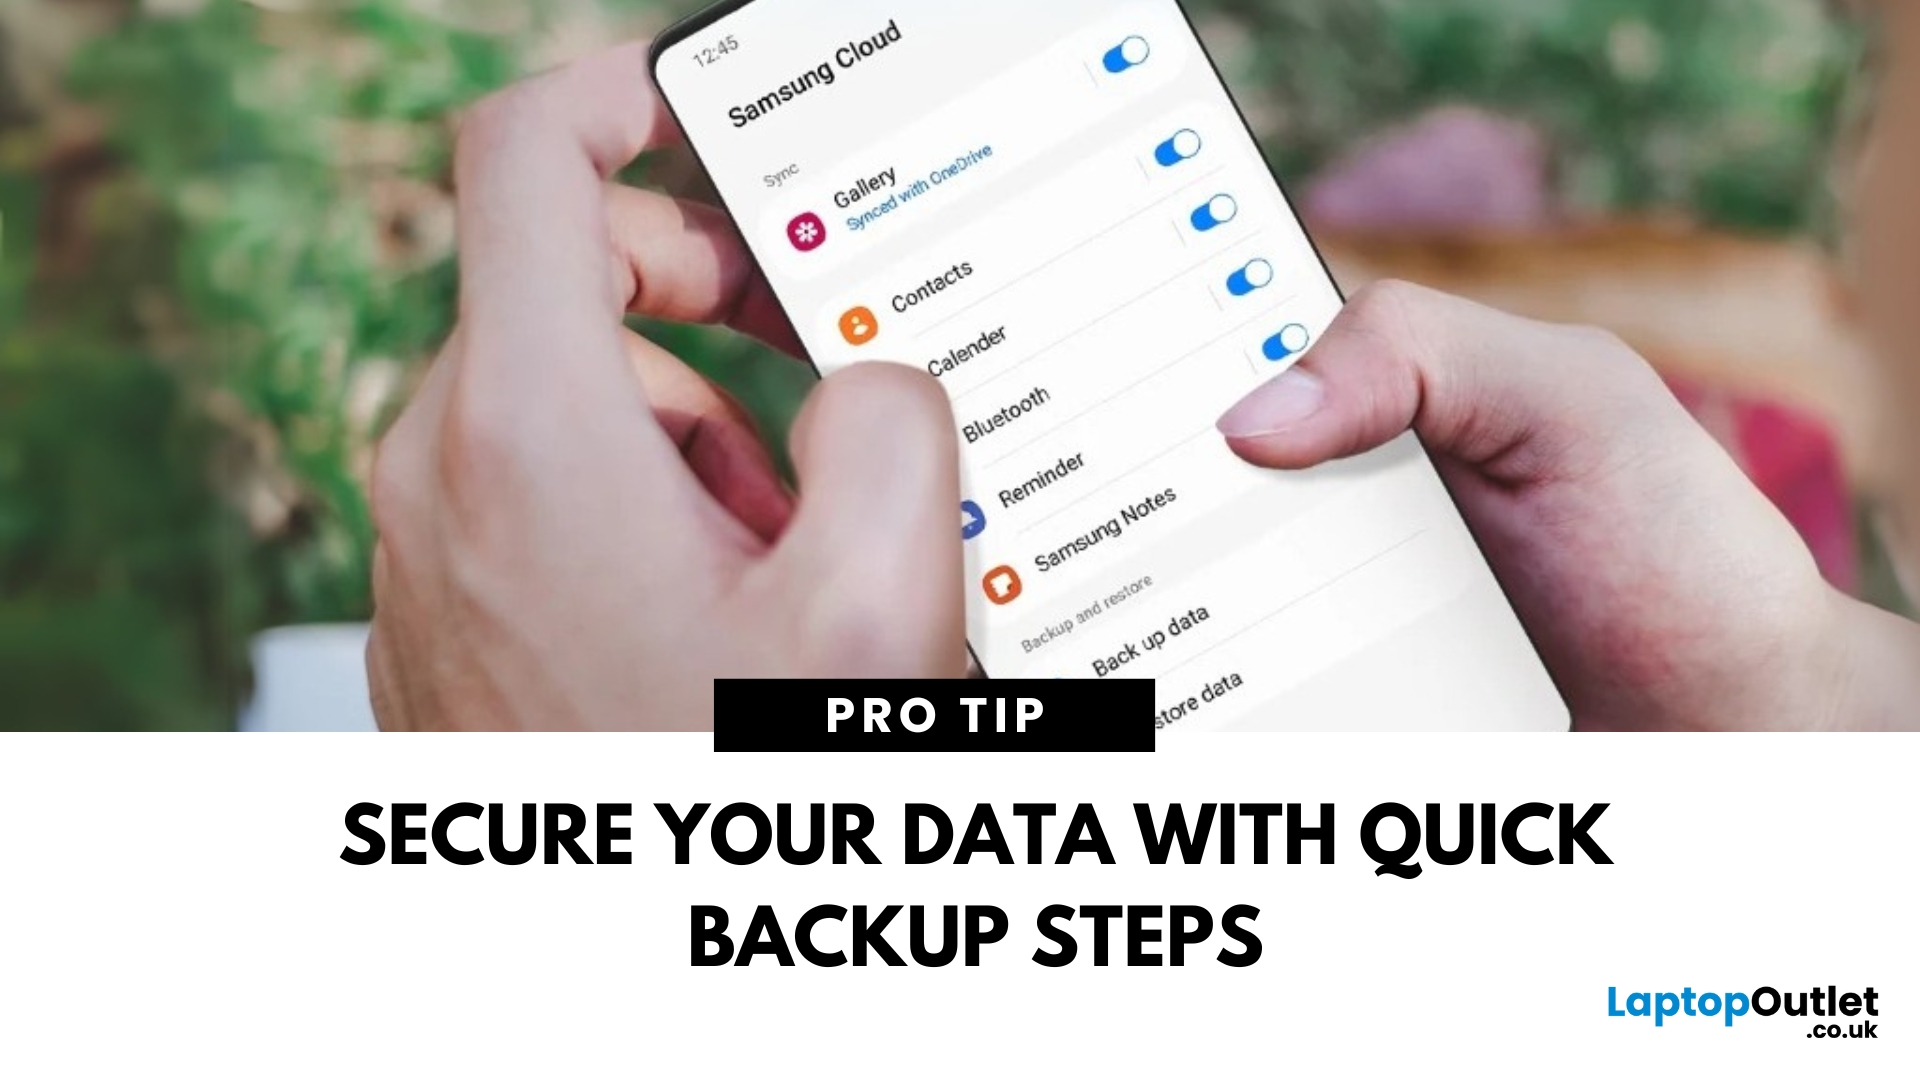
Protect Your Data – Back It Up
Your Samsung phone holds everything—photos, contacts, apps, messages. Losing that data can be a nightmare. That’s why it’s essential to back up your Samsung phone regularly. Here’s how to do it quickly and securely.
How to Back Up a Samsung Phone to Samsung Cloud
1. Open Settings
Tap the Settings app on your Samsung phone.
2. Go to Accounts and Backup
Scroll down and tap Accounts and Backup > Samsung Cloud.
3. Tap Back Up Data
Select the data you want to back up—Contacts, Messages, Apps, Settings, etc.
4. Tap Back Up Now
The backup will start. Make sure you’re connected to Wi-Fi.
Pro Tip: Enable Auto Backup to automatically save your data regularly.
How to Back Up Samsung Phone to Google Account
1. Open Settings
Go to Settings > Google > Backup.
2. Turn On Backup by Google One
Switch on Backup by Google One.
3. Select Data to Back Up
Choose apps, contacts, photos, and more.
4. Tap Back Up Now
Your data will be backed
Last Updated: September 11, 2025
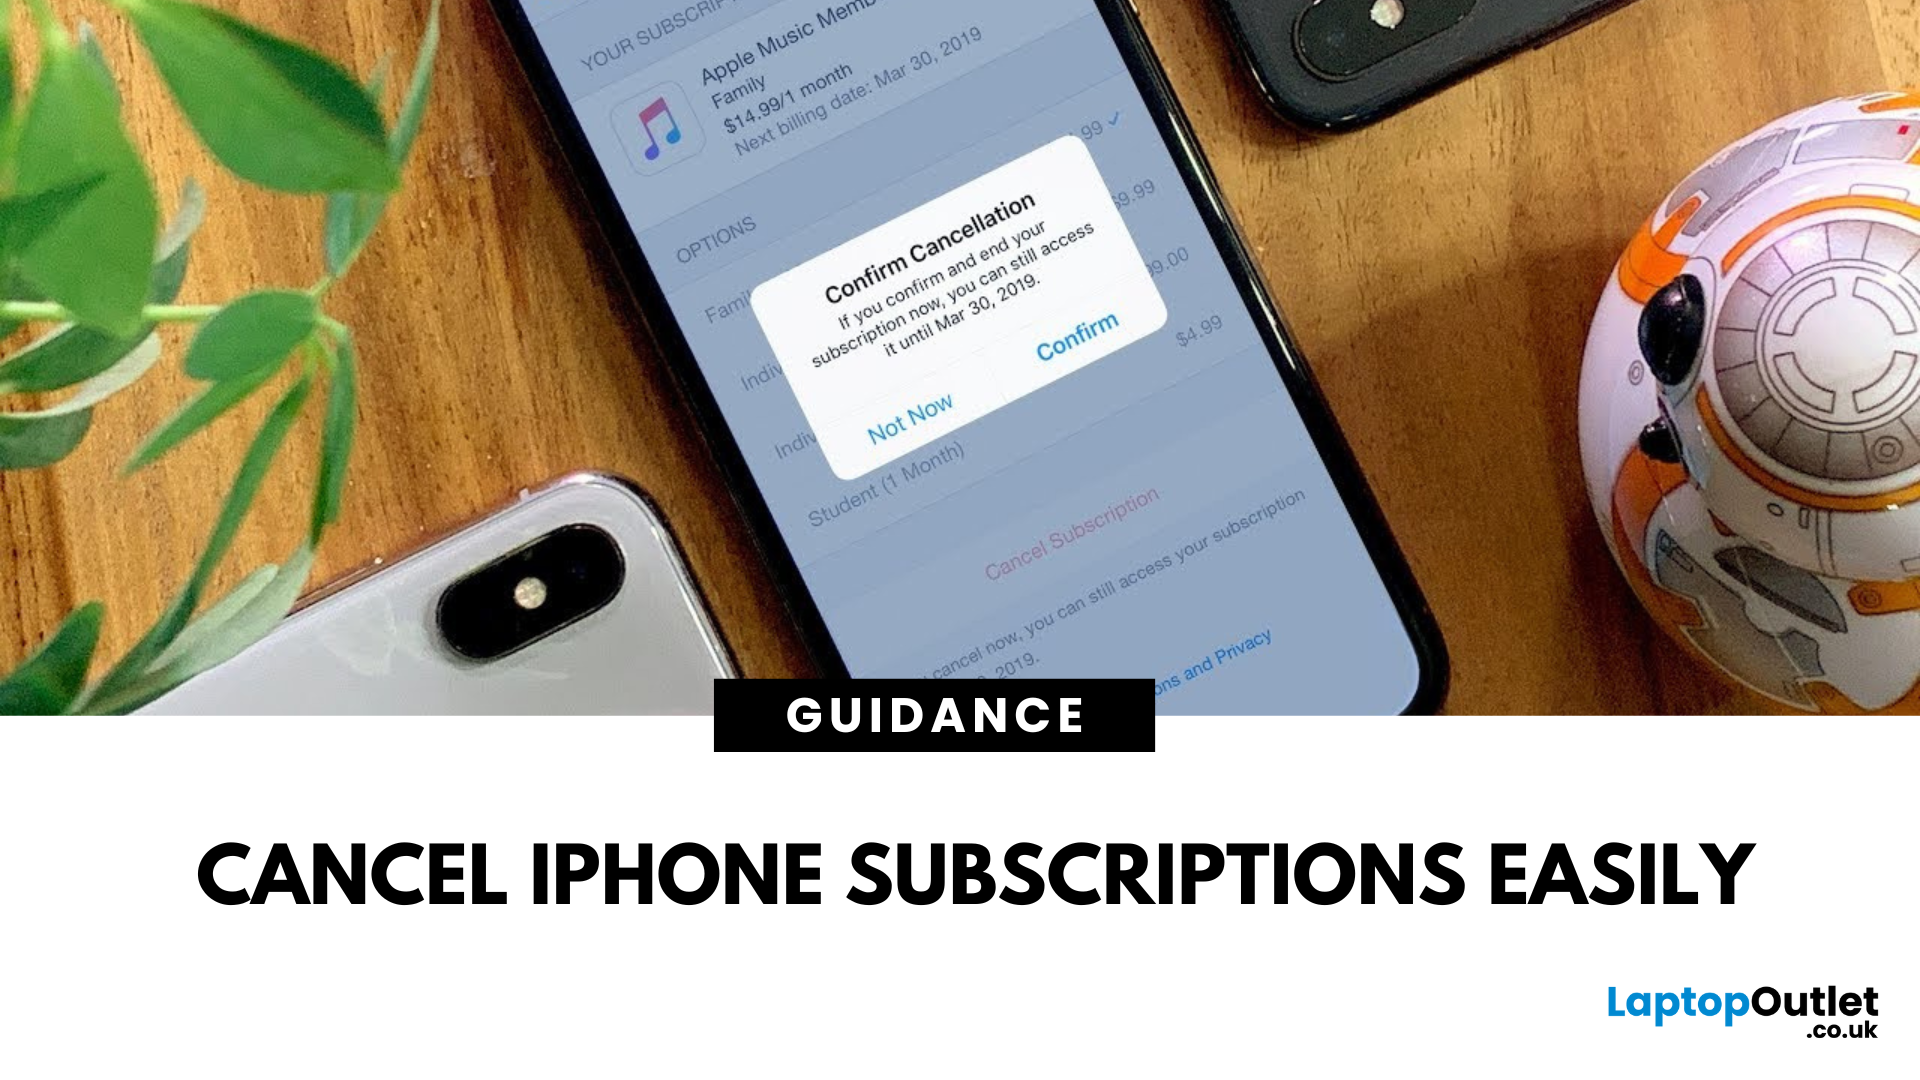
Stop Subscriptions You Don’t Use
From streaming services to fitness apps, subscriptions can stack up fast. If you're not using one anymore, cancelling it on your iPhone is quick and easy. Here’s how to manage and cancel your subscriptions before the next billing cycle hits.
How to Cancel a Subscription on iPhone (Step-by-Step)
1. Open Settings
- Tap the Settings app on your iPhone
2. Tap Your Apple ID Profile
- It’s your name at the top of the Settings menu
3. Go to Subscriptions
- Tap Subscriptions
- You’ll see a list of active and expired subscriptions
4. Select the Subscription to Cancel
- Tap the app or service you want to stop
- You’ll see details like renewal date and cost
5. Tap Cancel Subscription
- Confirm cancellation when prompted
- Your subscription will remain active until the end of the billing cycle
Pro Tip: You won’t be charged again unless you resubscribe
Can’t Find a Subscription? Try These
- Make sure you’re signed into the correct Apple ID
- Check if
Last Updated: September 11, 2025
Keep Your iPhone Running Smoothly
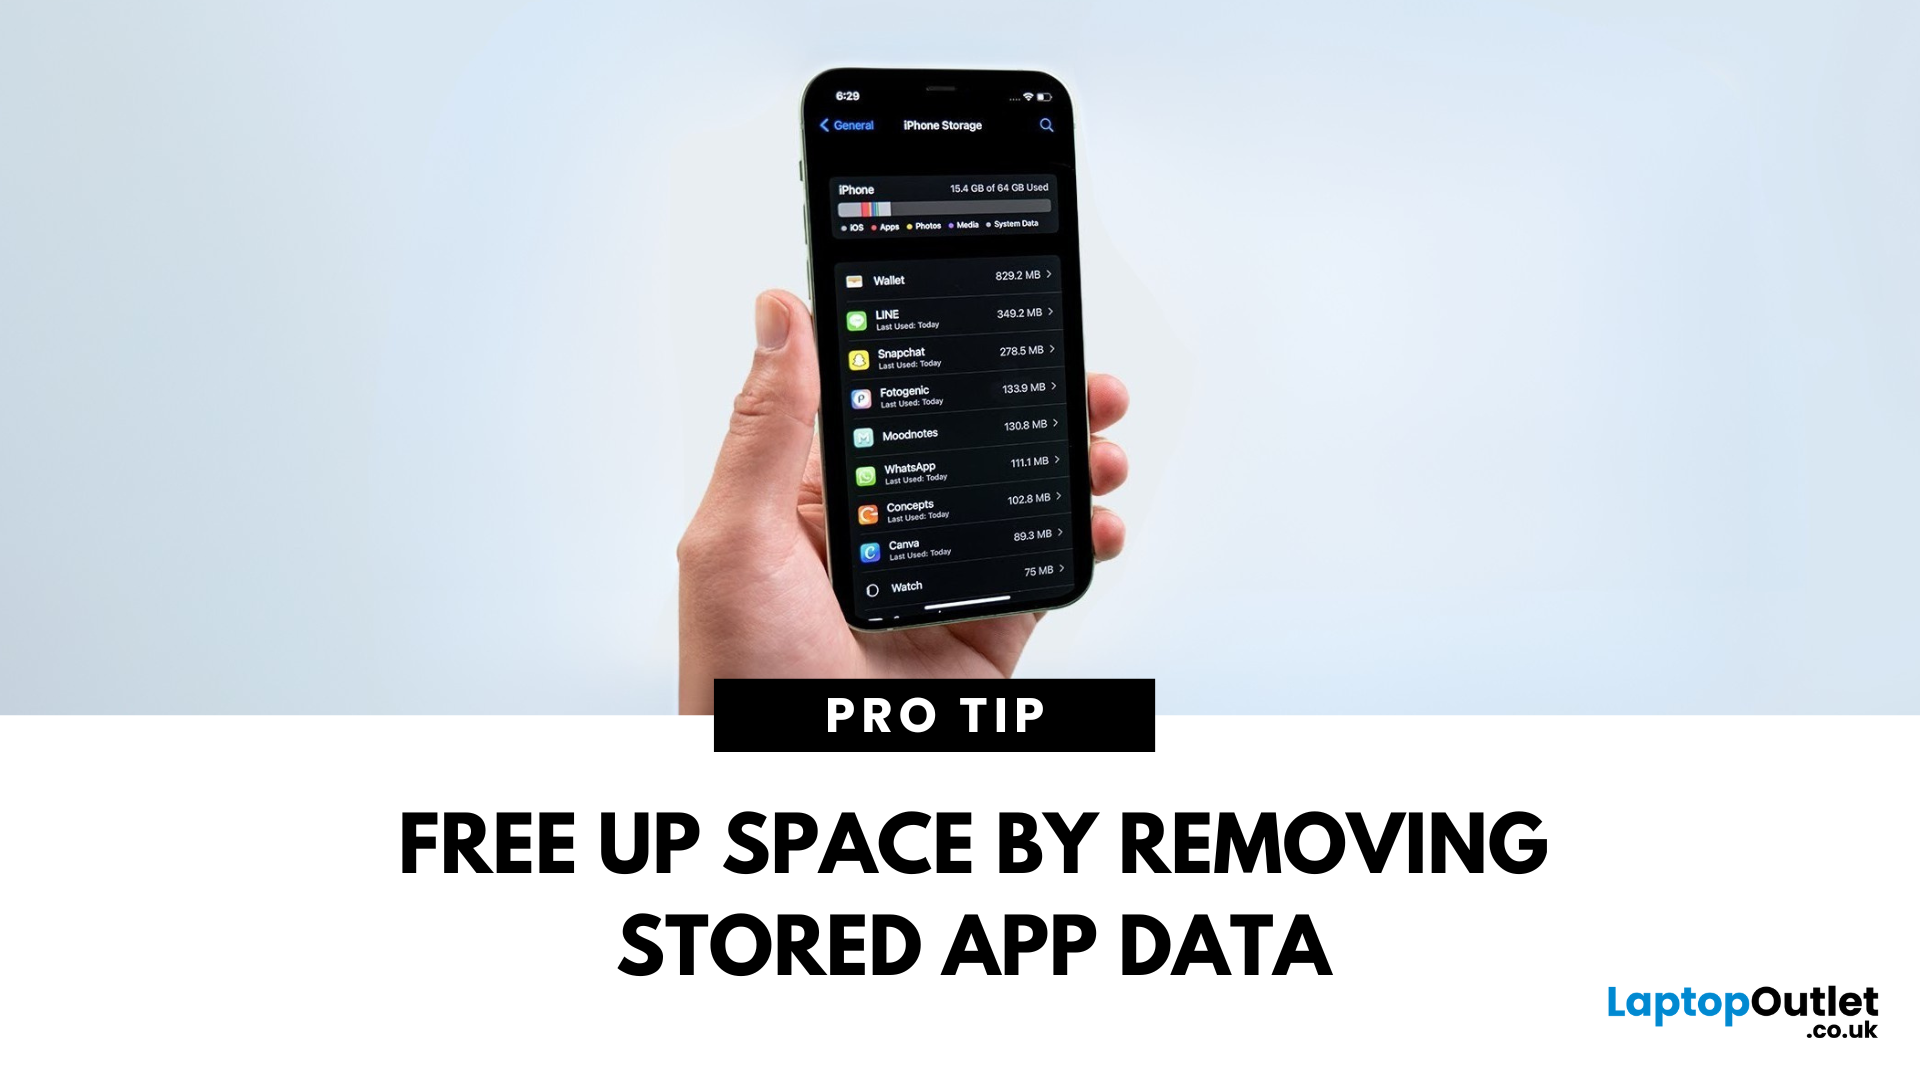
Over time, cached data from Safari, apps, and system processes can clutter your iPhone. If your phone feels slow or you’re running out of space, clearing cache is a smart move. Here’s how to quickly clear cache on your iPhone.
1. Clear Safari Browser Cache
If you browse a lot on Safari, cached web data can build up fast.
Steps:
- Open Settings
- Scroll down and tap Safari
- Tap Clear History and Website Data
- Confirm by tapping Clear History and Data
This removes website history, cookies, and cached images, speeding up browsing
2. Clear Cache in Individual Apps
Some apps like Instagram, YouTube, and Facebook store a lot of temporary data.
Options:
- Check app settings—some apps let you clear cache inside their settings
- If not available, delete and reinstall the app to clear its cache
- Reinstalling resets the app without affecting your saved account details (if backed up)
3. Offload Unused Apps
This saves app data but frees up space
Last Updated: September 11, 2025
Time for a Fresh Start?
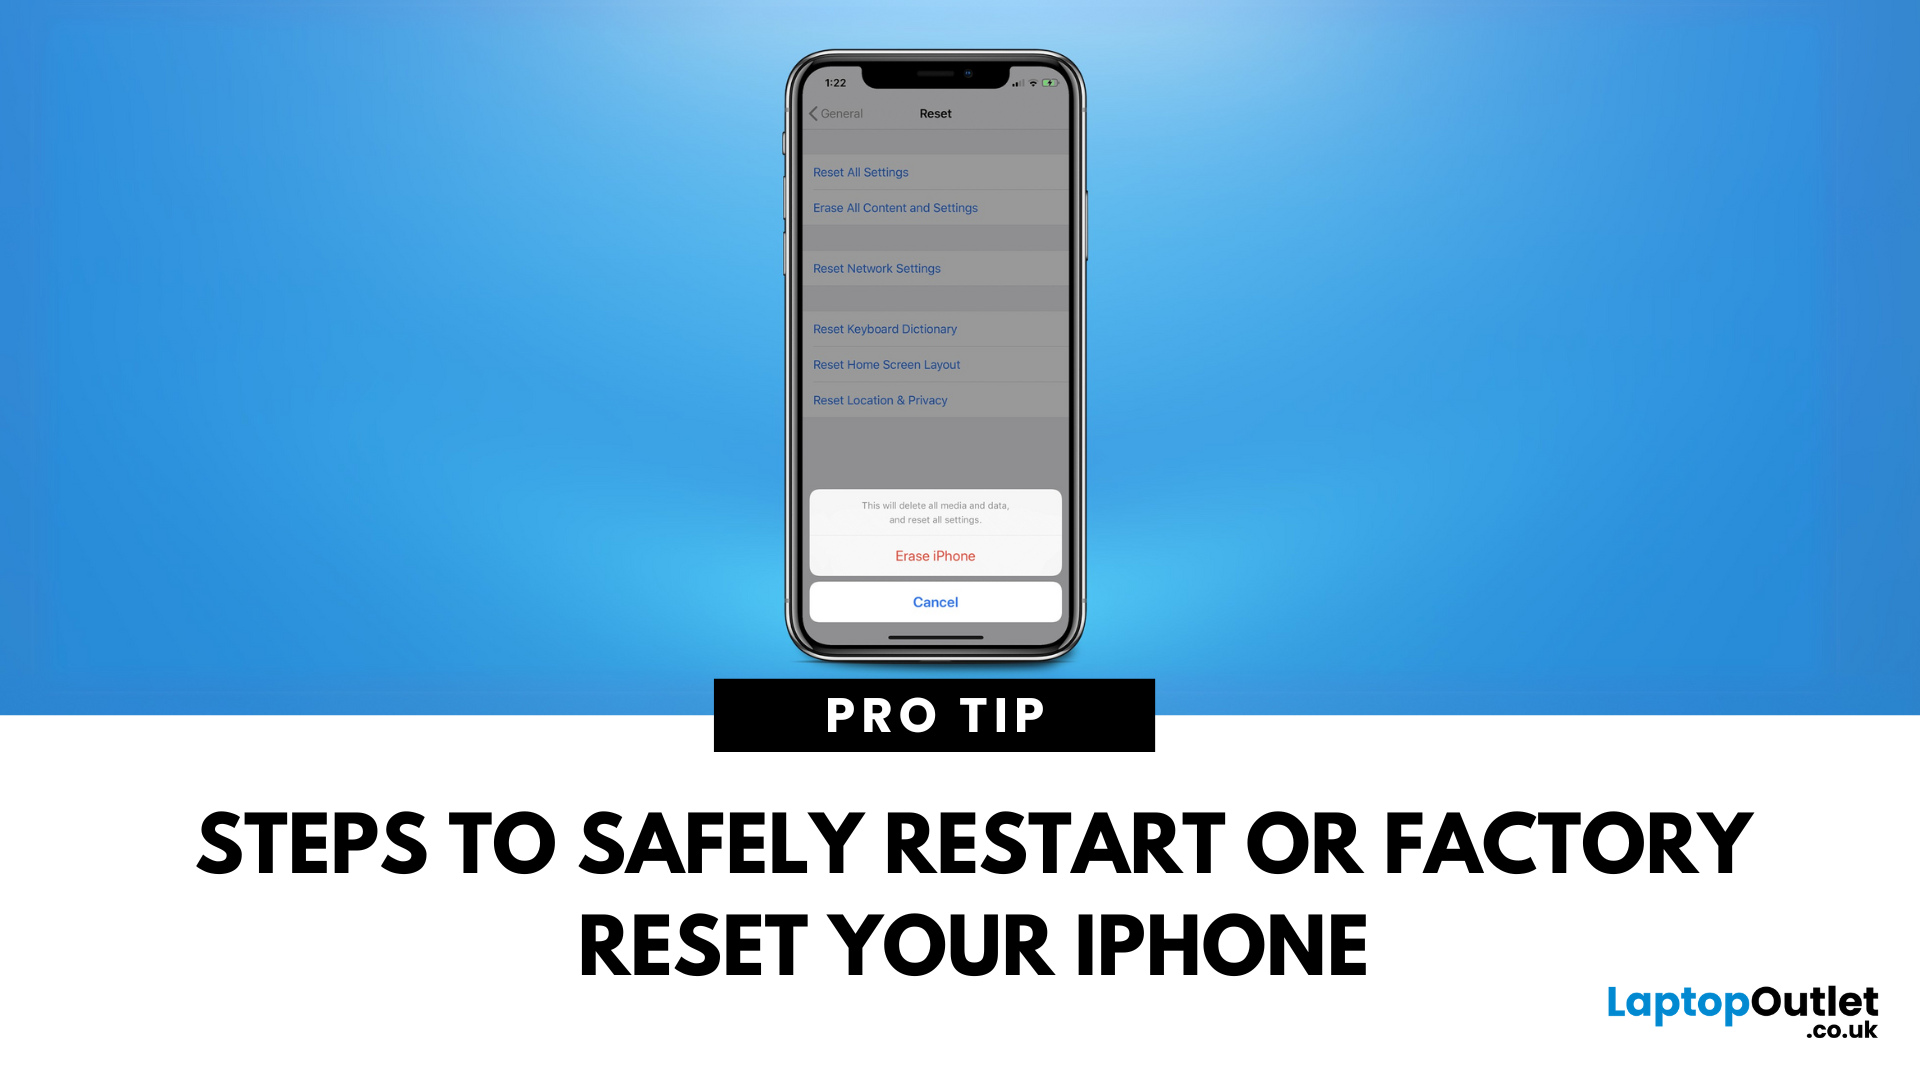
Whether your iPhone is frozen, glitching, or you’re preparing to sell it, knowing how to reset your iPhone is essential. There are different types of resets depending on what you need—let’s walk through them all.
1. Soft Reset (Restart Your iPhone)
A soft reset is simply turning your iPhone off and on again—great for fixing minor issues.
Steps (iPhone X or later):
- Press and hold the Side button + Volume Up or Volume Down
- Slide to power off
- Wait a few seconds, then hold the Side button to turn it back on
Steps (iPhone 8 or earlier):
- Hold the Top (or Side) button until "Slide to power off" appears
- No data loss—just a simple reboot
2. Hard Reset (Force Restart Your iPhone)
Useful when your iPhone is unresponsive or frozen.
Steps (iPhone 8, X, 11, 12, 13, 14, 15 Series):
- Quickly press and release Volume Up
- Quickly press and release Volume Down
- Press and hold the Side button until you see the Apple logo
Steps (iPhone 7/7 Plus):
- Press and hold Volume Down +
Last Updated: September 11, 2025
A Scanner in Your Pocket
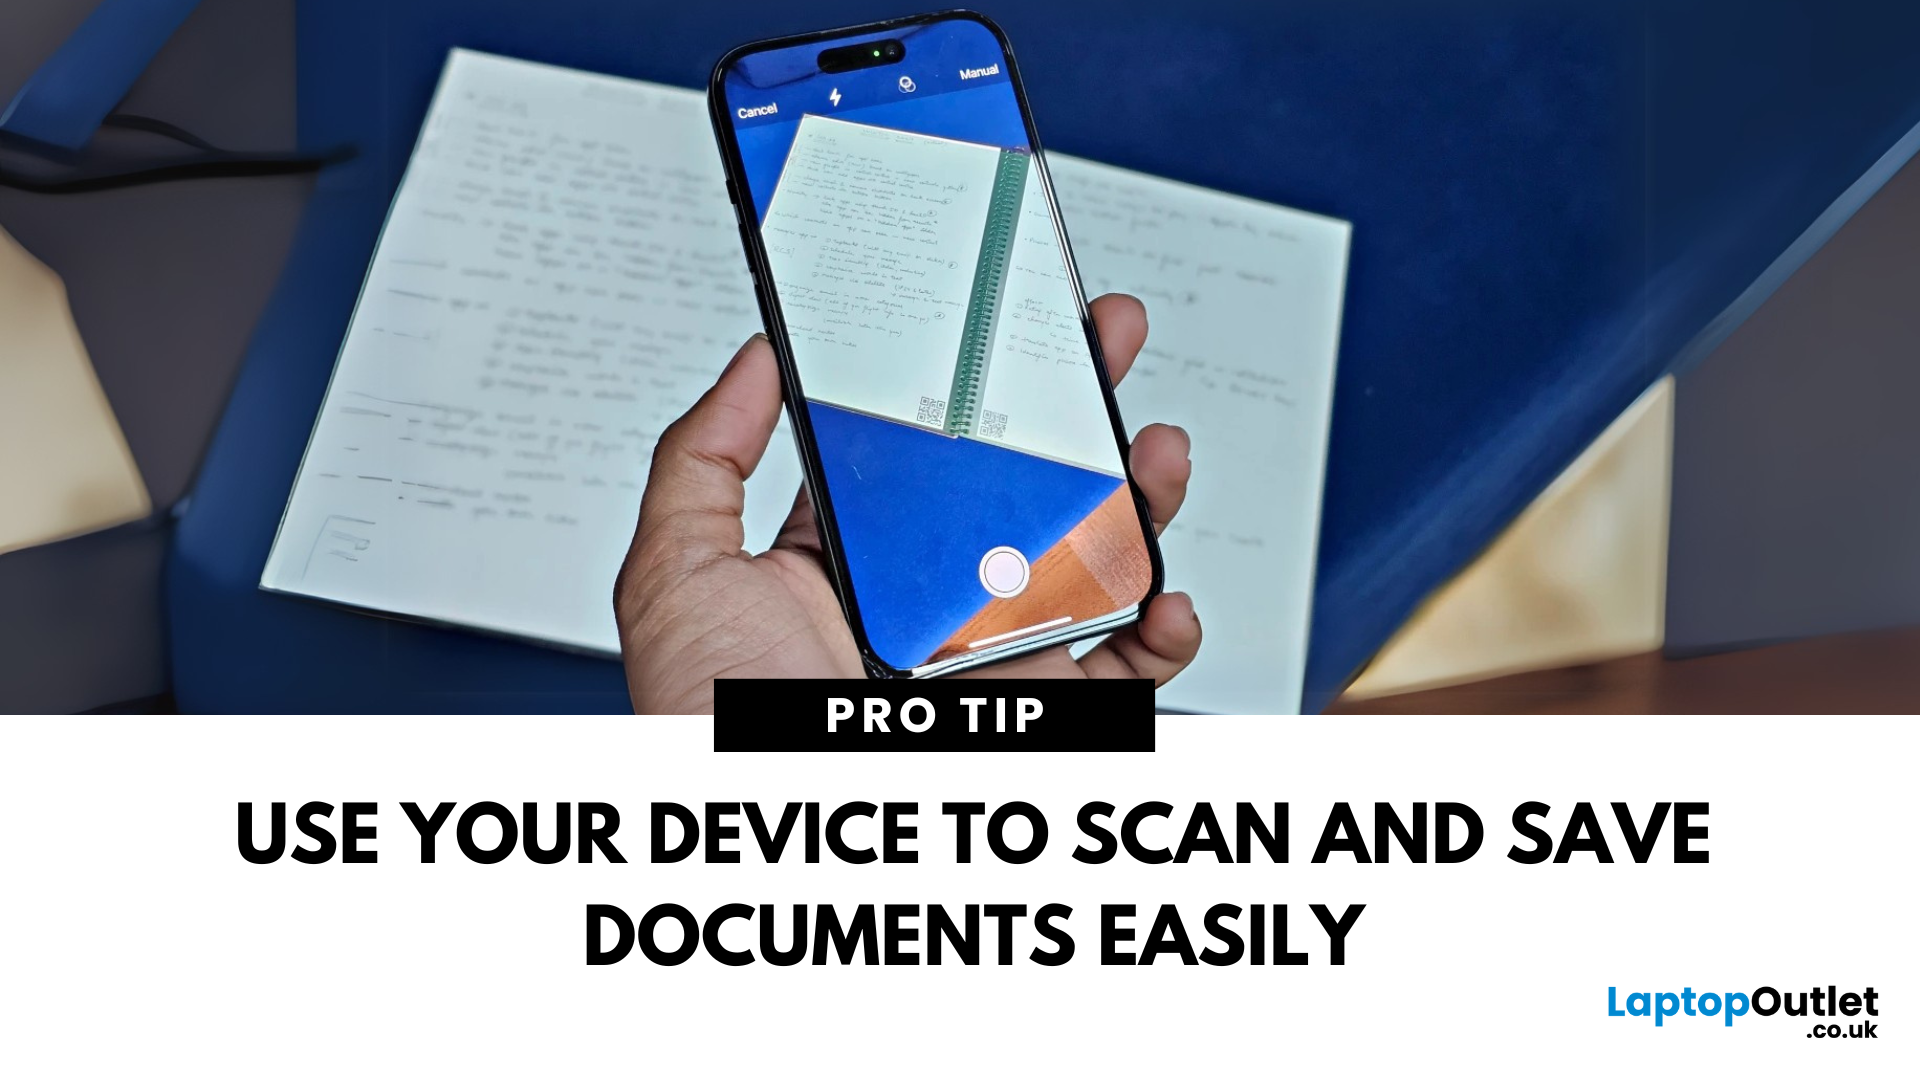
You don’t need a bulky scanner anymore—your iPhone or iPad can scan documents with amazing quality in just seconds. Thanks to built-in tools like the Notes app, scanning has never been easier. Here’s how to do it.
1. Scan Documents Using the Notes App
The Notes app has a built-in scanner that saves documents as PDFs or images.
Steps:
- Open the Notes app
- Tap the Create New Note icon
- Tap the Camera button
- Select Scan Documents
- Position your document in view; your device will auto-capture, or you can tap the shutter button
- Adjust the corners if needed and tap Keep Scan
- Save it to the note or share/export as a PDF
Use "Auto" mode for hands-free scanning of multiple pages
2. Scan Directly into Files App (iOS 15 and later)
Steps:
- Open the Files app
- Navigate to the folder where you want to save the scan
- Tap the three dots in the top right
- Select Scan Documents
- Capture and save the document directly as a file
Great for creating quick PDFs

