



How to Cancel a Subscription on iPhone
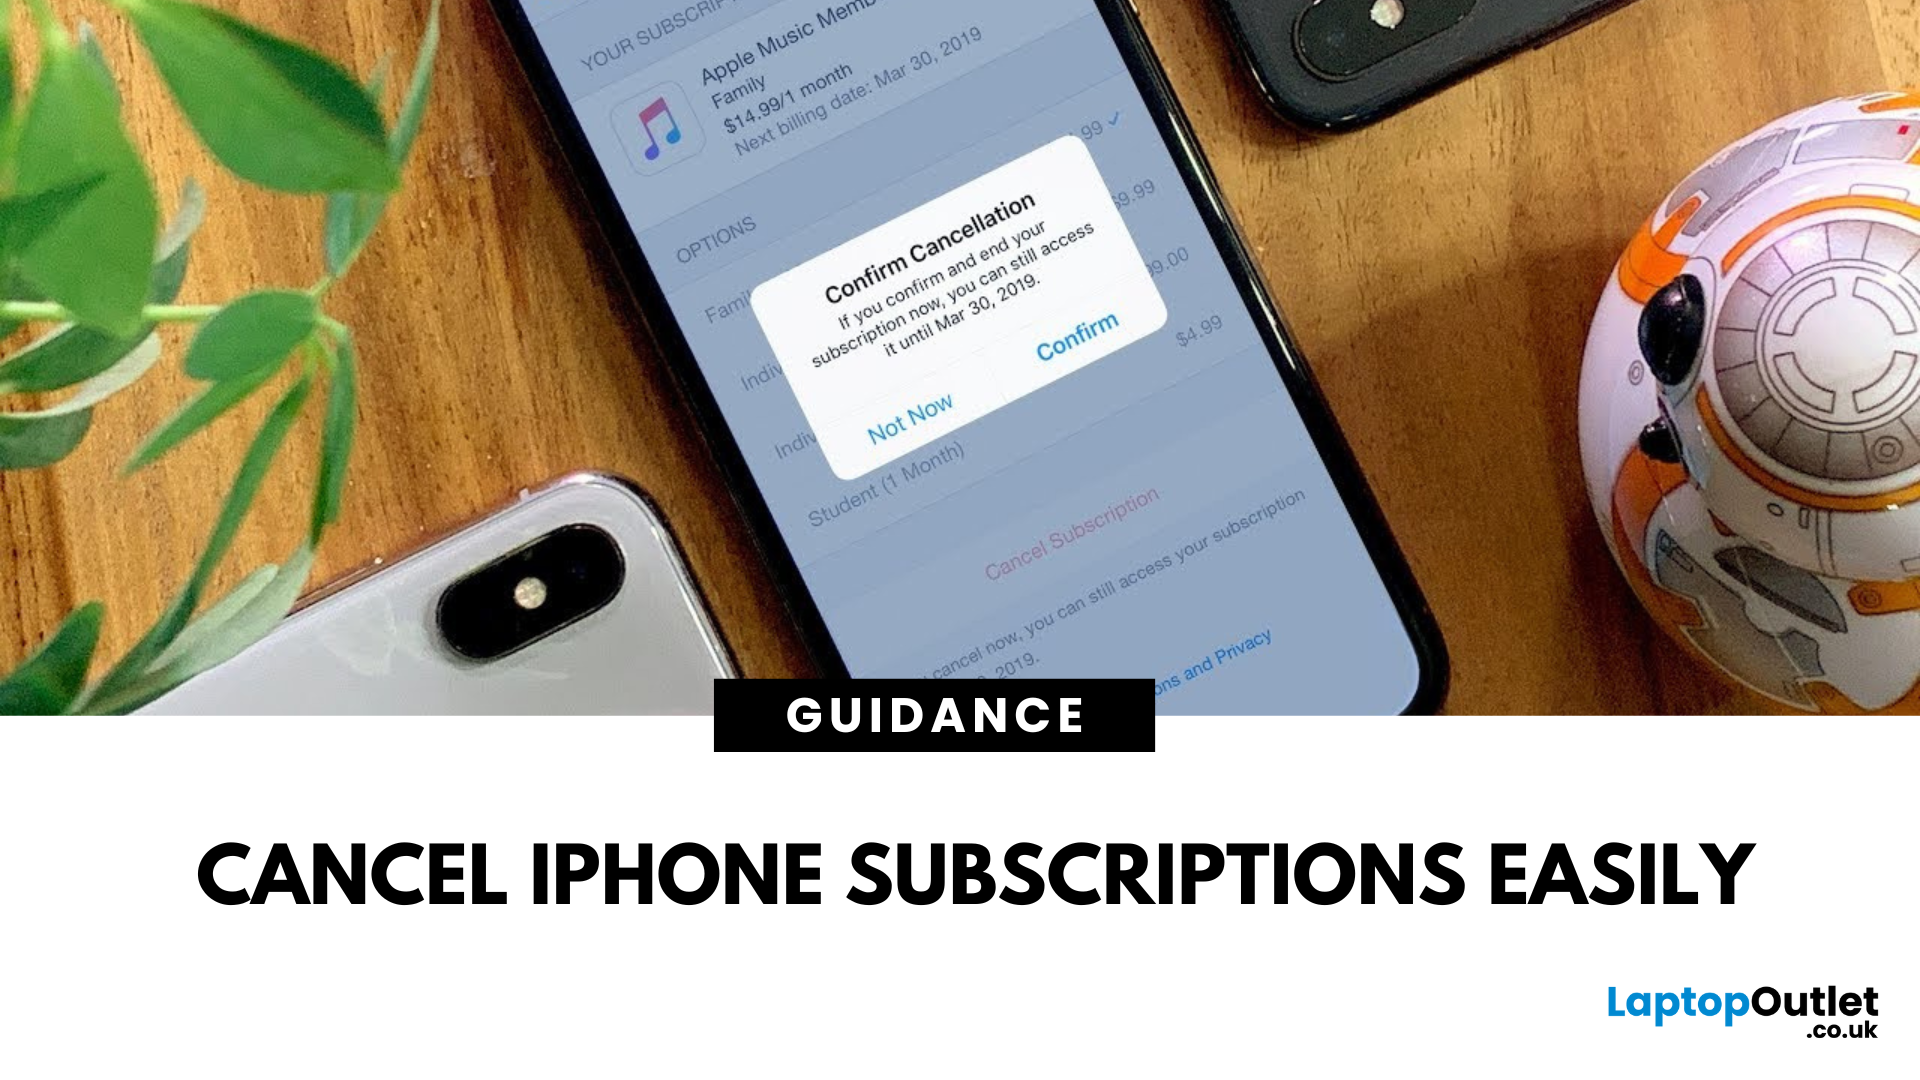
Stop Subscriptions You Don’t Use
From streaming services to fitness apps, subscriptions can stack up fast. If you're not using one anymore, cancelling it on your iPhone is quick and easy. Here’s how to manage and cancel your subscriptions before the next billing cycle hits.
How to Cancel a Subscription on iPhone (Step-by-Step)
1. Open Settings
- Tap the Settings app on your iPhone
2. Tap Your Apple ID Profile
- It’s your name at the top of the Settings menu
3. Go to Subscriptions
- Tap Subscriptions
- You’ll see a list of active and expired subscriptions
4. Select the Subscription to Cancel
- Tap the app or service you want to stop
- You’ll see details like renewal date and cost
5. Tap Cancel Subscription
- Confirm cancellation when prompted
- Your subscription will remain active until the end of the billing cycle
Pro Tip: You won’t be charged again unless you resubscribe
Can’t Find a Subscription? Try These
- Make sure you’re signed into the correct Apple ID
- Check if the subscription was made via the app’s website (not Apple)
- Contact the service provider directly if it doesn’t appear under Apple Subscriptions
How to Cancel Subscriptions via App Store (Alternative Method)
- Open the App Store
- Tap your profile icon (top-right corner)
- Tap Subscriptions
Follow the same steps as above to cancel
What Happens After You Cancel a Subscription?
- You’ll still have access until the current billing period ends
- Apple will not refund unused time (unless eligible under their refund policy)
- You can always resubscribe in the future
Final Thoughts: Take Control of Your App Spending
Cancelling a subscription on iPhone is simple—and it’s a great way to keep your monthly costs under control. Whether you're managing free trials or paid plans, a few taps in Settings can save you from surprise charges.
Looking for Apple tech that fits your budget? Check out Laptop Outlet’s deals on iPhones and accessories.
FAQs: iPhone Subscription Cancellation Explained
1. Will I still have access to a cancelled subscription?
Yes—until the end of your current billing period.
2. Why can’t I see my subscription in Apple settings?
It may have been purchased outside the App Store—check the app’s official website.
3. Can I get a refund for a subscription I forgot to cancel?
Possibly—request a refund via Apple Support, but it's not guaranteed.
4. Can I cancel during a free trial?
Yes—just make sure to cancel at least 24 hours before the trial ends to avoid charges.
5. What if I delete the app instead of cancelling the subscription?
Deleting the app won’t cancel the subscription—you must cancel it manually in Settings.
Read More:
| What Is Better Samsung or iPhone? |
| What to Do with Old Mobile Phones |
| How to Clear Cache on an Android Phone |
Related Articles

Last Updated: May 06, 2026

Last Updated: October 02, 2025
Got iPhone Photos? Let’s Move Them
Snapped the perfect selfie? Captured your holiday vibes? Now you want to transfer those shots to your laptop—whether it’s for storage, editing, or sharing. We’ve got you covered with simple ways to transfer photos from iPhone to laptop—whether you’re using Windows or Mac.
How to Transfer Photos from iPhone to Windows Laptop
1. Using USB Cable & Photos App
- Connect your iPhone to your laptop using a Lightning to USB cable
- Unlock your iPhone and tap Trust when prompted
- Open the Photos app on your Windows laptop
- Click Import > From a USB device
- Select the photos you want and import
2. Using File Explorer (Manual Method)
- Plug in your iPhone and unlock it
- Open File Explorer > This PC > Apple iPhone
- Go to Internal Storage > DCIM
- Copy and paste photos to your laptop folder
3. Using iCloud Photos
- Enable iCloud Photos on your iPhone: Settings > Photos > iCloud Photos
- Visit iCloud.com and sign in
- Go to Photos, select images, and
Last Updated: September 11, 2025
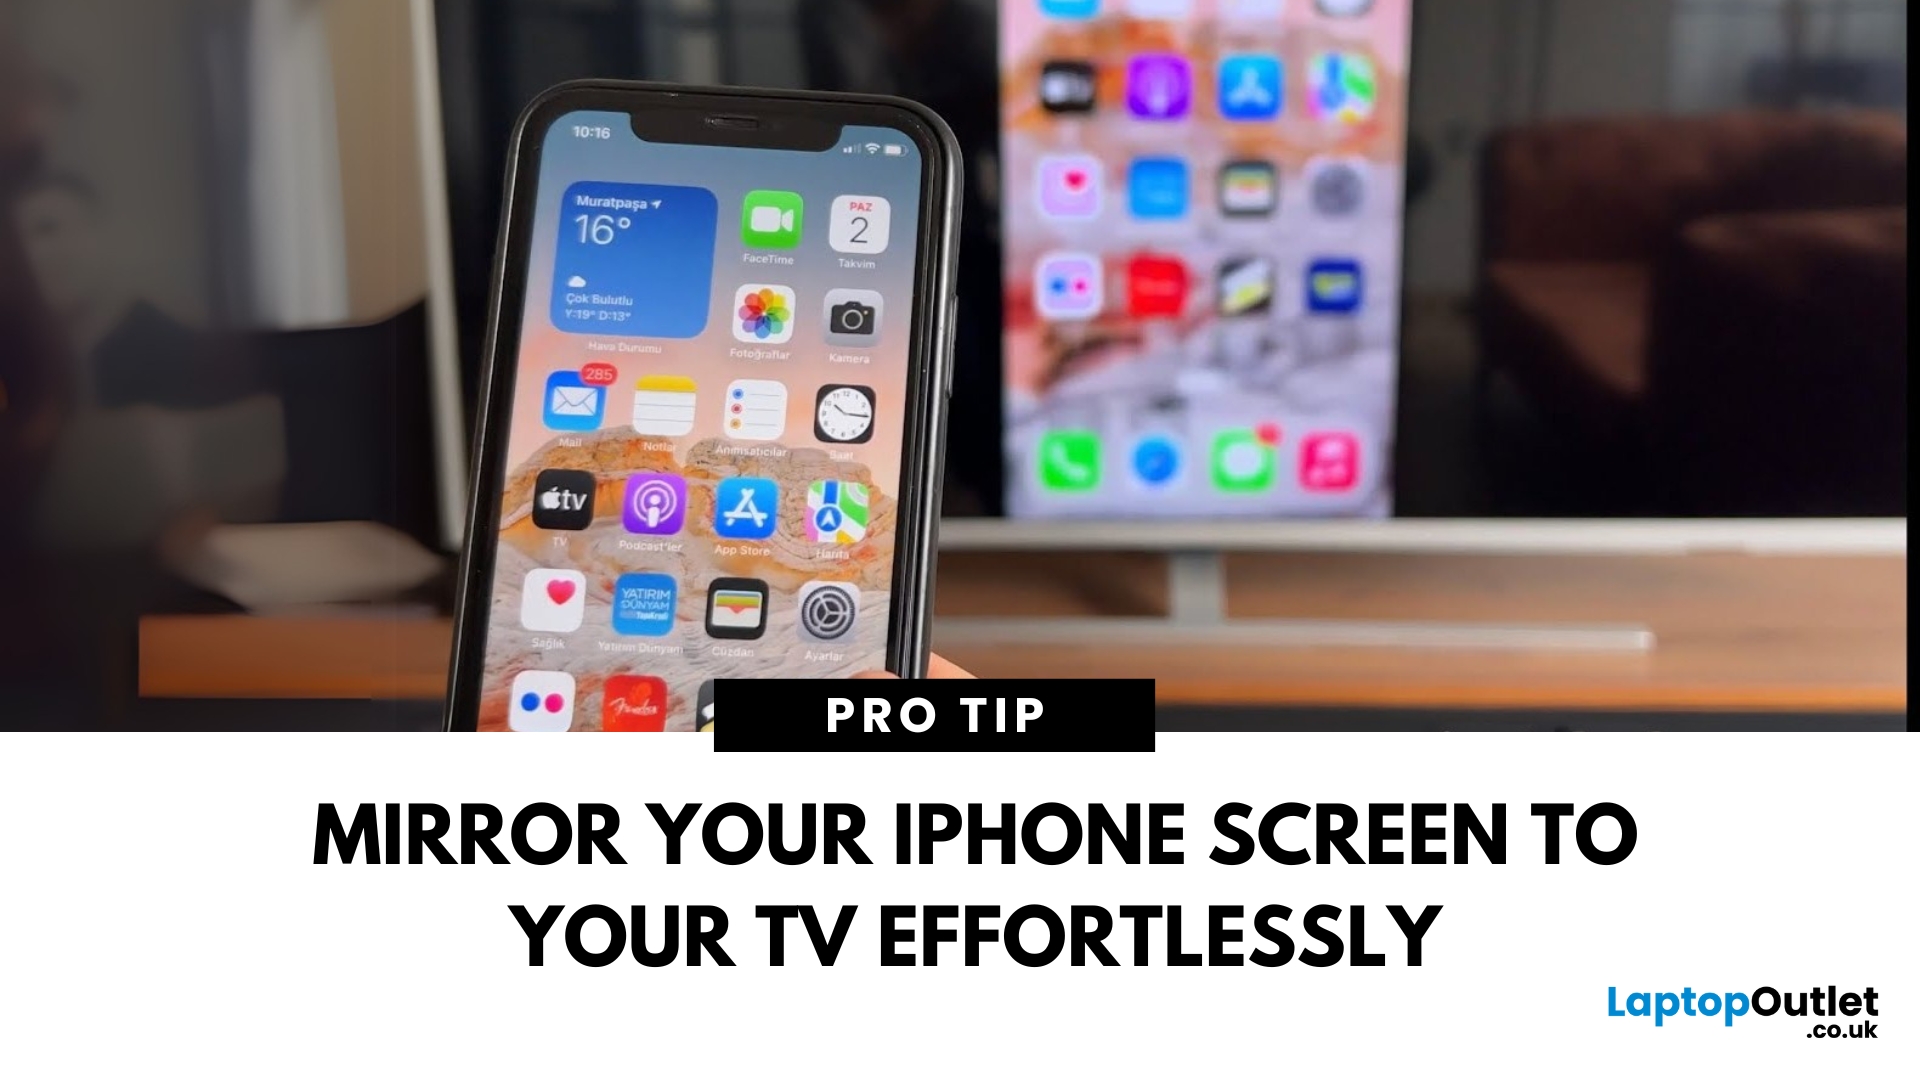
Make Your iPhone Screen Bigger
Want to watch photos, videos, or apps on the big screen? Screen mirroring lets you share your iPhone display to a TV wirelessly or with a cable. Whether you’re streaming a film or showing off holiday snaps, here’s how to do it easily.
How to Screen Mirror iPhone to a Smart TV (AirPlay)
Most smart TVs (Samsung, LG, Sony, etc.) now support Apple AirPlay.
Steps:
- Connect your iPhone and TV to the same Wi-Fi network
- Swipe down on your iPhone to open Control Centre
- Tap Screen Mirroring
- Select your TV from the list
- Enter the AirPlay passcode (if required)
Your iPhone screen will now appear on your TV.
How to Screen Mirror iPhone to TV Using an HDMI Cable
If your TV doesn’t support AirPlay, you can use a cable.
What You’ll Need:
- Apple Lightning Digital AV Adapter
- HDMI cable
Steps:
- Plug the adapter into your iPhone
- Connect an HDMI cable between the adapter and your TV
- Switch your TV input to the correct HDMI port
Your iPhone screen will
Last Updated: September 11, 2025
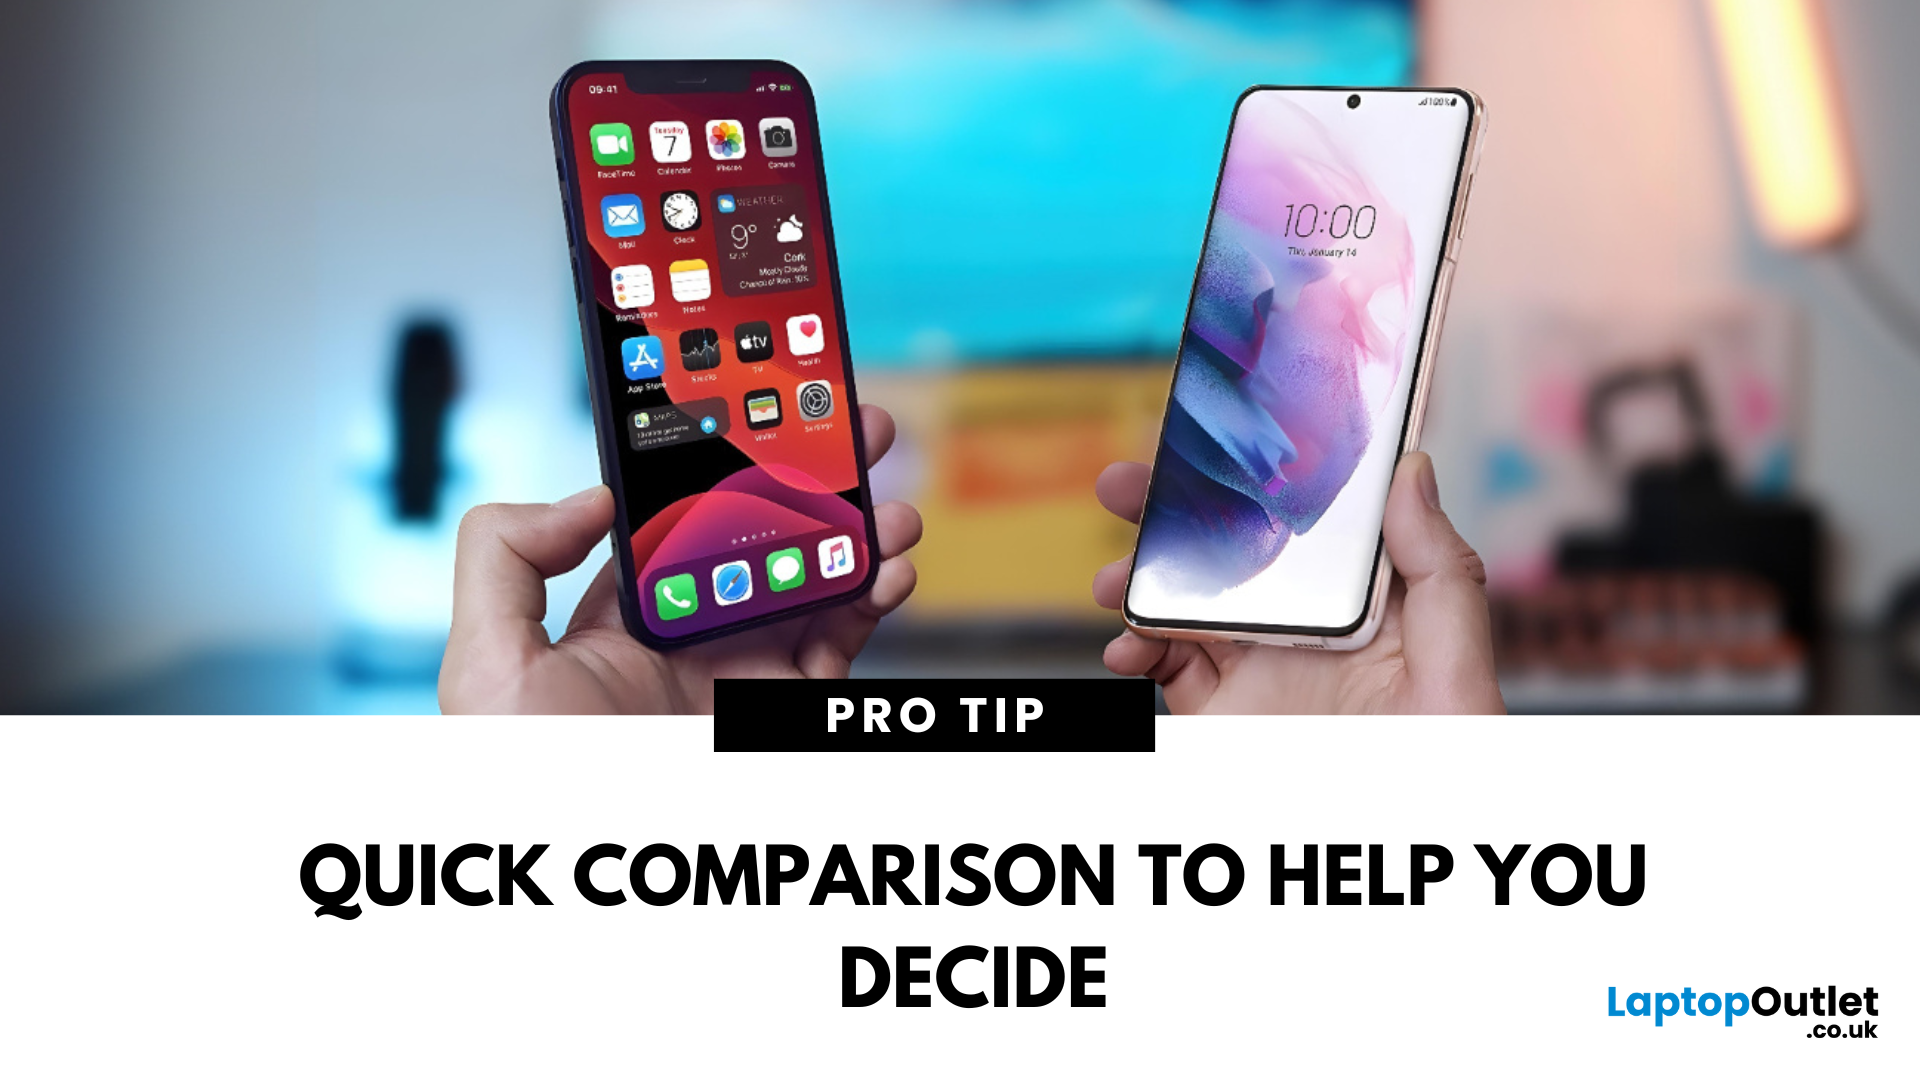
The Ultimate Smartphone Showdown
Samsung or iPhone—which is better? It’s a question that sparks debates in group chats, tech forums, and even family dinners. The truth is, both are excellent—but they suit different users. Here’s a breakdown to help you decide which smartphone brand is the better fit for you in 2025.
Design & Build Quality
- iPhone: Premium build, minimalist design, consistent look across models
- Samsung: Sleek designs, more variety (curved displays, foldables like Galaxy Z series)
Verdict: iPhone offers uniform elegance, Samsung delivers bold variety
Display Quality
- iPhone: Super Retina XDR OLED displays, true-to-life colour accuracy
- Samsung: Dynamic AMOLED 2X displays, higher refresh rates (up to 120Hz on most models)
Verdict: Samsung leads in brightness, refresh rate, and screen innovation
Camera Performance
- iPhone: Excellent video quality, cinematic mode, reliable consistency
- Samsung: Powerful zoom (Space Zoom), versatile sensors, vibrant photos
Last Updated: September 11, 2025
Keep Your iPhone Running Smoothly
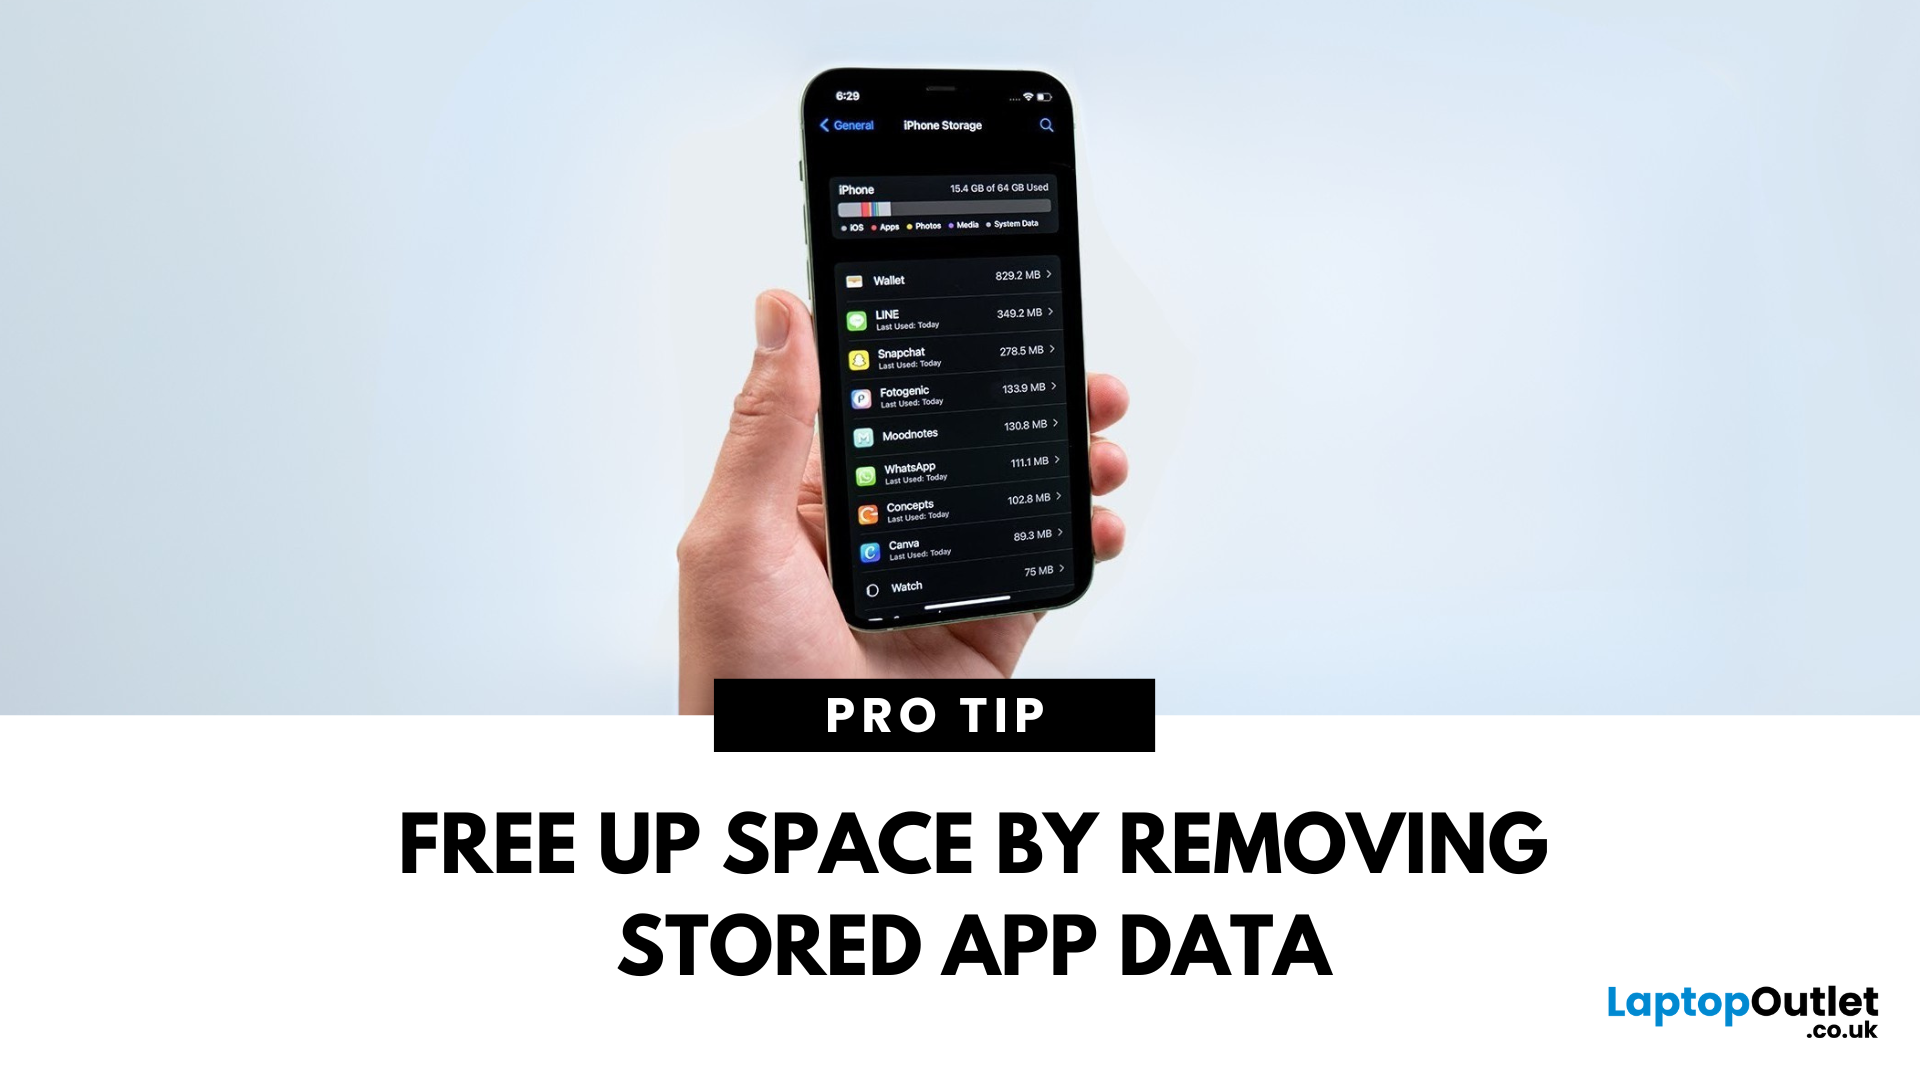
Over time, cached data from Safari, apps, and system processes can clutter your iPhone. If your phone feels slow or you’re running out of space, clearing cache is a smart move. Here’s how to quickly clear cache on your iPhone.
1. Clear Safari Browser Cache
If you browse a lot on Safari, cached web data can build up fast.
Steps:
- Open Settings
- Scroll down and tap Safari
- Tap Clear History and Website Data
- Confirm by tapping Clear History and Data
This removes website history, cookies, and cached images, speeding up browsing
2. Clear Cache in Individual Apps
Some apps like Instagram, YouTube, and Facebook store a lot of temporary data.
Options:
- Check app settings—some apps let you clear cache inside their settings
- If not available, delete and reinstall the app to clear its cache
- Reinstalling resets the app without affecting your saved account details (if backed up)
3. Offload Unused Apps
This saves app data but frees up space
Last Updated: September 11, 2025
Time for a Fresh Start?
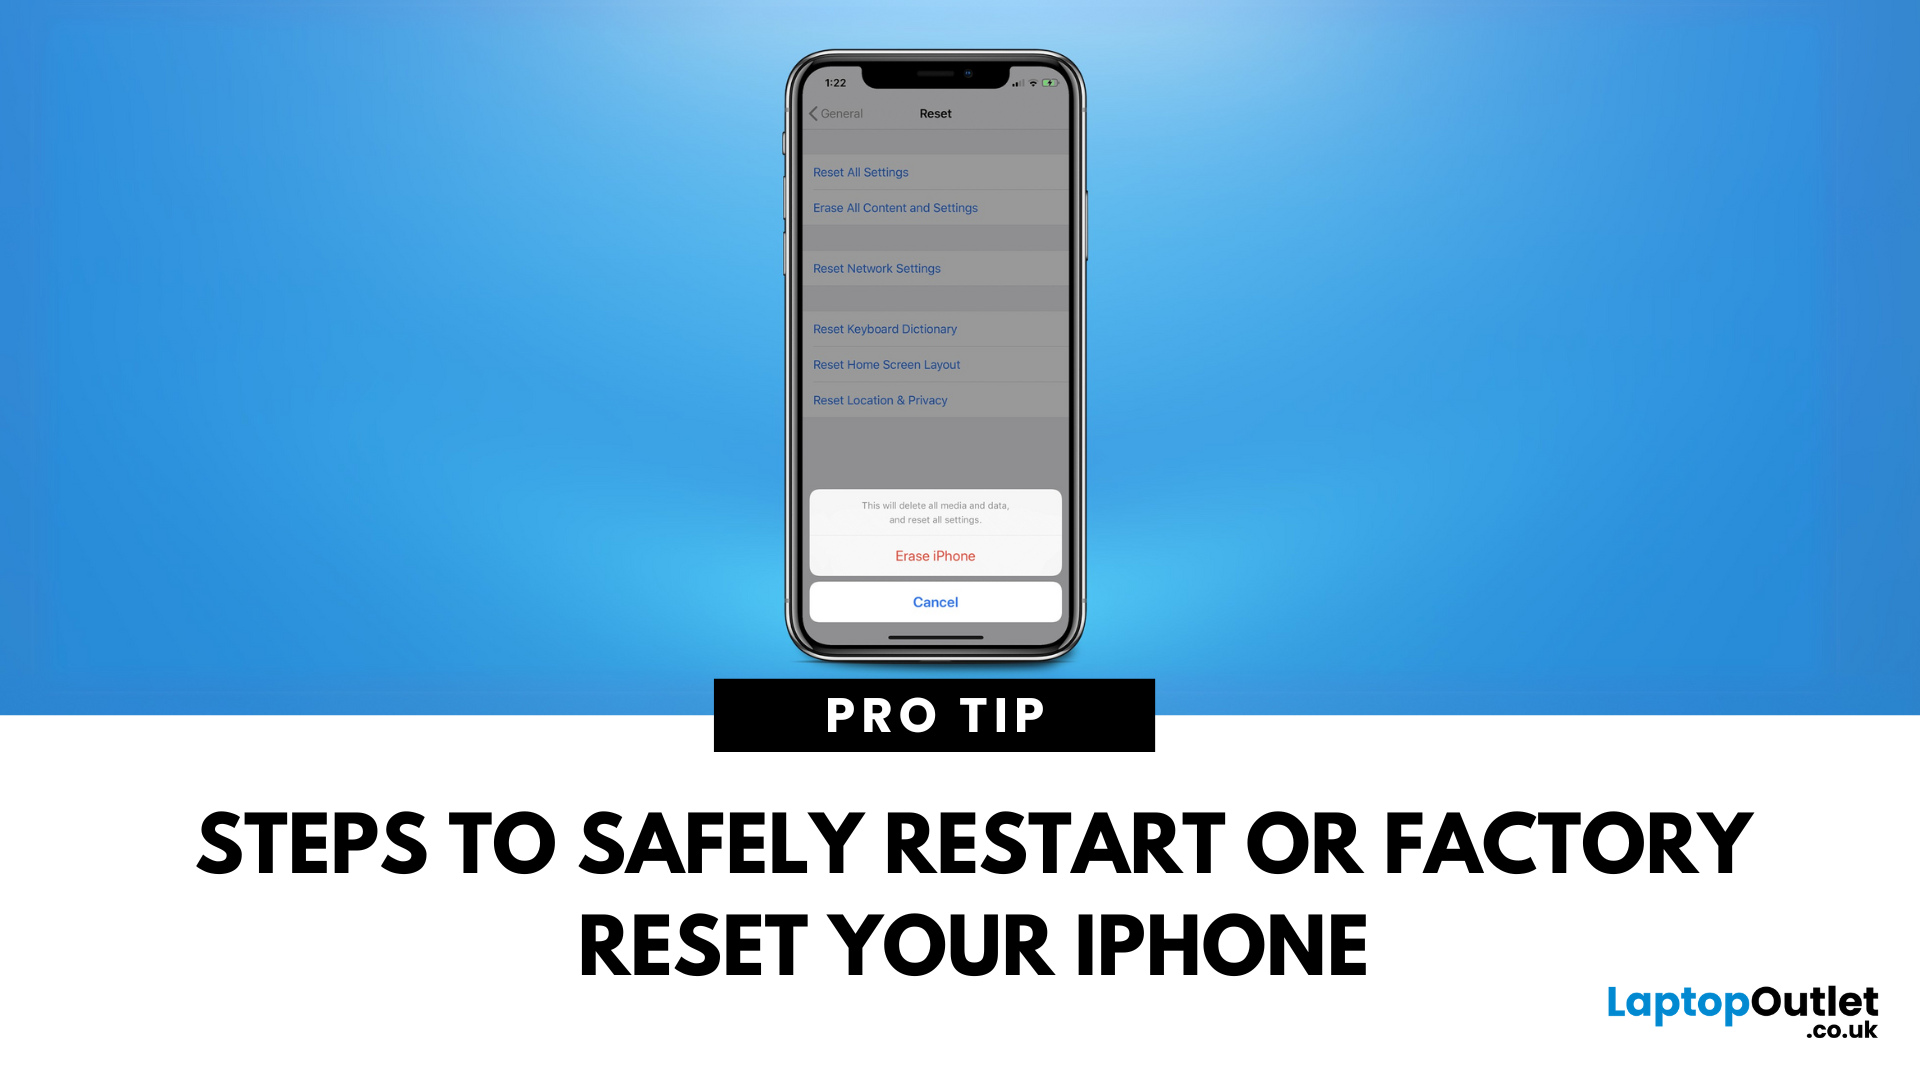
Whether your iPhone is frozen, glitching, or you’re preparing to sell it, knowing how to reset your iPhone is essential. There are different types of resets depending on what you need—let’s walk through them all.
1. Soft Reset (Restart Your iPhone)
A soft reset is simply turning your iPhone off and on again—great for fixing minor issues.
Steps (iPhone X or later):
- Press and hold the Side button + Volume Up or Volume Down
- Slide to power off
- Wait a few seconds, then hold the Side button to turn it back on
Steps (iPhone 8 or earlier):
- Hold the Top (or Side) button until "Slide to power off" appears
- No data loss—just a simple reboot
2. Hard Reset (Force Restart Your iPhone)
Useful when your iPhone is unresponsive or frozen.
Steps (iPhone 8, X, 11, 12, 13, 14, 15 Series):
- Quickly press and release Volume Up
- Quickly press and release Volume Down
- Press and hold the Side button until you see the Apple logo
Steps (iPhone 7/7 Plus):
- Press and hold Volume Down +

