

How to Use BitLocker and Find Your Recovery Key: A Complete Guide
Quick Answer: BitLocker is Windows' built-in encryption tool that protects your data by locking your drive. Your BitLocker recovery key is a unique 48-digit code generated when BitLocker is enabled. You can find it in your Microsoft account, on a printed copy, a saved file, or a USB drive; it should be wherever you chose to back it up during setup.
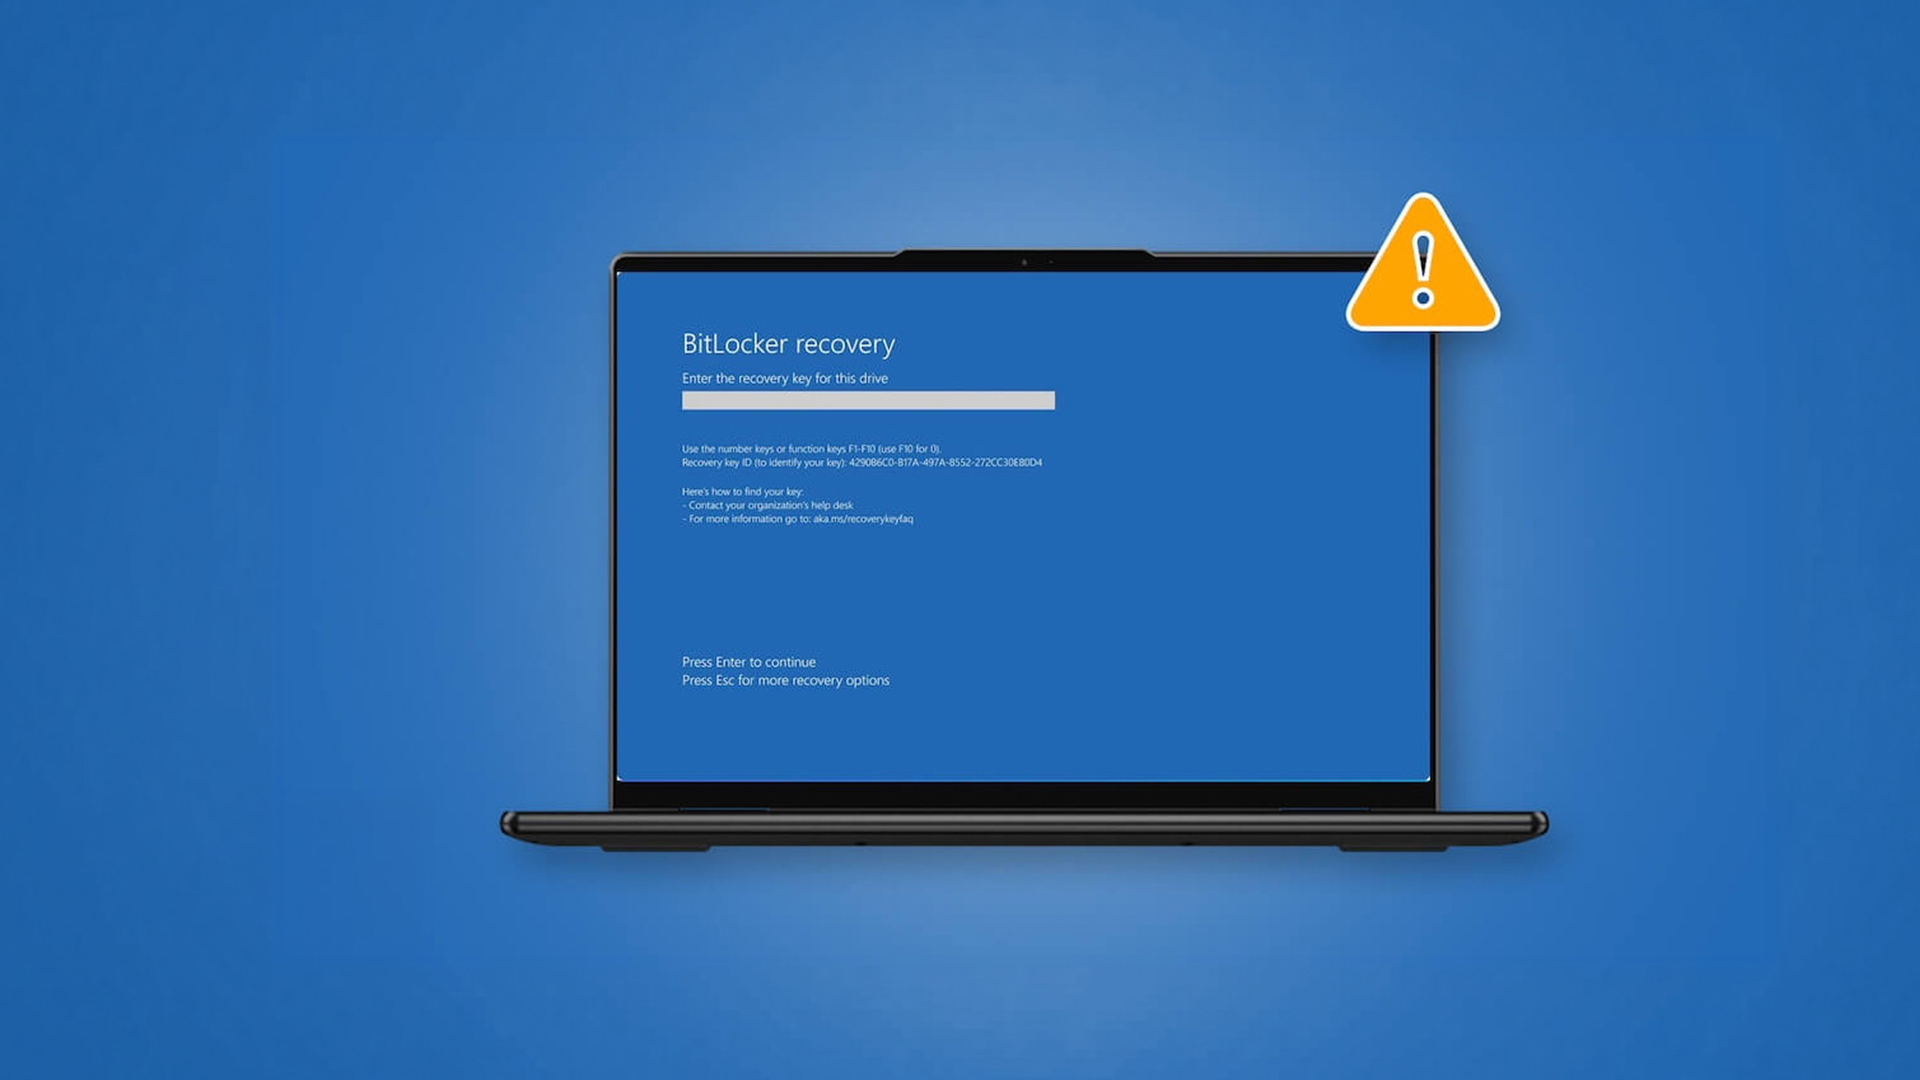
If you've ever booted up your laptop and been greeted by an unexpected blue screen asking for a BitLocker recovery key, you'll know exactly how stressful that moment feels. Don't worry, you're not alone, and this guide will walk you through everything you need to know.
Whether you want to understand how to use BitLocker on PC, set it up for the first time, or track down a recovery key BitLocker generated during setup, this complete guide covers it all. We'll also look at the advantages and disadvantages of BitLocker, so you can decide whether it's the right tool for you.
What Exactly Is BitLocker?
BitLocker is Microsoft's built-in full-disk encryption feature available on Windows. It encrypts your entire drive, making all the data on it completely unreadable to anyone who doesn't have the correct authorisation.
Think of it as putting your laptop's data inside a locked safe. Even if someone steals your device or pulls the hard drive out, they can't read a single file without the key. It's one of the most powerful built-in security tools Windows offers.
What Are the System Requirements for BitLocker?
Before you enable BitLocker, your device needs to meet certain requirements. Here's a quick breakdown:
|
Requirement |
Details |
|
Operating System |
Windows 10/11 Pro, Enterprise, or Education |
|
BitLocker TPM Requirements |
Version 1.2 or later is required. If a TPM is not present, you must set up a startup key or password in Group Policy. |
|
BIOS/UEFI |
TCG-compliant BIOS or UEFI firmware is required, supporting trusted preboot. |
|
Storage |
Two partitions required (system partition + OS partition) |
|
Administrator Access |
Must be logged in as an administrator |
A TPM (Trusted Platform Module) is a small security chip on your motherboard. It stores your BitLocker encryption keys at the hardware level, making them far harder to compromise than software-only solutions.
| Quick check: To see if your device has a TPM chip, press Windows Key + R, type tpm.msc, and press Enter. If it says "TPM is ready for use," you're good to go. |
If you want more detail, our TPM 2.0 guide breaks down why Windows 11 requires this chip and how it supports tools like BitLocker.
How Do You Enable BitLocker on Windows 11?
Enable BitLocker on Windows 11 Pro, Enterprise, or Education
Follow these essential steps to configure BitLocker encryption and secure your device effectively.
Step 1: Open BitLocker Settings
- Click the Start Menu and search for "Manage BitLocker"
- Press Enter to open the BitLocker Drive Encryption control panel
Step 2: Turn On BitLocker
- Select your C: drive (or whichever drive you want to encrypt)
- Click "Turn on BitLocker"
Step 3: Choose Your Unlock Method
You'll be offered three options:
- Enter a PIN — you type a PIN at every startup. Best option for laptops.
- Insert a USB flash drive — a USB acts as the physical key.
- Let BitLocker unlock automatically — the TPM handles everything silently. Easiest for desktop PCs.
Step 4: Back Up Your BitLocker Recovery Key
This is the most important step. You'll be asked where to save your Microsoft recovery key. Choose one or more of:
- Save to your Microsoft account (recommended)
- Save to a USB flash drive
- Save to a file on another drive
- Print the recovery key
Step 5: Choose Encryption Mode
- Encrypt used disk space only — faster, best for new drives
- Encrypt entire drive — slower but more thorough; recommended for drives already in use
Step 6: Choose Encryption Type
- New encryption mode (XTS-AES 128-bit) — best for fixed drives on Windows 10/11
- Compatible mode — use this for removable drives you may use on older Windows versions
Step 7: Start Encryption
- Click "Start encrypting"
- BitLocker will begin encrypting your drive. This runs in the background, so you can continue using your PC.
| Tip: The encryption process can take anywhere from a few minutes to several hours depending on the size of your drive and how much data is on it. |
Enable BitLocker on Windows 11 Home
Windows 11 Home does not include the full Manage BitLocker interface, but it does support Device Encryption, which is Microsoft's simplified version of BitLocker.
To check whether Device Encryption is active:
- Go to Settings > Privacy and Security > Device Encryption.
- If the toggle is available, you can turn it on here. Signing in with a Microsoft account is required.
- On devices running Windows 11 24H2 that were set up with a Microsoft account, Device Encryption may already be active.
If Device Encryption is not available on your Home device, the most common reasons are that TPM is not present or not enabled, or that Secure Boot is disabled in your BIOS or UEFI firmware settings.
If you're looking for a Windows 11 system with full BitLocker support right out of the box, check out the wide range of Windows 11 laptops at Laptop Outlet. Many come with Pro editions that support the complete BitLocker feature set.
How Do You Enable BitLocker on Windows 10?
The process on Windows 10 is very similar. Here's the quick version:
- Open Control Panel and go to System and Security
- Click BitLocker Drive Encryption
- Next to your drive, click "Turn on BitLocker"
- Follow the same steps as above: choose your unlock method, back up your recovery key, select encryption mode, and start
The same TPM requirements apply to Windows 10. If you're still on Windows 10, bear in mind that Microsoft ended free support for it in October 2025, so upgrading to Windows 11 is strongly recommended.
If you are still on Windows 10 and planning a move, our Windows 11 upgrade guide explains what to check before you upgrade.
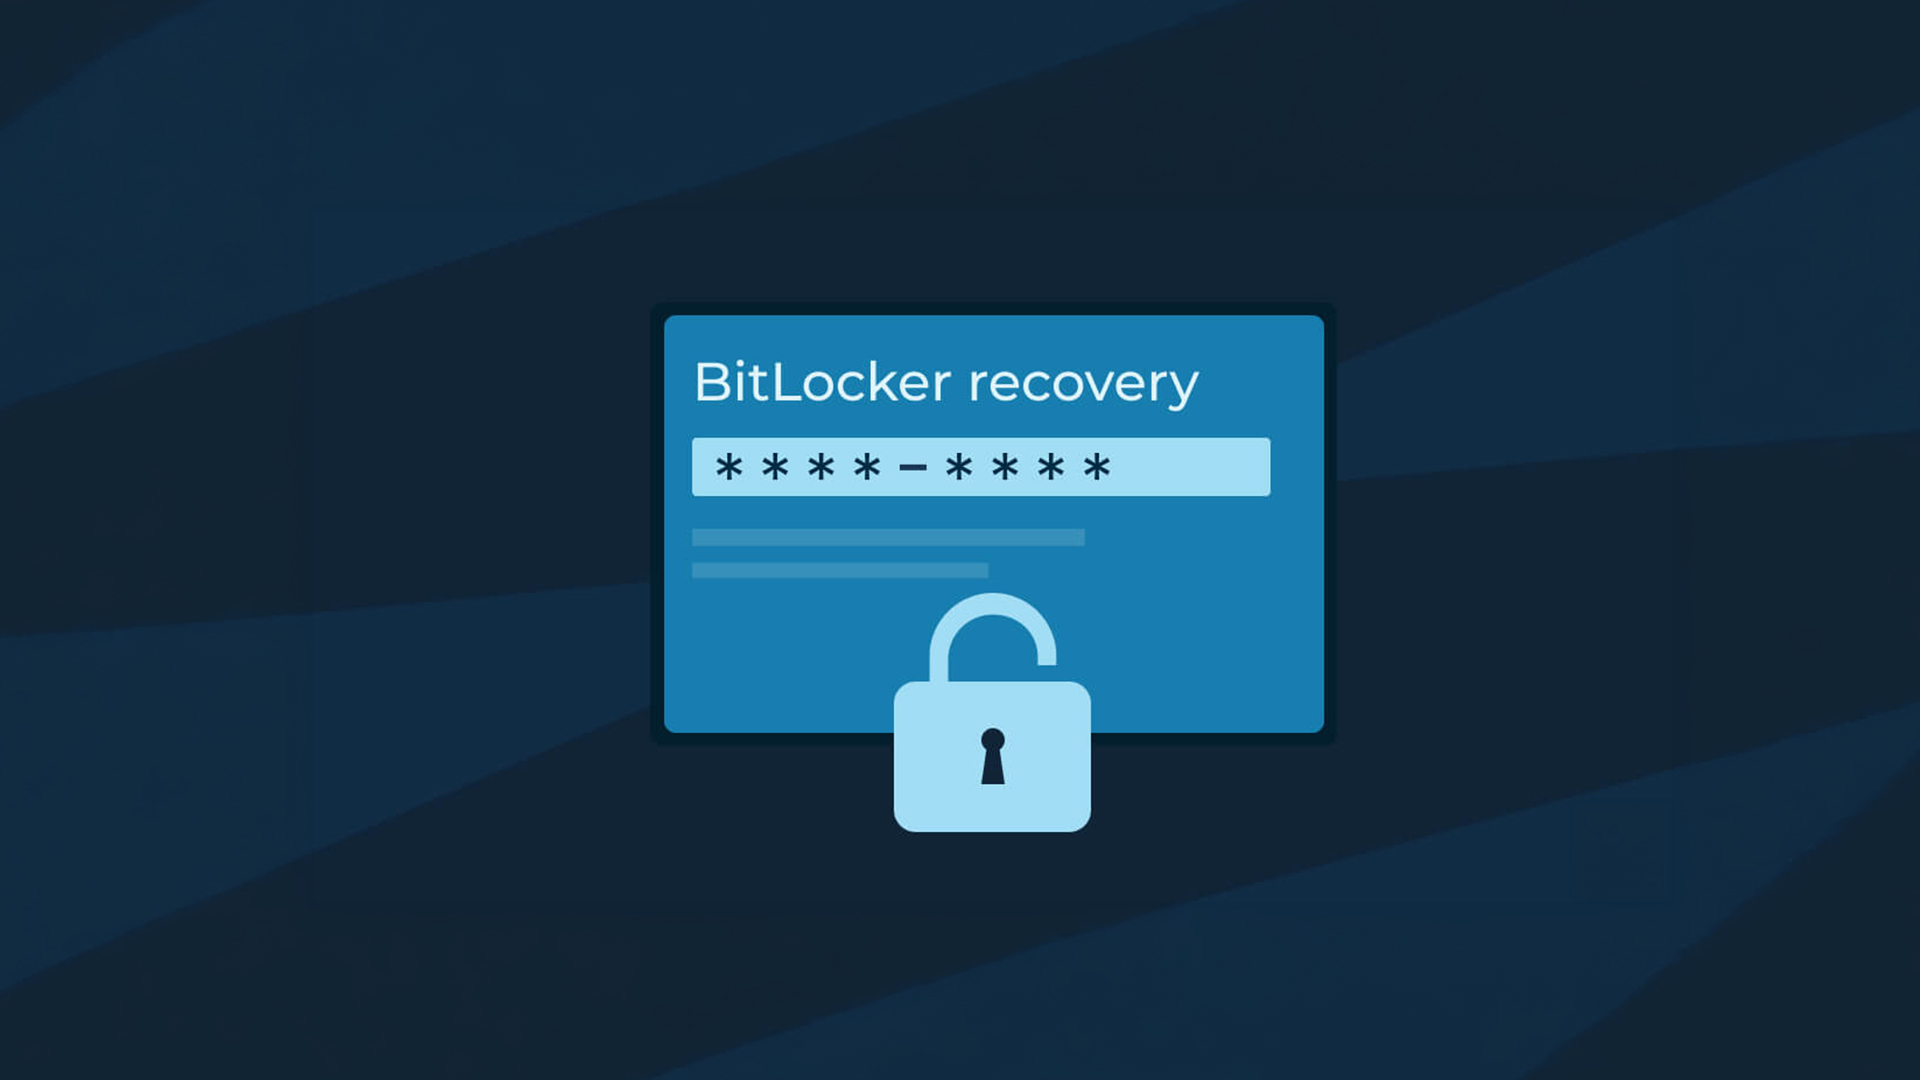
What Is a BitLocker Recovery Key?
The BitLocker recovery key is a unique 48-digit numerical code that acts as your emergency backup access to an encrypted drive. It is automatically generated when BitLocker is first enabled on a drive.
You'll need this key whenever BitLocker cannot verify that the boot environment is safe. This can happen after a hardware change, a firmware update, or multiple failed PIN attempts. Without it, you simply cannot access the encrypted data.
| Important: Microsoft Support has no ability to retrieve, provide, or recreate a lost BitLocker recovery key. This makes backing it up correctly absolutely critical. |
Where Is a BitLocker Recovery Key Stored?
The location of your Microsoft BitLocker recovery key depends entirely on how BitLocker was set up on your device. Here are all the possible locations:
|
Storage Location |
When It Applies |
|
Microsoft account |
Most common for personal devices. Saved automatically if you signed in with a Microsoft account during setup. |
|
Printed copy |
If you chose to print the key during the BitLocker setup wizard. |
|
Saved file |
If you saved a .txt or .bek file to a USB drive or network location during setup. |
|
USB flash drive |
If you saved the key file directly to a USB drive. |
|
Azure Active Directory / Microsoft Entra ID |
For work or school managed devices in an organisation. |
|
Active Directory |
For corporate-managed devices where IT administrators store keys centrally. |
Note from Windows 11 24H2 onwards: The BitLocker recovery screen now shows a hint of which Microsoft account is associated with the recovery key, making it easier to know exactly which account to check.
What Should You Do at the BitLocker Recovery Screen?
If you boot up your PC and see a blue screen asking for a BitLocker recovery key, here's exactly what to do step by step:
- Don't panic. This screen appears automatically when Windows detects a change it wasn't expecting. It doesn't mean your data is lost.
- Note down the Key ID shown on the screen (the first 8 digits are sufficient for matching purposes).
- Locate this key by signing into your Microsoft account on another device, checking printed documents, or checking a saved USB drive
- Find the matching key and enter the full 48-digit recovery key on the locked screen.
- Press Enter or click Continue to unlock your drive.
Common Reasons the BitLocker Recovery Screen Appears
- A BIOS or firmware update was applied
- A hardware component was changed (RAM, motherboard, hard drive)
- Too many failed PIN entry attempts
- Windows detected a potential security threat during startup
- You moved the encrypted drive to a different PC
- Certain Windows feature updates triggered a boot configuration change
Once you've unlocked the drive, Windows may give you the option to resume or suspend BitLocker, and you can update your recovery key backup if needed.
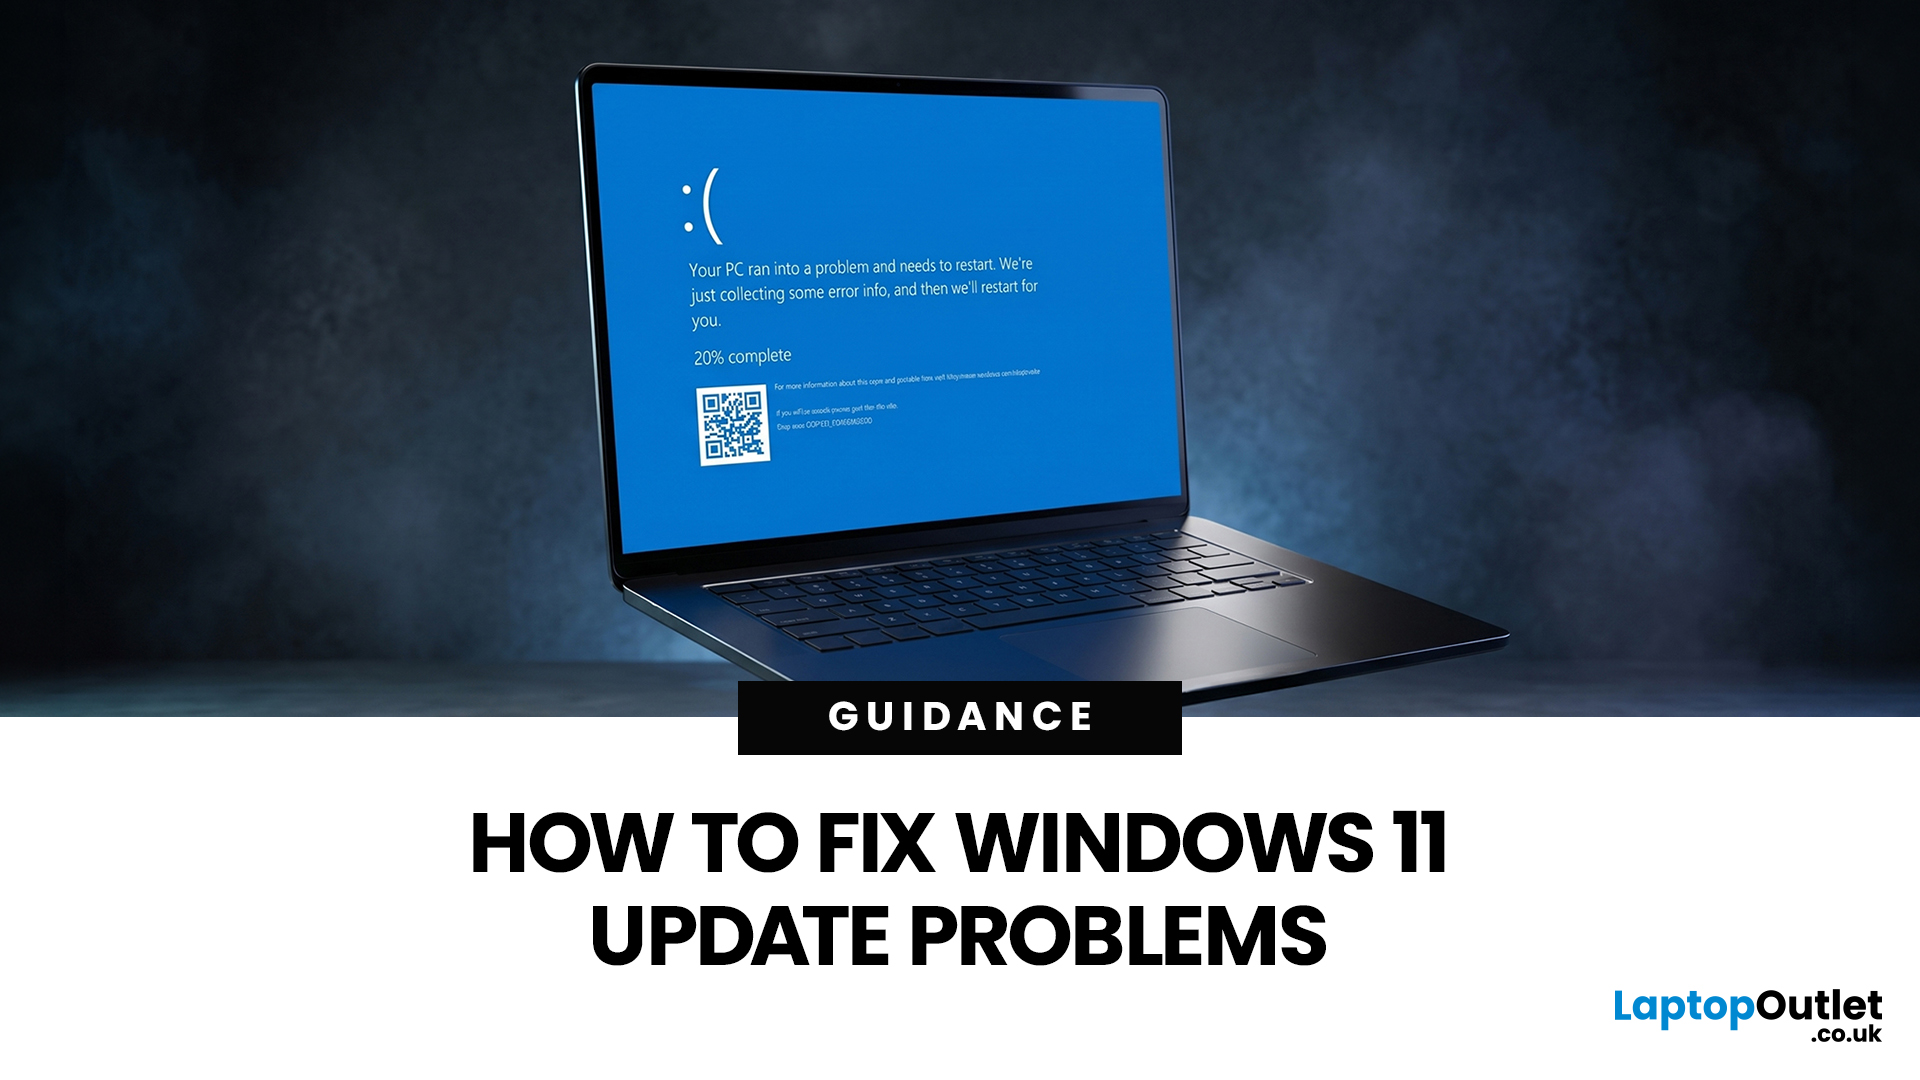
If the BitLocker recovery screen appeared straight after an update, read our guide on how to fix Windows 11 update problems before making further changes.
How Do You Find Your BitLocker Recovery Key?
This is the question most people are frantically Googling when they hit the BitLocker recovery screen. Here are all the methods for finding your BitLocker recovery key, in the order you should try them:
Method 1: Check Your Microsoft Account (Most Likely)
This is where the vast majority of personal devices store their keys automatically.
- On another device (phone, tablet, another PC), open a browser
- Go to account.microsoft.com/devices/recoverykey
- Sign in with the Microsoft account linked to your locked device
- You'll see a list of BitLocker recovery keys associated with your devices
- Match the Key ID shown on your BitLocker recovery screen to the correct entry and use that key
| Tip: The BitLocker recovery screen displays the first 8 digits of the Key ID. Use these to identify the correct key in your Microsoft account. You may have keys from multiple devices listed. |
Method 2: Check for a Saved File
If you saved your recovery key to a file during setup, look for a .txt file named something like BitLocker Recovery Key [key ID].txt. Check:
- USB drives
- Other storage drives on the PC
- Network drives or shared folders
- Cloud storage like OneDrive
Method 3: Check for a Printed Copy
Look through any paperwork you may have printed when you first set up the device. The printout shows both the Key ID and the Recovery Key itself.
Method 4: Check a USB Flash Drive
If you chose to save the key to a USB drive, plug that drive into the locked device. Windows will detect it automatically and use it to unlock the drive.
Method 5: Use Command Prompt or PowerShell (for IT admins)
If you have administrator access to another session or the drive is accessible, you can retrieve the key via:
manage-bde -protectors -get C:
This command displays the recovery key for the specified drive.
Method 6: Contact Your IT Department
If your device is managed by a workplace or school, your IT team can retrieve the recovery key from your organisation's Active Directory or Microsoft Entra ID. Do not attempt to bypass BitLocker yourself in this scenario; contact IT support directly.
How Do You Back Up Your BitLocker Recovery Key?
Already have BitLocker enabled and want to make sure your key is safely backed up? Here's how to do it at any time:
- Open Start and search for "Manage BitLocker"
- Click on the encrypted drive
- Select "Back up your recovery key"
- Choose your preferred backup method: Microsoft account, USB drive, file, or print
It's a good idea to store the key in at least two different locations. For example, you could save it in your Microsoft account and keep a printed copy somewhere safe away from the device.
What Happens If You Lose Your BitLocker Recovery Key?
This is the harsh reality of strong encryption: if you lose your BitLocker recovery key with no backup whatsoever, there is no way to recover your data. Not even Microsoft can help.
Your only options at that point are:
- Perform a full Windows reinstall (which wipes the encrypted drive completely)
- Accept that the data on that drive is inaccessible
This is why backing up your key during setup is absolutely non-negotiable. Always save it somewhere you can actually find it.
Top Tips for Managing BitLocker Safely
A few simple habits can make BitLocker far easier to manage, and can help you avoid lockouts, confusion, and unnecessary stress.
- Always back up your recovery key immediately after enabling BitLocker — don't skip this step.
- Use a PIN at startup if your laptop is used outside the home or office. It adds an extra layer of security on top of the TPM.
- Check your Microsoft account periodically to confirm the recovery key is still stored there, especially after a Windows reinstall.
- Don't store the key only on the encrypted device itself. That defeats the entire purpose.
- Suspend BitLocker before major hardware or firmware updates to avoid triggering the recovery screen unnecessarily. You can do this in the BitLocker management panel without losing any encryption.
- Enable BitLocker To Go on USB drives containing sensitive data, particularly if you carry them outside your home or workplace.
Can You Use BitLocker Without a TPM?
Technically, yes — but it requires an extra step. You'll need to change a Group Policy setting to allow BitLocker without a compatible TPM chip:
- Press Windows Key + R and type gpedit.msc
- Navigate to Computer Configuration > Administrative Templates > Windows Components > BitLocker Drive Encryption > Operating System Drives
- Open "Require additional authentication at startup"
- Set it to Enabled and tick "Allow BitLocker without a compatible TPM"
- Click OK and then enable BitLocker as normal
Without a TPM, you'll need to use either a USB startup key or a password at every boot instead.
What Are the Advantages of BitLocker?
Here's why BitLocker is worth using:
- Powerful encryption: BitLocker uses AES-128 or AES-256 bit encryption combined with TPM hardware, making it extremely difficult to crack.
- Completely free: It's built directly into Windows. No third-party software is needed and there is no extra cost.
- Seamless integration: BitLocker runs quietly in the background. For most users on auto-unlock, it's completely invisible day-to-day.
- Protects against physical theft: If your laptop is stolen, the thief cannot access your data without the correct credentials, even by removing the hard drive.
- Microsoft account backup: Your recovery key can be stored automatically in your Microsoft account, making it easy to retrieve if needed.
- Compliance-friendly: For businesses, BitLocker helps meet data protection regulations such as GDPR by ensuring data on lost or decommissioned devices is inaccessible.
- BitLocker To Go: You can also encrypt external USB drives and portable storage using the BitLocker To Go feature.
What Are the Disadvantages of BitLocker?

BitLocker isn't perfect. Here are the downsides worth knowing about:
- Performance impact: On older hardware or HDDs, BitLocker can slow down read/write speeds, in some cases by up to 45%. Modern SSDs handle this much more gracefully.
- Not available on Windows Home (fully): Full BitLocker management is locked to Pro, Enterprise, and Education editions, though Device Encryption covers Home users to some degree.
- Recovery key dependency: Losing your BitLocker recovery key with no backup means losing access to your data permanently. Microsoft Support cannot retrieve it for you.
- Complexity for new users: Setting up and managing BitLocker, understanding TPM, and knowing where recovery keys are stored can feel daunting for less technical users.
- TPM hardware required: Without a compatible TPM chip, enabling BitLocker on the OS drive requires changing Group Policy settings, which adds extra steps.
- Unexpected lockouts: Hardware changes, firmware updates, or certain Windows updates can trigger the BitLocker recovery screen unexpectedly, catching users off guard.

Lock it Up, But Keep the Key
BitLocker is one of the best free security tools available on Windows, and understanding how it works can save you a lot of stress down the line. From knowing your BitLocker recovery key is safely stored in your Microsoft account, to enabling full drive encryption on your laptop, the steps are manageable once you know what to expect.
The golden rule: always back up your BitLocker recovery key to at least two locations the moment you enable it. Losing that key means losing access to your data permanently, and no one wants to be in that position.
If you need help beyond BitLocker encryption, our complete Windows guide covers setup, updates and common fixes for everyday Windows problems.

While We Are on the Subject...
What is a BitLocker recovery key?
A BitLocker recovery key is a unique 48-digit numerical code generated when BitLocker is enabled, used to unlock an encrypted drive when normal authentication fails.
Where can I find my BitLocker recovery key?
Check your Microsoft account at account.microsoft.com/devices/recoverykey, any printed copy you made, a saved text file, or a USB drive used during BitLocker setup.
How do I find my BitLocker recovery key in Windows 11?
On another device, go to account.microsoft.com/devices/recoverykey, sign in, and match the Key ID shown on your BitLocker recovery screen to the correct entry.
What does the BitLocker recovery screen mean?
The BitLocker recovery screen appears when Windows detects an unexpected boot environment change, such as a firmware update, hardware change, or failed PIN attempts.
Can Microsoft help me recover a lost BitLocker recovery key?
No. Microsoft Support cannot retrieve, provide, or recreate a lost BitLocker recovery key under any circumstances. Backing it up yourself is essential.
Does BitLocker work on Windows 11 Home?
Windows 11 Home uses Device Encryption rather than full BitLocker. Since Windows 11 24H2, this may be enabled automatically on new installations.
What are the TPM requirements for BitLocker?
BitLocker requires TPM version 1.2 or later. Windows 11 requires TPM 2.0, so any PC capable of running Windows 11 meets the TPM requirement for BitLocker.
Does BitLocker slow down my PC?
On modern SSDs, the performance impact is minimal. On older HDDs, BitLocker can reduce read/write speeds noticeably, in some cases by up to 45%.
Can I use BitLocker without a TPM chip?
Yes, but you must first enable it via Group Policy Editor. Without a TPM, you'll need a USB startup key or password at every boot instead.
How do I back up my BitLocker recovery key after setup?
Open Manage BitLocker, select your drive, click "Back up your recovery key," and choose to save it to your Microsoft account, a file, USB drive, or print it.
What happens if I enter the wrong BitLocker recovery key?
BitLocker will not unlock the drive. You can try entering the key again. If you cannot find the correct key, data recovery without the key is not possible.
Is BitLocker available on Windows 10 Pro?
Yes. BitLocker is available on Windows 10 Pro, Enterprise, and Education editions, with the same TPM and administrator requirements as Windows 11.
| Read More: |
| Windows and Microsoft Office Activation Guide |
| How to fix Blue Screen of Death (BSOD) |
| Windows Keyboard Shortcuts: Ultimate Guide |
Related Articles

Last Updated: May 06, 2026
Your Apple AirPods are a brilliant piece of kit, but sometimes the default name – usually something like '[Your Name]'s AirPods' – just doesn't feel personal enough.
Perhaps you have multiple pairs, or maybe you've bought them second-hand and want to shake off the previous owner's tag. Whatever your reason, learning how to rename AirPods is a simple process that helps you personalise your wireless earbuds.
This comprehensive guide will walk you through the simple steps to rename AirPods across all the common platforms.
Renaming Your AirPods on iPhone or iPad (The Easiest Way)
Renaming your AirPods on an iOS or iPadOS device is arguably the simplest method. The change will then update automatically on any other Apple device you own that uses the same Apple ID.
Steps to Rename Your AirPods on iPhone or iPad
- Ensure Connection: Make sure your AirPods are connected to your iPhone or iPad. The quickest way to do this is to open the AirPods case lid near your unlocked device, or place the AirPods

Last Updated: January 21, 2026
For a long time, tablets were seen as secondary devices. Great for Netflix, decent for browsing, but not serious enough for work or study.
That perception is officially outdated.
In 2026, Windows tablets have evolved into some of the most versatile devices you can buy. They’re no longer just tablets that can do work, they’re powerful, flexible computers that happen to be touch-first.
Whether you’re a student, a professional, or someone who wants one device that does everything, this guide breaks down the top Windows tablets in the UK 2026, how they perform in real life, and which models actually make sense to buy right now.
No hype. No spec-sheet dumping. Just clarity.
Why Windows Tablets Matter More Than Ever in 2026

The biggest reason Windows tablets have taken off again is simple: people want flexibility without compromise.
Windows tablets sit in a unique position between laptops and Android tablets. They give you:
- Full desktop software
- Proper multitasking
- Touch and pen support
- Detachable

Last Updated: January 21, 2026
Windows tablets have quietly become one of the most practical tech buys in the UK, especially if you want proper laptop features without paying laptop money. Whether you’re studying, working remotely, or just need a flexible everyday device, a Windows tablet (or budget 2 in 1 Windows tablet) can often do the job of both a tablet and a laptop.
In this 2026 guide, we’re breaking down the best Windows tablets in the UK by price, under £300, and £500 and explaining what you can realistically expect at each level. No hype, no spec overload, just clear advice to help you spend smart.
Why Choose a Windows Tablet Instead of Android or iPad?

Before diving into budgets, it’s worth understanding why people choose Windows tablets in the first place.
A Windows tablet gives you:
- A full desktop operating system
- Proper file management (folders, drives, downloads)
- Compatibility with Microsoft Office and desktop apps
- Keyboard and mouse support
- Often, a 2-in-1 experience with detachable or foldable keyboards
Last Updated: March 09, 2026
If you are comparing MacBook Neo vs Windows laptops, you are really asking one question: should you buy Apple’s cheapest Mac, or get a budget Windows laptop with more ports and more choice?
MacBook Neo is new, starts at £599, and is designed to be a simple, premium-feeling everyday laptop with macOS, long battery life, and strong call quality.
Budget Windows laptops can offer more screen sizes, more ports, and sometimes better upgrade options. But quality is inconsistent in this price range, and that’s where Neo tries to win.
Below is the practical, buyer-focused breakdown.
10-Second Answer Box
Choose MacBook Neo if
- You want the cleanest everyday experience for browsing, school, docs, and calls
- You value build quality and trackpad feel
- You want a laptop that stays fast and quiet for years, without tweaking settings
Choose a budget Windows laptop if
- You want more ports like HDMI and USB-A built in
- You need a bigger screen for the money
- You want the flexibility of Windows software and lots
Published: March 06, 2026
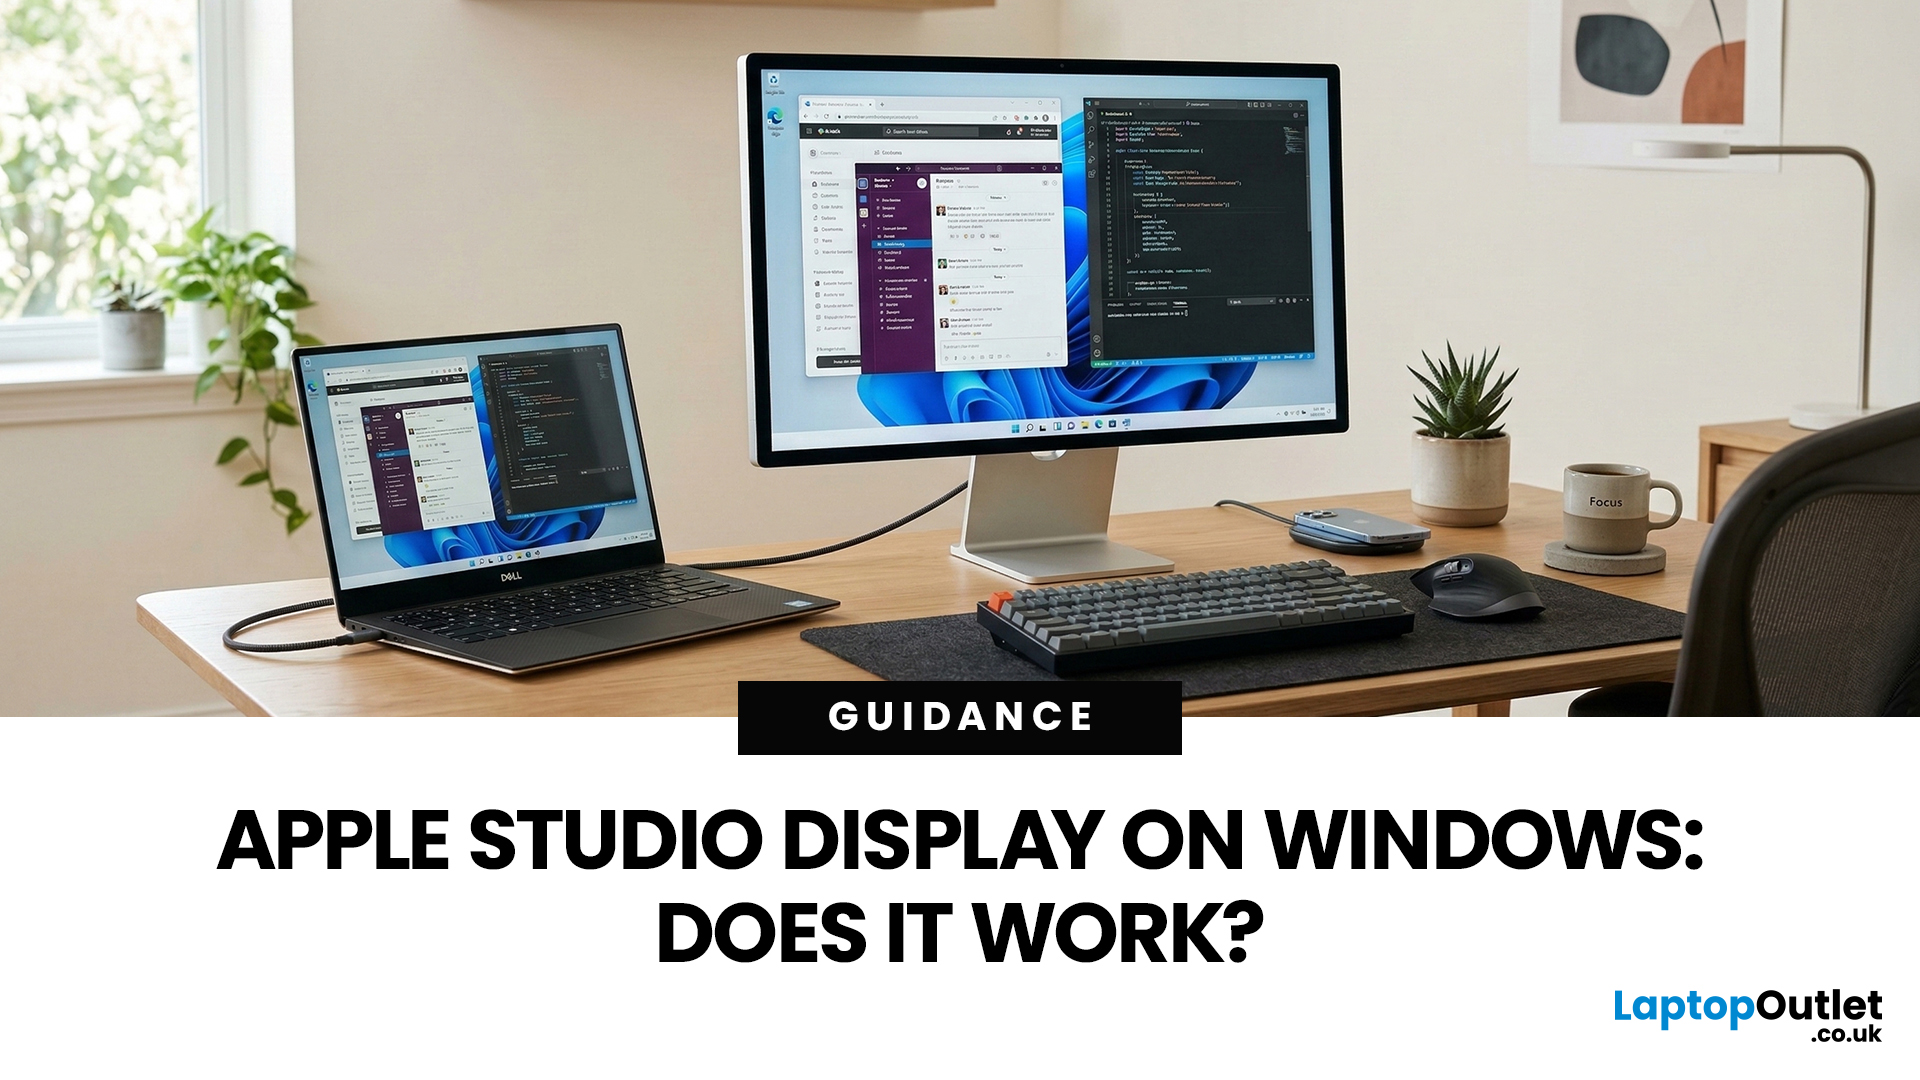
You’ve seen the Apple Studio Display. It’s sleek, stupidly sharp, and it makes your desk look like you’ve got your life together. But you’re on Windows. So, the big question is: Does Apple Studio Display work with Windows PCs? Yes, it can. But you won’t always get the full “Apple magic” experience on Windows.
Apple Studio Display + Windows: What Works vs What Doesn’t
Core Monitor Functions (generally work)
The good news: the basics are solid.
- You’ll get a picture (yep, it’s a monitor)
- Resolution and scaling can be adjusted in Windows settings
- It can act as an audio device (the built-in speakers often show up as an output option)
In other words: for day-to-day “I need a stunning screen”, you’re fine.
Features that May be Limited or Not Supported on Windows
Here’s where the “Apple ecosystem” bit starts showing:
- Center Stage (auto-follow webcam feature): usually not available as intended on Windows
- True Tone (auto colour temperature shifts): Generally not supported
- Firmware updates: typically
Last Updated: July 06, 2026
If you need to activate Windows Office key products on a new or existing device, the good news is that the process is usually straightforward once you know which licence you have. Whether you are looking for a Windows activation guide, Microsoft Office activation steps, or a quick fix for an activation error, this guide walks you through it in plain English.
Windows 10 and Windows 11 can be activated with either a 25-character product key or a digital licence, while Microsoft 365 and standalone Office versions are typically activated by signing in with the Microsoft account, or work or school account, linked to the purchase.
What is a Microsoft Activation Key?
A Microsoft activation key is usually a 25-character code used to activate Windows or redeem certain Office purchases. For Windows, activation depends on either a product key or a digital license. For newer Office and Microsoft 365 products, the Microsoft account attached to your purchase often replaces the product key for reinstalling

Last Updated: April 22, 2026
Stop reaching for the mouse every five seconds. Windows keyboard shortcuts are one of the fastest, simplest ways to boost your daily output - whether you're writing reports, navigating spreadsheets, or juggling a dozen open tabs at once.
This complete guide covers every shortcut worth knowing across Windows 10 and Windows 11, from the basics to the more advanced tricks that most people never discover.
Why Keyboard Shortcuts Are Worth Learning
Most people pick up one or two shortcuts by accident and never go any further. Yet the productivity gap between someone who relies on a mouse and someone genuinely fluent in shortcuts is striking - you spend less time clicking, less time searching, and considerably more time actually doing the work.
Here's what mastering shortcuts gives you:
- Speed: Tasks that take three clicks happen in milliseconds
- Concentration: Your hands stay on the keyboard, your eyes on the screen
- Less strain: Reduced repetitive mouse movement means fewer aches over a long
Last Updated: April 23, 2026
A blue screen of death fix isn't as daunting as it looks. That sudden blue screen and cryptic stop code are Windows' way of flagging a critical system error - and in most cases, it's something you can sort yourself without professional help.
This guide covers every cause, diagnostic method, and practical solution to get your machine running smoothly again.
What Is a Blue Screen of Death?
The blue screen of death (BSOD) is a critical stop error built into Windows. When the operating system encounters a fault it cannot safely recover from, it halts everything, logs the crash, and forces a restart - rather than risking data corruption or further damage. Think of it as a failsafe, not just a fault.
What Does It Look Like?
Depending on your version of Windows and the type of crash, a BSOD may show:
- A stop code identifying the error
- A message explaining that Windows ran into a problem
- A progress indicator while diagnostic information is collected
- Sometimes a QR code or additional troubleshooting
Last Updated: July 06, 2026
You go to upgrade your PC, everything seems fine, and then Windows 11 drops the digital equivalent of “not you, mate” with a message about TPM 2.0. Suddenly you are searching TPM 2.0 Windows 11, opening BIOS menus you have not touched since the Stone Age, and wondering if your laptop has secretly become ancient overnight. Microsoft’s official Windows 11 minimum requirements still include TPM 2.0, plus UEFI firmware and Secure Boot capability, so this is not some random pop-up glitch. It is part of the platform’s baseline security setup.
If you have been asking what is TPM in computer, do I need TPM for Windows 11, or why this tiny bit of hardware suddenly matters so much, this guide breaks it down in plain English. No jargon soup, no lecture mode, just what TPM is, what it does, why Windows 11 wants it, and what to do if your PC says TPM is missing or disabled.
| Quick answer: TPM 2.0 is a security component built into many modern PCs. It stores cryptographic keys, helps verify system integrity |
Last Updated: July 06, 2026
If your PC has decided that today is the day it will freeze at 61%, throw out a random error code, or restart at the worst possible time, you are very much not alone. Windows 11 update issues are one of those annoyingly common problems that can feel dramatic in the moment, but a lot of them are fixable with the right steps.
The good news is that most Windows 11 update problems usually come down to a handful of familiar causes: not enough storage, damaged update files, a disabled service, app conflicts, or a known issue that Microsoft is already tracking. Microsoft’s own support guidance still points users first to the built-in Windows Update troubleshooter and its broader update troubleshooting flow, which is usually the fastest place to start.
Why Windows 11 update fails in the first place
Let’s keep it real: when a Windows 11 update failed message pops up, it does not tell you much. The actual cause is usually one of these:
A Windows 11 update stuck during download or install can be linked