How to Optimise Your Monitor for Maximum Performance
Like your house's solid foundation, a monitor is an essential component. It serves as the window to your digital world. At the same time, though, your monitor is the best unless you tune it properly for optimal performance.
So, there's more to blasting off with buying a new PC monitor or plugging it in. You'll need to configure the monitor and change a few settings to improve your visual quality. The latest monitors have numerous cool features and functionalities that can easily revamp your experience, so you might make it worth every penny.
Monitor settings are an oft-overlooked tool in computing. You may already know how to overclock your Graphics to squeeze their complete power, and you have an excellent keyboard for the most responsive inputs, but have you ever assembled or overclocked your monitor? Luckily, it's relatively straightforward to optimise your monitor by specific methods.
We will explore some methods, including monitor's resolution settings, colour depth, and overclocking calibration; we hope to help you get the best monitor experience you can for now and well into the future.
So, without further ado, let's get started.
Base RGB Adjustments
The first thing you need to do after buying a new monitor is to ensure that its base RGB settings are set appropriately. You can do this with a database. RGB light is something that determines how colours exactly appear on the screen. That's why it's best to deal with them right away.
Colour Depth
Adjusting the colour depth brings high dynamic range content and incredible, rich, and high colour contrasts. Here is how you can do it:
For Nvidia Users:
- Go to the "Nvidia Control Panel", click on the "+" sign under "Display", and go to the bottom of the page.
- Find the "Apply the following settings" section and select the option "Use NVIDIA Color Settings."
- Here, you will get drop-down selections for Desktop Colour Depth, Output Colour Depth, Output Colour Format, and Output Dynamic. Set each of them to their highest possible value. Select "Full" from the Output Dynamic Range menu and "RGB" from the Output Colour Format menu.
- After making these changes, click the "Apply" button to save the settings.
For AMD Users:
Adjusting the colour depth is relatively easy on AMD monitors. Follow the given steps to do:
- Go to the main menu and right-click on the desktop.
- Choose "AMD Radeon Settings." A results page will prompt you to find the "Display" tab from there.
- "Color Depth" and "Pixel Format" options on the display page. Color Depth represents the Output. Color Depth Pixel Format represents chroma. Set both of the options to the highest number possible.
Refresh Rate and Resolution
Most of the latest monitors are automatically set to their optimal resolution and refresh rate. However, if they are not, you can follow these steps to get the best settings:
- Right-click the desktop and select "Display settings."
- In the settings, choose the monitor you want to change.
- Select your preferred resolution from the resolution drop-down option, which is usually the highest available.
- Navigate to the "Advanced display settings" and select your desired refresh rate in the Refresh rate drop-down box.
- Even though your monitor's refresh rate is initially set to its rated rate, some monitors can be "overclocked" to get an even higher refresh rate.
Overclocking
Yes, you hear it right. If we talk about the monitor's overclocking, it doesn't mean that we might have a higher resolution instead – but something more regarding refresh rates. For instance, if your monitor supports the refresh rate of 144Hz, it is possible to overclock to double that with the right tweaks.
However, you need to check whether your monitor supports overclocking or not. Some monitors support 240Hz to 280Hz straight from the OD menu, enabling you to boost the refresh rates as much as you want. Overclocking software or hardware is always risky, and the same is true when overclocking your display to reach faster refresh rates. However, monitor overclocking can significantly boost the refresh rates and improve the overall in-game experience.
Why should you invest extra in a monitor with a higher refresh rate if you can squeeze out more performance from your current one? Therefore, consider overclocking it and pay careful attention to avoid any problems or issues.
Adaptive-Sync
Adaptive Sync is an impressive feature of a monitor that makes your gameplay smoother and more streamlined at the cost of some latency. If you enable this feature on your computer monitor, you can rest assured that there will be no screen tearing or stuttering, which otherwise can result in worse input lag.
The exact implementation of Free Sync varies from model to model and brand to brand and on your GPU, too. Commonly, you can find the option to activate this feature within your graphics driver software.
Blue Light Filter
If you are a hardcore gamer or a remote worker doing a lot at night, consider setting your monitor's blue light filter. This depends upon your needs and personal preferences, as this feature makes your screen look warmer with many yellowing whites at the optimal settings.
Many options are available in the monitor to make this adjustment for you. It is a better way to protect your eyes from fatigue and strain.
Accurate Brightness
Brightness plays a critical role in determining your overall computing experience. It is important for immersion and ensures you play the game as the developer intended. That's why you should adjust your monitor's brightness correctly. If set to the highest calibre, black will look grey, and the picture appears washed out.
On the other hand, if it is too low, you'll lose all the nuance in darker scenes. Lowering your brightness level in the evening is recommended to avoid getting overwhelmed by highly bright pictures. You must properly fine-tune this parameter to see what's happening on your screen.
Motion Blur
There is a considerable debate over whether you should enable motion blur or not. It can turn the motions smoother, especially at lower frame rates, but you must compromise accuracy and image quality. So, you must experiment with both active and disabled modes to check which one suits you the best.
Gamers may need to turn off motion blur in-game. Specific monitors provide motion blur as an optional function, so you can quickly determine whether it suits your needs and enable or disable it accordingly.
Backlighting
A backlight is an illumination form incorporated into the liquid-crystal displays (LCDs). This setting affects the LED illumination at the back of your display rather than the brightness of the backlight. The lighting behind your display can help reduce eye strain, especially when working in extremely dim conditions. The good news is that it matches the colour palette of your game, and it can also improve your entire mood.
Therefore, it is a sensible choice to protect your eyes when the backlighting is enabled, similar to blue light filtering. As a result, unless it drastically hinders your gaming, you should turn on this option.
Saturation
Human eyes can easily pick up vibrant and bright colours without straining. During video editing, designing, or gaming, your eyes constantly focus on things, so you need to make their job easier by increasing your monitor saturation.
This technique is prevalent in fast-paced titles where seeing your enemy one second faster can determine the fight's outcome. It would be best to enhance the saturation levels to see brighter colours. It is also beneficial for eye health and keeps staring into the monitor longer.
In the meantime, you don't have to raise the saturation level too high, as this might cause colours to blur together, making it challenging to identify one colour from another. Testing the saturation level in your primary game to ensure clear sight in all scenarios is better.
High Dynamic Range (HDR)
HDR, or High Dynamic Range, is a colour technology incorporated into the latest monitors to display a broader spectrum of colours and contrasts. Most commonly, HDR monitors realistically display nuances and colour tones and provide in-depth details in extreme light and dark shadows.
So, if your monitor supports HDR content, we recommend you enable it to get things true to life with fine-tuned colours, range, enhanced contrasts, in-depth details, and impressive highlights. You can find this option by going to Settings > System > Display.
Colour temperature
Most monitors come with a different range of colour options through which you can choose between a subtle, cool-blue tone and a warmer palette with a yellow or orange tint. This decision depends upon your personal needs and preferences, as it doesn't impact the speed of activity but significantly influences its visual appearance.
You can adjust the colour temperature depending on your game or activity because different work better with specific temperature settings. On the contrary, selecting a lower colour temperature is good to go if you prefer a grittier look in your images with less vibrant colours from brighter objects. If you want game worlds to feel more vivid or intend certain game elements to stand out, you should choose the warmer layout.
Gamma levels
Every monitor may include contrasts and brightness settings, but you may only find gamma controls on some monitors, except some of the latest models. If you have one, you can adjust it to make quite a difference to how things look. You can find the gamma levels on your system's display settings and tweak it while in-game or streaming to see your preferred value.
The recommended Gamma level is 2.2; you can do it according to your requirements. Higher values than 2.2 can look overly dark and saturated, whilst lower values start to impair contrast in darker scenes dramatically.
Calibration
A process to optimise the colour output of your screen is called calibration. Over time, your monitor gets wrecked, and calibration is the way to enhance the performance. It involves adjusting visual settings, including brightness and contrast, to minimise image distortion and lags.
You will see distorted or poor contrasts if your monitor needs to be correctly calibrated. The dark colours may appear darker, and the bright turns brighter. There are many methods to calibrate a monitor. You can do it by a skilled professional or invest in a hardware calibrator. You can also use your monitor's built-in calibration settings to adjust the colours and display output.
Here is how you can do it manually:
- The first step is to prepare for the process. You'll have to notice the signs that indicate your monitor needs calibration. It is vital for high-resolution monitors and can help maximise your monitor's colour reproduction.
- Secondly, clean your monitor before starting the process.
- In the third step, you must keep the monitor away from sunlight during calibration. The aim should be to put it in a neutral light.
- Attach your monitor to a laptop or computer PC via HDMI or DisplayPort and leave it to warm up for approximately half an hour. You must stay juggling with the mouse or keyboard to avoid the screen turning off.
- Here, set the resolution back to the default settings before the calibration. You can follow the resolution adjustment settings mentioned earlier in this article to set the resolution.
- Finally, it's time for calibration! The nature of the process varies depending on the type of device connected to the monitor. i.e., laptop or Mac. If you're using a Windows PC, open the calibration tool.
For instance, if you are calibrating through a computer PC, you'll follow this process:
- Open the start menu and search "Calibrate Display Colour".
- Those with a dual monitor setup may need to ensure the calibration tool registers the correct display.
- If not, set your monitor back to the default colour settings.
- Adjust the recommended Gamma settings using the slider to match.
- Adjust the recommended brightness and contrast settings using the slider to match.
- Adjust your colour balance until it turns neutral.
- Click "Previous Calibration" to compare samples before and after calibration.
Final Thoughts
If you want to enjoy a monitor's maximum performance while enhancing your overall computing and gaming experience – optimisation is the way to go. A PC monitor is also regarded as the gateway to your digital world, and adjusting its settings will allow you to squeeze its full potential.
In this guide, we have enlisted several methods to get optimal monitor performance, making your investment in a computer monitor worthwhile. So, whether you are a seasoned gamer, an artistic expert, or a technology enthusiast, taking time to tune the screen is a meaningful endeavour that can significantly impact your daily computing activities.
Laptop Outlet is your go-to destination for high-quality and cutting-edge PC monitors from all the leading brands. You can also explore a vast range of other computing devices and accessories available at stores online in the UK.
So, why wait any longer? Head to Laptop Outlet, browse our offerings and best deals, and get your dream monitor today!
Read more:
| Can We Set Up Multiple Monitors for Windows or Mac Computer |
| Best Monitor for Video and Photo Editing |
| From Desk to Dock: Monitors That Enhance Your Workstation |
Related Articles
Last Updated: March 30, 2026
Last Updated: March 30, 2026
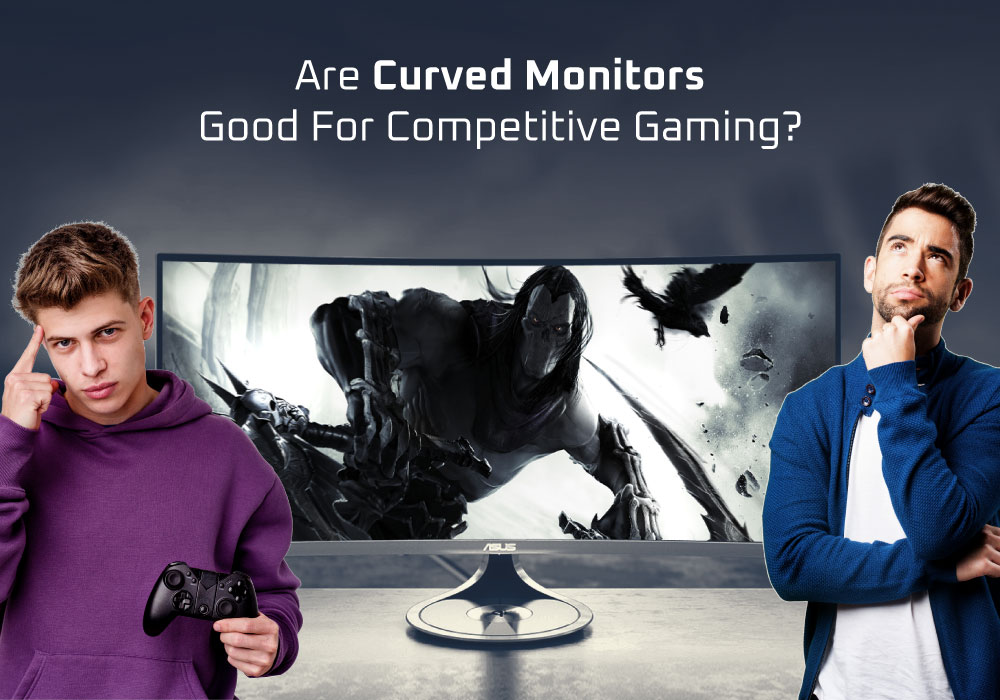
Specifications for gaming monitors and other computer components necessitate sorting through a large number of numbers. It makes purchasing anything computer-related extremely difficult. Although gamers are more tech-savvy than average users, monitors and their technology have become extremely complex. Here's a primer to help you understand the fundamentals so you can find a monitor that will give you the visibility you need when the game is on the line.
Last Updated: March 30, 2026
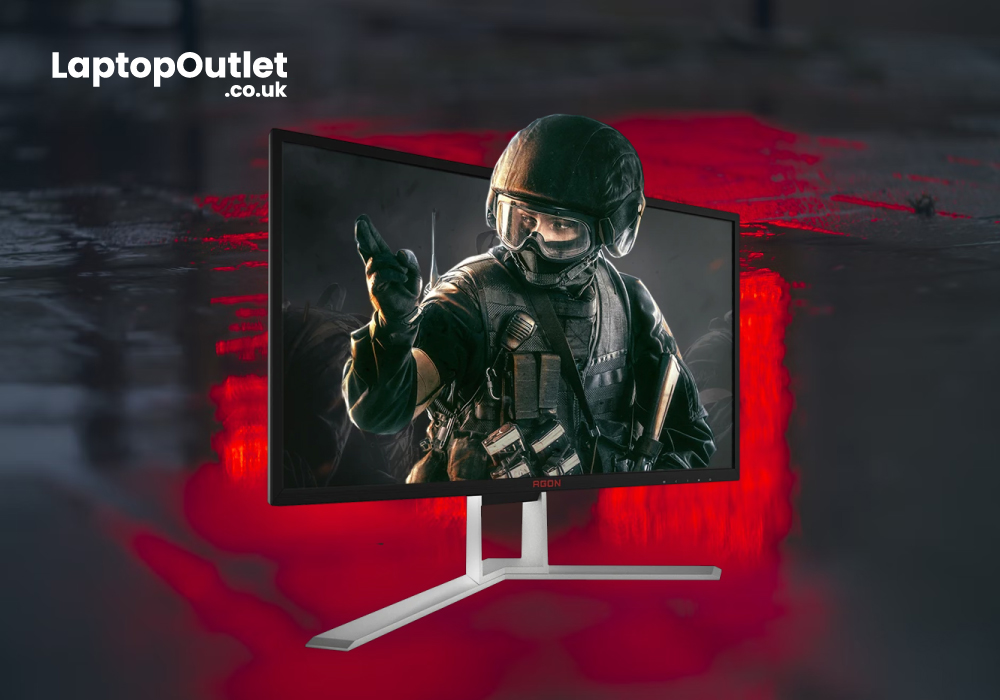
AOC monitors could be your best choice for firehouse gaming performance and super-crisp visuals. Along with having a great gaming monitor for your tech space it is highly important that you check your monitor settings. The right gaming monitor settings before you get on the sensational gameplay will elevate your gaming experience wholly. No matter your gaming monitor may be equipped with the most top-tier specs and features. Still, checking and optimizing your AOC monitor settings for gaming will help you to the max.
Interruptions in gaming do not just depend on your computer’s CPU performance. In fact, the gaming monitor plays a crucial part in bringing the best and smoother gameplay on the screen. It’s all about the visual entertainment when it comes to gaming, isn’t it?
If you’ve got your AOC gaming monitor and are ready for a rigorous gaming session, you need to overview your settings beforehand. We have listed down every step on how you can set your AOC monitor on the best gaming

Last Updated: February 26, 2026
Ultrawide monitors are not for everyone, but for people who multitask and crave increased productivity, ultrawide monitors are the best option to go with. If you are spending half a day on the monitor or many hours each day, ultrawide monitors with immersive displays can be very beneficial. Ultra-wide monitors provide tons of space, which enables content creators, multitaskers, and gamers to increase the efficiency of their work.
If you are planning to upgrade your monitor or find a new monitor, the ultrawide monitor can be a great choice for you. You might need some time to adjust to the extra space offered by the ultra-wide monitor, but once you get used to it, there is no going back.
Difference Between Standard and Ultrawide Monitors:
The main difference between the standard and ultrawide monitors is the aspect ratios. The aspect ratio for the standard monitors is 16:9 and that of ultrawide monitors is 21:9. As the name suggests, ultrawide monitors are horizontally longer. The extra
Last Updated: April 17, 2026
For tear-free gaming performance, it is important to enabling G-syn on your gaming PC. Basically, G-sync is a technology licensed by GPU manufacturers. Activating the G-sync is very important as they work together to deliver a silky-smooth experience. Now the monitor can draw a new refresh whenever it’s ready and without screen tearing, stuttering and latency. Remember that G-sync is never activated by default, so you must turn it on by yourself.
Do your monitor support NVIDIA-G Sync?
It is important to check if your monitor has G sync compatibility or not. Without the right kind of hardware, it won’t work. NVIDIA has a database where all the compatible monitors are mentioned. You can check it from there to confirm if the monitor has compatibility or not. For most high-end monitors, this technology is available, and these displays promise top-notch features like ultra-low latency, 1000 nits maximum brightness, and multi-zone backlighting.
Another thing to consider here is that your monitor