

How To Defrag A Laptop: Improve Your Computer's Performance
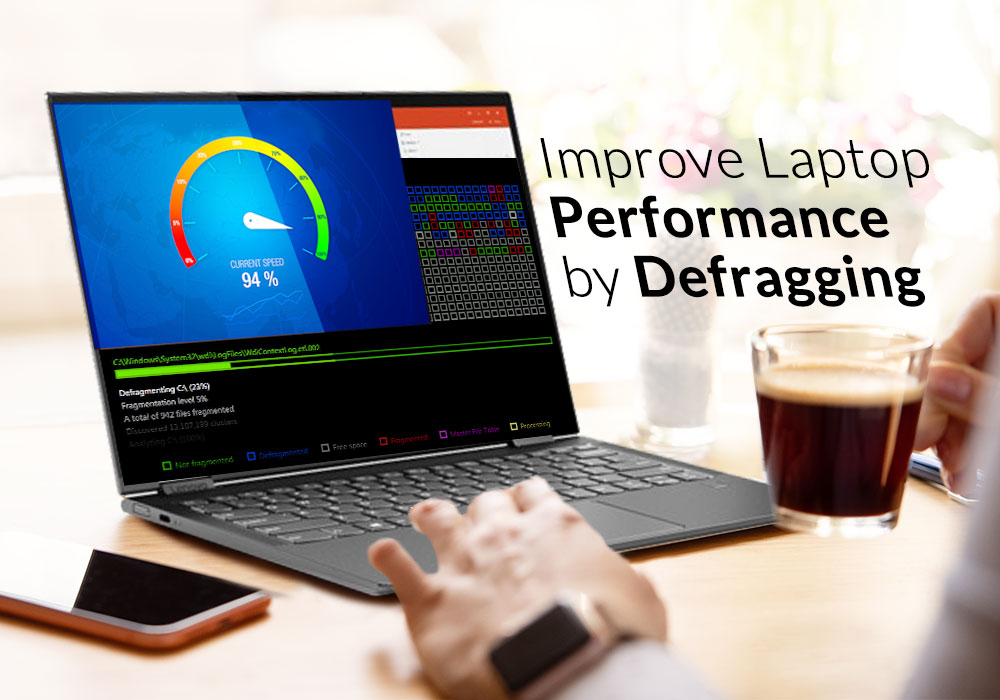
If you are tired of your computer’s speed or performance, it may be because the defrag is due. Defragging your system can largely boost the overall speed and performance of your laptop or PC. Most of us don’t even know about defragging much but, in fact, it actually helps in organizing the data on the hard drive.
Your hard drive may be messed up or jampacked due to the disorder of files, programs, or software tools. If you decide to defrag your laptop, it can increasingly enhance the performance and not let your laptop run slow anymore.
You can put a laptop to defrag automatically and manually both. Here we have stated on how you can do that.
Defrag a Laptop Automatically
Yes, you can automatically defrag a laptop if you have Windows 7, 8 or above, or maybe Windows Vista. Mostly these operating systems have an automatic feature where it notifies itself to defrag the laptop. In any case, if you don’t get any notification or reminder, you can do it yourself by going to Control Panel.
- Navigate to the Start Menu and go to Control Panel. Wait for the Control Panel window to open.
- From the opened window and drop-down options, select the Systema and Security.
- The further dialog box will be opened where you have to locate the Administrative Tools section
- From underneath the administrative tools section, click the Defragment and optimize your drives.
- Now all the computer various disk drives will be opened. Click Change Settings from the bottom of the Window dialogue box.
- From these settings, you can now apply the automatic settings on whenever you need the laptop to defrag automatically. You can choose Weekly, monthly and more options according to your priority.
- Click Ok after you are finished.
Defrag a Laptop Manually
To defrag a laptop manually, or any specific disk drive, the process is quite similar. You just have to change the after settings a little bit in order to manually defrag a laptop.
- Open the Control Panel from the Start Menu or click Windows icon to open the Start bar menu.
- After opening the Control Panel as soon as you click it, go the Systems and Security.
- Select the same option as mentioned in the previous method. Click Defragment and optimize your drives below the Administrative tools
- From the window bar that opens after clicking Administrative tools, just select the Disk drive that you need to defrag.
- Now you can choose the drive or file that you need to defrag.
- Click Defrag and then OK after finishing.
Run Overall Disk Fragment Manually
You can also defrag the entire disk manually by just selecting tad bit different options after visiting the control panel. This allows the whole disk fragmentation to process easily without having to select a particular disk.
Windows > Control Panel > System and Security > Administrative tools > Defrag your Hard Drive > Analyze Disk > Defragment Disk
Bottom Line
Other than the disk fragmentation, there can be several issues inside your laptop that are causing the system to slow down. However, in most cases a defrag session allows the laptop system to breathe again and run speedily. If your laptop’s performance still doesn’t have any improvement, you can consider changing the hard drive of the system. Moreover, you can consider buying a new laptop that has a better RAM and storage for the excellent hard drive performance.
If you are looking for some of the best laptop deals and great specs for speed and performance, you should take a look at the official Laptop Outlet store online in the UK.
Read More:
| Speed Up Your Laptop – Easy Fixes |
| How to Factory Reset a Laptop |
| How to Stop a Laptop from Overheating – Cool It Down Fast |
Related Articles
Last Updated: May 19, 2025
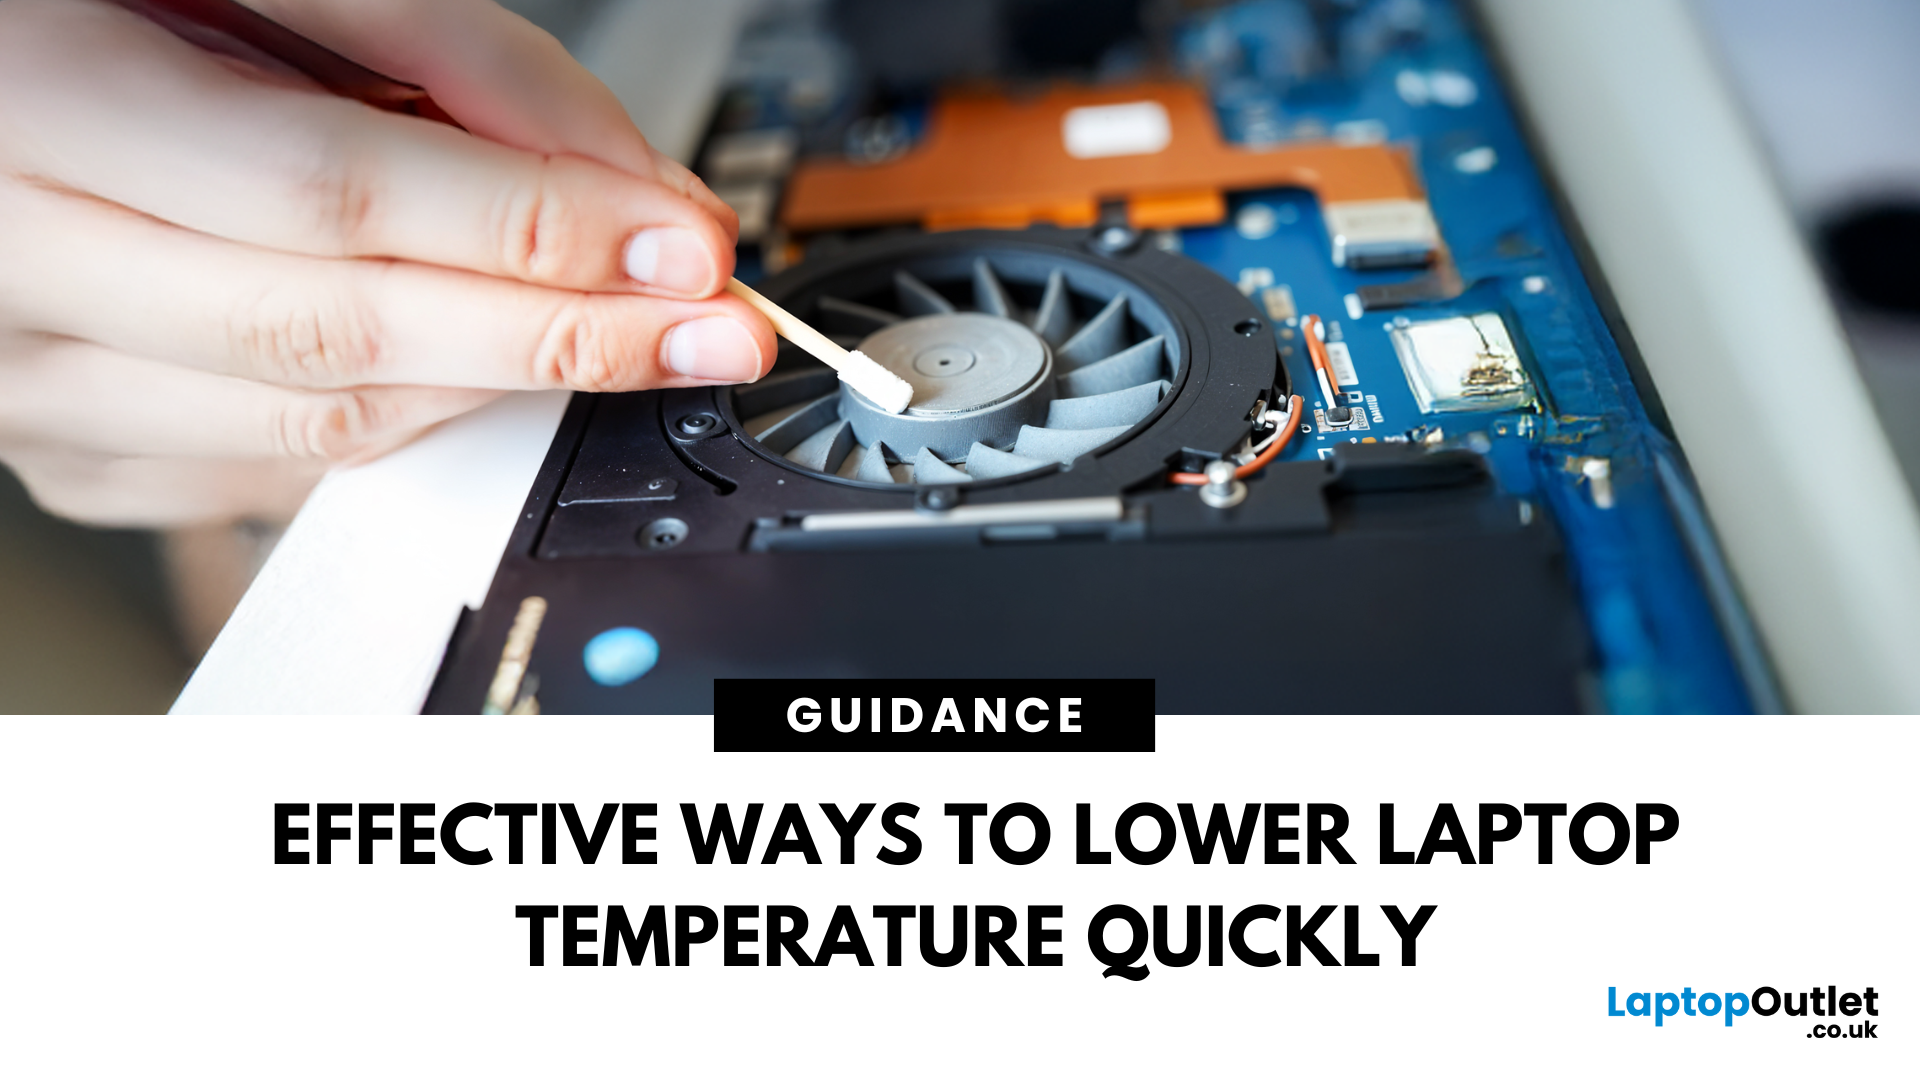
Laptop Too Hot to Handle?
If your laptop feels like it’s about to melt—or sounds like it’s ready for takeoff—you’re dealing with overheating. Not only is it annoying, but it can slow down performance and damage hardware. Here’s how to stop your laptop from overheating before it turns into a desktop toaster.
1. Keep It on a Hard, Flat Surface
- Soft surfaces like beds and sofas block airflow.
- Use a desk, table, or cooling pad to let air circulate freely.
- Bonus: it’s better for your posture too!
2. Clean Out the Vents and Fans
- Dust = public enemy number one for laptop cooling.
- Use compressed air to gently blow dust out of vents.
- Do this every couple of months to keep airflow smooth.
3. Use a Cooling Pad or Stand
- Laptop cooling pads are affordable and effective.
- They come with built-in fans for extra airflow.
- Elevating your laptop also improves natural ventilation.
4. Close Unused Apps and Tabs
- Too many apps = extra workload = more heat.
- Open Task Manager (Windows)
Last Updated: February 23, 2026
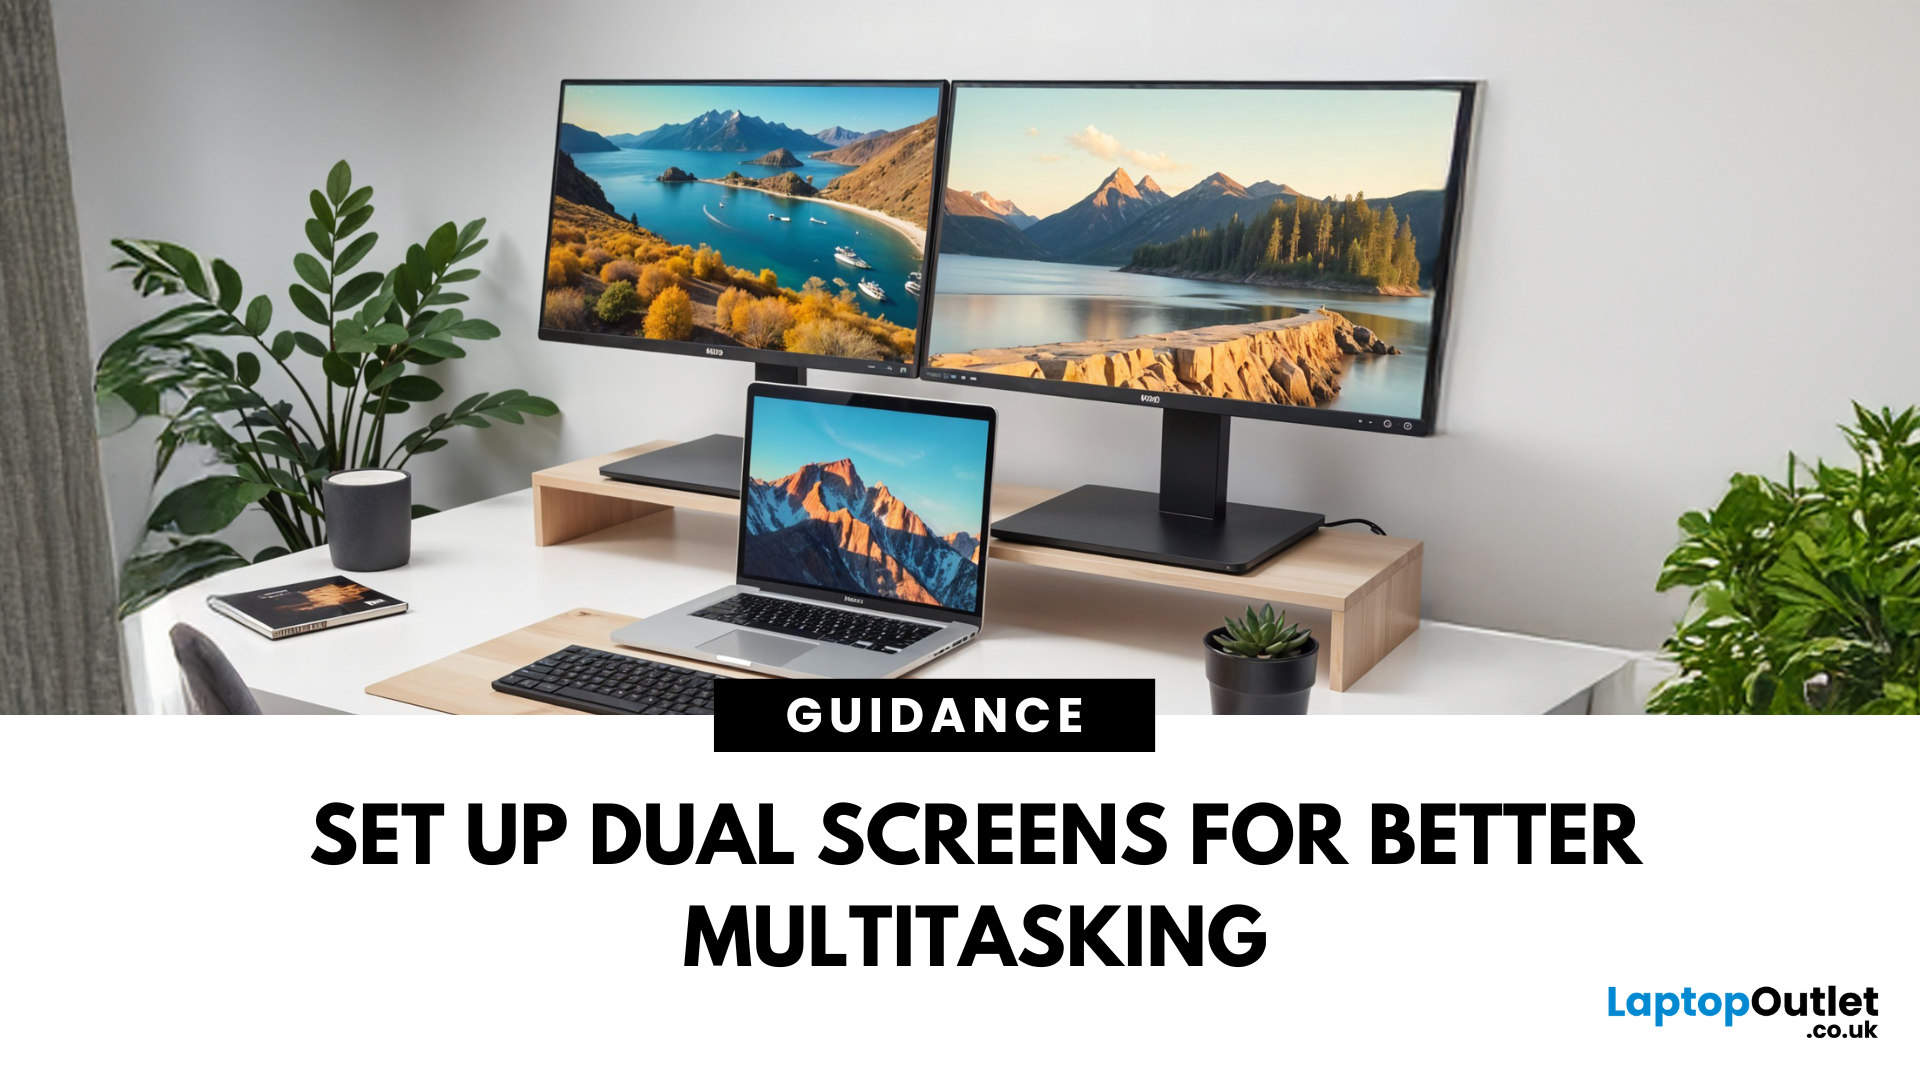
Feeling cramped on your laptop screen? Whether you’re a creative pro, a remote worker, or just need more screen real estate for multitasking—dual monitors are a total game-changer. Here’s how to connect two monitors to your laptop and level up your workspace.
What You’ll Need to Connect Two Monitors
Before you dive in, make sure you’ve got:
- A laptop with multiple display outputs (HDMI, USB-C, DisplayPort, Thunderbolt)
- Two external monitors
- Compatible cables or adapters (HDMI, VGA, USB-C, DisplayPort)
- Optional: Docking station for easier setup
Step-by-Step: How to Connect Two Monitors to a Laptop
1. Check Your Laptop’s Ports
Look at the sides of your laptop—do you have two separate video outputs (e.g., HDMI + USB-C)? If not, you might need a USB-C hub, docking station, or display splitter.
2. Plug in the First Monitor
- Connect your first monitor to the laptop using an HDMI, VGA, or DisplayPort cable.
- Turn on the monitor and make sure it’s set to the correct input source.
Last Updated: October 02, 2025
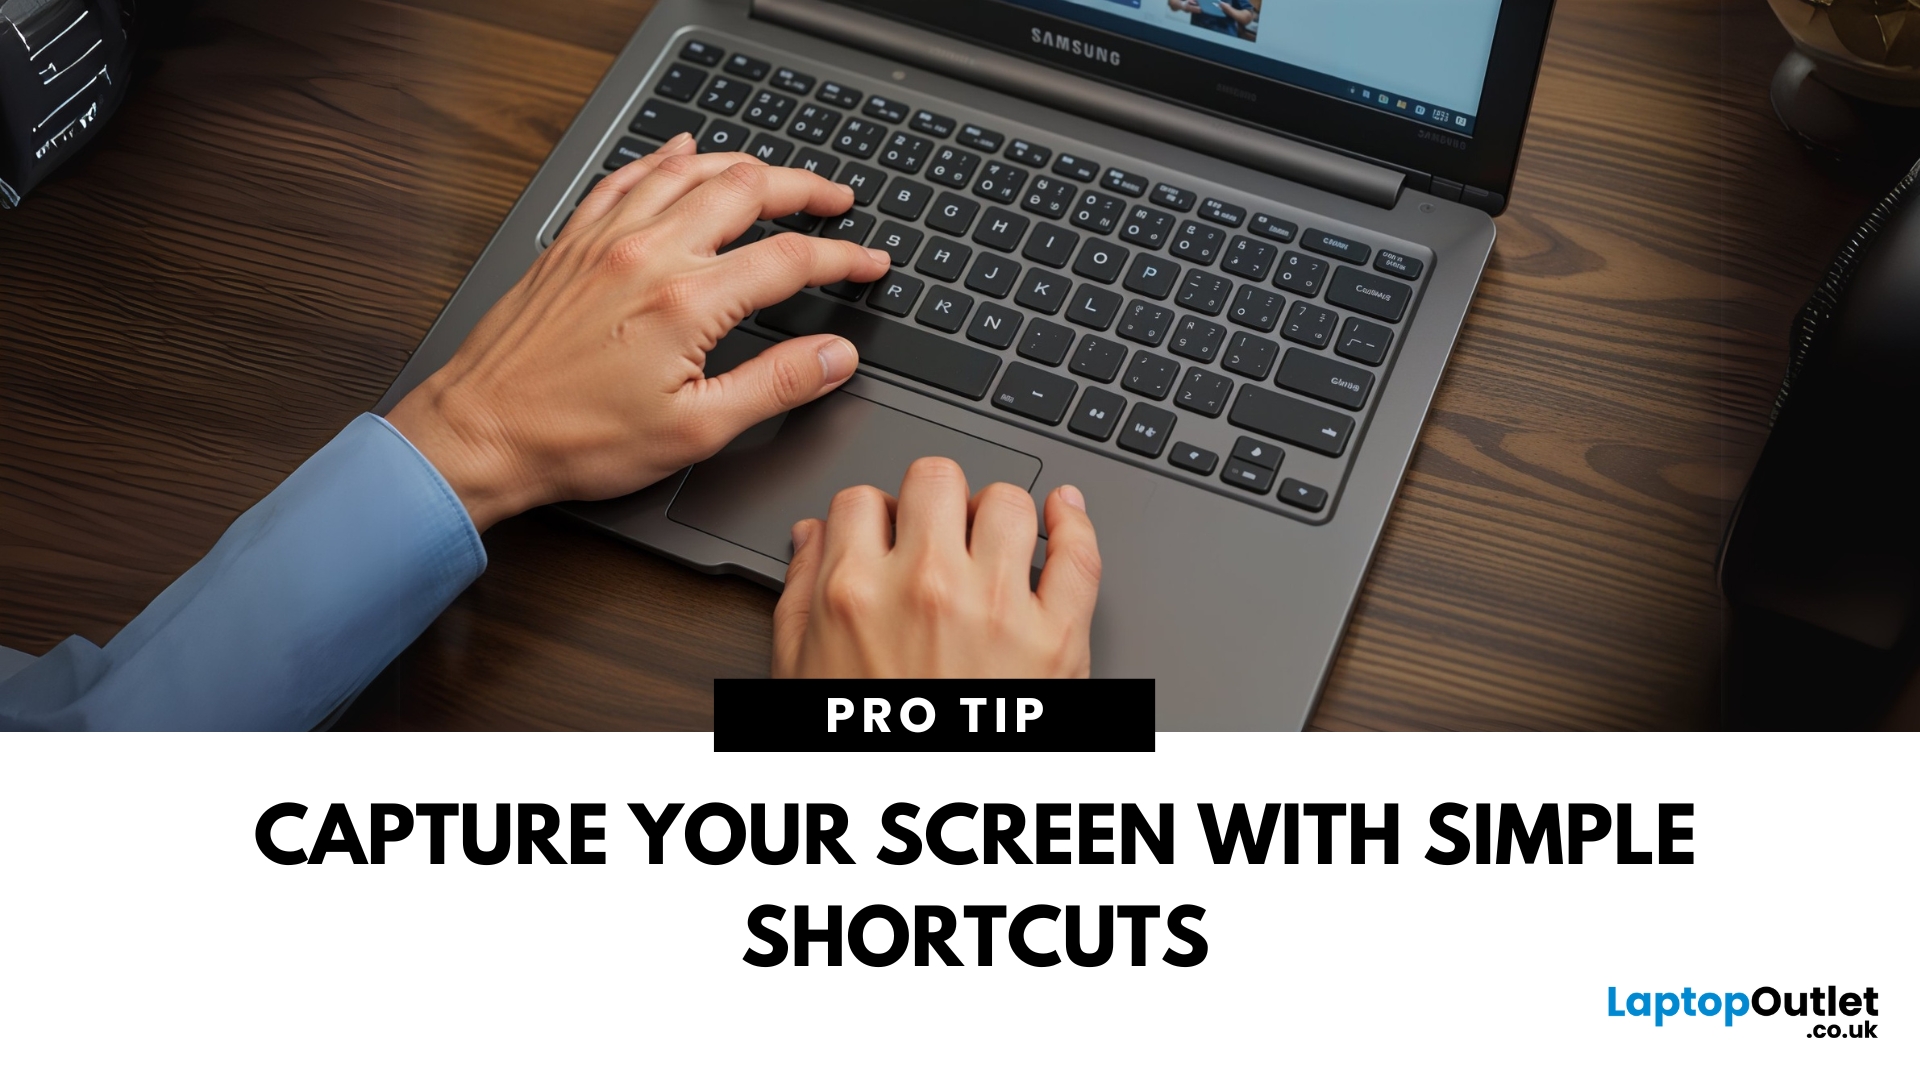
Capture Your Screen Like a Pro
Whether you’re saving receipts, capturing memes, or sending error messages to IT support—screenshots are super handy. But how you take one depends on your laptop. Don’t worry, we’ve got all the easy ways to screenshot on Windows and Mac laptops in one place.
How to Screenshot on a Windows Laptop
1. Use the Print Screen (PrtScn) Key
- Press PrtScn – Captures the whole screen to clipboard
- Open Paint or Word and press Ctrl + V to paste and save
2. Alt + Print Screen
- Press Alt + PrtScn – Captures the active window only
- Paste into your desired app (e.g., Paint, email, etc.)
3. Windows + Shift + S (Snip & Sketch Tool)
- Opens a selection tool
- Click and drag to capture a specific area
- Screenshot goes to clipboard—paste it anywhere or save via pop-up
4. Windows + Print Screen
- Captures the whole screen and saves it automatically
- Find it in Pictures > Screenshots folder
How to Screenshot on a MacBook or Mac Laptop
1. Command + Shift + 3

Last Updated: October 02, 2025
Time for a Fresh Start?
Whether you’re selling your device, fixing performance issues, or just want a clean slate—a factory reset gives your laptop a fresh start. We’ll walk you through how to factory reset both Windows and Mac laptops, with simple steps anyone can follow.
Before You Factory Reset: Back It Up
- A factory reset wipes everything—apps, files, and settings. So before you dive in:
- Back up files to an external hard drive or cloud (e.g., Google Drive, OneDrive, iCloud)
- Sign out of any accounts (Microsoft, Apple ID)
- Note down any licence keys or passwords you’ll need later
How to Factory Reset a Windows Laptop
- Using Windows Settings (Windows 10 & 11)
- Click Start > Settings > System > Recovery
- Under Reset this PC, click Reset PC
Choose:
- Keep my files – Removes apps/settings, keeps personal files
- Remove everything – Full factory reset
- Follow the prompts to complete the reset
Using Advanced Startup (If You Can’t Boot Normally)
- Force restart the laptop

Last Updated: May 15, 2025
How Long Will Your Laptop Keep Up?
Laptops don’t last forever—but how long they stick around depends on how you use (and treat) them. Whether you're streaming, gaming, or grinding through spreadsheets, here's what to expect from your laptop’s lifespan—and how to tell when it’s time to move on.
What’s the Average Lifespan of a Laptop?
Most laptops last between 3 to 5 years. High-end models can go up to 6 or 7 years, especially with upgrades and proper care.
Here’s a quick breakdown:
- Budget laptops: 2–4 years
- Mid-range laptops: 3–5 years
- High-performance laptops: 5–7 years (sometimes longer)
Pro Tip: Just because a laptop powers on doesn’t mean it’s keeping up. Slow speeds and laggy apps can make even a working device feel ancient.
Factors That Affect Laptop Lifespan
- Usage: Gaming and creative work wear laptops faster than browsing and office work
- Hardware Quality: Premium materials and components = longer lifespan
- Maintenance: Regular clean-ups, software updates,