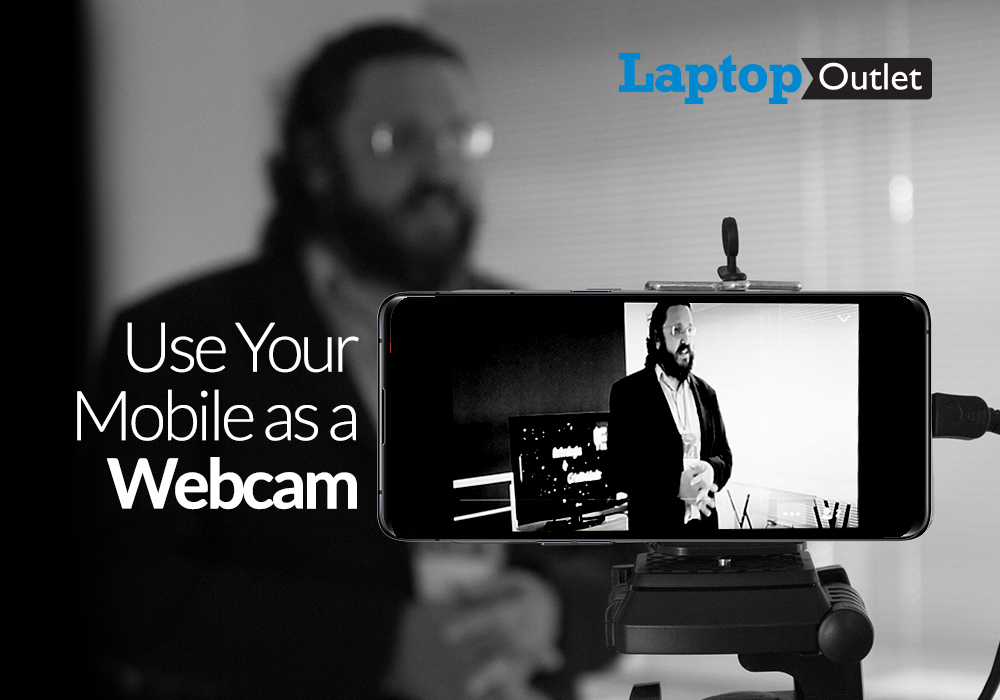
How to use your Android or iOS device as a webcam
Finding the right webcam is not an easy task to do and it can also be really heavy on your wallet too. You need to make sure the camera is compatible with your device and provides good quality, while also being affordable. After the pandemic more and more people shifted towards working from home and it is slowly becoming the new normal. In these times a webcam is the most important thing you need with your computing setup because of online meetings, online classes, and other work requirements.
If you are not able to find the right webcam, then there is one more thing which you can do about it. You can simply turn your Android phones or iPhones into a webcam and connect them with your computer. If you want to turn your phone into a handy webcam, then you have come to the right place. We are going to be sharing with you guys some easy steps in which you can use your phone as a webcam. So let us not waste anymore time and get right to it.
For Android
First let us take a look at how you can convert your Android phones in to a webcam. Before we start you need to make sure that your phone is equipped with a long-life battery, as using your phone as a webcam can drain a good amount of battery. Your phone should also have operating system of Android 5 or higher to make sure the apps work just fine.
- The first step is to install a good app which can turn your phone into a camera. There are a number of apps on Play Store which can help you with it, but we have selected the best one from them so you can save some time and a lot of hassle. We are going to be talking about DroidCam which is a free app, and you can find it easily.
- Download the app from Play Store on your phone and also download a Windows version to your laptop or desktop, on which you will be using the webcam. Once the app is installed on your phone you need to install it in your computer too.
- When you are installing the Droid Cam app on your computer you need to make sure that you have checked the box which says, “Allow the app to install audio drivers”. Then just complete the setup.
- When you open the app, it will show you the options to connect your device wirelessly or via USB. You can choose as per your convenience, but we suggest you connect the device wirelessly via Wi-Fi. Make sure both your computer and phone are connected to the same internet.
- Then the app will ask you to enter the IP of your device which you want to connect as a webcam. You can see the IP from your device and enter it on the computer app. Make sure you have checked both audio and video boxes before launching this app. If only video box is checked, it will only show video and the microphone will not pickup audio. If both are checked then your phone will also pickup your audio and show the video too.
- Go to your phone’s app and click on the three vertical dots you see on the side. There you will get the freedom to choose which camera you want to use, front or back. You can choose as per your preference, but we recommend that you choose front camera as it will also show you the preview and provide good results. But if you think your phone’s rear camera is better then you should go for it.
- Hit “start” on your computer’s app and it will connect the phone to your computer as a webcam. Open the preferred video conferencing app on your computer and go to the settings. From there you can switch the default camera to the “Droid Cam”. If you want to use the microphone of your phone as well, then in the settings of video conferencing app you need to go to audio input and select “Droid Cam Virtual Audio”.
For iOS Devices
Now let us see how you can convert your iOS devices into a webcam for your computer. The process is almost the same as it was with Android phones. You can also use Droid Cam for iOS, but it won’t work if you are using a Mac computer. For iOS devices like iPhone or iPads you can use EpocCam which is another nice app, which works on both Mac and Windows computers, and it is also free.
- Install the app on your iPhone and on your computer. Make sure your phone and computer both are connected to the same Wi-Fi or LAN network. Then open the app on your computer and make sure the phone is connected.
- Once the app is installed on both computer and phone, open the videoconferencing app on your computer and make sure the phone camera is synced with your computer app.
- If you are using a free version of EpocCam then you will face some restrictions. You will not be able to get audio through the microphone and the video resolution will only be 640 x 480.
Final Word
These were some easy methods through which you can convert your Android phone or iOS device into a webcam for your computer. But before you do that you need to make sure that the phone which you are using is fully charged. Also, you need to have a stand or a tripod on which you can mount your phone safely, because you cannot just place your phone anywhere or hold it all the time in your hands as you are using it as a webcam. We hope this article covered everything you needed to know and if you are looking to buy the best phones, then we recommend that you visit Laptop Outlet and choose from a wide collection of Android phones.
Read More:
| How to Screenshot on a Laptop |
| How to Clear Cache on an Android Phone |
| Top 3 MSI Laptop Series (Katana, Stealth, and Raider) and Their Best Models |
Related Articles
Last Updated: October 02, 2025
Time to Clear Out the Clutter
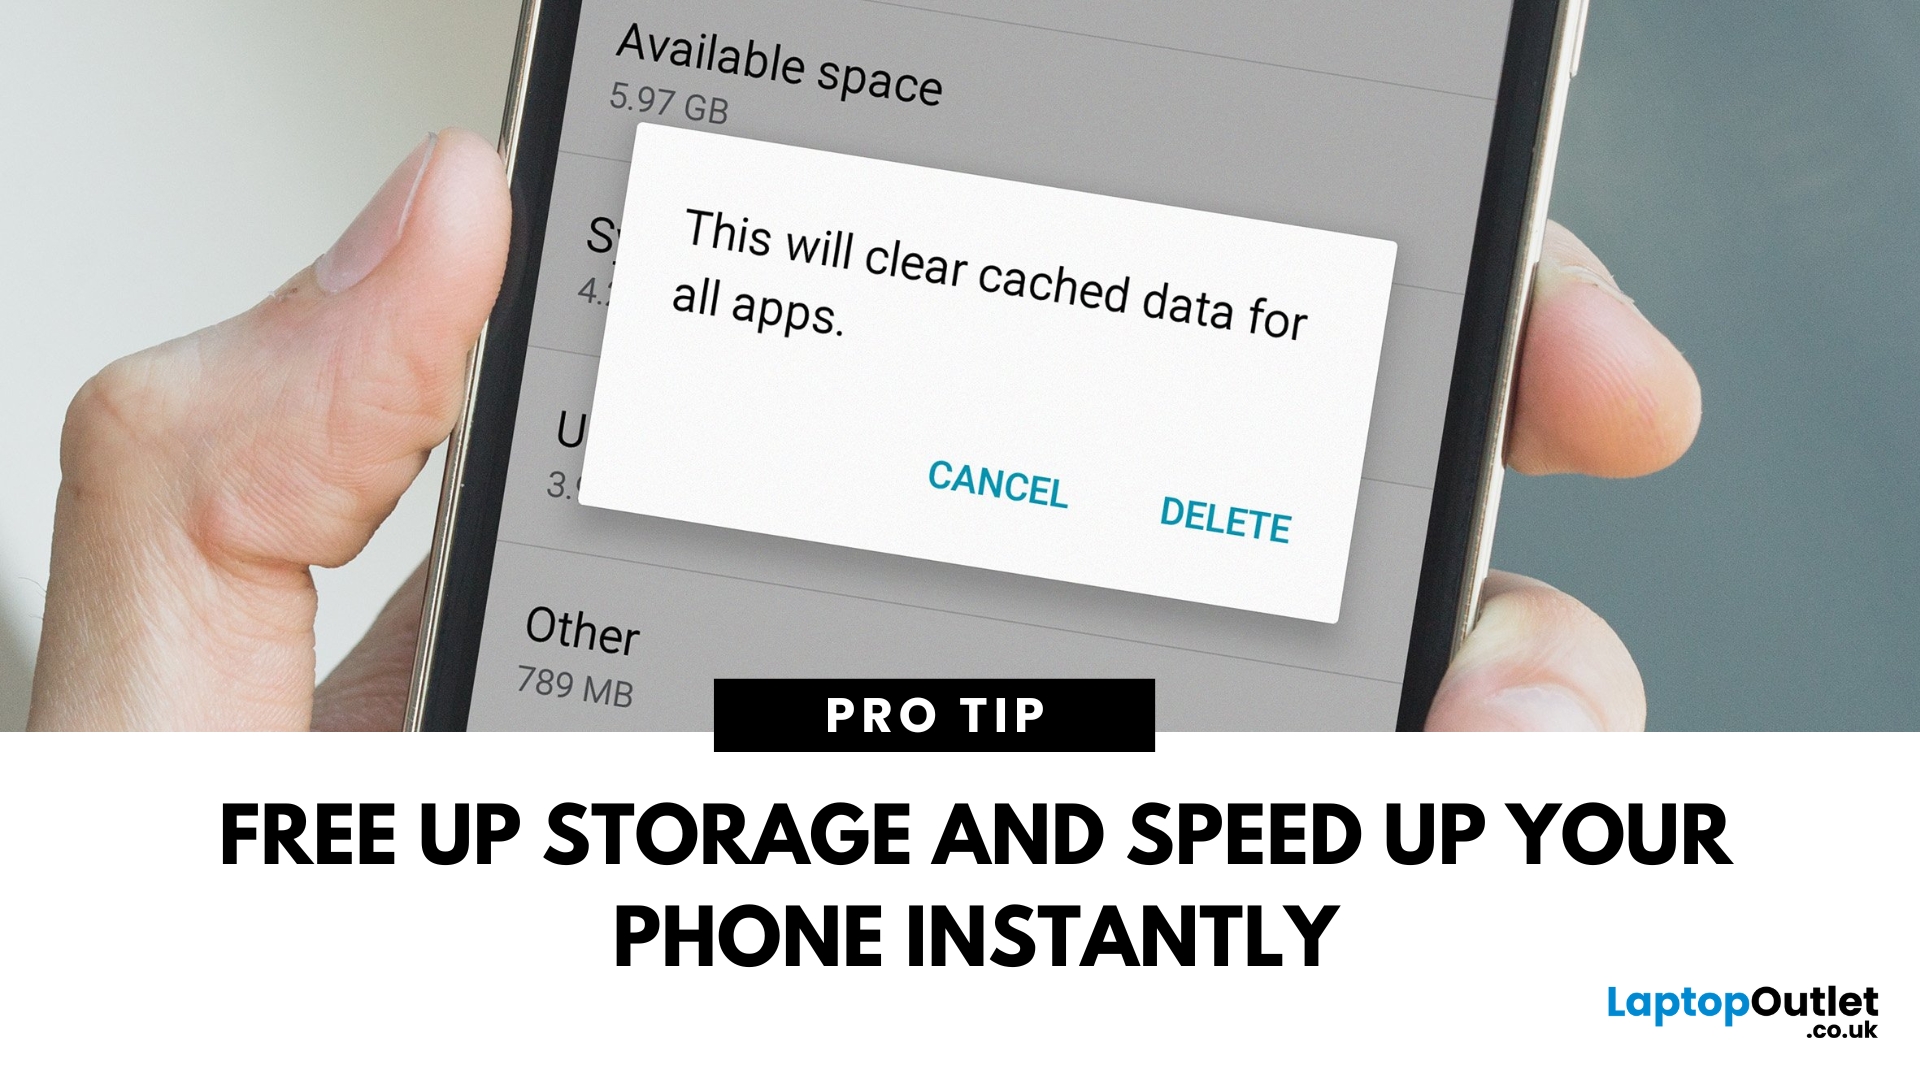
If your Android phone is feeling slow or apps aren’t working properly, it might be time to clear the cache. Cached data builds up over time and can hog storage or cause app glitches. Here’s how to safely clear cache and speed up your phone.
What Is Cached Data?
Cached data is temporary files stored by apps to load faster next time you open them. However, over time, too much cache can:
- Slow down your phone
- Cause apps to crash or behave oddly
- Fill up your storage unnecessarily
Pro Tip: Clearing cache does not delete your personal data, like photos or messages.
How to Clear Cache on an Android Phone
1. Clear App Cache (Individual Apps)
Steps:
- Open Settings on your phone
- Go to Apps or Apps & notifications
- Tap See all apps (if needed)
- Select the app you want to clear
- Tap Storage & cache
- Tap Clear Cache
Do this for apps that take up a lot of space or are misbehaving.
2. Clear Cache for All Apps (Device Cache)
Some Android phones

Last Updated: May 23, 2025
Need Your SIM Details? Here’s How to Find Them
Whether you're setting up a new service, transferring your number, or troubleshooting, you might need your SIM card number (also called ICCID). Thankfully, finding your SIM number on an Android phone is simple—no need to remove the SIM card.
1. Find SIM Number in Android Settings
Steps:
- Open Settings
- Tap About phone or About device
- Tap Status or SIM Status
- Look for ICCID—this is your SIM card number
The ICCID is usually a 19–20 digit number unique to your SIM card
2. Check SIM Number via Mobile Network Settings
Depending on your Android version or manufacturer (Samsung, Google Pixel, OnePlus):
Steps:
- Go to Settings > Connections > Mobile Networks
- Tap SIM Card Manager (if available)
- Select your SIM and view details
3. Find SIM Number on the Physical SIM Card
- If your phone doesn't show the ICCID, you can:
- Power off the phone
- Remove the SIM card carefully
- Check the printed number directly on the card
Use a magnifying

Last Updated: September 11, 2025
Move Your Contacts Without the Headache
Switching phones is exciting—but what about your contacts? Luckily, copying contacts from Android to iPhone is simpler than you might think. Here’s how to do it quickly using different methods.
1. Use Move to iOS App (During iPhone Setup)
Apple’s free Move to iOS app helps transfer contacts, messages, and more during iPhone setup.
Steps:
- On your Android device, install the Move to iOS app from Google Play
- Begin setting up your new iPhone
- On the "Apps & Data" screen, select Move Data from Android
- Open the Move to iOS app and follow the prompts
- Enter the code displayed on your iPhone into your Android device
- Select Contacts (and any other data you want to transfer)
- Wait for the transfer to complete
Best method if you're setting up a new iPhone
2. Sync Contacts via Google Account (Anytime)
Already using Google to back up your Android contacts? You can sync them to your iPhone easily.
Steps:
- On your Android, ensure contacts

Last Updated: May 23, 2025
Get Back to Full Functionality
Safe Mode on Android is great for diagnosing problems, but sometimes you need to get back to normal use quickly. If your Android device is stuck in Safe Mode, here’s how to disable it and resume full performance.
What Is Safe Mode on Android?
Safe Mode temporarily disables third-party apps so you can troubleshoot issues like crashes or freezes. While helpful, it restricts app functionality and customisations.
You’ll usually see "Safe Mode" in the bottom-left or bottom-right corner of the screen when it’s active
How to Disable Safe Mode (Quick Methods)
1. Restart Your Android Device
This is the most common and easiest method.
Steps:
- Press and hold the Power button
- Tap Restart (or Power off if Restart isn’t available)
- If you chose Power off, manually turn the device back on after a few seconds
Most devices exit Safe Mode automatically after reboot
2. Use the Notification Panel
Some Android devices let you disable Safe Mode directly