How to transfer photos from iphone to laptop without usb
There are a lot of ways to transfer any data including photos from iphone to a regular PC or laptop. Not being able to do it through USB can be due to some of the common troubles such as not having any cable or lost USB. Well, in both cases we do fortunately have ways that allow users to quickly transfer photos from iPhone to laptop without USB.
Thanks to wireless technology and connectivity, users can now easily transfer any type of data from Apple phone to computer. But for it you need to make sure you have a good and stable wireless connection. Both your phone and laptop should be running on a Wi-Fi or good enough Internet so you can connect easily.
Our quick 3 ways guide will help an iPhone user to conveniently transfer massive number of photos and files from iPhone to laptops.
iCloud.com
If you didn’t already know, Apple has a dedicated website for its users. iCloud.com is basically for all the Apple iPhone users who can store their photos on iCloud storage. You just need to make sure that you have enabled your phone to upload photos on icloud.com.
From your mobile, go to Settings > Photos > iCloud Photos. This way you can upload photos easily on your mobile and get it ready to be installed or downloaded from any other device that can log on to the iCloud.com.
Once you have upload photos on iCloud, you will be able to download them from your laptop. Just by visiting the official site of iCloud, you can login through your Apple ID and password. Your laptop may demand the two-factor authentication that you have enabled from your phone. On your Apple phone, at the same time, a request Window of Sign-in will be there. Tap the Allow button and enter in your PC as well.
You can also allow the same laptop to be used again for transferring photos whenever you need. For this, you will have to give the option of trust to your laptop for every next transfer. This will help save the time, so you don’t have to go through the verification process next time.
After you enter the iCloud.com library by clicking the photos, you will see that the photos are organized in a similar manner as that of your phone. The left-hand bar will show media type where you can specifically view each album of your iPhone.
Whichever photo you desire to select and download, you can just choose it and then select. After selecting the photo, click on the Download icon.
Now you can easily find all the downloaded photos in the downloads folder, and you can move the photos in your preferable folder.
Install iCloud on Windows
If you are thinking that the iCloud.com way is exactly same, this is not actually. But it kinds of resonates with it as you have the similar platforms. You can very easily transfer your iCloud photos directly to your laptop from your mobile.
Without navigating to iCloud.com, you can visit and download the iCloud for Windows by going to the iTunes on desktop. You can also download it from the official Apple website.
After you have installed the iCloud for Windows, you have to login through the Apple ID and password. This could be the same way as you logged in through the site.
Once the iCloud program has logged in, it automatically gives the option of iCloud Library that is in your laptop. Click the check mark next to photos and choose photos from the dialog box that appears. Click through the corresponding options.
There, you get the iCloud library option where you can select the Download photos and videos to my laptop or PC option. You just need to click that and go through the following steps that you will get according to your convenience.
It usually gives the option of Upload new photos and videos from my PC. You can easily upload any photos to your PC by selecting the option and then choose Done > Apply.
These photos will be directly available in the iCloud folder that you can go to by My PC > iCloud Photos > Downloads. You can now view all the photos that you have downloaded from the iCloud photos.
AirMore
Well, oh well, who knew there was another way to transfer photos from your iPhone directly to laptop without using any Apple platform AirMore is an application that acts to be a great communication and transferring medium between your iPhone and laptop.
AirMore is basically a web-based app, and you can manage all your phone data using this app. Download the application on your phone from the Apple store. On your laptop directly go to the browser and visit the “web.airmore.com”.
On the site, you will have the access to connect your iPhone to the PC or laptop through more than one way. You can either connect through the Scan QR code or connecting in Radar.
In order to connect through Radar, you just need to select that option on your Window. Your phone will now automatically provide the connecting in Radar dialog box and you have to tap “Accept”.
To connect through the QR code, you will have to click Scan to Connect on your iPhone. Now just aim the scan code towards the AirMore web window on your display. Your phone will now be connected to the PC or laptop.
If you are running both your laptop and iPhone on the same Wi-Fi, it will be relatively easier to connect both. After you connect your phone to laptop, you can now transfer photos or any files through the displayed steps. There might be a slight delay in the connection if you have unstable Wi-Fi or not the same on both devices.
Bottom Line
As you can observe, looking around to transfer your photos or videos from iPhone to laptop without USB is not a difficult process at all. You just need a little extra time for making a connection through relative apps or platform. There is no way that any of these steps or ways don’t perform well for you. So we hope we have made it clear enough for all those who have been confused.
You can also checkout the latest variety of laptop deals and iPhones at Laptop Outlet online store and get free delivery on the mainland order.
Read More:
| How to Screenshot on a Laptop |
| How to Clear Cache on an Android Phone |
| Old Mobile Phones: What to Do with Them |
Related Articles
Last Updated: May 06, 2026

Last Updated: October 02, 2025
Got iPhone Photos? Let’s Move Them
Snapped the perfect selfie? Captured your holiday vibes? Now you want to transfer those shots to your laptop—whether it’s for storage, editing, or sharing. We’ve got you covered with simple ways to transfer photos from iPhone to laptop—whether you’re using Windows or Mac.
How to Transfer Photos from iPhone to Windows Laptop
1. Using USB Cable & Photos App
- Connect your iPhone to your laptop using a Lightning to USB cable
- Unlock your iPhone and tap Trust when prompted
- Open the Photos app on your Windows laptop
- Click Import > From a USB device
- Select the photos you want and import
2. Using File Explorer (Manual Method)
- Plug in your iPhone and unlock it
- Open File Explorer > This PC > Apple iPhone
- Go to Internal Storage > DCIM
- Copy and paste photos to your laptop folder
3. Using iCloud Photos
- Enable iCloud Photos on your iPhone: Settings > Photos > iCloud Photos
- Visit iCloud.com and sign in
- Go to Photos, select images, and
Last Updated: September 11, 2025
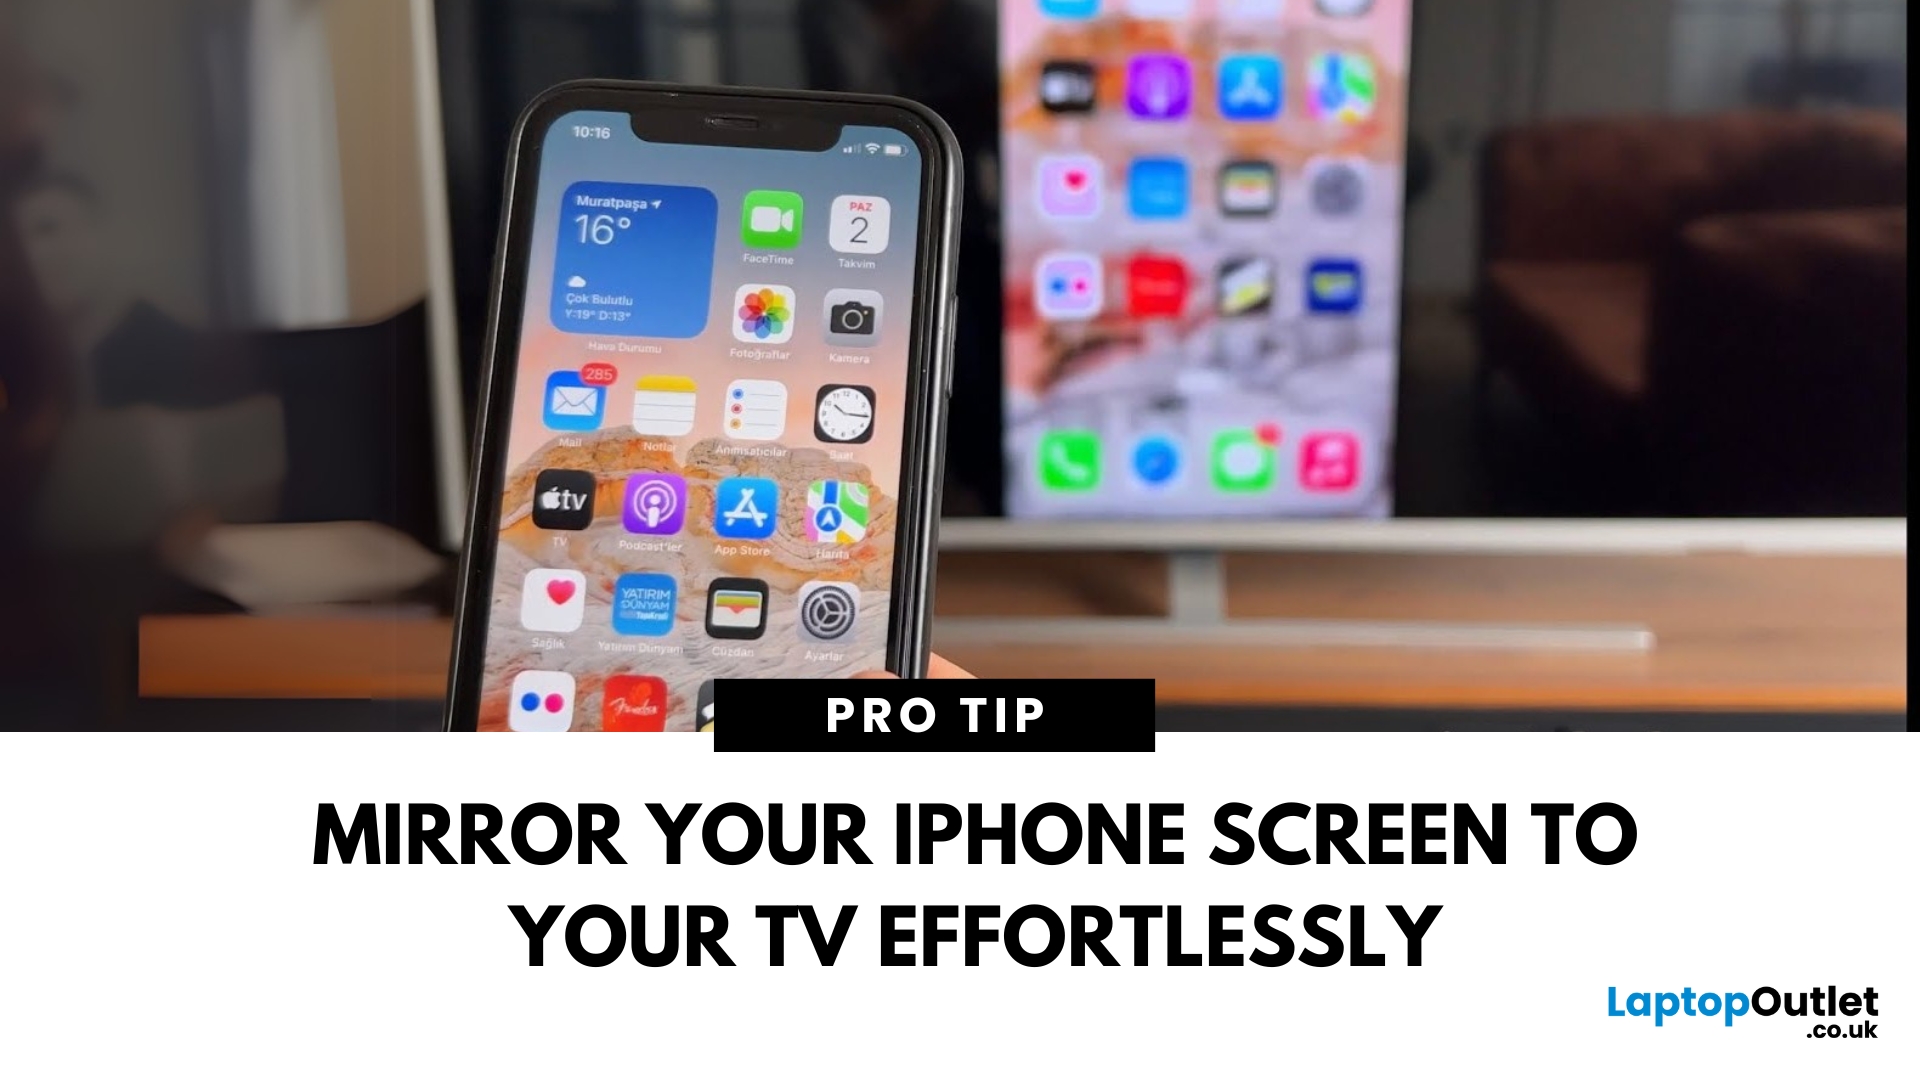
Make Your iPhone Screen Bigger
Want to watch photos, videos, or apps on the big screen? Screen mirroring lets you share your iPhone display to a TV wirelessly or with a cable. Whether you’re streaming a film or showing off holiday snaps, here’s how to do it easily.
How to Screen Mirror iPhone to a Smart TV (AirPlay)
Most smart TVs (Samsung, LG, Sony, etc.) now support Apple AirPlay.
Steps:
- Connect your iPhone and TV to the same Wi-Fi network
- Swipe down on your iPhone to open Control Centre
- Tap Screen Mirroring
- Select your TV from the list
- Enter the AirPlay passcode (if required)
Your iPhone screen will now appear on your TV.
How to Screen Mirror iPhone to TV Using an HDMI Cable
If your TV doesn’t support AirPlay, you can use a cable.
What You’ll Need:
- Apple Lightning Digital AV Adapter
- HDMI cable
Steps:
- Plug the adapter into your iPhone
- Connect an HDMI cable between the adapter and your TV
- Switch your TV input to the correct HDMI port
Your iPhone screen will
Last Updated: September 11, 2025
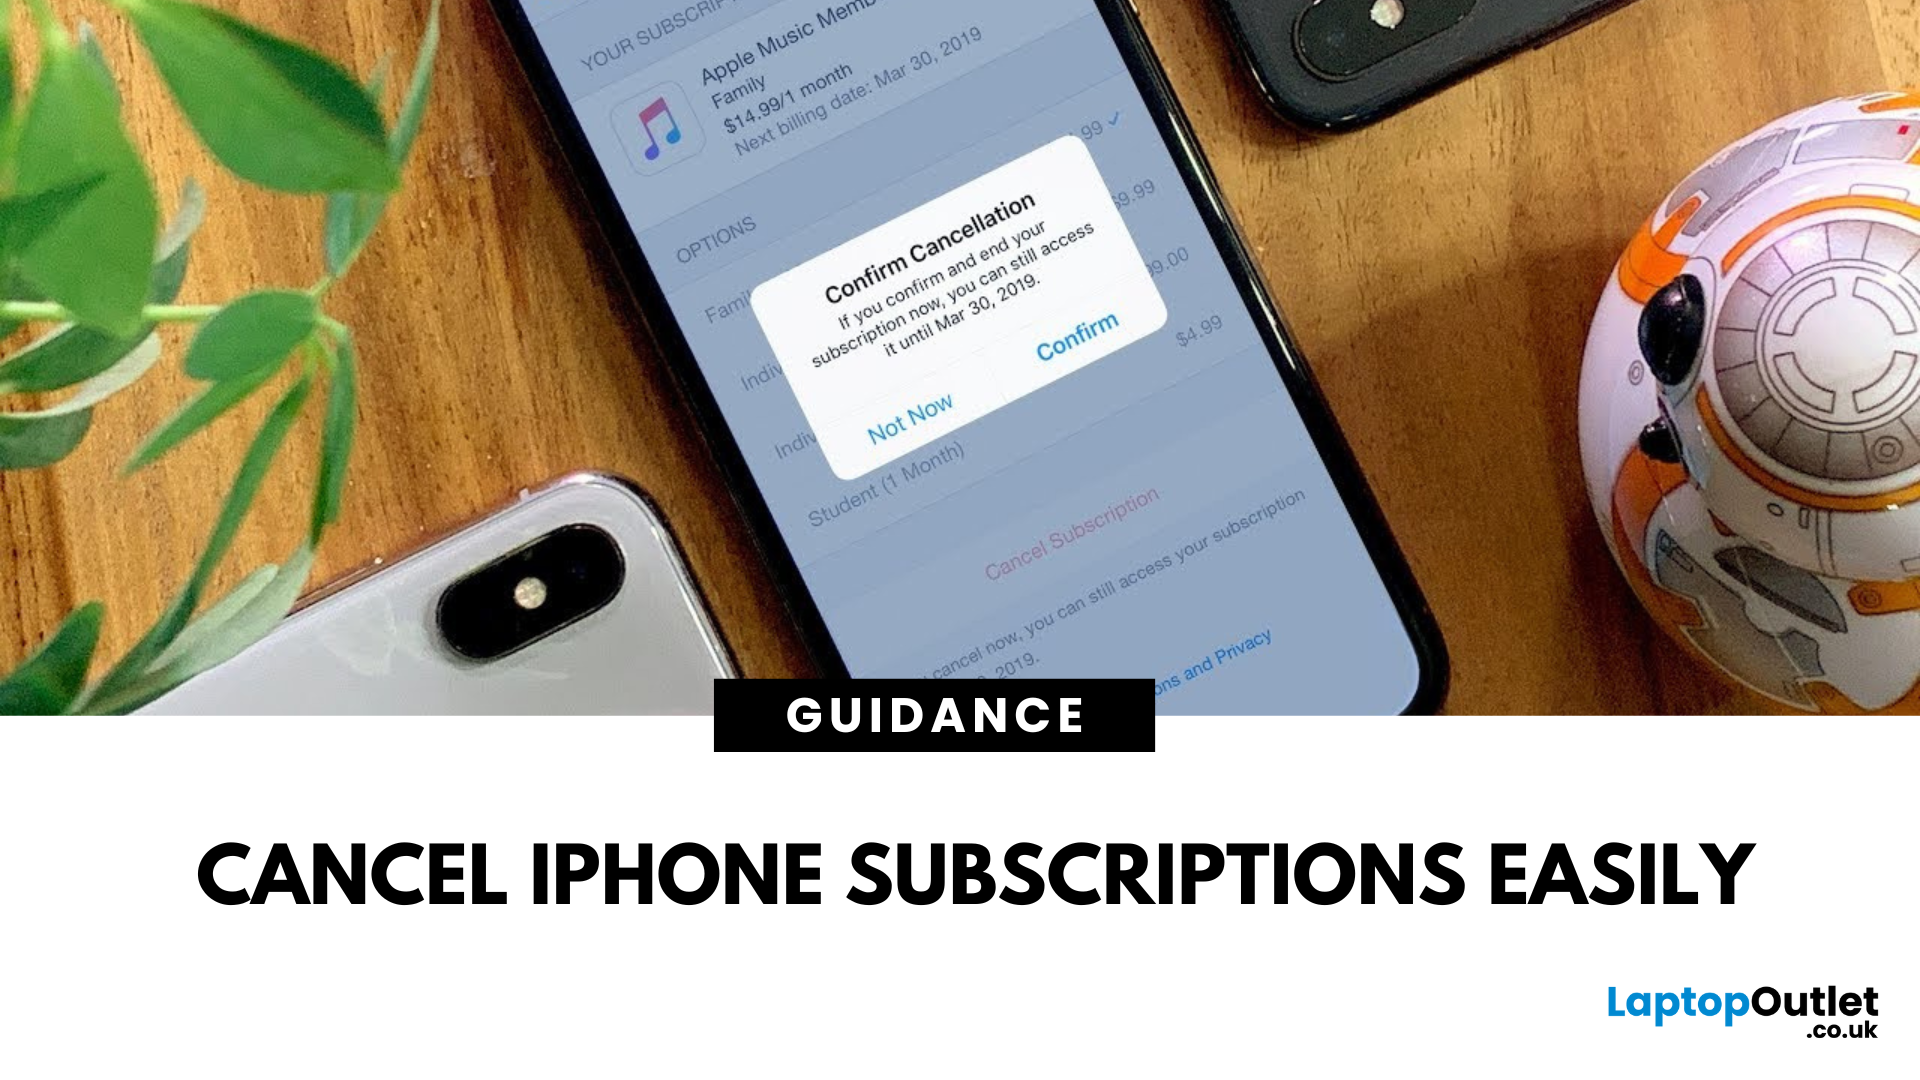
Stop Subscriptions You Don’t Use
From streaming services to fitness apps, subscriptions can stack up fast. If you're not using one anymore, cancelling it on your iPhone is quick and easy. Here’s how to manage and cancel your subscriptions before the next billing cycle hits.
How to Cancel a Subscription on iPhone (Step-by-Step)
1. Open Settings
- Tap the Settings app on your iPhone
2. Tap Your Apple ID Profile
- It’s your name at the top of the Settings menu
3. Go to Subscriptions
- Tap Subscriptions
- You’ll see a list of active and expired subscriptions
4. Select the Subscription to Cancel
- Tap the app or service you want to stop
- You’ll see details like renewal date and cost
5. Tap Cancel Subscription
- Confirm cancellation when prompted
- Your subscription will remain active until the end of the billing cycle
Pro Tip: You won’t be charged again unless you resubscribe
Can’t Find a Subscription? Try These
- Make sure you’re signed into the correct Apple ID
- Check if
Last Updated: September 11, 2025
Keep Your iPhone Running Smoothly
Over time, cached data from Safari, apps, and system processes can clutter your iPhone. If your phone feels slow or you’re running out of space, clearing cache is a smart move. Here’s how to quickly clear cache on your iPhone.
1. Clear Safari Browser Cache
If you browse a lot on Safari, cached web data can build up fast.
Steps:
- Open Settings
- Scroll down and tap Safari
- Tap Clear History and Website Data
- Confirm by tapping Clear History and Data
This removes website history, cookies, and cached images, speeding up browsing
2. Clear Cache in Individual Apps
Some apps like Instagram, YouTube, and Facebook store a lot of temporary data.
Options:
- Check app settings—some apps let you clear cache inside their settings
- If not available, delete and reinstall the app to clear its cache
- Reinstalling resets the app without affecting your saved account details (if backed up)
3. Offload Unused Apps
This saves app data but frees up space