How Do I Format a USB Stick on a Mac?
A Fresh Start for Your USB Drive
Whether you're clearing space, fixing errors, or preparing your USB stick for Windows or macOS, formatting is the way to go. Luckily, it’s super simple on a Mac. Here’s a clear step-by-step on how to format a USB stick on macOS.
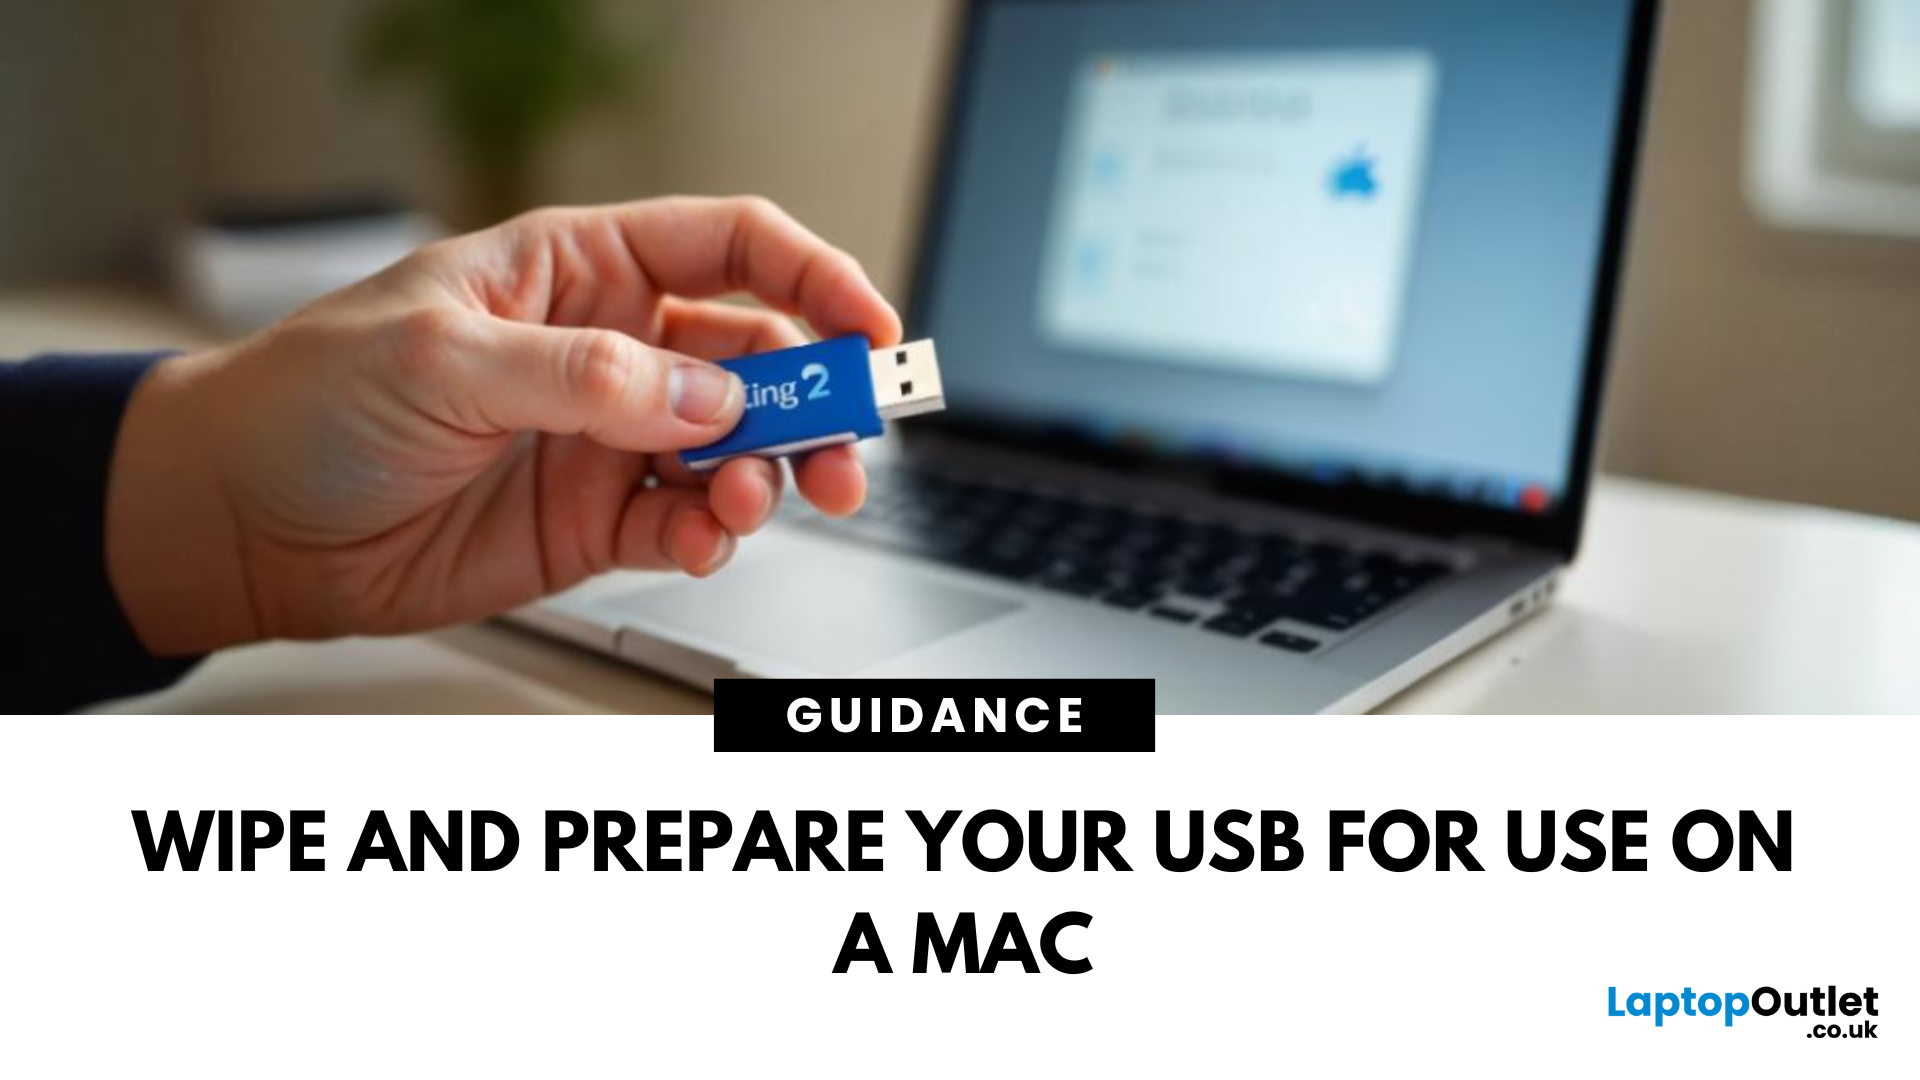
1. Plug In the USB Stick
- Insert your USB drive into an available port
- If prompted, choose to ignore or open Finder
Make sure to back up any important files—formatting erases everything
2. Open Disk Utility
- Go to Applications > Utilities > Disk Utility
- Or search for Disk Utility via Spotlight (Cmd + Spacebar)
3. Select Your USB Drive
- In the sidebar, click your USB stick (look under 'External')
- Double-check the name and capacity to avoid formatting the wrong drive
4. Click 'Erase'
- At the top of the window, click the Erase button
Format Options:
- Mac OS Extended (Journaled): For Mac-only use
- ExFAT: For both Mac and Windows compatibility
- MS-DOS (FAT): Best for small drives under 32GB
Use ExFAT if you plan to use the USB stick on multiple systems
5. Name the Drive and Format
- Enter a new name if you wish
- Choose the file format from the dropdown
- Click Erase to begin formatting
6. Wait for Completion
- The process usually takes less than a minute
- Click Done once complete
Final Thoughts: Ready to Use
Your USB stick is now freshly formatted and ready for use—whether for backups, file transfers, or installing software.
Need a new flash drive or Hard Disk Drives? Check out top storage deals at Laptop Outlet.
FAQs: Formatting USB on Mac
1. Will formatting erase all files?
Yes—make sure you’ve backed up any important data first.
2. What format works best for both Mac and Windows?
Use ExFAT for full compatibility across both systems.
3. Why can't I format my USB stick?
It may be write-protected, corrupted, or physically damaged.
4. Can I cancel formatting halfway?
No—interrupting can corrupt the drive. Wait until it completes.
5. Is it safe to remove the drive immediately after formatting?
Wait for the 'Done' message, then eject the drive safely.
Read More:
| How Do I Change Desktop Background on Mac? |
| How to Screen Record on Mac |
| How Do You AirPlay on a Mac |
Related Articles

Last Updated: July 01, 2025
Hidden Doesn’t Mean Gone
macOS hides certain system files and folders by default to keep things tidy and avoid accidental changes. But if you’re troubleshooting, customising settings, or managing storage, you might need to see those hidden files. Here’s how to find them quickly and safely.
1. Show Hidden Files in Finder with a Shortcut
The fastest way to reveal hidden files in macOS is through Finder.
Steps:
- Open Finder
- Go to any folder (e.g. Documents, Applications, etc.)
- Press Command + Shift + . (period)
Hidden files and folders will appear in grey
Press the shortcut again to hide them
2. Use Terminal to Show All Hidden Files
Prefer a more permanent method? Use the Terminal app to change system settings.
Steps:
- Open Terminal (use Spotlight with Command + Space > type "Terminal")
- Type the following command and press Enter:
- defaults write com.apple.finder AppleShowAllFiles -bool true
- Then type and run:
killall Finder
This restarts Finder with hidden

Last Updated: July 01, 2025
Take Your Mac to the Big Screen
Need to share a presentation, stream a video, or mirror your screen? AirPlay lets you wirelessly share content from your Mac to a TV or other Apple device in seconds. It’s built into macOS, and using it is easier than you think.
What You Need to Use AirPlay on a Mac
- A Mac running macOS Mojave or later
- An Apple TV or AirPlay 2-compatible smart TV
- Both devices connected to the same Wi-Fi network
1. Mirror Your Mac Screen with AirPlay
Steps:
- Click the Control Centre icon in the top menu bar
- Select Screen Mirroring
- Choose your Apple TV or smart TV from the list
- Enter the code displayed on your TV (if prompted)
Your Mac screen will now appear on your TV in real time
2. Stream Video from Mac to TV
If you're watching a video in Safari, QuickTime, or Apple TV:
Steps:
- Click the AirPlay icon in the video player (a rectangle with a triangle)
- Select your AirPlay-compatible device
- The video will stream directly to your TV, while controls

Last Updated: July 01, 2025
Capture Everything on Your Mac Screen
Whether you’re making tutorials, saving a livestream, or showing a tech issue, screen recording on a Mac is quick and easy. Best part? macOS has built-in tools—you don’t need extra software. Here’s exactly how to do it.
1. Use the Built-In Screen Recording Shortcut (macOS Mojave and later)
Steps:
- Press Command + Shift + 5
- A small control bar appears at the bottom of the screen
Choose:
- Record Entire Screen
- Record Selected Portion
- Click Record
- To stop recording, click the Stop button in the menu bar or press Command + Control + Esc
- Files are saved automatically to your desktop (by default)
2. Record Screen Using QuickTime Player
Steps:
- Open QuickTime Player from Applications
- Click File > New Screen Recording
- Click the Record button
- Choose to record the full screen or a portion
- Stop recording from the menu bar
QuickTime lets you add audio input if you want to record voiceover narration
3. Customize Your Screen Recording Settings
Before recording,

Last Updated: July 01, 2025
Master Multitasking on Your Mac
Need to work in two apps at once? Split screen on Mac lets you run apps side by side—great for research, editing, Zoom calls, or comparing documents. Here’s how to split screen on macOS the easy way.
Use Split View via the Green Full-Screen Button
Steps:
- Hover over the green full-screen button in the top-left corner of an app window
- Select Tile Window to Left of Screen or Tile Window to Right of Screen
- Your window will fill half the screen
- Choose another open app to fill the other side
This works on macOS Catalina and newer
Adjust Window Sizes Manually (Drag & Snap)
Steps:
- Click and hold the top of an app window
- Drag it to the left or right edge until the screen highlights
- Release to snap it into place
- Do the same with another window on the other side
This isn’t true Split View but offers a similar multitasking layout
Exit Split View
- Move your mouse to the top of the screen
- Click the green button in either window to exit