

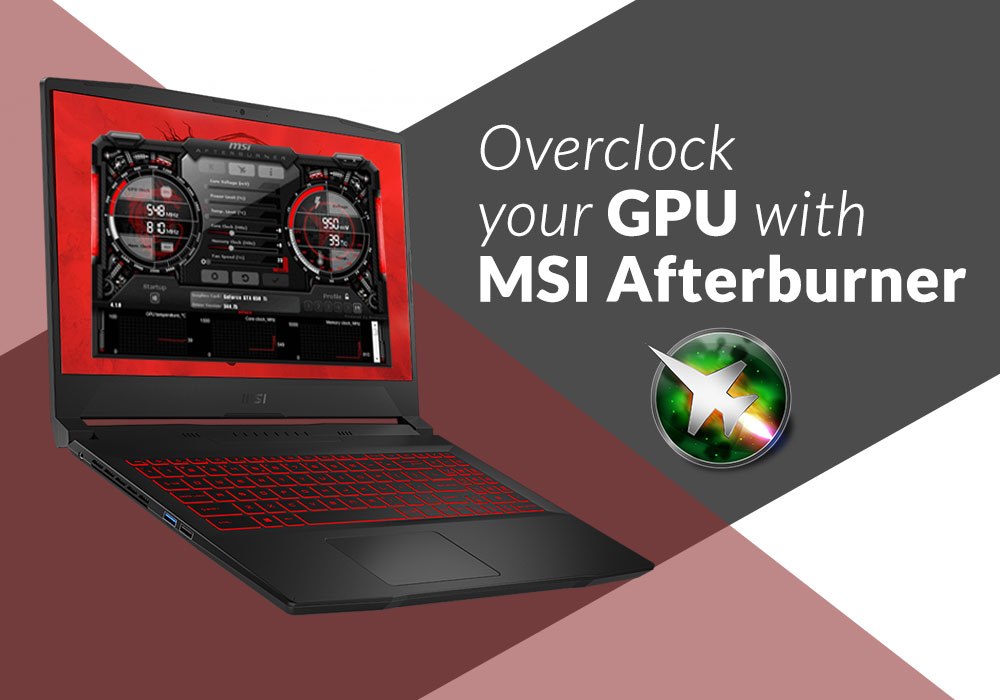
How to overclock gpu with msi afterburner
What is the most important component of any gaming desktop or laptop? Of course, it is the GPU of your system. A graphics card or GPU gives you power and frames which you need to support high-res graphics of your games. But sometimes the performance which you get from your GPU is not up to the mark and you feel the need to maximize it. That’s where overclocking comes to play. We are going to be talking about simple steps in which you can overclock you GPU, by using a great GPU software known as MSI Afterburner.
What is Overclocking?
Overclocking is simply enhancing your computers performance by increasing the clock rate, which was certified by the manufacturer. It makes your CPU or GPU run faster than it was originally intended to. When you overclock your GPU, you can accelerate its speed to get more performance and FPS out of it. You can manage a number of things to get the desired results. But having said that, it is never without risk because when you try to tweak the settings far beyond the default ones, then you can cause permanent damage to your hardware as well. Whenever you are trying to overclock your GPU, it is recommended that you have proper skills or knowledge about it. If any unnatural thing happens to your hardware or something does not feel right, then make sure to consult a more knowledgeable person.
MSI Afterburner
If you have used MSI laptops, then by now you might be familiar with MSI Afterburner. It is a GPU software which is filled with great features and works on every GPU even if it is not MSI card. This is GPU software to overclock the GPU and manage other things like monitoring hardware in real-time. It gives the users a complete control and the best thing is that it is completely free.
Prepare for Overclocking
You need to download MSI Afterburner software if you already don’t have it installed. When you open it, you will see an interface in front of you which can leave confused if you don’t know anything about it. So let us talk about some setting options which you will be seeing there.
At the left side you will see two clocks. The upper reading is your core clock speed which is the main speed you will be overclocking. Below it is the memory clock that can also be overclocked but only after testing core clock.
In the very middle is control panel which you can use to overclock the fan speed, memory clock, and core clock.
On the right side you will see the temperature of your GPU.
Let’s Get Started
Now that you know the options on the MSI Afterburner dashboard, it is time to get started and overclock your GPU.
- Open the software and click on the settings icon you see just below the control panel.
- When you click on the settings icon, a new window will appear in front of you. Click on the “General” tab and under the compatibility properties you will see Unlock voltage control, Unlock voltage monitoring, and Force constant voltage. Tick all three of them and apply the settings then click OK. After that your computer will ask to restart, click ok to restart.
- Once your laptop is restarted, open the MSI Afterburner software again and then you can tweak the settings.
- This time you need to stay on the dashboard and slide the temperature limit to 87 degrees. When you slide the temperature, you will notice that the power limit has also gone up.
- Look for the core voltage (%) and slide it all the way to the right. The percentage will always be dependent on your GPU or graphics card.
- When you are done with these settings, click on the check button which is placed underneath the sliders. Then you can choose the core clock and add 23+ number and click on the check button again.
Once you have changed all the settings you will need to check the stress of your GPU or system. You can install any third-party software which will tell you all the stats of your computer, while running a high-res graphic visual. You will notice a slight improvement in the frames and at the same time an increase in the temperature. If you don’t notice any graphic glitches or the temperature is good enough then you can raise the core clock a bit more. Then again run the stress test and see what the stats are telling you.
When you reach a point where you start to notice abnormal activities by your system like temperature being too high or crashing of your PC, then you don’t have to worry. Open the MSI Afterburner and lower the clock speed by 20 or 30. The speed you choose after that will be the optimal speed for your GPU.
Final Step for Overclocking
Now that you are done with the settings of your GPU overclocking you need to save the settings which you have just changed. Click on the save button on the dashboard of this software and assign a number to it like 1, 2, 3, and so on. This will save your settings so you can simply boost the performance of your GPU with these saved settings whenever you want. Then you need to run your favorite games and see the changes of performance you are getting now.
If you are not getting good results or your game is crashing constantly, then you need to go to MSI Afterburner and reset the settings. But if the game is running all well, then congratulations you have successfully overclocked your GPU MSI Afterburner.
Bottom Line
Well, there you have it, this was the article, and we hope it covered everything you needed to know. these were some simple steps to overclock you GPU with the help of MSI Afterburner. If you are looking to buy a good laptop, then we recommend you visit Laptop Outlet and choose from a wide collection of powerful MSI laptops.
Read More:
| How to Boost FPS and Optimize Processor Speed for Gaming |
| MSI Gaming Laptops Series Guide 2021 |
| MSI Prestige 15 A12UC Review |
Related Articles
Last Updated: April 03, 2026
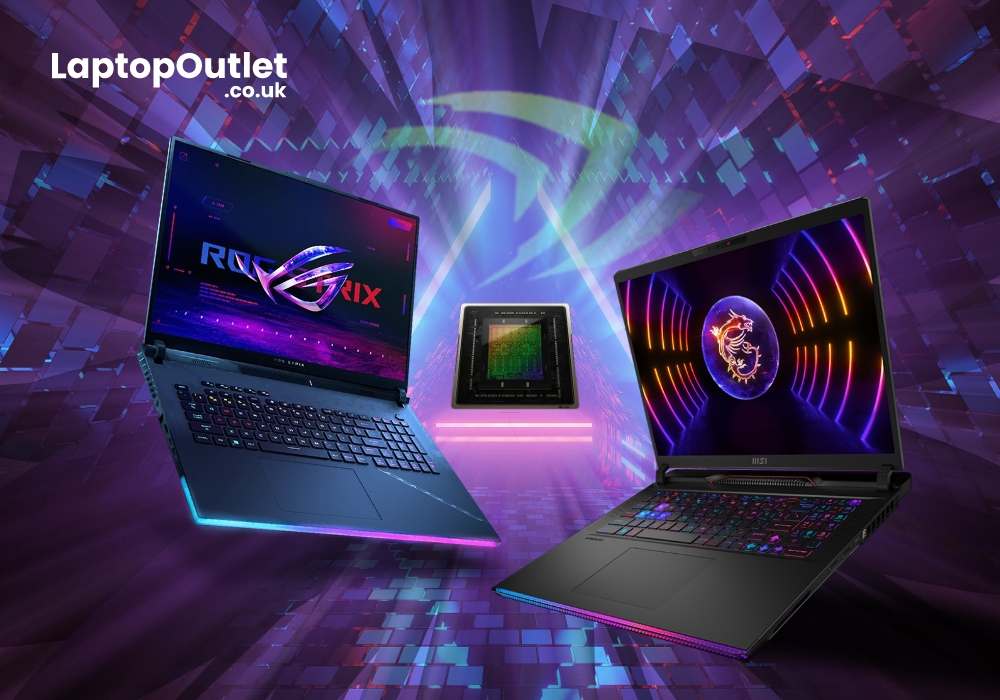
For true gaming warriors, there's no such thing as 'good enough.' You know that having the best gear is key to defeating your rivals and achieving gaming greatness. That's why you're always on the lookout for new ways to elevate your gaming experience, and having a powerful GPU is crucial for achieving that.
Enter the RTX series from NVIDIA, a dream come true for gamers around the world. With its powerful processing capabilities, the RTX series is the go-to-choice for gamers looking to take their gaming sessions up a notch. Featuring advanced ray-tracing technology, the RTX 40 series delivers realistic lighting and shadows, creating a fire-blazing gaming experience that’s hard to forget!
But the RTX series isn’t just about the graphics. These state-of-the-art GPUs also deliver unmatched performance levels. From fast-paced first-person shooters to complex strategy games, the RTX 40 series can handle whatever you throw at it. Moreover, thanks to supplementary features like DDLS, you can

Last Updated: July 01, 2025
Introduction
Gaming laptops today utilise the latest GPU technologies to deliver unmatched performance. These technologies make laptops fast and robust, making gaming an enjoyable and immersive experience.
Graphic Revolution: How Have Graphics Evolved?
Graphics, or GPUs, have evolved over the years, featuring modern technologies today to deliver an uninhibited gaming performance. You can trace the graphic revolution back to the 1950s and 1970s; the evolution is commendable.
Here is a brief look into how graphics have evolved over the years.
| Year | Type Of Graphics |
| 1950s-1970s |
|
| 1970s–1980s |
|
| 1980s |
|
| 1990s |
|
Last Updated: March 17, 2026
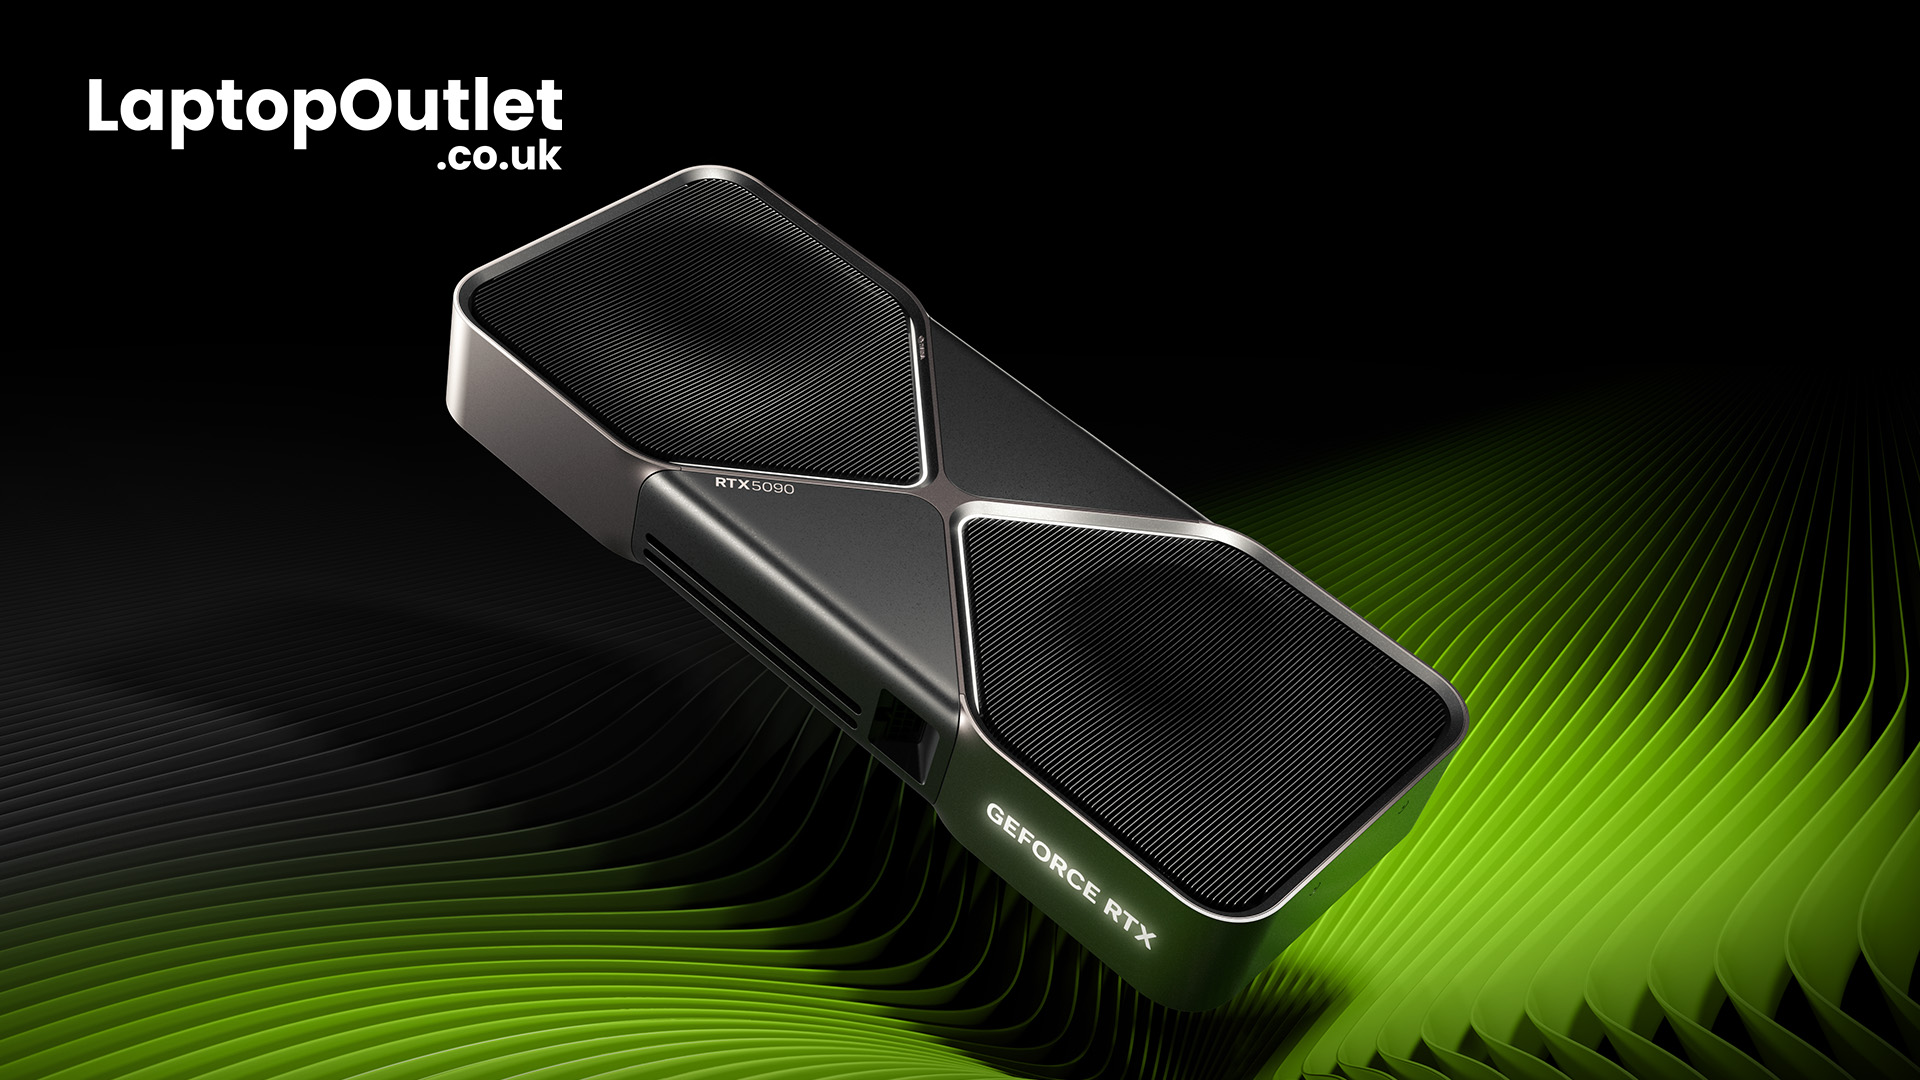
The future of gaming and computing is here! The NVIDIA RTX 50 Series GPUs unleash groundbreaking technology for jaw-dropping visuals and unprecedented performance, pushing the boundaries of what’s possible! Be prepared to be astonished!
Jensen Huang, CEO of NVIDIA, just revealed the highly anticipated RTX 50 Series graphics cards at CES 2025, setting the gaming world abuzz. Codenamed “Blackwell”, the new 50 Series GPUs bring huge improvements to AI acceleration and overall gaming performance. The announced RTX 50-Series features four new graphics cards: the RTX 5090 and the RTX 5080 (set to release on January 30, 2025), and the RTX 5070 Ti and the RTX 5070, stated for a February 2025 release. NVIDIA may also launch the GeForce RTX 5060 Ti and RTX 5060 as a part of the full lineup later in March. According to Huang, the RTX 50 Series GPUs are the ‘most advanced consumer GPUs for gamers, creators, and developers’, offering “breakthroughs in AI-driven rendering” and “game-changing performance",
Last Updated: March 16, 2026
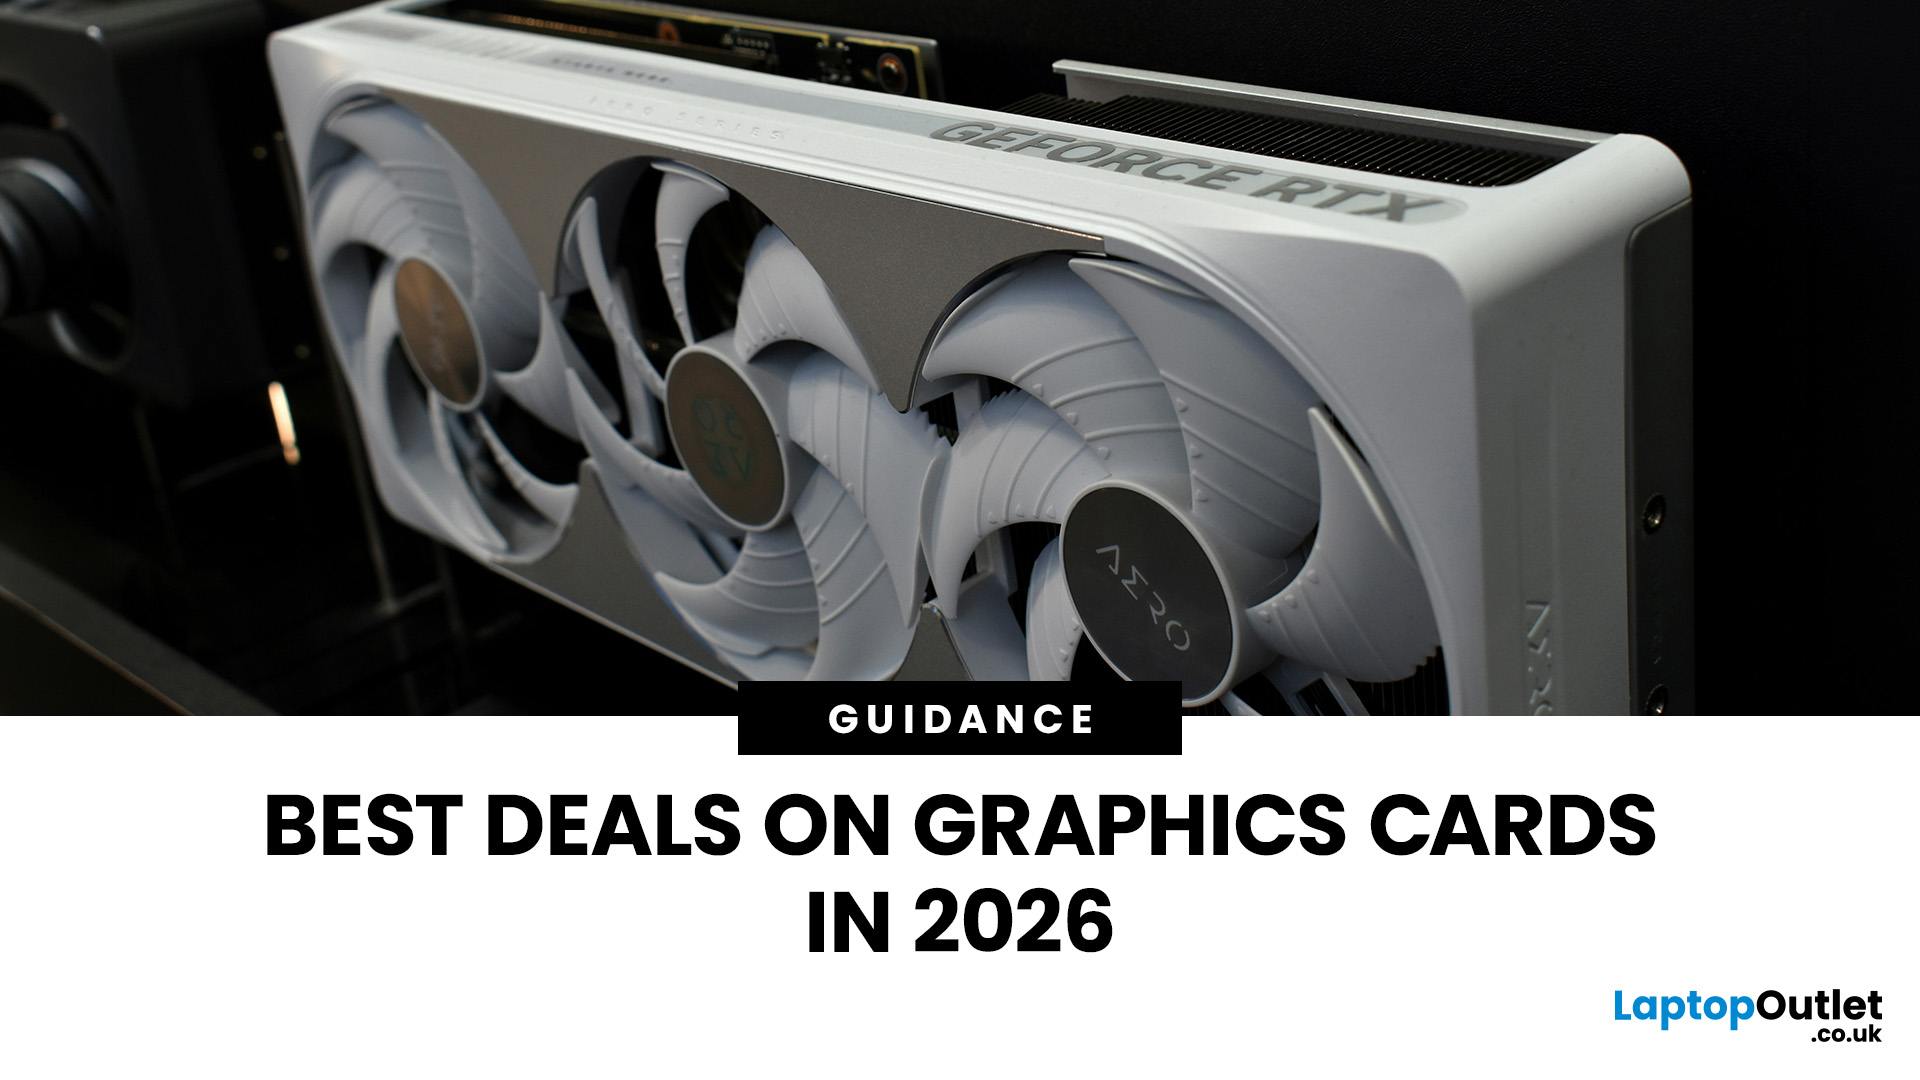
Looking for portable graphics cards? Graphics cards are an essential component for gamers, creative professionals, and tech enthusiasts. As the market evolves, new models are released with cutting-edge technology, while older ones become more affordable. Whether you are looking for the latest high-performance GPUs or seeking budget-friendly options, 2026 presents some fantastic deals on graphics cards.
In this blog, we will explore the best deals on gaming graphics cards, including RTX and AMD GPUs, and help you find the most value-packed choices from top brands. Whether you are searching for discounts on AMD graphics cards or affordable Nvidia graphics cards, we have you covered.
Why 2026 is a Great Year for Buying a Graphics Card
The GPU market in 2026 has stabilised significantly compared to previous years, making it an ideal time to grab some of the best deals. Key factors influencing the affordability of graphics cards this year include:
- Increased Supply: Manufacturers have ramped

Last Updated: October 28, 2025
People who play games, stream live or create content must select the right GPU because it determines how seamlessly their system works. The quality of your streaming, games or video editing depends strongly on a dependable GPU system. In this blog, we will analyse the best GPUs for 1080p streaming, editing and gaming. We will highlight their standout features that will guide your purchasing decision.
The Best GPUs for 1080p Streaming, Editing, Gaming & Other Functions
Here are some best-in-their-class graphics cards for streaming and other activities.
GIGABYTE GeForce RTX 3060: Fantastic price-to-performance ratio
Users consistently rate the GIGABYTE GeForce RTX 3060 12GB as one of the most superior GPUs for streaming and other purposes. The GPU provides outstanding performance specifically for gamers and streamers while retaining affordability. Content creators and gamers will appreciate this RTX 3060 GPU because it uses Nvidia’s Ampere architecture to deliver high-quality ray tracing

Last Updated: May 21, 2025
PC gaming doesn’t have to cost you an arm and a leg, especially if most of your time is spent exploring the vibrant world of Steam. From high-octane shooters like Apex Legends to the beautifully chaotic world of Palworld, millions of players log in daily without relying on a flagship GPU. The truth is, not everyone wants or needs a thousand-pound graphics card. What most gamers appreciate is a smooth, enjoyable experience at 1080p, and thankfully, plenty of best budget graphics cards can make that happen at a fraction of the cost.
The challenge? There are loads of options out there. New releases, refreshed models, refurbished deals and much more. Add confusing benchmarks, marketing jargon, and ever-evolving game requirements, and finding the right budget GPU for your Steam library can feel like a guessing game.
To help you out in your decision-making, we’ve pulled together a list of the best budget GPUS that strike the right balance between performance and price. Each one has been chosen