Battlefield 6 RedSec Optimisation Guide: Best Graphics Settings for Maximum FPS
Trying to find a comprehensive optimisation guide for Battlefield 6 RedSec? You’ve come to the right place. This article dives deep into the Battlefield 6 RedSec best graphics settings, performance tweaks and controller/resolution adjustments to extract maximum FPS, clarity and responsiveness from your PC, whether you're running a high-end rig or a more modest setup.
Why Optimisation Matters in RedSec
The free-to-play battle royale mode RedSec, launched as part of Battlefield 6, demands both high performance and visual clarity. Large maps, intense firefights, vehicle chaos and destructible environments all place pressure on both GPU and CPU. This Optimisation Guide for Battlefield 6 RedSec ensures smoother gameplay, higher FPS, and fewer frame drops:
- Higher FPS → smoother gameplay, better aiming, less stutter
- Lower input latency → quicker reactions in competitive firefights
- Better visibility → fewer visual distractions, more clarity on enemies
- More consistent 1% lows → fewer dips that can cost a fight
Graphics Settings: Best Settings for FPS & Clarity
Following are some Battlefield 6 RedSec performance tweaks to enhance both frame rate and clarity:
Display & Upscaling
- Fullscreen Mode: Use Fullscreen rather than Windowed or Borderless, reduces input latency.
- Resolution: Stick with your native resolution if your GPU can handle it. If GPU is weak, consider lowering resolution scale or use upscaling technologies.
- Upscaling Technique (DLSS / FSR):
- If you have an NVIDIA GPU: Use Battlefield 6 RedSec DLSS settings such as DLSS Quality or Performance mode for a smooth FPS boost.
- For AMD users: Use Battlefield 6 RedSec FSR vs DLSS comparison to choose between FSR 2 or FSR Quality for better optimisation.
Note: In competitive settings you may want upscaling to maintain high FPS but not at expense of visual clarity or input lag.
- Frame Rate Limiter / V-Sync: Turn off V-Sync to reduce input lag and use driver / monitor-based refresh sync if needed.
- Resolution Scaling: Adjust Battlefield 6 RedSec resolution scaling (e.g., 80%) to maintain high FPS without major clarity loss. Lowering resolution scaling (e.g., 80% of native) can significantly boost FPS; however, clarity will suffer. Use as last resort.
Graphics Quality Settings
Based on multiple benchmarking articles, these recommended values balance quality and performance for a strong Battlefield 6 RedSec FPS boost:
|
Setting |
Recommended Value |
Reason / Notes |
|
Texture Quality |
High (if VRAM allows) |
Good visual quality, moderate performance hit. |
|
Terrain Quality |
Low/Medium |
Terrain draw can be heavy on CPU/GPU. |
|
Mesh Quality |
Medium/High |
Affects geometry detail and pop-in; balance needed. |
|
Effects Quality |
Low/Medium |
Effects like explosions, smoke, particles hurt performance. |
|
Volumetric Quality |
Low |
A known FPS hog—turn it down for competitive. |
|
Sun Shadow Quality / Shadow Filtering |
Medium/Low |
Shadows add depth but reduce FPS significantly. |
|
Reflection Quality / Screen Space Reflections |
Off/Low |
Mirror or reflection effects are heavy and less important in competitive play. |
|
Ambient Occlusion / Global Illumination |
Off/Low |
Better to disable for higher FPS and clearer visuals. |
Camera & Motion Effects
Disable effects like Motion Blur, Film Grain, and Vignette to maximise visibility, an essential part of Battlefield 6 RedSec competitive settings for pro-level performance. These settings may not increase FPS much, but improve clarity and responsiveness:
- Motion Blur: Off
- World Motion Blur: Off
- Weapon Motion Blur: Off
- Camera Shake: Minimum
- Chromatic Aberration: Off
- Film Grain / Vignette: Off
Competitive Visibility Settings
Since RedSec is competitive, visibility is key:
- Field of View (FOV): 90-100 is a good balance (higher gives awareness, slightly lowers aim precision)
- Brightness / Contrast: calibrate so you can spot enemy shapes in shadows
- Sharpness: Set to a value your monitor recommends (e.g., 50-60) to keep visuals crisp.
Performance Tweaks & Optimisation for Low-End PCs
If you’re running on a budget or older system, these Battlefield 6 RedSec low-end PC optimisation tweaks will help squeeze more FPS in RedSec:
- Lower resolution: e.g., from 1440p down to 1080p or 90% scale.
- Use lower quality presets: Set Performance or Medium as base, then tweak key settings upward.
- Install on SSD: RedSec’s large maps and destructible environments benefit from faster storage.
- Disable background tasks: Close unnecessary apps utilising CPU/GPU/IO.
- Check VRAM usage: On budget GPUs, reduce Texture Quality if VRAM usage hits max.
- Cap FPS: If you cannot sustain very high FPS, cap at e.g. 120 FPS on a 144Hz monitor to reduce stutter and thermals.
- Use driver optimisation tools: NVIDIA Control Panel / AMD Adrenalin settings for power management.
- Adjust in-game vsync / triple buffering: Turn off vsync to reduce input lag.
DLSS vs FSR and Upscaling Strategy
Understanding the Battlefield 6 RedSec FSR vs DLSS choice is critical:
- DLSS (NVIDIA): Uses AI frames to upscale; quality mode usually a good balance of clarity and performance. Also supports Reflex for low latency.
- FSR 2 (AMD + compatible GPUs): Good alternative for non-NVIDIA users. Some drop in clarity vs DLSS, so it requires personal testing.
- In competitive RedSec gameplay, you may choose “Performance” upscaling mode to prioritise FPS over ultra-sharp visuals, especially on high refresh monitors.
- Test both modes within the Optimisation Guide for Battlefield 6 RedSec setup and find your preferred balance between performance and sharpness.
Controller & Input Settings for Competitive Play
Even if you’re using a keyboard/mouse, it's worth checking that Battlefield 6 RedSec controller settings or mouse settings don’t introduce unwanted input lag or dead zones. For controller players:
- Disable vibration / force feedback if it distracts or adds lag.
- Set dead zones as low as comfortable (e.g., 6-8%) for quicker aiming.
- Turn off adaptive trigger features that could delay actions.
- Field of View (FOV) often needs lowering for controller due to stick precision.
- If you switch between mouse/keyboard and controller, calibrate separately for each.
While most PC competitive players use mouse/keyboard, if you’re using a gamepad check those Battlefield 6 RedSec competitive settings in the “Controls” section—visibility, crosshair size, sensitivity curves matter.
Resolution Scaling & Monitor Refresh Setup
High refresh rate monitors (144Hz–240Hz) benefit from the optimisation guide for Battlefield 6 RedSec as it explains the correct scaling strategy for high refresh rate. To achieve that:
- Use resolution scale <100% if needed (for example 90% of native).
- Make sure monitor refresh and GPU driver are set to max refresh in Windows.
- Turn off any frame-generation features if they introduce latency (unless your hardware & driver handle it well).
- Consider using a G-Sync or FreeSync monitor to smooth FPS drops.
- If your system struggles to hit high FPS, drop resolution or upscaling mode rather than lowering every visual setting, because clarity still matters.
Competitive Settings: Settings Pros Use
Professional players rely on the Battlefield 6 RedSec competitive settings below for maximum responsiveness:
- FOV: 90-100
- Motion blur, film grain, vignette: Off
- Upscaling: DLSS Quality / FSR Quality (or Performance if aiming for 240Hz+)
- Shadows/Reflections: Low or Off
- Texture: High (if VRAM allows)
- Effects/Volumetrics: Low
- Fullscreen: On, V-Sync Off, monitor refresh highest available
- Monitor your 1% lows (not just average FPS), ensure dips don’t hamper firefights
- Use mouse raw input and disable Windows pointer precision
These Battlefield 6 RedSec performance tweaks keep visuals clear while delivering high FPS in intense firefights.
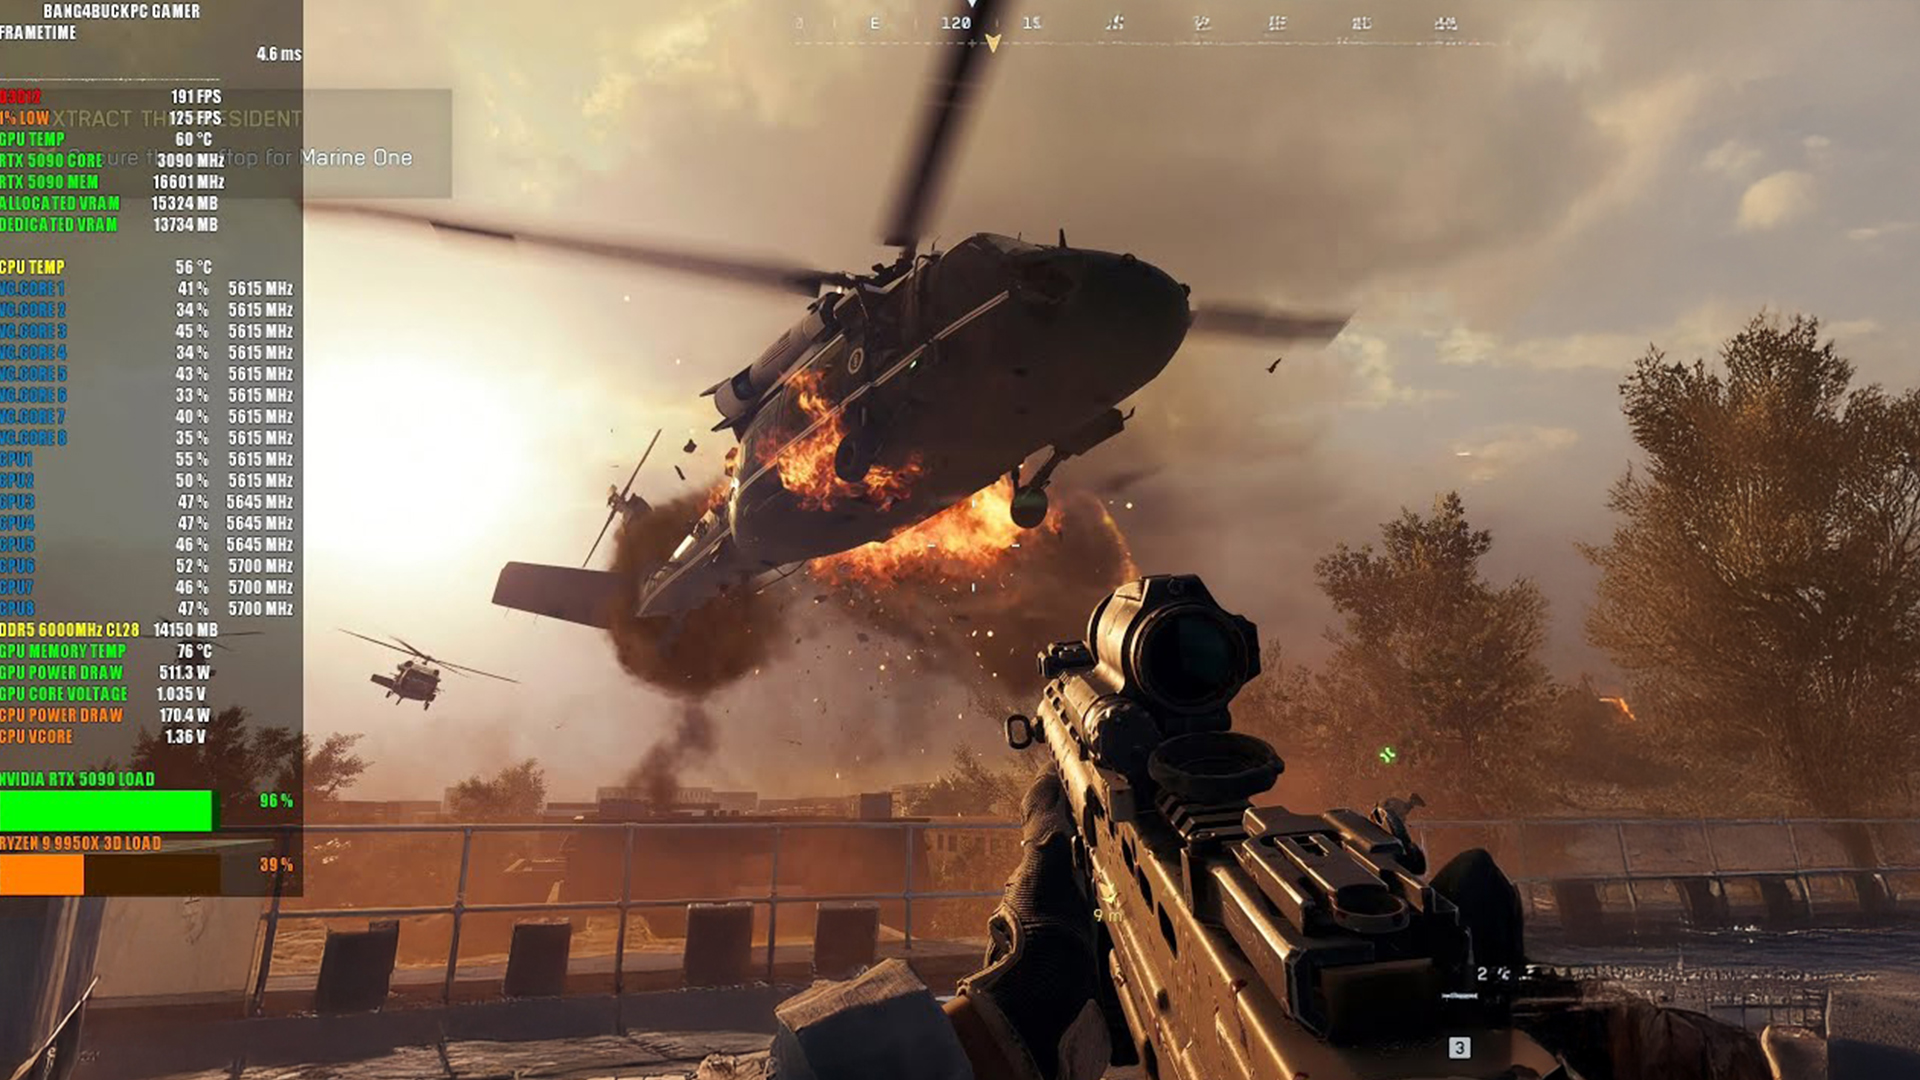
System Hardware & Build Considerations for Battlefield 6 RedSec
Your graphics settings and performance will also depend on your hardware, all pieces matter. This optimisation guide for Battlefield 6 RedSec also recommends:
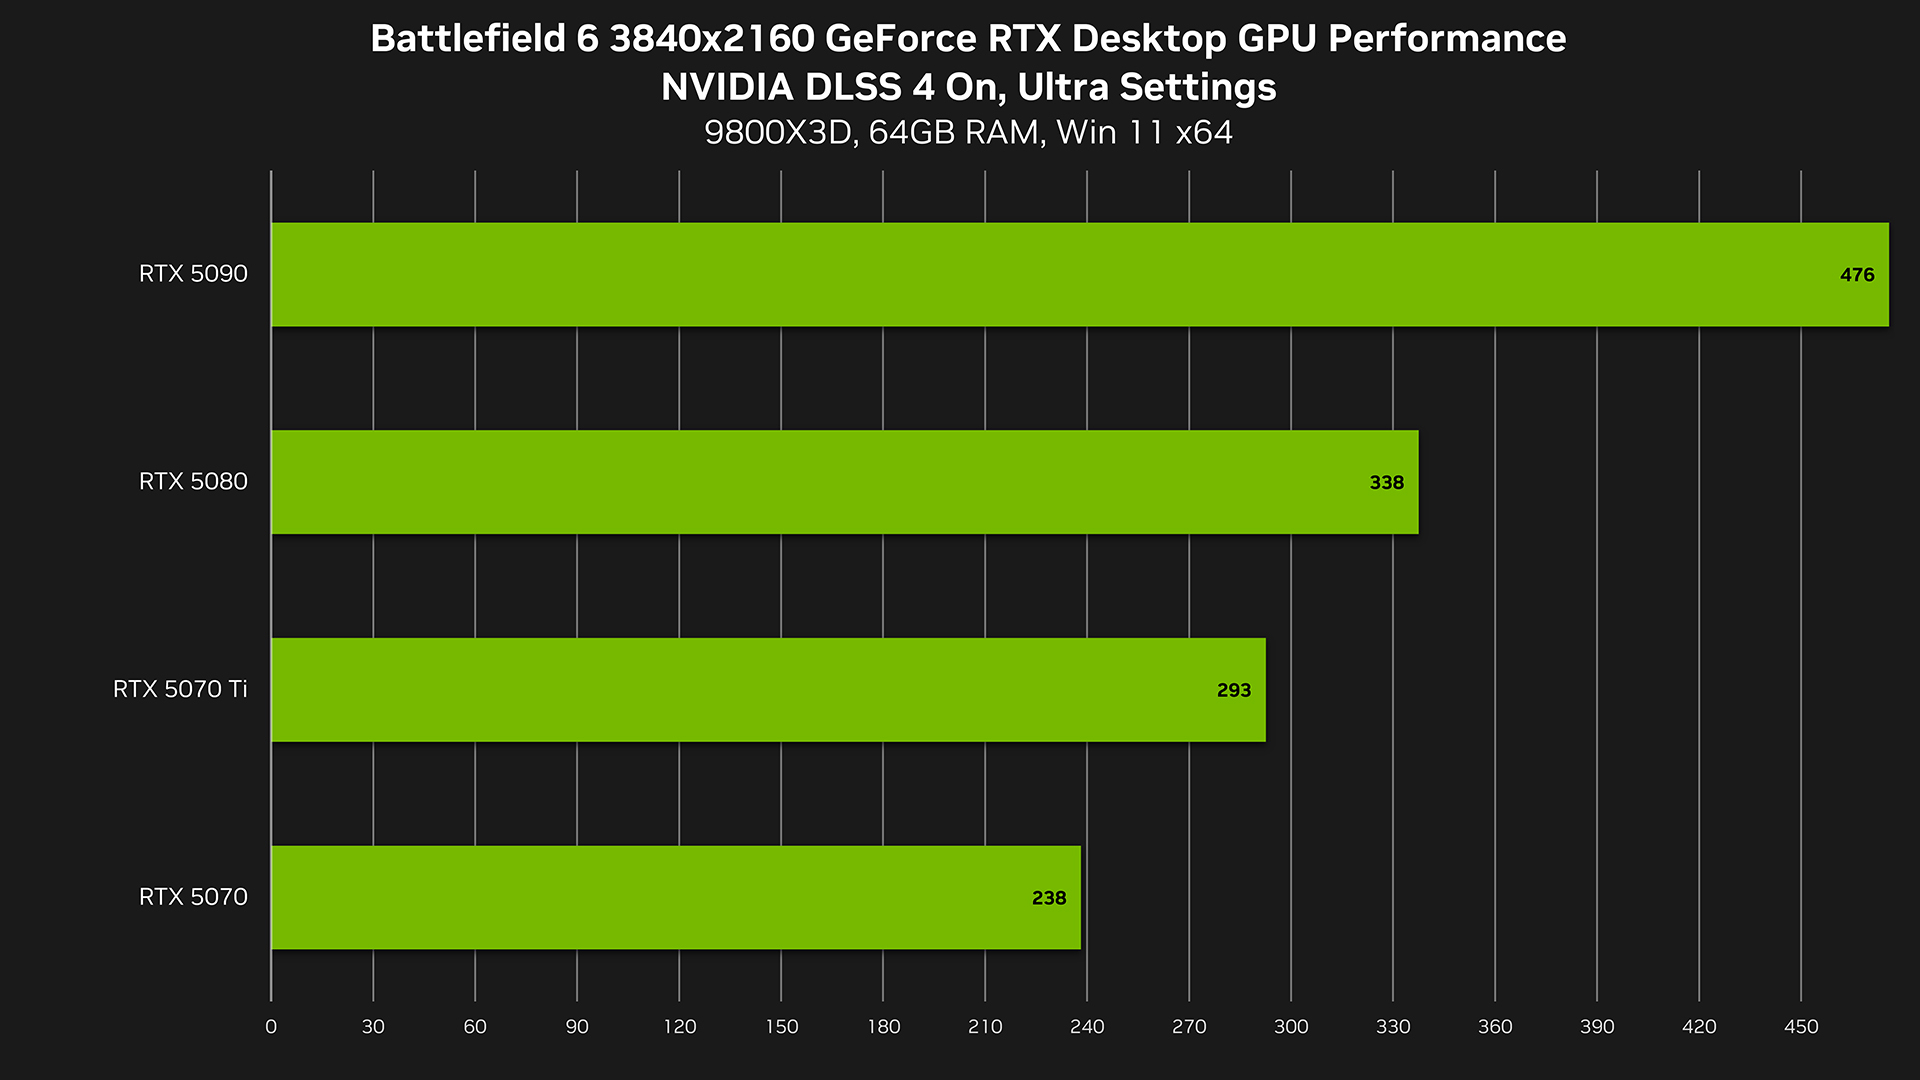
- Best GPUs for Battlefield 6 RedSec: If budget allows, aim for NVIDIA RTX 5080 or AMD RX 7800+ for 1440p high refresh; for 4K/200+ FPS aim higher.
- Gaming processors for high FPS: High single-core clock CPUs help in large maps and high player counts.
- Motherboards with high-speed support: Ensure you have adequate VRM cooling, fast RAM (3200+ MHz) and dual-channel memory. In addition, you can read our article Battlefield 6 RedSec system requirements to learn whether your system can handle heat.
- Coolers for Battlefield 6 setups: Good cooling allows the GPU/CPU to maintain clocks during long sessions; undervolting or reducing power limits can also help.
- Gaming laptops for FPS games: If you’re on laptop, ensure you have MUX switch enabled, set dynamic refresh to your screen’s best rate, and use performance mode when plugged in. Furthermore, if you want to buy one and need information, read our guide to best gaming laptops and PCs for Battlefield 6 REDSEC in 2025.
Hardware choices will affect how much you can push graphics settings vs focusing purely on FPS and clarity.
Putting It All Together: Step-By-Step Workflow
Follow this optimisation guide for Battlefield 6 RedSec checklist:
- Update everything – OS, GPU drivers, game patch.
- Set display to Fullscreen + highest refresh rate in game & Windows.
- Select upscaling method (DLSS or FSR) and a base resolution.
- Apply baseline graphics preset (Medium or Performance).
- Tweak major FPS hogs – shadows, volumetrics, reflections, terrain.
- Disable motion/film effects for clarity.
- Adjust FOV, crosshair settings, sensitivity for visibility.
- Check FPS + 1% lows using performance overlay.
- If dips occur, either reduce resolution/upscaling or drop one major setting rather than dozens.
- Save your config, test in real matches and fine-tune.
This workflow ensures you systematically optimise rather than randomly toggling settings.
Troubleshooting Common Problems
- Stutter or hitching: Confirm VRAM usage isn’t maxed out, lower texture quality. Verify SSD vs HDD.
- Input lag / delayed response: Ensure V-Sync off, high refresh monitor recognised, raw input enabled.
- Low 1% lows despite high average FPS: Reduce shadows/volumetrics; check CPU bottleneck.
- Blurred visuals or upscaling artifacts: Try switching upscaling mode (Quality → Balanced) or disable until clarity acceptable.
- Game won’t launch: Check Secure Boot enabled, TPM 2.0, drivers current.

Bottom Line
This optimisation guide for Battlefield 6 RedSec ensures every player, from casuals to competitive pros, can achieve smooth and consistent performance.
Optimising for Battlefield 6 RedSec isn't about turning everything to “Ultra” and hoping for high FPS. It's about understanding which settings impact performance and visibility most and then aligning them with your hardware and playstyle. A stable, clear 144 FPS experience with minimal lag will serve you better in competitive combat than 200 FPS with heavy stutters and blurry visuals.
Whether you’re playing on a high-end PC or a more modest rig, use the guidance above to dial in your setup in a meaningful way, and you’ll arrive at the next fight faster, with better clarity, and fewer distractions.

Your What & Why
What is the best upscaling setting for RedSec?
On NVIDIA GPUs go with DLSS Quality mode (or Performance if chasing very high FPS); on AMD or non-DLSS GPUs use FSR Quality mode. Always test clarity vs frame rate.
Does turning shadows/reflections fully off lose game immersion?
Possibly, but in competitive play, the gain in FPS and clarity often outweighs the visual loss. For cinematic sessions you might raise them again.
How much does resolution scaling affect FPS?
Quite significantly. If your hardware is struggling, lowering resolution scale from 100% to 80-90% can yield double-digit FPS gains—but expect a drop in sharpness.
Should I prioritise average FPS or 1% lows?
You should prioritise 1% lows (and frame time consistency) more than average FPS. A “flat” 120 FPS is better than a 200 FPS average that drops to 60 during fights.
Are high refresh monitors essential for RedSec?
They’re very beneficial if you can maintain high FPS. If your GPU can’t deliver 120+ FPS then a stable 60-90 FPS experience on a standard 60-75Hz monitor is still fine, just adjust settings accordingly.
| Read More: |
| Everything You Need to Know About Graphics Cards: Buying Guide & Expert Tips |
| Best High-End Graphics Cards For Hardcore Gamers & Creators |
| What are Good Graphics Cards? |
Related Articles

Last Updated: September 09, 2025
Time to Switch or Upgrade Your GPU?
Whether you're upgrading to a new GPU, troubleshooting hardware issues, or cleaning your PC, knowing how to safely remove your graphics card is essential. Follow this simple, step-by-step guide to do it without damaging your system.
1. What You’ll Need
- A Philips screwdriver
- Anti-static wristband (recommended)
- A clean, flat workspace
Optional: compressed air for cleaning dust around the GPU
2. Turn Off Your PC and Unplug Everything
- Shut down your PC completely
- Unplug the power cable and all connected peripherals (monitor, mouse, etc.)
Hold the power button for 3–5 seconds to discharge remaining power
3. Open the PC Case
- Use a screwdriver to remove the side panel (usually the left side)
- Place the screws somewhere safe—you’ll need them later
4. Ground Yourself
- Wear an anti-static wristband or touch a grounded metal object to prevent static discharge
5. Locate the Graphics Card
- It’s the large card connected to the motherboard’s
Last Updated: September 09, 2025
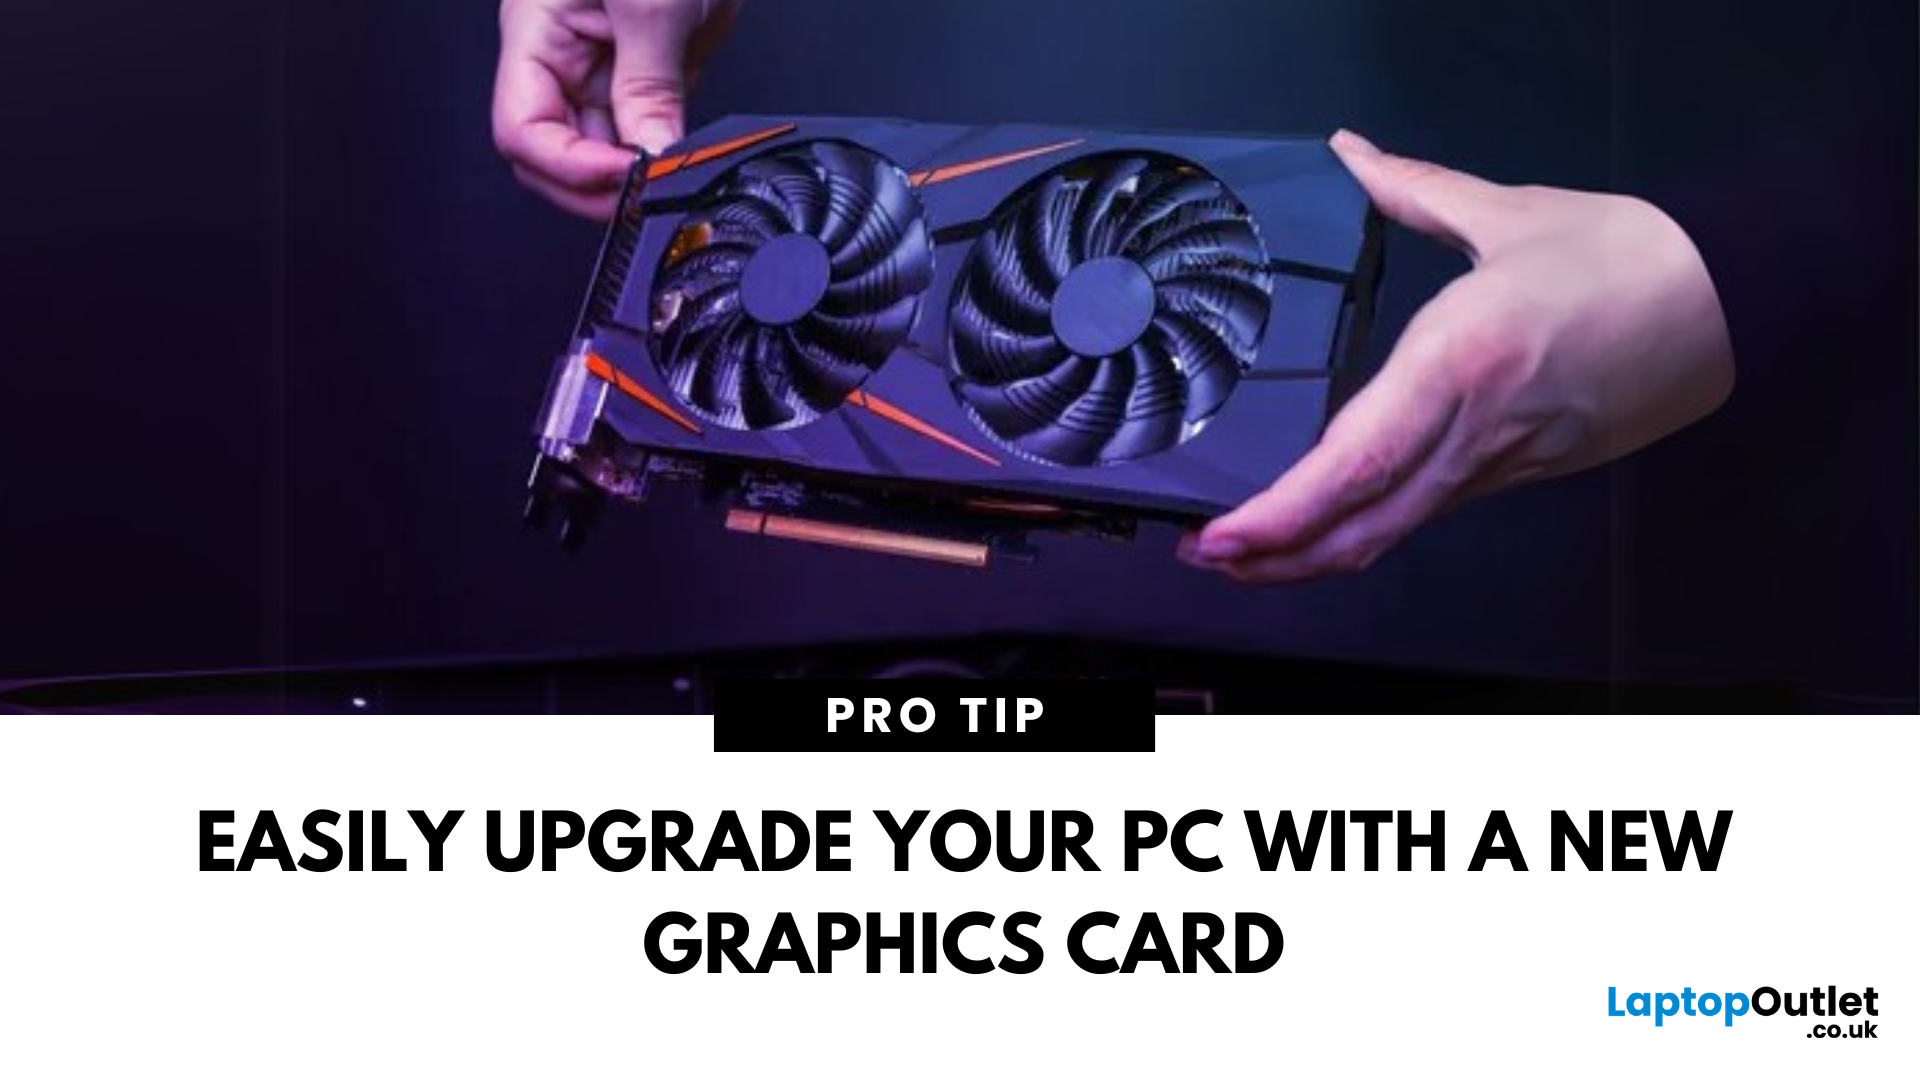
Time for a GPU Upgrade?
Whether you're chasing better gaming performance, smoother rendering, or next-gen AI capability, installing a new graphics card (GPU) is one of the best PC upgrades you can make. Here's how to safely and properly install your new GPU.
1. What You’ll Need
- Your new graphics card
- A Philips screwdriver
- An anti-static wrist strap (recommended)
- A clean, flat workspace
Optional: compressed air to clean out dust before installing the new GPU
2. Prepare Your PC
- Shut down your computer
- Unplug the power cable and all peripherals
- Hold the power button for 5 seconds to discharge remaining power
3. Open the Case and Remove the Old GPU (If Needed)
- Unscrew and remove the side panel of your PC case
- Disconnect power cables from your existing GPU
- Unscrew the GPU bracket
- Release the PCIe latch and gently pull out the old card
- If you’re installing a GPU for the first time, skip to the next step
4. Insert the New Graphics Card
- Locate the PCIe x16
Last Updated: March 04, 2026
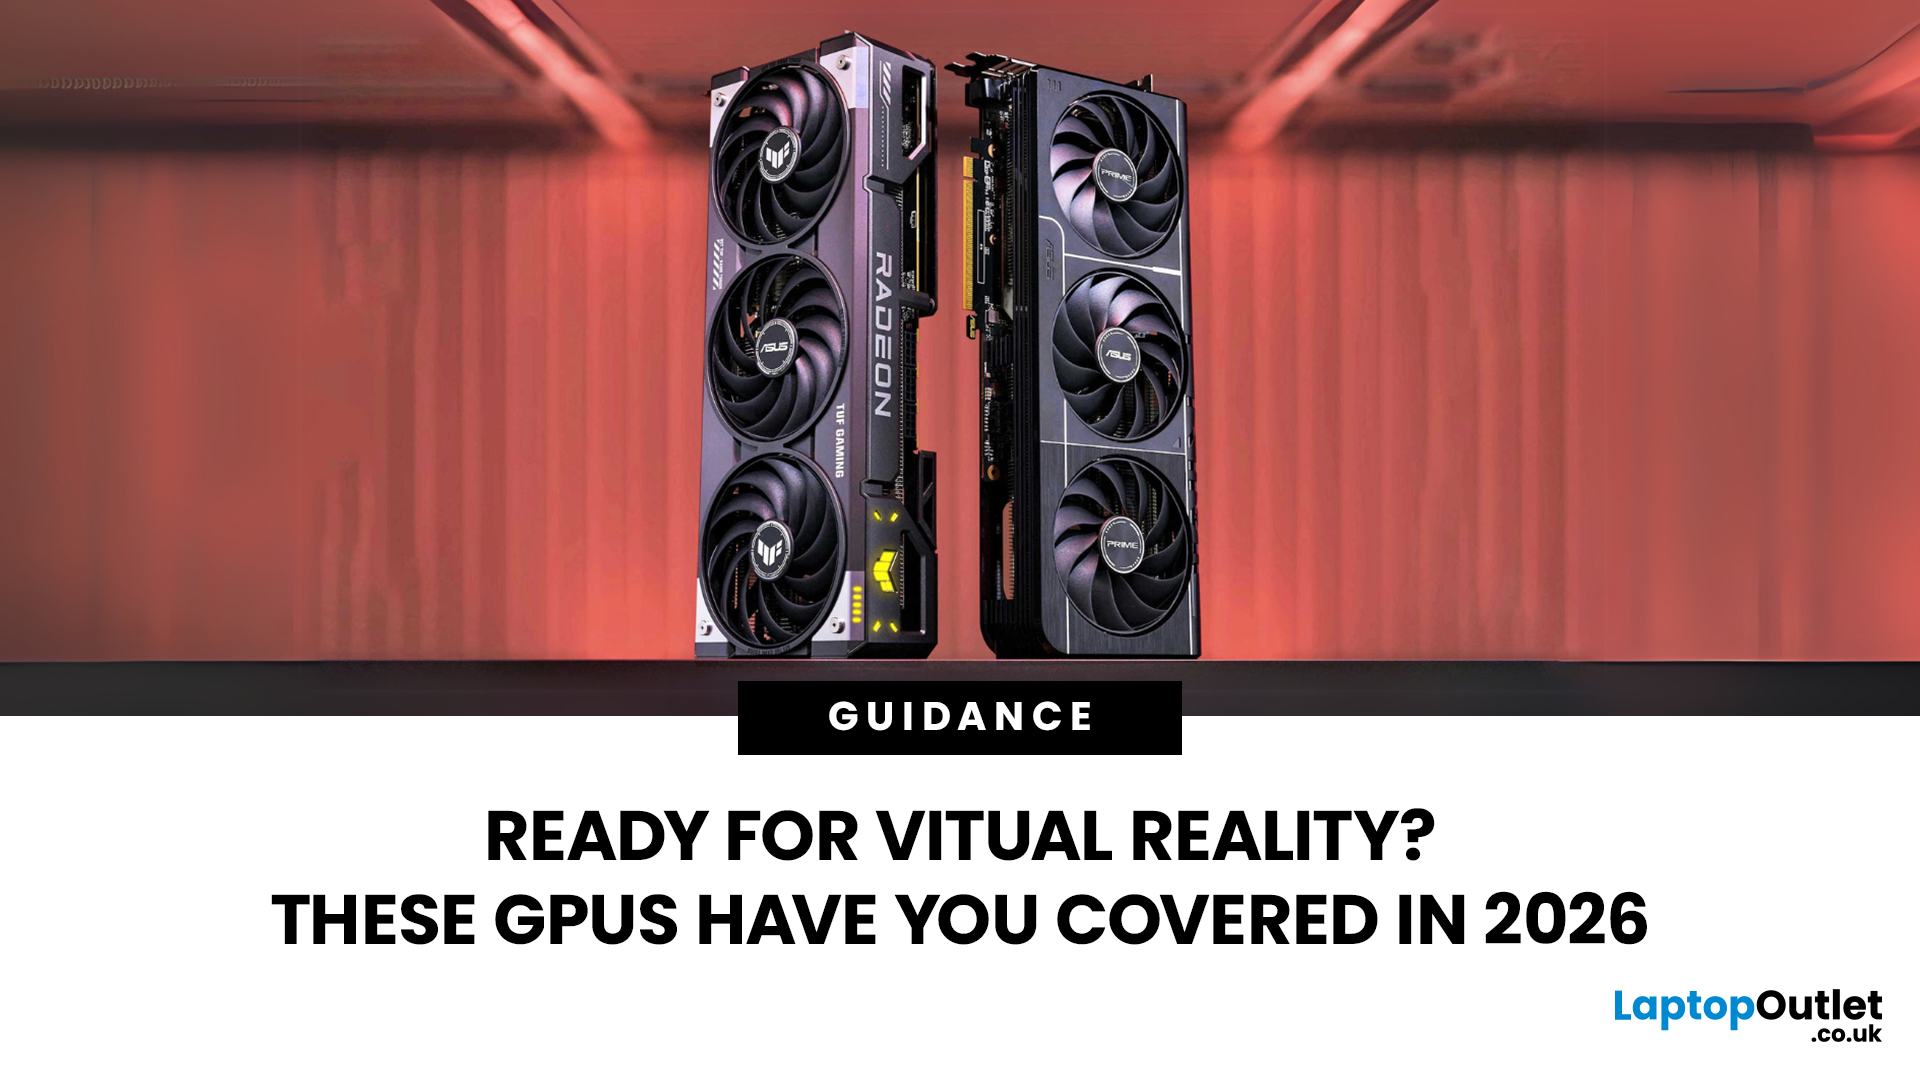
Virtual reality is the way forward when looking for total immersion and enjoying entertainment in another dimension. Whether you're stepping into alien landscapes, racing through hyper-realistic circuits, or exploring entire worlds from your living room, VR takes everything you love about gaming and cranks it up to another level. But to truly make the most of it, your PC needs to be more than just average; it needs serious graphical muscle.
If you plan to upgrade your system for a smoother, sharper, and more responsive VR experience, choosing the best graphics card for virtual reality experiences is key. And with so many options now on the market, narrowing it down can be daunting. That's why we've done the legwork for you.
Unlike standard gaming, virtual reality demands more from your hardware. Take it as running dual high-resolution displays - except one is strapped to your face, and every frame counts. Frame rates need to stay consistently high, latency needs to be minimal, and
Last Updated: September 09, 2025
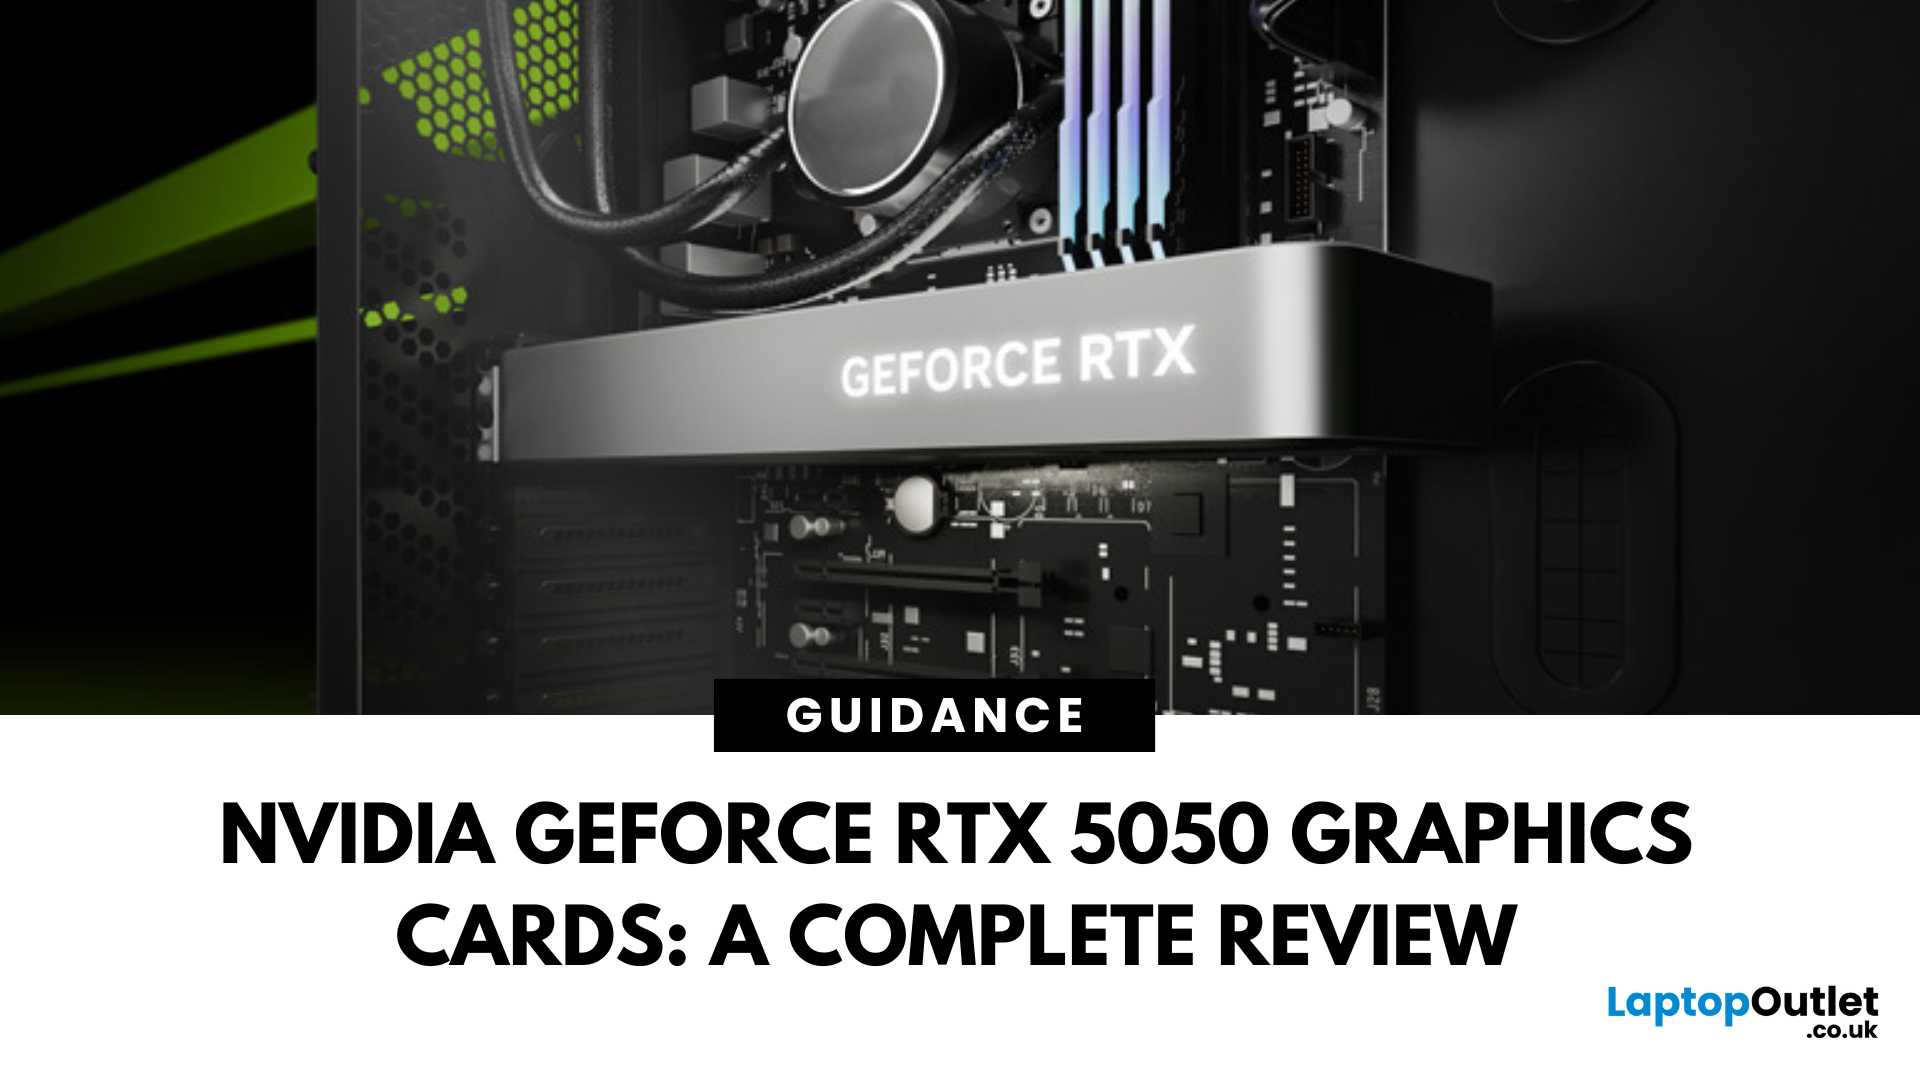
The RTX 5050 arrives as a timely and much-needed addition to NVIDIA’s mid-range line-up. With GPU prices escalating and older models ageing out of relevance, this card positions itself as a smart compromise between performance, features, and affordability. Targeted at gamers, upgraders, and budget-conscious users alike, it strikes an appealing balance that’s increasingly rare in the entry-level space. If you're considering an RTX 5050 upgrade, this RTX 5060 graphics cards review has something for you.
Architecture & Specifications: A Capable Foundation
Under the hood, the RTX 5050 is built on NVIDIA’s Blackwell architecture, the same foundation used in high-end models like the RTX 5090 graphics card. This gives it access to 5th-gen Tensor cores and 4th-gen RT cores, cutting-edge tech for a budget-friendly GPU. The card features 2,560 CUDA cores, a boost clock of up to 2,570 MHz, and 8GB of GDDR6 memory with 320 GB/s bandwidth. Despite its modest memory interface, performance stays sharp
Last Updated: September 09, 2025
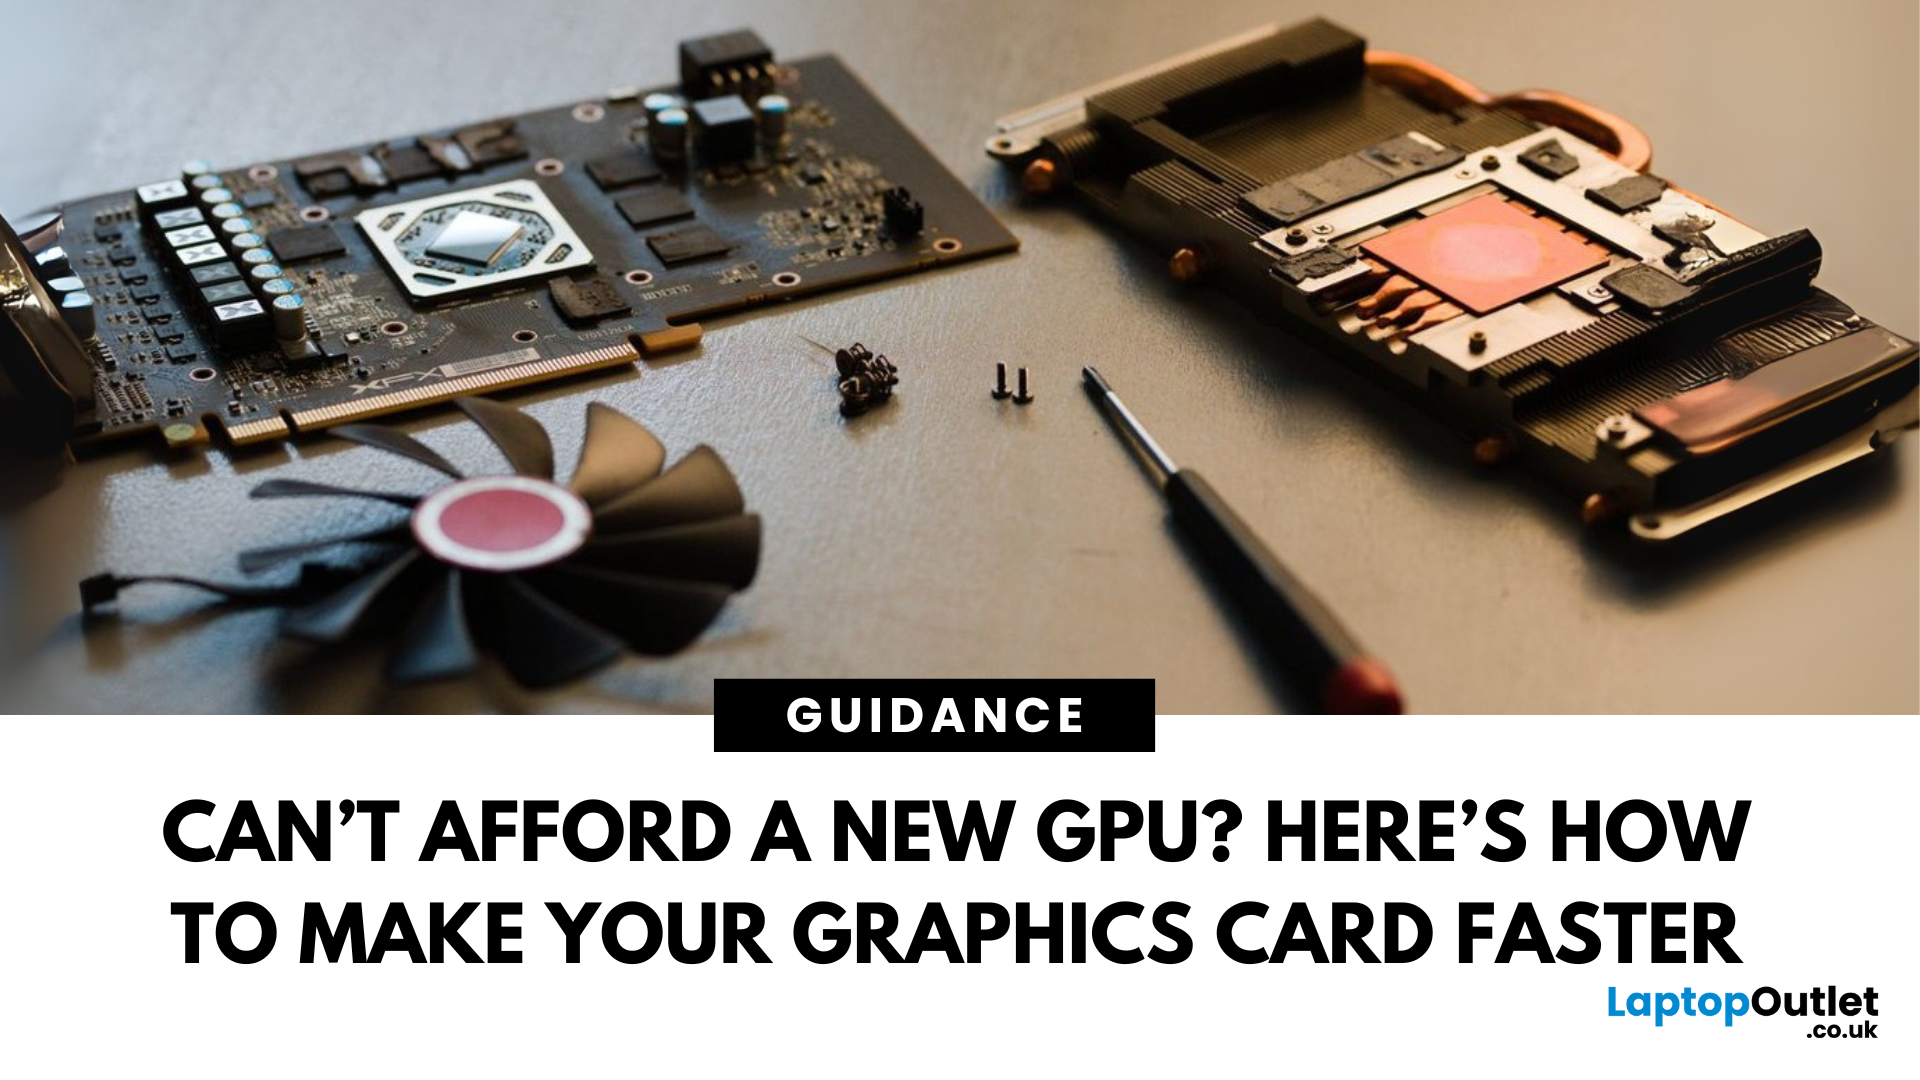
Let’s face it. Graphics cards are expensive. And while everyone wants that shiny new GPU to max out game settings or improve their creative workloads, it’s not always realistic. Between supply issues, steep prices and rapid technology cycles, buying a new graphics card can often feel like a luxury rather than a necessity.
The good news is that you don’t need to replace your GPU to breathe new life into your gaming rig or workstation. With a little time, care, and smart system tweaks, you can get more performance out of your current card and make it run quieter, cooler and faster.
In this guide, we’ll walk you through practical ways to improve your GPU’s performance, longevity, and efficiency without splashing out on brand-new hardware. If you’re looking to upgrade graphics card performance without replacing it entirely, you’re in the right place.
Tips to Make your Graphics Card Faster Without Upgrading It
-
Clean and Maintain Your GPU for a Performance Boost
Before we even touch the software
Last Updated: February 25, 2026
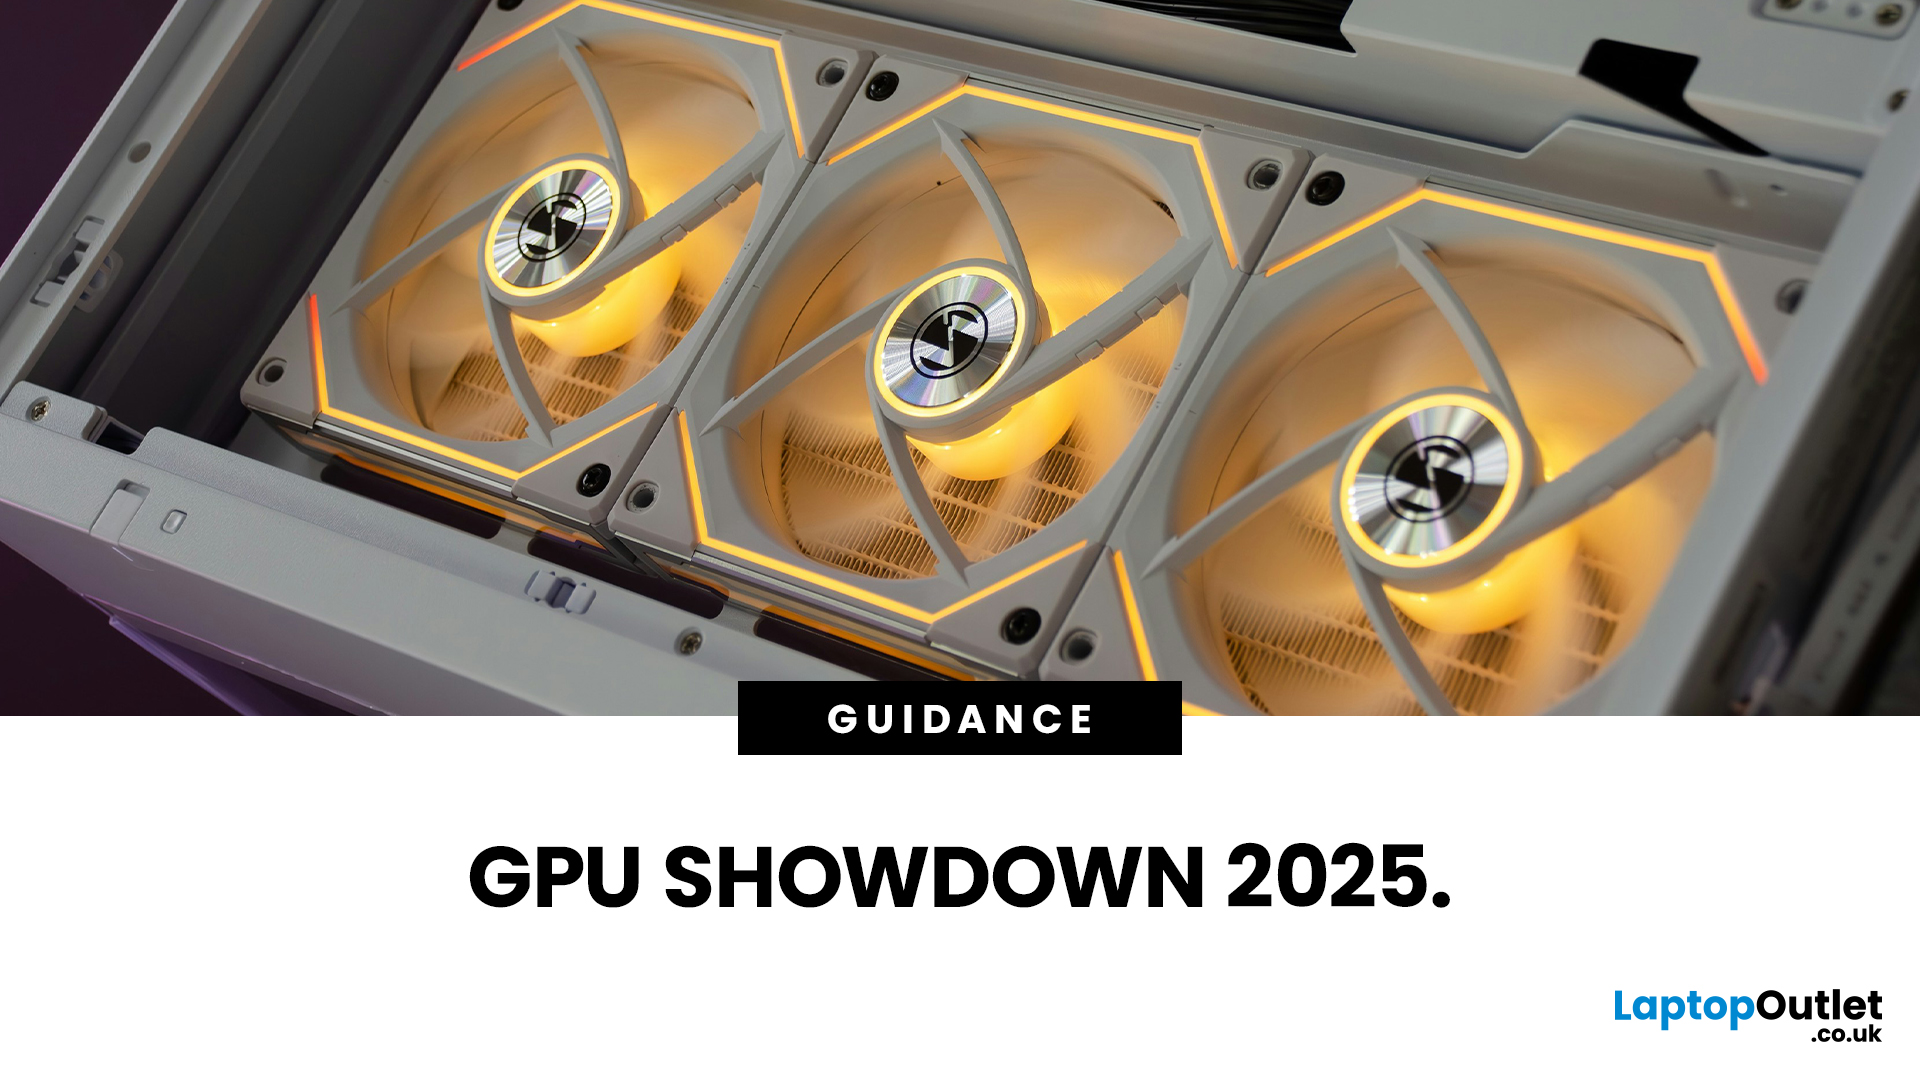
We’ve been deep in the trenches with today’s top-tier GPUs, testing them across real-world gaming sessions, editing timelines, and production rigs. This isn’t just another spec dump. It’s a curated breakdown of what actually matters when you're pushing pixels or chasing frames. Whether you're building for buttery 4K gameplay or need something that won’t choke on a multi-cam 8K edit, we’ve cut through the marketing noise to highlight what each card nails (and where it stumbles). No filler, no fluff, just the kind of insight we’d want before dropping serious cash on a new GPU.
ASUS GeForce RTX 5090 ROG Astral 32GB OC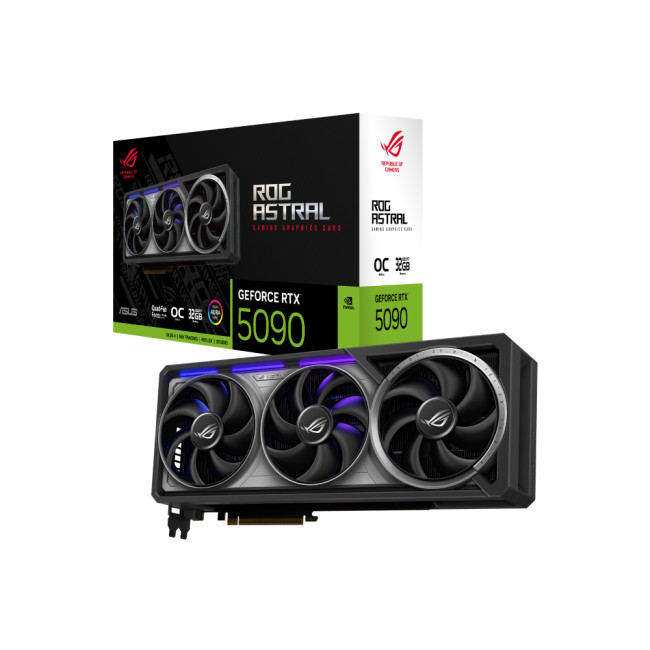
Also Known As:
- ROG STRIX RTX 5090
- NVIDIA GeForce RTX 5090 ROG Astral OC
- The Beast from the Future
Overview & Standout Features
The ASUS RTX 5090 ROG Astral isn’t just a GPU; it’s a flex. This monster packs 32GB of next-gen GDDR7 VRAM, triple axial-tech fans, and more RGB than your setup probably needs (but still wants). ASUS has taken NVIDIA’s flagship and strapped
Last Updated: March 30, 2026
If you’ve ever felt overwhelmed stepping into the world of GPUs, you’re not alone. Choosing the right graphics card is one of the trickiest parts of building or upgrading a PC. In this guide, I’ll walk you through how to choose a graphics card, explain critical specs, compare AMD vs NVIDIA, help you pick thebest GPU for gaming, and highlight what to consider ifyou’re going for4K gaming.
This graphics card buying guideis your ultimate companion to navigate through the maze of options. We'll break down key specs, performance insights, comparisons, and practical tips to help you make an informed purchase, especially ifyou'reshopping at Laptop Outlet, one of the UK’s trusted tech retailers.
Understanding What a Graphics Card Does
A graphics card, or GPU (Graphics Processing Unit), is the powerhouse responsible for rendering images, videos, and animations on your screen. Think of it as the heart of your visual experience. It determine show smoothly your games run, how sharp your 4K videos
Last Updated: October 30, 2025
Setting the Scene
Alex: First of all, thanks for having this discussion, Jamie. I’m in the process of upgrading my rig, and I want to get the best GPU for gaming I can afford. But there are so many options out there, and I’m a bit lost, especially with the new 50-series from NVIDIA, and the still-very-solid 40-series.
Jamie: No problem, Alex, happy to help. Upgrading the graphics card is probably the biggest single component decision in a gaming rig (other than maybe the monitor or CPU). So, it’s good that we step through it together.
Why is the Graphics Card Matters
Alex: So, to start with: why is the graphics card so important for a gaming rig?
Jamie: In short, the GPU is what actually renders your game frames, handles complex calculations for lighting, shadows, textures, and especially if you’re gaming at higher resolutions (1440p, 4K) or using high refresh rates. If you pair everything else well (CPU, RAM, storage, PSU, cooling), the graphics card becomes a bottleneck if it’s too
Published: November 03, 2025
Let’s be honest: laptops are bloody brilliant. Sleek, portable, and increasingly powerful, what’s not to love? But then you try running a modern game on “Ultra” or crunching a 4K video edit and your laptop’s fan sounds like it’s preparing for takeoff. That’s when the thought creeps in: Can I replace the graphics card on my laptop? Well, grab a cuppa and settle in. We’re diving into the surprisingly sticky world of laptop GPU upgrades.
First Things First: What Exactly is a Laptop GPU?
A GPU (Graphics Processing Unit), often referred to as a graphics card, is what makes the pretty things on your screen look… well, pretty. Whether you're gaming, editing videos, running simulations, or just watching Netflix in glorious HD, it’s your GPU doing the heavy lifting.
Now, in desktop PCs, the graphics card is typically a large, separate component that you can easily yank out and replace. But in laptops, things get a little trickier.
Can You Replace a Laptop Graphics Card?
The Brutal Truth: In