

How to Transfer Large Files Quickly with USB Sticks
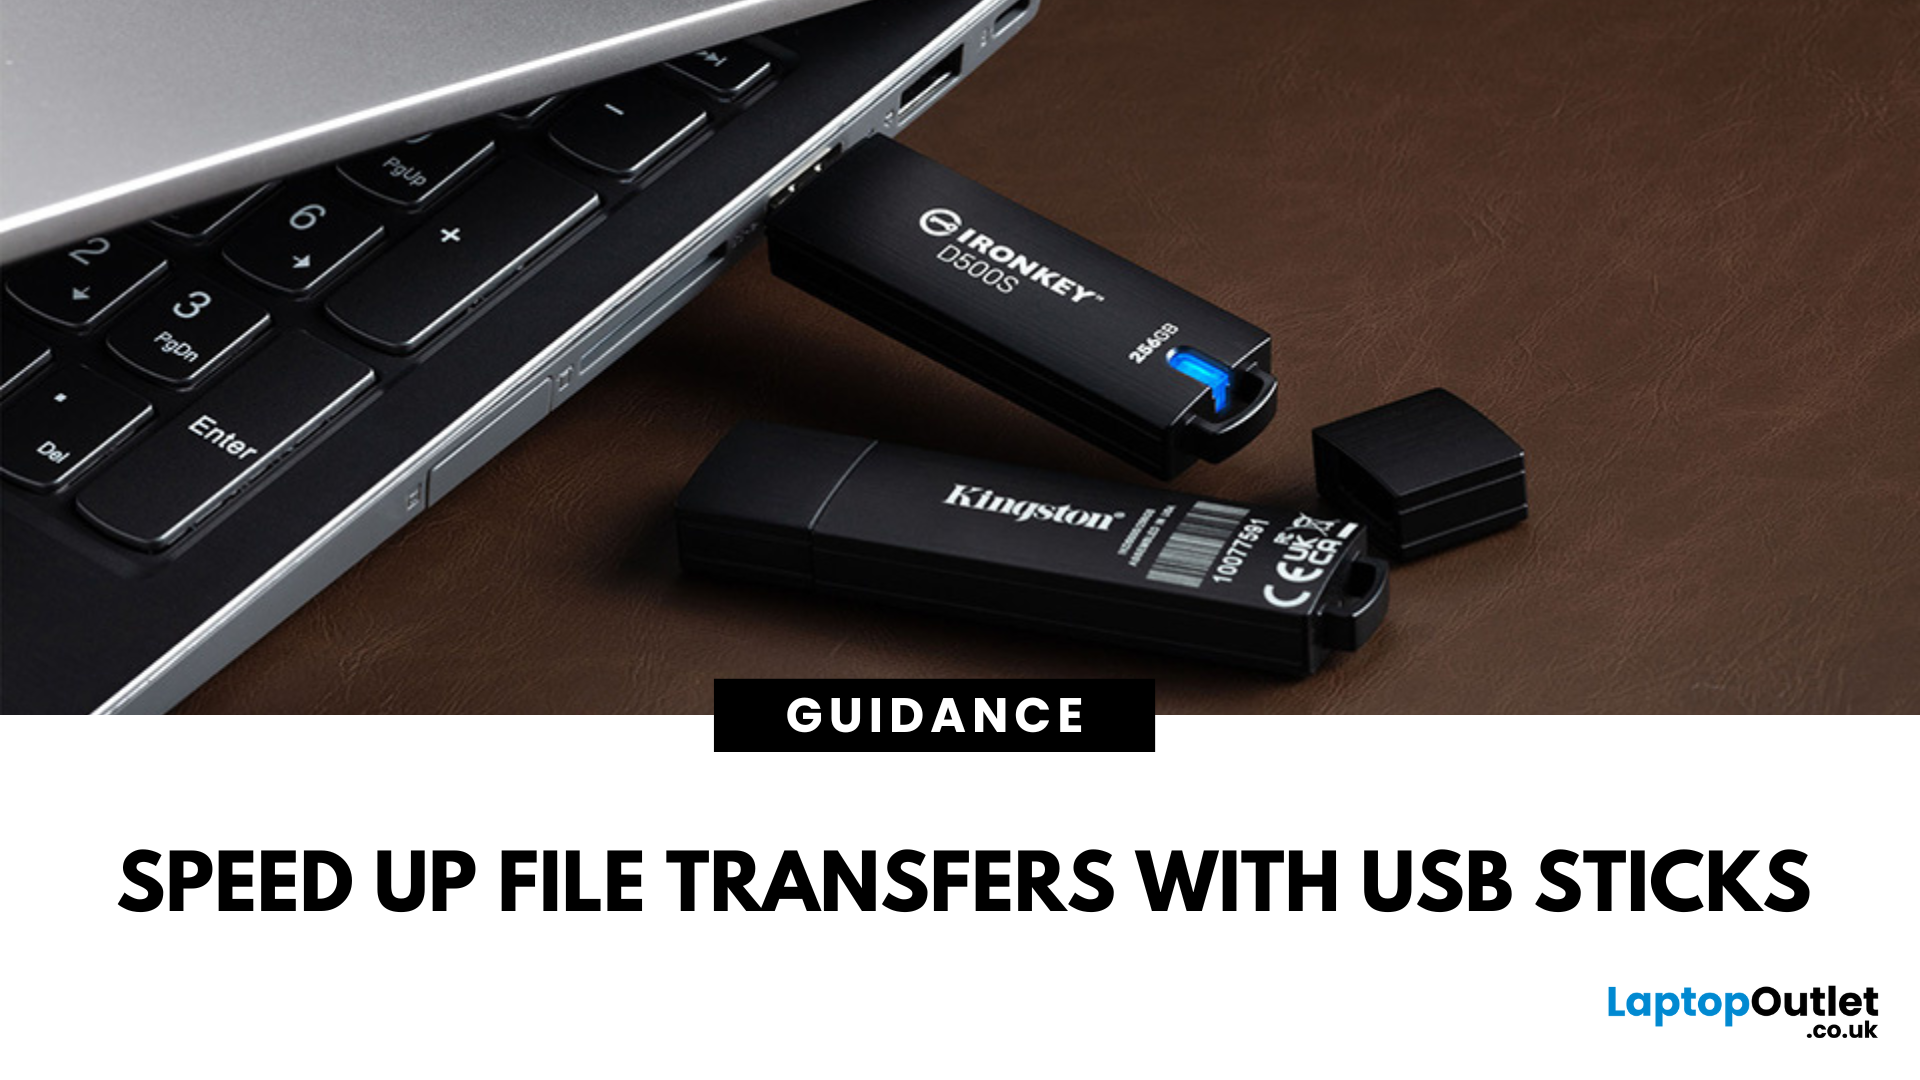
Speed Up File Transfers with USB Sticks
When transferring large files, you might have to wait a long time if you are not using the right tools. While cloud storage and network drives have their perks, USB sticks still remain the most popular, fastest, portable, and cost-effective tools to move data around. Using a reliable USB flash drive can help you conveniently transfer data between devices, saving you time, stress, and headaches. So, here’s how you can transfer large files quickly with USB drives.
-
Understanding USB Sticks:
USB sticks, also known as flash drives, are portable devices used to store and transfer data between devices. While these portable storage devices may be fast and efficient for data transfer, not all USB drives are created equal. Understanding the different types, formats, and speed ratings can help you choose the right stick for your specific requirements, especially when transferring large files.
USB Types – 2.0 vs. 3.0 vs. 3.2:
- USB 2.0 offers slower transfer speeds (~480 Mbps). These are suitable for small files and basic usage. Common for older devices.
- USB 3.0 / 3.1 Gen 1 offers significantly faster (up to 5 Gbps) transfer speeds. They are ideal for large media files and backups.
- USB 3.2 / USB-C speeds up to 10 Gbps, making them excellent for ultra-fast transfers and working with large files in real-time. Compatible with newer devices.
Storage Space:
When transferring large files, make sure to choose a storage space that exceeds the file size. You can find USB sticks with 1TB storage space and beyond. So, based on your requirements, choose the right option.
File System Formats:
- FAT32: Compatible with most systems, but has a 4GB file size limit.
- exFAT: Best for large files and cross-platform compatibility.
- NTFS: Great for Windows users needing to store massive files.
Factors Affecting Transfer Speeds
When transferring large files via USB sticks, many factors can affect the transfer speed you get. Understanding these factors can help you ensure faster data transfers. Consider these:
-
USB Port Versions:
The first factor you need to consider is the USB port you use for data transfer. If your device has a USB 2.0 port, you will only get ~480 Mbps transfer speeds even if you are using a USB 3.0 stick.
-
System Compatibility:
Your device’s firmware can also cause fluctuations in the transfer speeds. Make sure your device’s operating system detects the USB properly. Also, update your operating system to the latest version so there are no delays in the data transfer.
-
File Sizes:
The size and type of your file can also affect the transfer speed. Large individual files, such as 4K videos, transfer faster than thousands of smaller files that require more read/write operations.
-
Formats:
The file system format can also affect how fast your data is transferred to or from the USB. For larger files, exFAT or NTFS are the ideal options.
-
USB Device Manufacturer:
A low-quality USB device can also cause slower data transfer speeds. Check the brand before you purchase a USB stick and go for a trusted provider.
-
Write Cycle Limitation:
A flash disk may have a limited number of write cycles, and if that limit is exceeded, you may experience slower data transfer speeds. This issue is common if the USB stick is old and has been used a lot.
-
Computer Performance Limitations:
Even with a fast USB stick, your device’s hardware can slow things down:
- CPU usage: Heavy multitasking may bottleneck file processing.
- Disk speed: If you're copying from/to a slow HDD, it will delay transfers.
- Background Processes: Running apps or antivirus scans can impact file write speeds.
Optimising File Transfers
Slow file transfers can be time-consuming. To overcome this, here are a few considerations for optimising large file transfers with USB sticks:
-
Choosing high-quality USB sticks:
Low-quality USB drives can cause transfer delays and even lead to file corruption. Make sure to always use a high-quality USB stick from a well-known retailer.
-
Using the correct USB ports (3.0 and above):
If you use the USB 2.0 port with a USB 3.0 and above stick, the data transfer will still be limited to that allowed by the port. Make sure to identify and use the fastest available port on your device.
-
Avoiding Background Tasks while Transferring:
If you are facing slow transfer speeds, background tasks may be causing it. Check the task manager to clear any background tasks that may be affecting the transfer speeds. Also, avoid using your device while the transfer process is going on.
-
Compress Files:
Multiple smaller files can take longer to transfer as compared to larger individual files. To overcome this, compress files into a single ZIP or RAR folder to avoid multiple read/write operations. This can make the transfer process faster.
-
Use Direct USB Ports:
USB hubs, especially unpowered ones, can cause bottlenecks. Avoid using them and always plug your USB sticks directly into USB 3.x ports on your device. This can lead to faster transfers.
Alternative Storage Solutions:
USB sticks may be quick and portable, but they may not be ideal for all situations. If you are transferring very large files, such as complete backups or require long-term storage, using an alternative storage may be a great choice. External HDDs (Hard Disk Drives) and SSDs (Solid State Drives) offer larger capacities and higher performance, making them ideal for:
- Backing up entire systems or large media libraries (e.g., videos, game installs)
- Regular transfers of files above 100GB
- Storing sensitive files in an encrypted format (many external drives offer built-in security)
These optical drives offer some advantages over a USB memory stick, including:
- Higher capacities (from 500GB to 4 TB+)
- Better long-term durability for repeated read/write cycles
- Usually faster for sustained transfers, especially with SSDs
But for faster data transfers, USB sticks or a USB card may still be the best solution available for you. They are compact and portable, making them easy to carry around and transfer data on the go, which is ideal for regular use.
Best Practices for Data Transfer:
For efficient data transfers with your USB sticks, here are some best practices to keep in consideration:
-
Keeping drivers updated:
Outdated device drivers can cause issues with identifying USB drives as well as data transfer speeds. Make sure to keep your drivers updated so there are no issues.
-
Using compression tools for large files:
When transferring larger files, it is always a great idea to compress them before transferring them to your USB. There are many tools available based on your specific file type that you can use to compress and reduce their size.
-
Safely ejecting USB sticks to avoid data loss:
Directly removing USB sticks can sometimes lead to data corruption or loss. Make sure to always safely eject your USB drive before removing it so there is no data loss.
-
Avoid Simultaneous Transfers:
It is best to avoid simultaneous transfers, as this can create multiple processes, leading to slower transfer speeds. Always let one transfer finish before initiating a new transfer.
-
Scan for Malware Regularly:
It is best to always scan your USB device for malware to make sure your devices are protected. Use an antivirus software on your device to scan your USB sticks for malware and viruses.
Final Thoughts:
USB sticks can be an efficient way to transfer files between devices or for short-term storage. But when transferring large files, you need to make sure to follow the best practices listed in this guide for faster transfers.
Looking for optical drives for long-term file storage? Check out Laptop Outlets' collection of HDDs today!
FAQs: Transferring Large Files with USB Sticks:
-
Can USB 2.0 still be used for large file transfers?
While USB 2.0 can still be used for large file transfers, it may not be the most recommended option. Newer devices may not support USB 2.0. Even if you find a device with USB 2.0 ports, it can be slower as compared to USB 3.x.
-
How can I tell if my USB port is 3.0 or higher?
The quickest way to identify if your USB port is 3.0 or higher is to look for a blue insert. You can also check the manufacturer’s guide for your device. Or if you are using a Windows Laptop or PC, you can verify this in the device manager.
-
Is there a file size limit when using a USB stick?
Yes. USB sticks formatted with FAT32 cannot transfer files over 4 GB. To remove this limit, reformatting to exFAT or NTFS can help.
-
What’s the difference between a USB stick and an external hard drive?
USB devices are more compact and portable as compared to external hard drives. However, they may offer less storage than an external HDD or SSD.
-
Are USB sticks secure for sensitive data?
Yes, USB sticks can be encrypted or password-protected to secure sensitive data. If you need added safety, go for options that offer built-in encryption.
| Read More: |
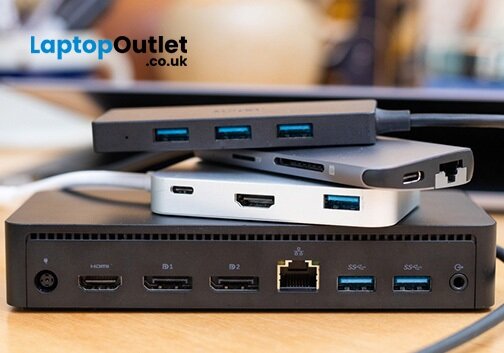
| A Comprehensive Guide to USB-C Docks and Desktop Compatibility |
| How to transfer photos from iphone to laptop without usb |
| how to transfer photos from iphone to laptop |
Related Articles
Last Updated: September 11, 2025
Last Updated: September 11, 2025
Introduction
Are you frustrated with wires scattered across your desktop and need a simple fix to keep your gadgets charged and organised?
In the world of desktop technology, the USB-C port has emerged as a versatile force with streamlined connectivity and enhanced functionality. As desktop setups become sophisticated, the demand for efficient cable management and expanded connectivity has grown.
Desktop docking stations can enhance productivity, improve ergonomics and ensure convenience for content creation, 3D designers, and CAD engineers. They allow connections between the monitor, keyboard, mouse, storage drive, network port, headphone jack, SD card, and charging ports.
This comprehensive guide explores USB-C docks and their compatibility with various desktop systems. You will learn everything from understanding the fundamentals of USB-C technology to choosing the right dock for your specific desktop needs.
So, let's get into it!
Standard Ports Available in USB-C Docks
USB-C docks are
Last Updated: September 11, 2025
A Fresh Start for Your USB Drive
Whether you're clearing space, fixing errors, or preparing your USB stick for Windows or macOS, formatting is the way to go. Luckily, it’s super simple on a Mac. Here’s a clear step-by-step on how to format a USB stick on macOS.
1. Plug In the USB Stick
- Insert your USB drive into an available port
- If prompted, choose to ignore or open Finder
Make sure to back up any important files—formatting erases everything
2. Open Disk Utility
- Go to Applications > Utilities > Disk Utility
- Or search for Disk Utility via Spotlight (Cmd + Spacebar)
3. Select Your USB Drive
- In the sidebar, click your USB stick (look under 'External')
- Double-check the name and capacity to avoid formatting the wrong drive
4. Click 'Erase'
- At the top of the window, click the Erase button
Format Options:
- Mac OS Extended (Journaled): For Mac-only use
- ExFAT: For both Mac and Windows compatibility
- MS-DOS (FAT): Best for small drives under 32GB
Use ExFAT if you
Last Updated: September 11, 2025
Pocket-Sized Power
A USB stick, also known as a USB flash drive, is one of the most convenient and widely used storage tools available. Small, portable, and incredibly useful—it’s your go-to device for storing, transferring, and backing up files in seconds. But what exactly is a USB stick, and how does it work?
1. What Is a USB Stick?
A USB stick is a small, portable storage device that plugs into a computer or compatible device via a USB (Universal Serial Bus) port. It uses flash memory to store data and requires no external power source.
Also known as thumb drive, flash drive, or pen drive
2. How Does a USB Stick Work?
- Plug it into a USB port on your laptop, PC, or compatible device
- It appears as an external drive
- You can drag and drop files, create folders, and even run portable software
3. Common Uses for USB Flash Drives
- Storing documents, photos, videos, and music
- Transferring files between computers or devices
- Creating system backups or recovery tools
- Installing

Last Updated: September 11, 2025
Start Fresh with a Clean USB Drive
Before selling, giving away, or repurposing a USB stick, it’s important to completely wipe it. This removes all files and helps protect your privacy. Here’s how to safely and securely wipe a USB stick on both Windows and Mac.
1. What Does 'Wipe' Mean?
Wiping a USB stick means:
- Erasing all data stored on the drive
- Optionally overwriting it to prevent file recovery
- Preparing the stick for reuse or disposal
Different from simply deleting files—it removes all traces
2. How to Wipe a USB Stick on Windows
Option 1: Quick Format
- Insert the USB stick
- Open File Explorer > This PC
- Right-click the USB drive > Format
- Choose File System (e.g. FAT32 or exFAT)
- Leave Quick Format checked for speed or uncheck for deep format
- Click Start
Option 2: Command Prompt (Full Wipe)
- Type cmd in Start Menu, right-click Command Prompt > Run as admin
- Enter: diskpart
- Then: list disk
- Identify your USB stick by size, then enter: select disk X (replace
Last Updated: September 11, 2025
Portable Mac Backup, Sorted
Cloning your Mac to a USB stick is a great way to create a full system backup, test new software, or carry a bootable version of macOS. Whether you're preparing for emergencies or upgrading your Mac, here’s how to clone your Mac system to a USB drive safely.
1. What Does Cloning a Mac Mean?
- Copies your entire system, including macOS, files, apps, and settings
- Lets you boot from the USB if your Mac fails or if you want to use another machine
- Ideal for creating a full backup before macOS upgrades
2. What You’ll Need
- A USB stick or external SSD (at least 64GB recommended; more for full system clone)
- A Mac running macOS Ventura or newer
- Cloning software (recommended: SuperDuper! or Carbon Copy Cloner)
Use a fast USB 3.0 or USB-C drive for better performance
3. Format the USB Drive (macOS Journaled)
- Open Disk Utility (Applications > Utilities)
- Select your USB drive in the sidebar
- Click Erase > Format as Mac OS Extended (Journaled)
- Name