

How to Set Up UniFi WiFi 7 Access Points for Maximum Performance
If you’ve just got your hands on the latest UniFi WiFi 7 access points, you’ll want to ensure you’re squeezing out every bit of performance they can offer. WiFi 7 promises faster speeds, lower latency, and smoother connectivity, but those benefits only appear when the setup is done properly.
This guide is for anyone planning their UniFi WiFi 7 Access Point Setup. Whether you’re installing them at home, in an office, or across a larger site, we’ll walk through everything step-by-step: adoption in the UniFi Controller, WiFi 7 access point configuration, 6 GHz band setup, and making the most of Multi-Link Operation.
Step 1: Prepare Your Space
Before you even plug anything in, take a moment to prepare. A little planning saves a lot of fixing later.
Do a quick site survey
Walk around with a phone or laptop and check for dead WiFi zones. Look for thick concrete walls, metal surfaces, or areas where you’ve always struggled with signal.
Plan where to mount
The golden rule is high and central. A ceiling-mounted WiFi access point spreads the signal more evenly than one hidden on a shelf.
Check your network gear
Your new WiFi 7 AP needs decent support - think PoE (Power over Ethernet) and ideally multi-gigabit switches. If your switch is still stuck on gigabit or your cabling is old, the AP can’t show its full power.
Think about your devices.
Not every phone, tablet, or laptop supports WiFi 7 yet. That’s fine - the AP will still work with WiFi 5 and WiFi 6 devices, but only newer ones can use the 6 GHz band and MLO.
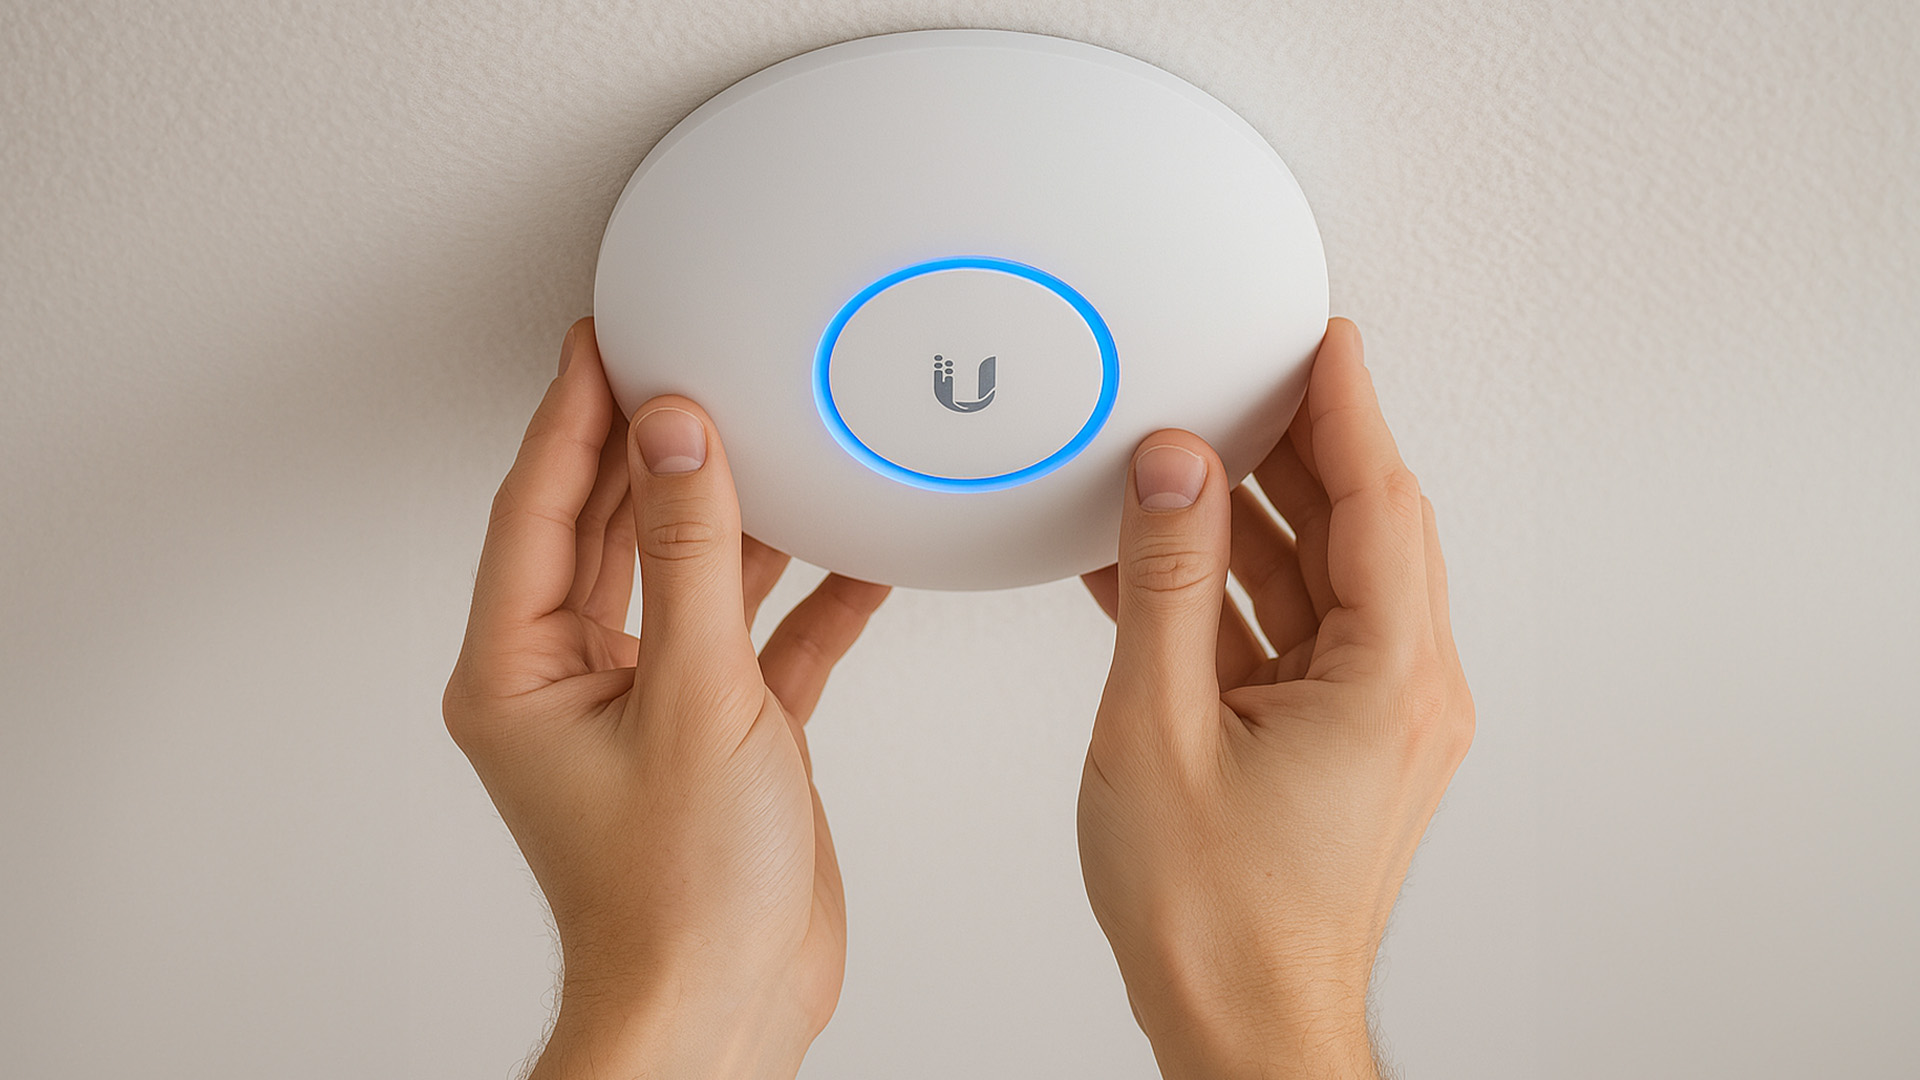
Step 2: Mount Your UniFi WiFi 7 Access Point
Now it’s time to take it on board.
- Ceiling mount when possible: This avoids furniture or walls blocking the signal. Most UniFi APs are designed for this and come with brackets.
- Avoid corners: Mounting in corners or behind obstacles reduces coverage.
- Allow overlap: If you’re installing multiple APs, aim for about 20–30% overlap in coverage so roaming feels seamless.
If ceiling mounting isn’t an option, high on a wall is your next best bet.
Step 3: Connect and Adopt in the UniFi Controller
This is where your AP joins the rest of your network.
- Plug it into your PoE switch.
- Update your UniFi Controller software so it supports WiFi 7 features.
- Open your UniFi Controller (or UniFi OS). You can open the UniFi Network app on your mobile device.
- Once the AP shows up, update its firmware too.
- In the Devices section, your new AP should appear as “Pending Adoption.”
- Click Adopt, give it a clear name like Office-AP1, and wait while it connects.
- Update firmware straight away so you’ve got the latest features and fixes.
These are the core UniFi Controller adoption steps. Once you see the green “Connected” status, you’re ready to configure.
Step 4: Create Your WiFi Networks
A good network setup balances performance and organisation.
- Main SSID: For your personal or work devices.
- Guest SSID: Keeps visitors away from your main network.
- IoT SSID: Smart devices sometimes struggle with modern security; keeping them separate helps.
When creating SSIDs:
- Use WPA3 security wherever possible.
- Pick clear names (no “John’s WiFi 12345”).
- Hide advanced settings unless you know you need them.
Step 5: Enable 2.4 GHz, 5 GHz, and 6 GHz
One of the biggest wins of WiFi 7 is the 6 GHz band.
- 2.4 GHz: Good for older devices and a more extended range, but slower.
- 5 GHz: The current sweet spot - fast and widely supported.
- 6 GHz: The new fast lane. Cleaner, less congested, but shorter range.
In your UniFi Controller, enable all three. This ensures backwards compatibility and futureproofing.
Note: In some regions, 6 GHz use is restricted or requires Automated Frequency Coordination (AFC). If your Controller gives you region warnings, pay attention.
Step 6: Turn On Multi-Link Operation (MLO)
Here’s where WiFi 7 really shows its power.
MLO allows devices to use more than one band at the same time - for example, uploading on 5 GHz while downloading on 6 GHz. The result: smoother performance, fewer drops, and less congestion.
How to enable it:
- Go to your SSID settings.
- Find the MLO toggle and turn it on.
- Choose which bands to combine (usually 5 GHz + 6 GHz for best results).
Not every device supports MLO yet, but enabling it ensures that those who do will benefit.
Step 7: Tweak Your Settings for the Best Speed
Now that your AP is adopted, fine-tuning settings makes a big difference.
- Channel Width: If your environment is clean, use wide channels (160 or even 320 MHz) on 6 GHz. In crowded areas, stick to narrower widths to avoid interference.
- Transmit Power: More isn’t always better. Too much power can cause interference. Aim for even coverage, not blasting the entire floor.
- Band Steering: Encourage newer devices to hop onto 5 or 6 GHz while keeping 2.4 GHz for older or low-bandwidth kits.
- Channel Selection: Auto works well, but check occasionally. If your neighbour’s WiFi is clashing, manually move to a cleaner channel.
- QoS (Quality of Service): Prioritise video calls, VoIP, or gaming if they matter most in your setup.
- Client Load Balancing: Stop one AP from getting overloaded while another nearby is underused. Set thresholds so devices roam smoothly.
This is the real WiFi 7 access point configuration stage - where you decide how the network behaves.
Step 8: Test Your Setup
Don’t assume everything’s perfect — test it.
- Run a speed test on a WiFi 7-enabled laptop or phone.
- Walk around while connected to see how roaming feels.
- Check controller stats: Look at throughput, connected clients, and error logs.
If speeds are low, double-check your wired backhaul. A gigabit bottleneck can limit WiFi 7 performance dramatically.
Troubleshooting Quick Fixes
|
Issue |
Cause |
Solution |
|
Can’t connect on 6 GHz? |
Device doesn’t support it or band disabled |
Check device compatibility, enable 6 GHz, move AP closer |
|
WiFi feels slow? |
Wired backhaul too weak or interference |
Upgrade switch/uplink, scan RF environment, update firmware |
|
Lag or spikes? |
Channels congested or MLO not configured |
Adjust channel widths, enable MLO, tweak transmit power |
|
Old devices won’t connect? |
WPA3-only SSID or band steering too aggressive |
Allow WPA2 fallback, ease steering thresholds |
Quick Checklist
- Site survey complete
- AP mounted centrally (ceiling if possible)
- Connected to PoE and adopted in Controller
- SSIDs created (main, guest, IoT)
- 2.4, 5, and 6 GHz enabled
- MLO turned on
- Channels, power, and roaming optimised
- Speed and roaming tested
- Firmware updated

What We Covered in this Guide
A properly tuned UniFi WiFi 7 access point setup feels different the moment you connect. Pages load faster, streams don’t buffer, and video calls stay smooth. By following these steps — from mounting and adoption, through WiFi 7 access point configuration, enabling 6 GHz and MLO, and optimising settings - you’ll unlock the true power of WiFi 7.
Your network will be faster, more stable, and ready for years of new devices.
And don’t forget, if you’re building a complete setup, you’ll want:
- Networking accessories for switches, cables, and PoE.
- WiFi routers to pair with your APs.
- Access points if you’re expanding coverage further.
Take your time with the setup, test thoroughly, and enjoy WiFi that finally feels as fast and reliable as it should.

Need More Help?
Which access points support WiFi 7?
WiFi 7 support is rolling out in the latest generation of UniFi access points. These models use the 6 GHz band, Multi-Link Operation, and wider channels to deliver faster speeds and lower latency. If you want to upgrade, check UniFi’s WiFi 7 product line under Access Points.
How to set up access point UniFi?
To set up a UniFi access point, connect it to your network via PoE, open the UniFi Controller, and adopt the device. From there, you can create SSIDs, enable 2.4, 5, and 6 GHz bands, and configure features like Multi-Link Operation. The process is straightforward: plug in, adopt in Controller, configure, and test.
Does Ubiquiti support WiFi 7?
Yes. Ubiquiti has released UniFi WiFi 7 access points designed for both homes and businesses. These APs support advanced features like 6 GHz connectivity, wider channel widths, and Multi-Link Operation to fully take advantage of the WiFi 7 standard.
How to configure UniFi access point U7 Pro?
The UniFi U7 Pro setup follows the same adoption process in the UniFi Controller:
- Connect the AP with PoE.
- Adopt it in the Controller.
- Create SSIDs and enable WPA3 security.
- Switch on the 6 GHz band and enable Multi-Link Operation (MLO).
- Optimise channel width, transmit power, and roaming thresholds.
Following these steps ensures you get maximum performance from the UniFi U7 Pro installation guide.
How to make Ubiquiti access points faster?
To improve speed on Ubiquiti APs:
- Enable wider channels (160 MHz or higher on supported bands).
- Use the 6 GHz band if available.
- Optimise placement (central, ceiling-mounted).
- Update firmware regularly.
- Avoid interference by selecting cleaner channels.
- Use multi-gigabit switches and cabling to prevent wired bottlenecks.
What is the speed of UniFi WiFi 7?
UniFi WiFi 7 access points support the latest WiFi 7 (802.11be) standard and can deliver extremely high data rates across all frequency bands. On the 6 GHz band, speeds can reach up to 5.8 Gbps using 2×2 spatial streams with 320 MHz channel width. The 5 GHz band supports up to 4.3 Gbps with 2×2 streams at 160 MHz, while the 2.4 GHz band can provide up to 688 Mbps with 2×2 streams at 40 MHz.
How far apart should UniFi access points be?
Spacing depends on your building layout, but a good rule is 20–30% overlap in coverage between APs. In open areas, this might mean 15–20 metres apart. In offices with thick walls, you may need them closer. Always test roaming and adjust placement to ensure there are no dead zones.
| Read More: |
| How to Boost WiFi Signal |
| How to Connect Netgear WiFi Extender |
| How to Connect an HP Printer to Wi-Fi |
Related Articles

Last Updated: April 09, 2026
Spring is one of the easiest times to bag a smarter upgrade without paying full price. For UK buyers, Easter is a sweet spot because it lands close to a bank holiday shopping window, and in 2026 that means Good Friday on 3 April and Easter Monday on 6 April in England, Wales and Northern Ireland. Scotland also has Good Friday on 3 April, but not Easter Monday as a bank holiday.
Laptop Outlet makes Easter tech deals more than a seasonal promo. It is a genuine chance to upgrade to something faster, longer-lasting, and better matched to how people work, study, game, and stream in 2026. Laptop Outlet also carries a broad UK range across laptops, desktop PCs, tablets, accessories, and refurbished tech, so buyers are not boxed into one price tier or one type of setup.
What are Easter Tech Deals?
Easter tech deals are limited-time discounts and bundles that typically appear around the Easter holiday period on products like laptops, desktop PCs, tablets, monitors, and accessories. In practice,
Last Updated: June 03, 2025
Do you need a laptop for work and personal use but need more time because you are older? Well, we have your back; let's find the best laptop.
In an age of advanced technology, laptops have become essential for staying connected, managing tasks, and accessing information. However, embracing the digital world can sometimes be challenging for seniors.
The good news is that laptops have evolved to meet the unique needs of older adults, with a focus on accessibility and ease of use. There are so many brands on the market these days, and it'll take a lot of work to know which suits your needs the best.
This article will cover some considerations that make laptops more senior-friendly and some of the best budget options for older adults. So, whether you're in the market for your first laptop or are just looking to upgrade, read on for our top picks!
Best Laptop for Senior Citizen's Needs - Things to Consider!
Buying a laptop for seniors helps them stay connected with the digital

Last Updated: October 03, 2025
Wireless Printing Made Easy
No more messy cables or complicated setups—connecting your HP printer to Wi-Fi lets you print from anywhere at home or work. Whether you’ve got a new printer or you’re reconnecting, this guide shows you exactly how to get it done.
What You’ll Need
Before you start, make sure you have:
- An HP wireless printer
- Wi-Fi network name (SSID) and password
- A laptop, PC, or smartphone connected to the same Wi-Fi network
How to Connect HP Printer to Wi-Fi – Step by Step
1. Use HP Auto Wireless Connect (For Compatible Models)
- Plug in and turn on your printer
- On your computer, install the HP Smart app or visit 123.hp.com
- Follow on-screen instructions to connect your printer to Wi-Fi automatically
Pro Tip: This is the easiest option if your printer supports it—no need to enter Wi-Fi credentials manually.
2. Use the Printer’s Control Panel (Manual Setup)
- Press the Wi-Fi or Wireless icon on your printer’s screen
- Go to Settings > Wireless Setup Wizard
Last Updated: September 09, 2025
If you're tired of weak WiFi in certain corners of your home or office, a Netgear WiFi Extender might be your ideal solution. But if you're wondering how to connect a Netgear WiFi extender quickly and correctly, you've come to the right place.
Whether you're using WPS, a web browser, or the Nighthawk app, this step-by-step guide will help you set up your Netgear Extender without the tech stress and ensure a stronger signal wherever you need it most.
Why Use a Netgear WiFi Extender?
We've all been there. You're halfway through a Netflix series, and just as the plot thickens, the WiFi gives up. Or maybe you're trying to take a video call from the kitchen, and suddenly you're frozen mid-sentence. If your home has patchy signal areas, often referred to as dead zones, it's not your fault. It's just how most Netgear routers and other routers work.
A Netgear WiFi Extender gives your internet a second wind. Instead of relying on one central router to do all the heavy lifting, an extender

Last Updated: September 09, 2025
Say Goodbye to Dead Zones
Weak WiFi can turn streaming, gaming, or even browsing into a nightmare. If you're tired of buffering and connection drops, it’s time to improve your signal. Here’s how to boost your WiFi signal and keep your connection stable.
1. Reposition Your Router
- Place it in a central, elevated location (not in a cupboard)
- Avoid placing it near walls, metal objects, or appliances
- Keep antennas upright for optimal coverage
Walls, mirrors, and microwaves can block or reflect signal
2. Update Router Firmware
- Log into your router settings
- Check for firmware updates and install if available
- Some routers update automatically, others need manual action
3. Change WiFi Channel
- Use router settings to switch to a less crowded channel
- Especially useful in flats or busy buildings
- Apps like WiFi Analyzer (Android) can help find the best channel
4. Upgrade Your Router or Antenna
- Older routers = slower speeds and weaker signal
- Consider a dual-band or WiFi