How to Connect Netgear WiFi Extender
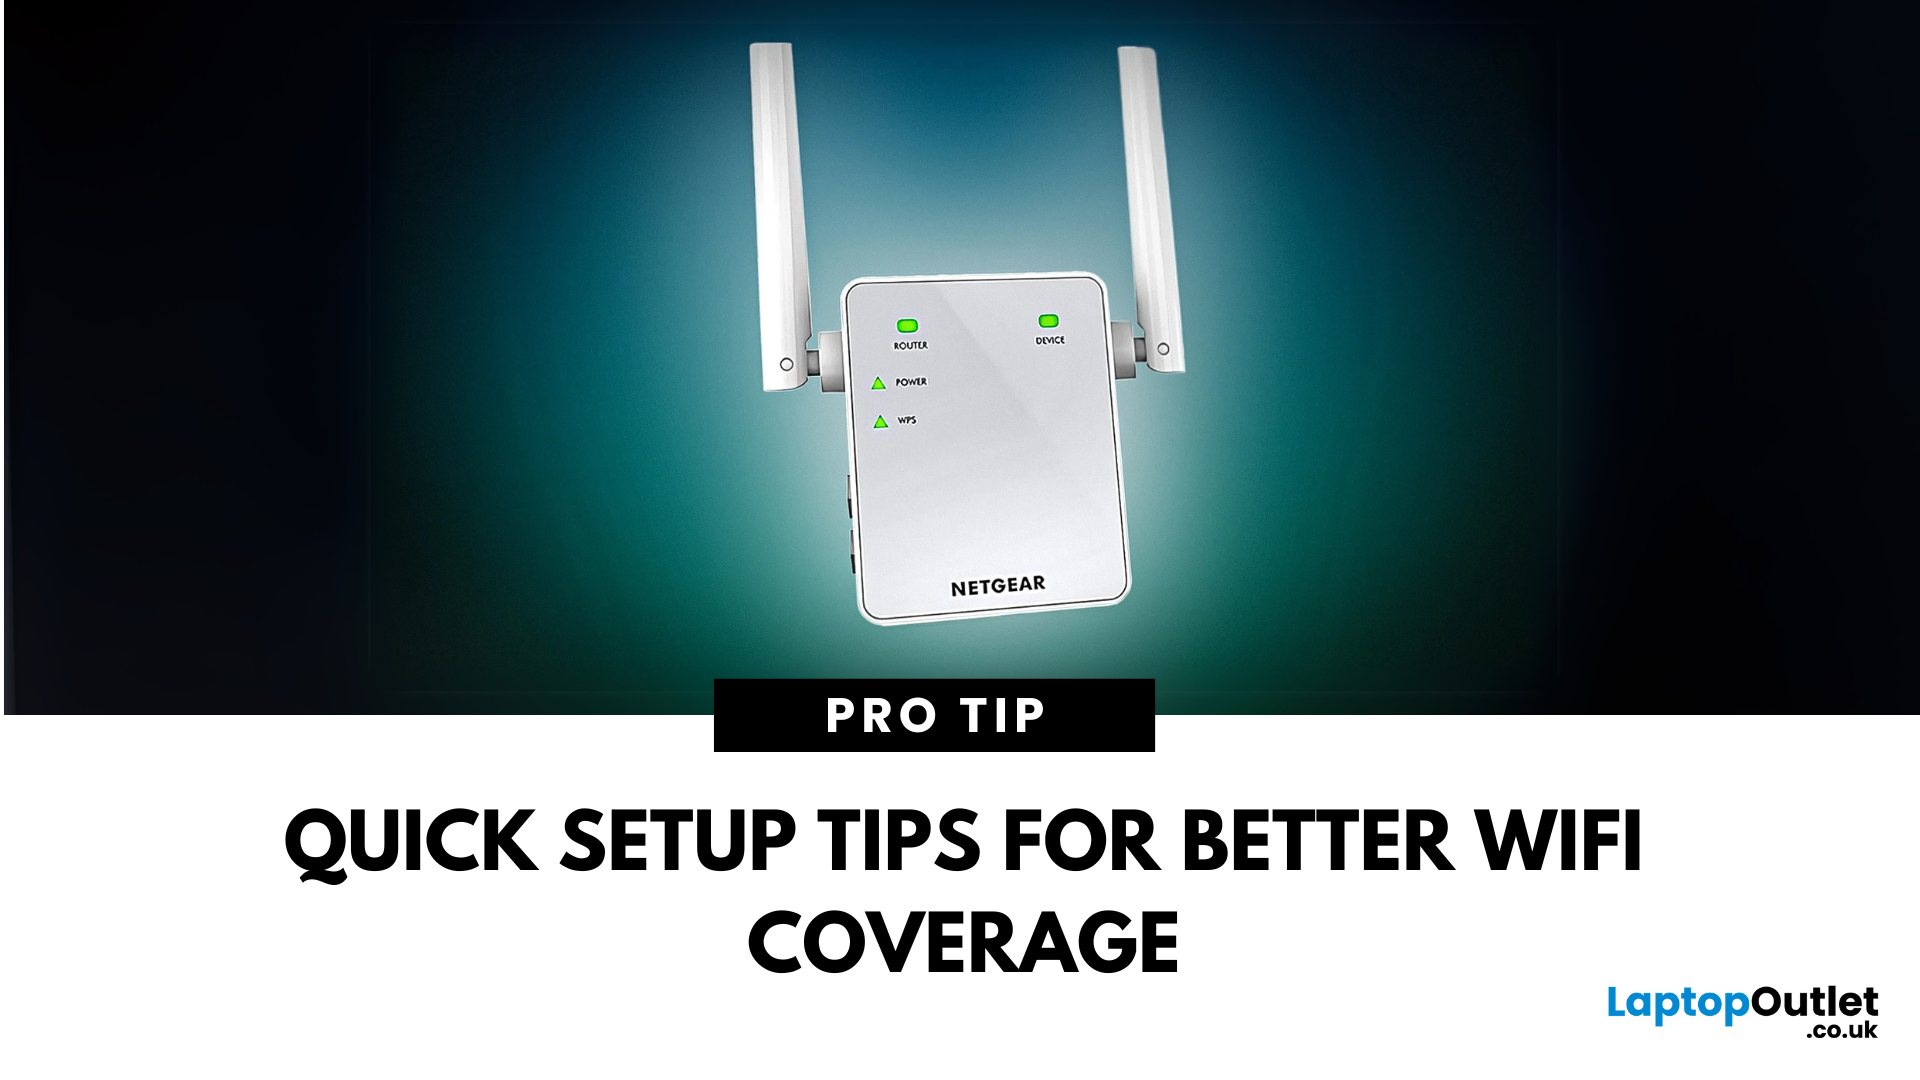
If you're tired of weak WiFi in certain corners of your home or office, a Netgear WiFi Extender might be your ideal solution. But if you're wondering how to connect a Netgear WiFi extender quickly and correctly, you've come to the right place.
Whether you're using WPS, a web browser, or the Nighthawk app, this step-by-step guide will help you set up your Netgear Extender without the tech stress and ensure a stronger signal wherever you need it most.
Why Use a Netgear WiFi Extender?
We've all been there. You're halfway through a Netflix series, and just as the plot thickens, the WiFi gives up. Or maybe you're trying to take a video call from the kitchen, and suddenly you're frozen mid-sentence. If your home has patchy signal areas, often referred to as dead zones, it's not your fault. It's just how most Netgear routers and other routers work.
A Netgear WiFi Extender gives your internet a second wind. Instead of relying on one central router to do all the heavy lifting, an extender picks up your existing signal and pushes it further into rooms your WiFi normally struggles to reach. If you're expanding your coverage, it's also an excellent complement to systems like Netgear Orbi, Netgear mesh, or even a Netgear WiFi router.
What makes it so helpful?
- You can finally enjoy fast, reliable internet in those awkward corners.
- Streaming in HD becomes smooth and effortless, with no more annoying buffering circles mid-movie.
- Smart home gadgets like thermostats, cameras and lights can actually stay online without dropping off the network.
- For remote workers or gamers, it provides a stable, lag-free connection that your productivity and sanity depend on.
The best part is you don't need to be a networking genius to set it up. Whether you're using a WPS button, your web browser, or the Nighthawk mobile app, the process is refreshingly straightforward, even if tech isn't really your thing.
Method 1: Connect Using WPS (WiFi Protected Setup)
This is the fastest way to connect if your router has a WPS button.
What You'll Need:
- A router with WPS functionality.
- A Netgear extender that supports WPS.
Steps:
- Switch to Extender Mode: On your Netgear device, flip the Access Point/Extender switch to Extender.
- Plug it in Nearby: Place the Extender in the same room as your router.
- Wait for Power LED: It should turn solid green or blue. If not, press the Power button.
- Press the WPS Button on the Extender.
- Within two minutes, press the WPS button on your router.
- When the Extender's WPS LED turns solid green or blue, it's connected. ( If the WPS LED does not turn solid green or blue, repeat Step 5.)
- Wait for the(Router) LED to turn solid green or blue.
- The Router LED will also light solid green/blue. (This might take up to 4 minutes).
- Relocate the extender midway between the router and the dead zone.
- Re-plug it, wait for stable LEDs, and then connect to the new WiFi network:
It could appear as follows:
- YourNetworkName_EXT
- YourNetworkName_2GEXT / YourNetworkName_5GEXT
Use your original WiFi password.
Method 2: Connect Through a Web Browser
If WPS isn't an option, use the browser setup method for broader compatibility.
To set up your Netgear extender using your web browser:
- Make sure your main router is online and connected to the internet. Keep your WiFi name (SSID) and password ready.
- If your Extender has an Access Point/Extender switch, slide it to Extender mode.
- Plug the Extender into a wall socket in the same room as your router. You'll move it later after setup.
- Wait for the Power LED on the Extender to stop blinking and turn solid green or blue.
- – If it doesn't light up, press the Power or On/Off button.
- On your computer or phone, go to WiFi settings and connect to the Extender's default network: NETGEAR_EXT.
- – The network might not have a password or might be protected with a password (default).
- – If prompted that the internet isn't available, select Always connect—this is expected.
- Open a web browser and type mywifiext.com in the address bar.
- One of two things will appear:
- – If the NETGEAR Genie setup starts scanning for networks, skip to Step 8.
- – If a setup page appears, click NEW EXTENDER SETUP. Accept terms by clicking YES or I AGREE.
- Choose a username and password to access the extender settings.
- – It is recommended to use admin as the username and create a unique password.
- Set two security questions and answers. These help you recover login access if needed.
- Click or tap NEXT to continue.
- Select your home WiFi network name (SSID) from the list.
- – If you don't see it, click See More to refresh the list.
- Click NEXT.
- Enter your WiFi password for the network you selected and click NEXT again.
- Choose the name and password for your new extended network.
- – By default, Netgear adds _EXT or similar to your current network name.
- (Optional): If your Extender supports One WiFi Name, tick the box to enable it.
- – This lets your Extender use the same network name and password as your main router for seamless roaming.
- Click NEXT to apply all your settings.
- – This may take a few minutes. The screen will display the network name and password once done.
- If needed, manually connect your phone or laptop to the new extended network using the details shown.
- Back in your browser, tick the checkbox at the bottom of the page and click CONTINUE.
- Wait for the Power and Router LEDs to turn solid green or blue.
- Unplug your Extender and move it to a new location—ideally halfway between your router and the area with poor WiFi.
- Let it boot up and wait for the LEDs to stabilise again before using it.
Method 3: Connect via Netgear Nighthawk App (For Modern Extenders)
For the latest extenders, Netgear's mobile app offers a sleek and simplified setup experience.
Requirements:
- Nighthawk-compatible Extender.
- Smartphone with the Nighthawk app (iOS or Android).
Steps:
- Install the Nighthawk App and log in.
- Tap Menu → Set Up a New Nighthawk System → Get Started → Range Extender.
- Plug in your Extender near the router.
- Wait for the Power LED to go solid.
- Tap NEXT to join the extender network.
- Tap CONTINUE and select NETGEAR_EXT SSID.
- Return to the app and follow the steps:
- Choose your main WiFi network.
- Enter your WiFi password.
- Create admin login credentials.
- Set up security questions.
- Tap NEXT until the app checks for firmware updates.
- Tap UPDATE if prompted.
- Wait for Power and Router LEDs to turn solid green/blue.
- Move the Extender to its final position and reconnect your devices.
Best Tips for Netgear Extender Placement
- Avoid placing the Extender near devices like microwaves, cordless phones or thick metal surfaces.
- For best results, position it halfway between the router and the problem area.
- Place it on a shelf or raised surface rather than on the floor.
- Use the LED signal indicators (if available) to fine-tune placement.
- Keep the Extender's firmware updated via the Nighthawk app or browser settings.
Final Thoughts
A patchy internet connection doesn't have to be something you just live with. Whether you're dealing with slow speeds upstairs, lag during Zoom calls or smart devices that constantly drop off the network, a Netgear WiFi Extender can completely transform your experience.
Just remember, placement is key. Keep the Extender in an open, central location away from interference for the best results.
So, if you've been putting up with weak WiFi for too long, now's the perfect time to fix it. Whether you're using a Netgear Orbi, Netgear Mesh system or a simple Netgear WiFi router, this guide ensures you get the most out of your network and enjoy the best WiFi system performance possible.
Want to upgrade your setup entirely? Explore powerful routers and the best WiFi system options at Laptop Outlet.
FAQs About Netgear Extender Setup
I pressed the WPS button, but nothing happened. What should I do?
If the LED doesn't turn solid after a minute, repeat the process or try using the browser method. Make sure both the router and extender support WPS.
Can I use the same WiFi name as my main network?
Yes, if your Extender supports One WiFi Name. This simplifies device switching and keeps you connected as you move around.
What if my browser won't open mywifiext.com?
Ensure you're connected to the NETGEAR_EXT network. If it still doesn't work, try the IP address 192.168.1.250 in your browser.
How do I connect my WiFi extender to my router?
To connect your WiFi extender to your router, you can use one of three methods: the WPS button, your web browser, or the Netgear Nighthawk app. The quickest method is WPS: Simply press the WPS button on your Netgear WiFi extender and then press the WPS button on your router within two minutes.
How do I reset my Netgear booster to a new WiFi?
To reset your Netgear booster and connect it to a new WiFi network, hold the Reset button on the Extender for about 10 seconds until the LED lights blink. This will restore factory settings. Once it reboots, you can set it up again from scratch. Just plug it in near your router, connect to the NETGEAR_EXT network, and go to mywifiext.com or use the Netgear Nighthawk app.
Why is netgear_ext not showing up?
If NETGEAR_EXT is not showing up in your available networks, your Extender may not be powered on or fully booted yet. Ensure it's plugged into a working outlet and the Power LED is solid green or blue.
Read More:
| What Is a Router? |
| How Do I Change a Router Password |
| What Does a Router Do |
Related Articles
May 19, 2025
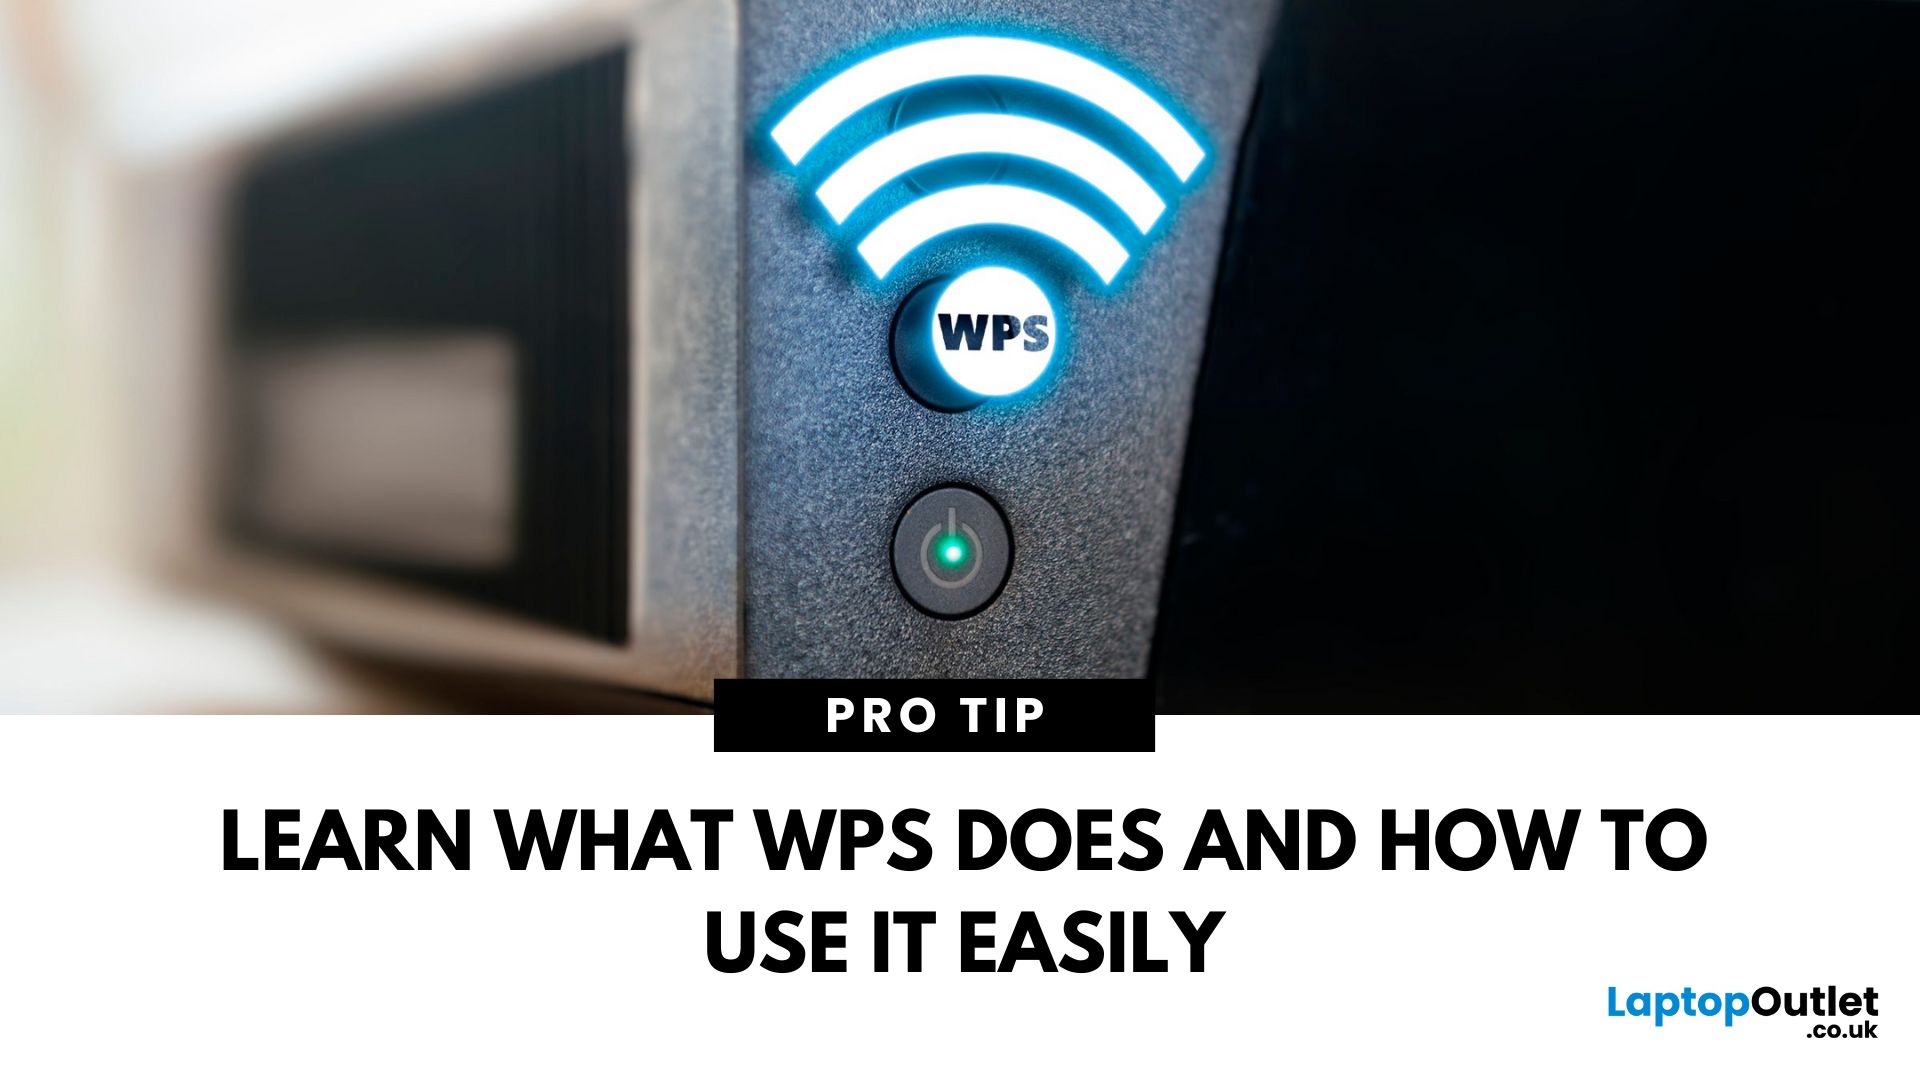
That Little Button Isn’t Just for Looks
If you’ve spotted a mysterious button labelled WPS on your Wi-Fi router, you might be wondering: What does it do—and should I use it? Here’s a beginner-friendly explanation of what the WPS button is and how it simplifies connecting devices to your Wi-Fi.
What Does WPS Stand For?
WPS stands for Wi-Fi Protected Setup. It’s a feature that helps you connect devices to your Wi-Fi network without typing in the Wi-Fi password.
Designed for convenience, especially for smart TVs, printers, and Wi-Fi extenders
What Does the WPS Button Do?
When you press the WPS button:
Your router enters a two-minute pairing mode
During this time, you can connect a compatible device without entering the password
It uses WPA2 security, so it’s secure for most home networks
How to Use the WPS Button
Steps:
Turn on the device you want to connect (e.g., printer or smart TV)
Go to its Wi-Fi settings and select your Wi-Fi network
Choose WPS connection
May 22, 2025
Your Wi-Fi Starts Here
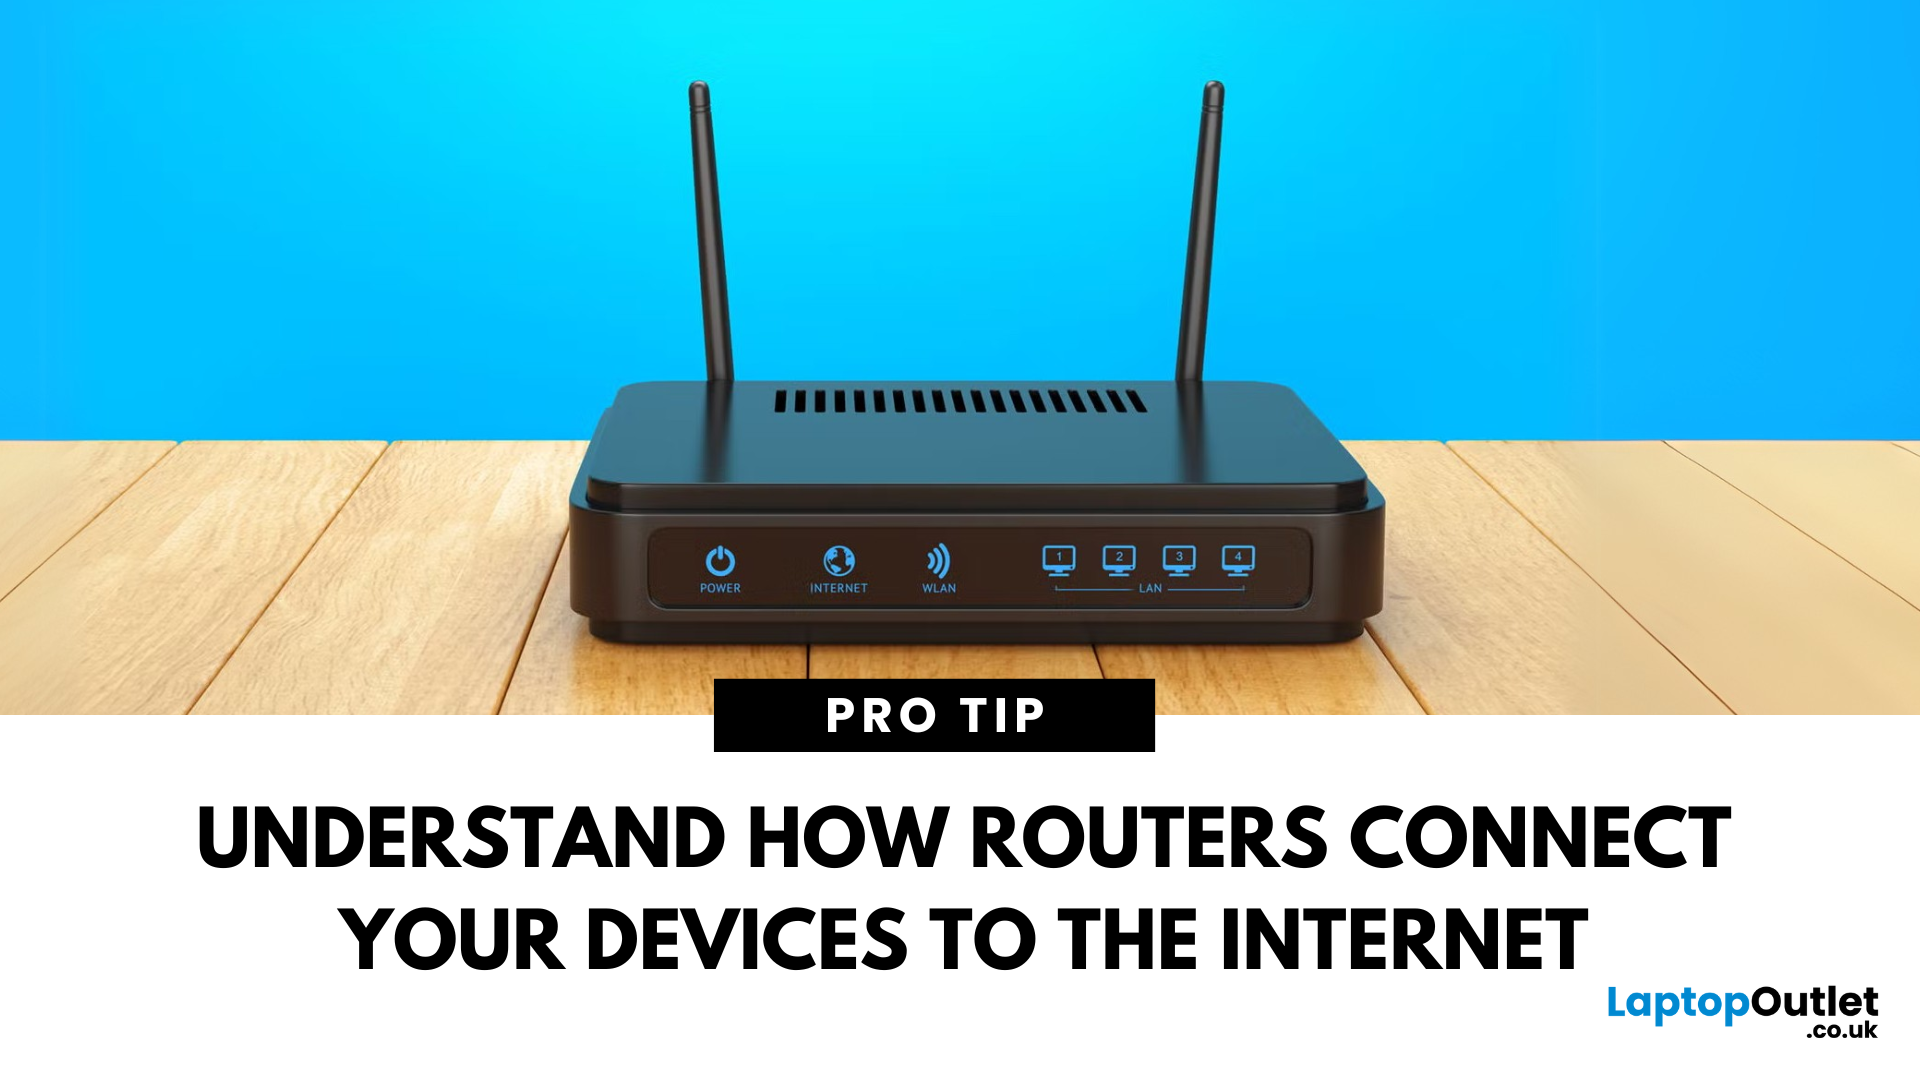
You’ve probably seen it flashing away in the corner of the room—but what is a router, and why is it essential for your internet connection? Here’s everything you need to know about this small but powerful device.
What Is a Router?
A router is a device that connects your home or office to the internet by routing data between your internet service provider (ISP) and your connected devices (like phones, laptops, smart TVs, and more).
It’s the heart of your Wi-Fi network, sending and receiving data from the web
How Does a Router Work?
- Connects to a modem (or includes one in some models)
- Assigns local IP addresses to devices in your network
- Sends and receives data packets to and from the internet
- Uses Wi-Fi or Ethernet to link devices wirelessly or via cable
Types of Routers
- Standalone Router: Connects to a separate modem
- Modem-Router Combo: Two-in-one device with both modem and router
- Mesh Wi-Fi Router: Covers large homes with multiple units
May 29, 2025
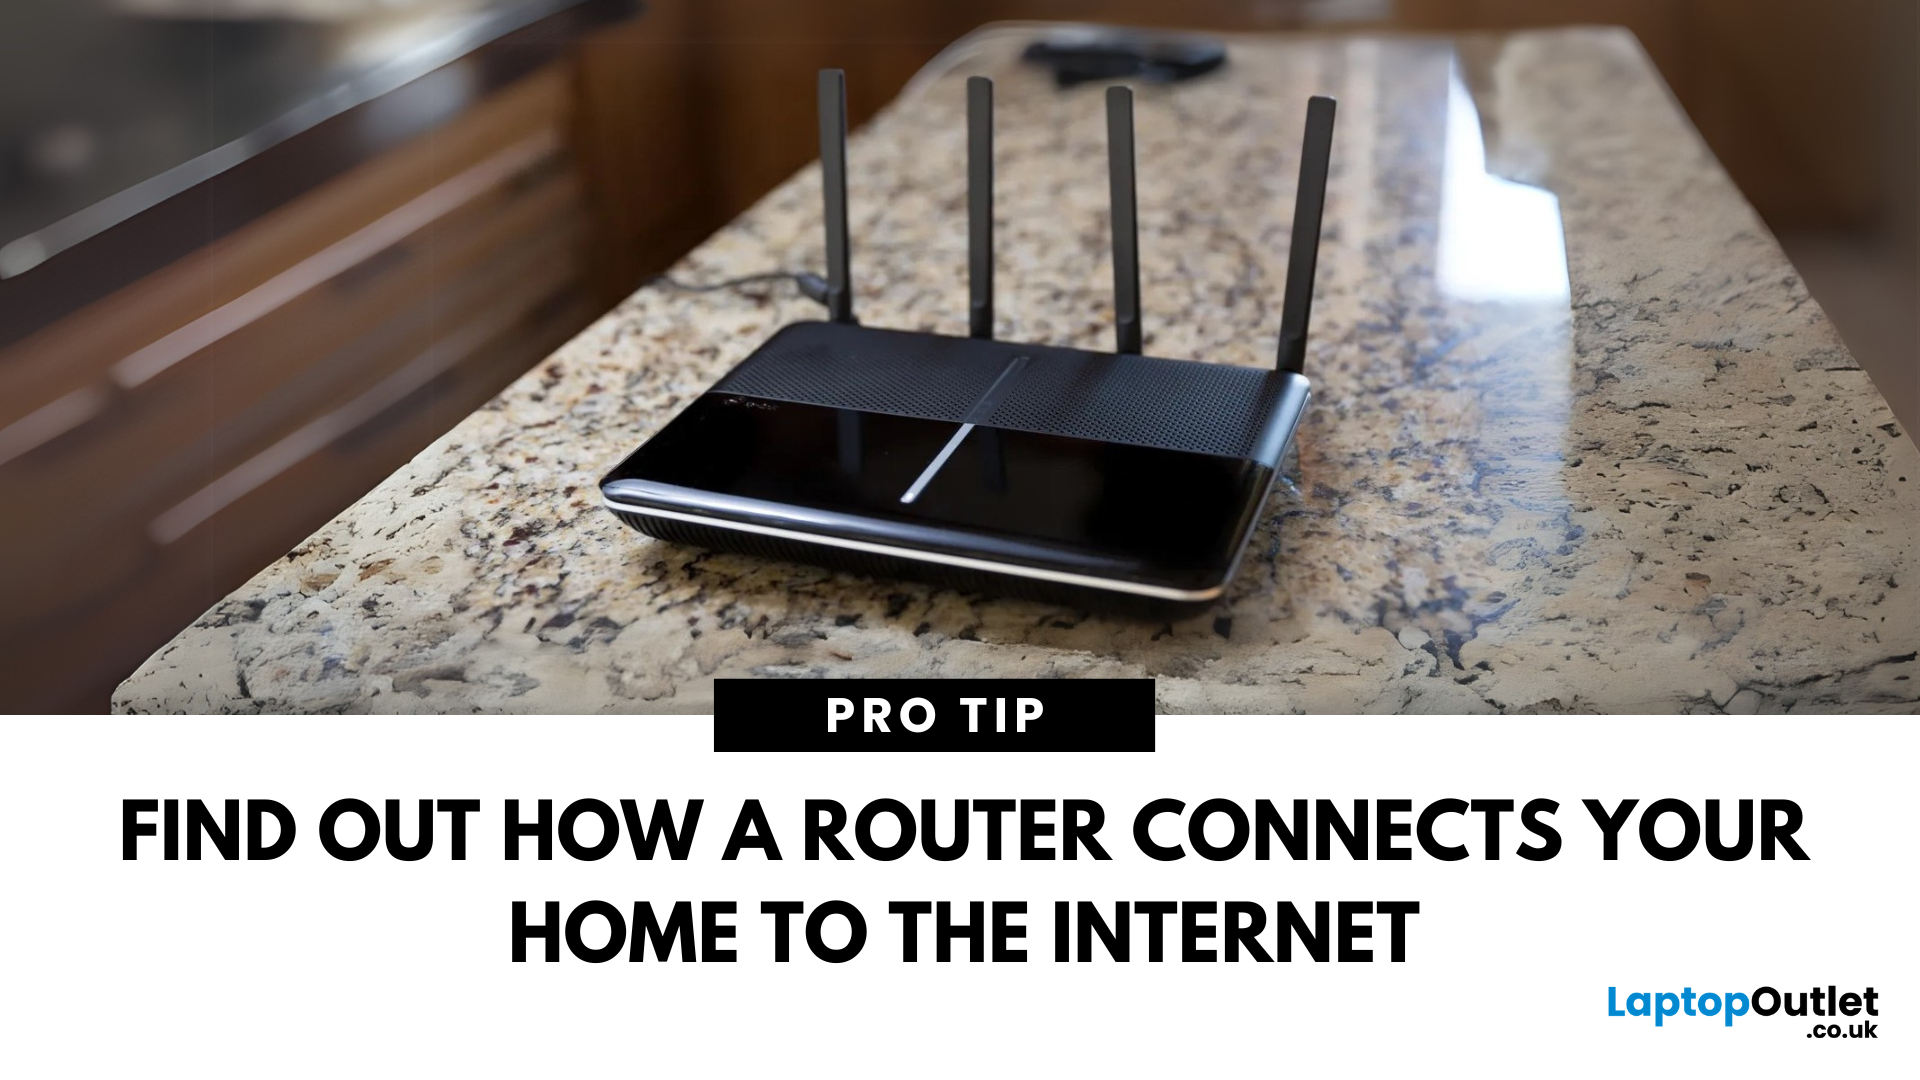
The Backbone of Your Internet
Your internet experience starts with a router—but what exactly does it do? Whether you’re streaming, gaming, working from home, or scrolling on your phone, the router keeps your digital life connected. Let’s break down what a router does and why it’s so important.
What Is a Router?
A router is a networking device that connects your devices to the internet and manages how they communicate with each other.
It “routes” traffic between your local devices (like your phone or laptop) and the broader internet
What Does a Router Actually Do?
- Distributes internet access from your modem to all connected devices
- Creates a local network so devices can talk to each other
- Assigns IP addresses to each device
- Directs data packets so the right information reaches the right device
Wi-Fi vs Router – What’s the Difference?
- Router: Manages traffic and connects devices
- Wi-Fi: The wireless signal your router creates
The router gives you internet; Wi-Fi
May 29, 2025
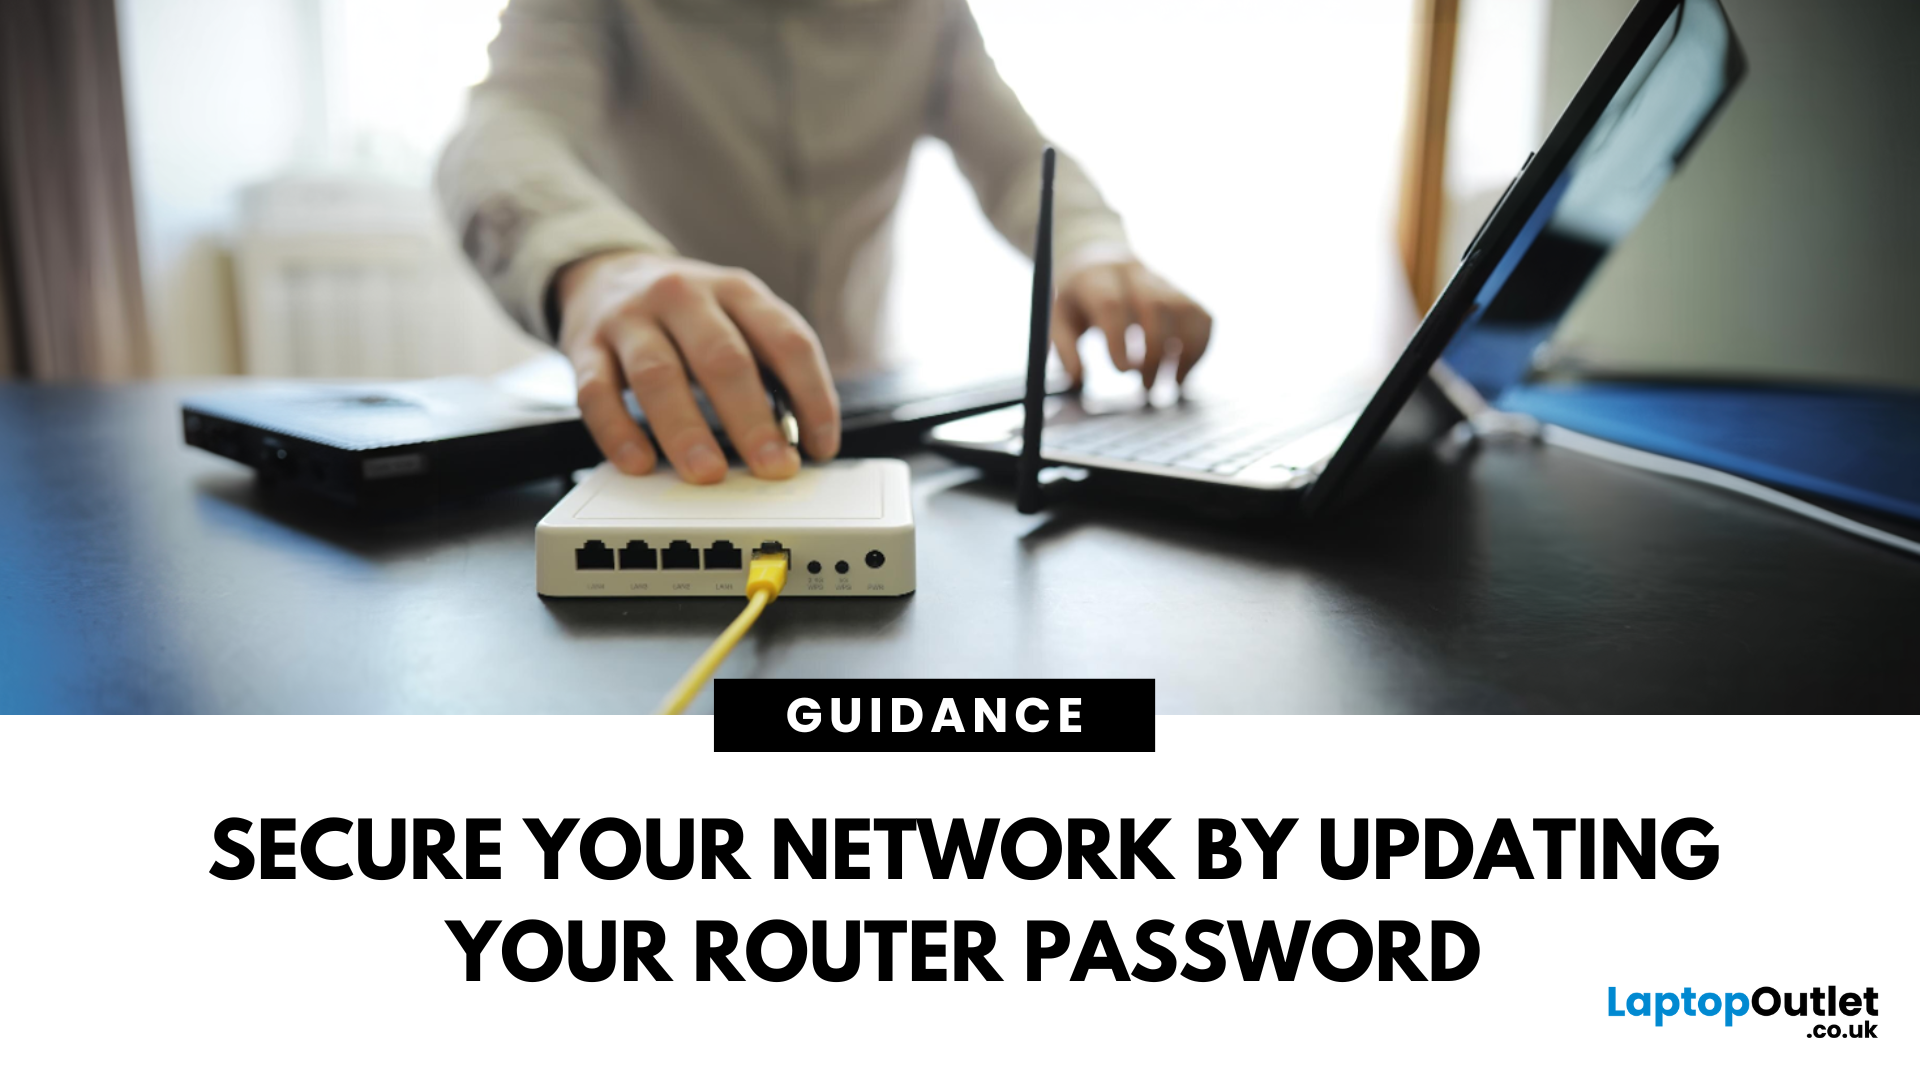
Keep Your Wi-Fi Safe and Secure
Your router password protects your home network from unwanted access. Whether you're updating your Wi-Fi credentials or changing the admin login, it’s a smart step for security. Here’s how to change your router password in just a few steps.
1. Know Which Password You’re Changing
- Wi-Fi Password: The one users enter to connect to your network
- Router Admin Password: Used to access router settings via web browser
It’s best to change both regularly for security
2. Connect to Your Router
- Make sure you're connected to your Wi-Fi or directly via Ethernet
- Open a web browser and type your router’s IP address (usually 192.168.0.1 or 192.168.1.1)
- Enter your admin username and password (often printed on the router or found in your manual)
3. Change Your Wi-Fi Password
Steps:
- Log in to your router settings
- Navigate to Wireless Settings or Wi-Fi Settings
- Locate the SSID (network name) and password fields
- Enter your new password (use a strong,